- 投稿日:2019-07-08T21:35:35+09:00
[備忘録] vuejs エラー Elements in iteration expect to have 'v-bind:key' directives
Eslintが何か言っている
v-forタグにて、
Elements in iteration expect to have 'v-bind:key' directivesエラーの意味
https://vuejs.org/v2/guide/list.html#Maintaining-State
各項目に一意のキー属性を指定する必要があります とのこと解決
<th v-for="value in columns">{{ value }}</th>
?
<th v-for="(value, key) in columns" :key="key">{{ value }}</th>
100daysofcode Day1
本日より 100daysofcode を開始します。その中で記事になりそうなものを書いてく。
行動経済学の本に、人はある程度強制力のある方が続くし結果も出ると書いてあったのでqiitaで記録しようと思います。
なお続かなかった場合、この段落は削除されます。
- 実施内容の策定
- vue.js シート作成画面の側作成
- vue.js Githubリポジトリ情報の取得
- vue.js テーブルデータの表示
- 投稿日:2019-07-08T20:07:40+09:00
【Nuxt.js】layoutsに設定をまとめつつ、タイトルはpagesから設定したい
これって、Qiita記事の種になりませんか?
つまり、こういうことになります
/layoutsにヘッダーのコンポーネントを含めつつ/pagesのファイルから/layoutsで使用しているコンポーネントの値を設定する(値を渡す)基本構成
- レイアウト内でヘッダーコンポーネントを読み込み、表示している。
- 上記レイアウトを適用してpagesを表示。
layout(components) > pagesの親子関係フォルダ
/components
  - Header.vue
/layouts
  - ore.vue
/pages
  - index.vue
ファイル
components/Header.vue<template> <h1>{{ title }}</h1> </template> <script> export default { props: { title: { type: String, default: '' } } } </script>layouts/ore.vue<template> <div> <Header /> <nuxt /> </div> </template> <script> import Header from '@/components/Header' export default { components: { Header } } </script>pages/index.vue<template> <div> abc </div> </template> <script> export default { name: 'sample', layout: 'ore' } </script>方法
1. page側から$emitでlayout側に値を渡す。
- dataに値を定義。
- methodsに$emitで渡すメソッドを定義。
- mountedのタイミングで2のメソッドを実行。
pages/index.vue<template> <div> abc </div> </template> <script> export default { name: 'sample', layout: 'ore', data(){ return { header: { title: 'ページタイトル' } } }, mounted() { this.updateHeader() }, methods: { updateHeader() { // タイトルとして使いたい情報を渡す this.$nuxt.$emit('updateHeader', this.header.title) } } } </script>2. layout側でイベントを受け取るようにする
- dataにタイトルの初期値を定義。
- createdのタイミングでイベントリスナーを設定。
$nuxt.onで定義する。
- 要素に
@eventNameの形式で記述する形だとmounted以後にしか設定されない。- そのため、mounted直後の子要素のイベント発火を検知できなかった。
- イベントを検知した後、タイトルを書き換える処理を追加。
layouts/ore.vue<template> <div> <Header /> <nuxt /> </div> </template> <script> import Header from '@/components/Header' export default { components: { Header }, data() { return { title: '' } }, created() { this.setListener() }, methods: { setListener() { // emitで発火させたイベント名にする this.$nuxt.$on('updateHeader', this.setHeader) }, setHeader(title) { // 第1引数にはemitで渡した値が入ってくる。 // 第2引数以降を渡す場合も同様に、それ以降の引数で受け取れる this.title = title || '' } } } </script>3.受け取った値を反映させる
- レイアウトのHeaderコンポーネントに対し、
:propsの名前="dataで定義している値"の記述を追加するlayouts/ore.vue<template> <div> <Header :title="title" /> <nuxt /> </div> </template> ...略最終的なファイルの状態
※コンポーネントは最初と変化なし
components/Header.vue<template> <h1>{{ title }}</h1> </template> <script> export default { props: { title: { type: String, default: '' } } } </script>layouts/ore.vue<template> <div> <Header :title="title" /> <nuxt /> </div> </template> <script> import Header from '@/components/Header' export default { components: { Header }, data() { return { title: '' } }, created() { this.setListener() }, methods: { setListener() { this.$nuxt.$on('updateHeader', this.setHeader) }, setHeader(title) { this.title = title || '' } } } </script>pages/index.vue<template> <div> abc </div> </template> <script> export default { name: 'sample', layout: 'ore', data(){ return { header: { title: 'ページタイトル' } } }, mounted() { this.updateHeader() }, methods: { updateHeader() { this.$nuxt.$emit('updateHeader', this.header.title) } } } </script>まとめ
$nuxt.$emitでイベント発火+親に値を渡す。$nuxt.$on('イベント名')で、イベントと値を受け取る。- イベントリスナーはcreatedのタイミングで付与しないとまともにイベントが受け取れない。
$nuxtの存在を知らないと設定方法で詰む- propsの直接の書き換えは怒られるので、dataでやる。
さらにカスタマイズ
- $emitで複数渡す場合はlayout側のdataを増やし、コンポーネントのバインドも複数にすればOK。
- setListenerに複数のイベントリスナーを定義すれば、いろんな更新イベントを受け取れる。
- 今回はヘッダーしか更新しないから
updateHeaderだけど、複数のコンポーネントを更新するならupdateLayoutになりそう。
- イベント発火はコンポーネント単位で分割したほうが良い
- 複数のイベント発火をする処理を
updateLayoutで実行するイメージ参考文献
- 投稿日:2019-07-08T11:30:36+09:00
element ui validate number
以下でできる。
v-model.numberってのが味噌。<el-form-item label="料金" prop="price"> <el-input v-model.number="form.price"></el-input> </el-form-item>validate
price: [
    { type: 'number',required: true, min: 1000,max:100000, message: '1000円以上、100000円未満で、半角数字で入力してください', trigger: 'change' }
],
- 投稿日:2019-07-08T09:19:28+09:00
Vue.js開発サーバー起動時のSystem limit for number of file watchers reachedエラー対応方法
書いてあること
- Vue.js開発サーバーを起動した際ののSystem limit for number of file watchers reachedエラーの対応方法
環境
- CentOS Linux release 7.6.1810 (Core)
- Node.js v10.16.0
- Npm 6.10.0
- Vue 3.9.1
発生したタイミング
- CentOS上にVue.jsプロジェクトを作成
- VSCodeのRemote Development拡張で上記ディレクトリにアクセス
npm run serveコマンドで開発サーバーを起動した際に発生原因
監視可能なファイル上限数をオーバーしたことが原因。
Linuxのinotifyで監視可能なファイル上限数が用意されており、この上限数をオーバーするとSystem limit for number of file watchers reachedエラーが発生する。対処方法
現在(デフォルト)の監視可能な上限数を確認
bash$ cat /proc/sys/fs/inotify/max_user_watches監視可能な上限数を変更
bash#上限数を変更(上限数は各環境で調整) $ echo fs.inotify.max_user_watches= 65536 | tee -a /etc/sysctl.conf #設定を反映 $ sysctl -p
- 投稿日:2019-07-08T07:39:25+09:00
[Vue.js]input fileで選択した画像のプレビューを表示する
Vue.jsでinput type="file"で選択した画像プレビューを表示
Example1
サンプル
<template>
  <div>
     <input type="file" ref="file" @change="setImage"/>
     <img :src="data.image">
  </div>
</template>
<script>
export default {
  data() {
    return {
      data: {
        image: "",
        name: "",
      }
    };
  },
  methods: {
    setImage(e) {
      const files = this.$refs.file;
      const fileImg = files.files[0];
      if (file.type.startsWith("image/")) {
        this.data.image = window.URL.createObjectURL(file);
        this.data.name = file.name;
        this.data.type = file.type;
      }
    },

  }
};
</script>
初めに、
<input type="file" ref="file" />でref=で適当に名前をつけてあげます。
そして@changeで画像の選択時にsetImageを発火させています。
this.$refs.fileで画像のようなdomが参照できるのでそこから画像dataをひっぱって来るようにしています。
最後に、
window.URL.createObjectURL(file)でsrcに指定するURLを生成しています。
こんな感じでプレビューを表示させてあげれます。Example2
先ほどは
this.$refs.を使った方法になりますが、eventをとってきてやる方法でもいいかな?<template> <div> <input type="file" @change="setImage($event)"/> <img :src="data.image"> </div> </template> <script> export default { data() { return { data: { text: "", image: "", name: "", } }; }, methods: { setImage(event) { const file = (e.target.files || e.dataTransfer)[0] if (file.type.startsWith("image/")) { this.data.image = window.URL.createObjectURL(file); this.data.name = file.name; this.data.type = file.type; } }, } }; </script>最後に
もっと簡単な方法があればご教授ください。
ありがとうございました。
- 投稿日:2019-07-08T00:07:10+09:00
Vuex入門:初心者向けガイド をやってみた
以下のページがVuexの勉強でとても参考になりましたので、勉強させていただきました。m(_ _)m
※この投稿にかいてあることは全て↑のリンクにかいてあることと同じです。自分の備忘録として投稿させていただきました。
webpackで環境作成
参考サイトでは
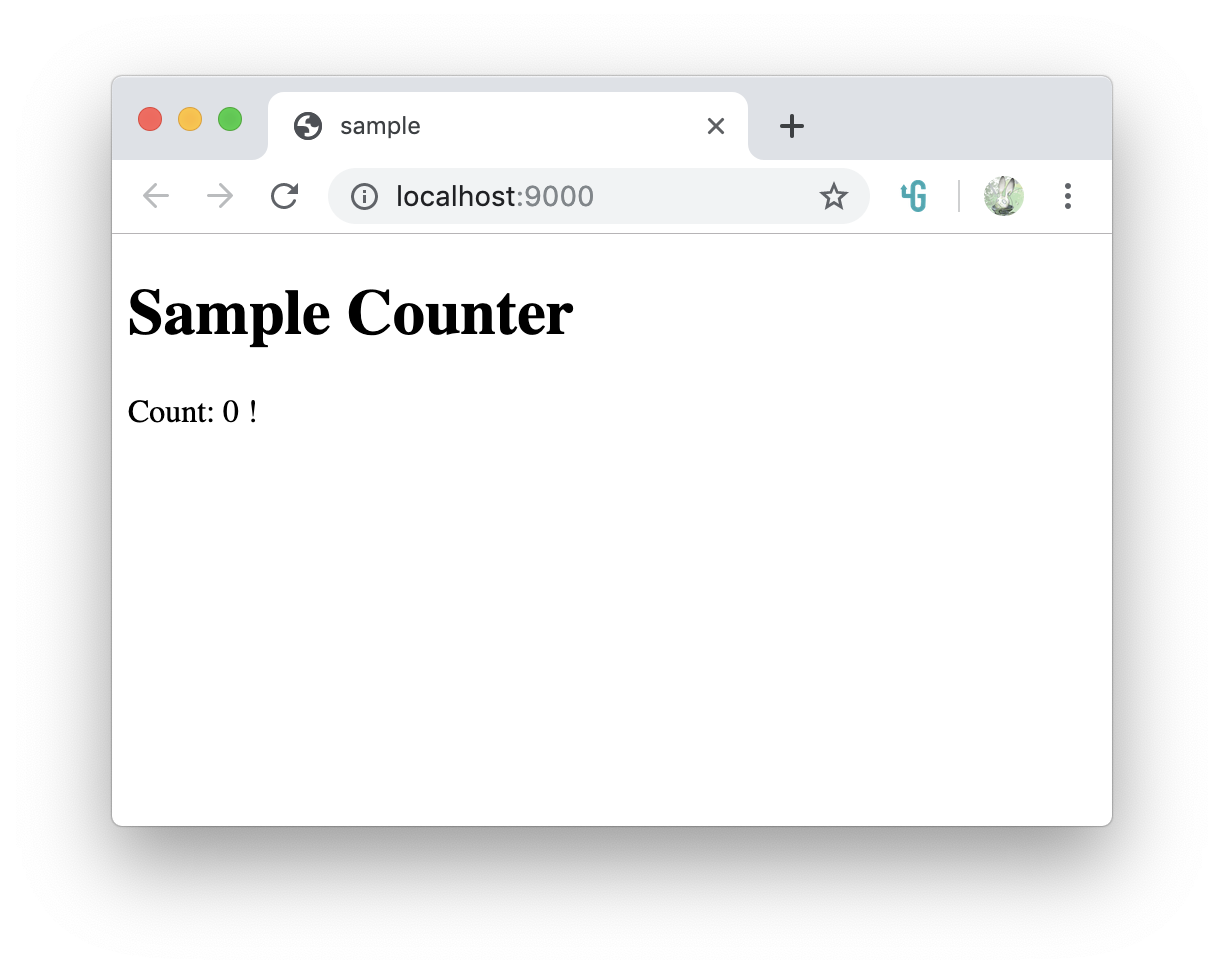
@vue/cliで環境作成を行っていましたが、私はwebpackで作成しました。bashyarn init -y yarn add vue vuex yarn add -D webpack webpack-cli webpack-dev-server vue-loader vue-template-compiler vue-style-loader css-loader babel-loader @babel/core @babel/preset-env./webpack.config.jsconst VueLoaderPlugin = require("vue-loader/lib/plugin"); module.exports = { mode: "development", module: { rules: [ { test: /\.vue$/, loader: "vue-loader" }, { test: /\.js$/, loader: "babel-loader" }, { test: /\.css$/, use: ["vue-style-loader", "css-loader"] } ] }, plugins: [new VueLoaderPlugin()], resolve: { extensions: [".vue", ".js"], alias: { vue$: "vue/dist/vue.esm.js" } }, devServer: { port: 9000, contentBase: "./", publicPath: "/dist/", open: "Google Chrome" } };./.babelrc{ "presets": [ [ "@babel/preset-env", { "targets": { "node": "current" } } ] ] }./src/index.jsimport Vue from "vue" import App from "./App" import store from './store' new Vue({ store, el: "#app", template: "<App/>", components: { App } })./src/App.vue<template> <div id="app"> <h1>Sample Counter</h1> <Counter /> </div> </template> <script> import Counter from "./components/Counter"; export default { components: { Counter } }; </script>./src/components/Counter.vue<template> <div> <p>Count: {{ count }} !</p> </div> </template> <script> export default { data() { return { count: 0 }; } }; </script>./src/store.jsimport Vue from 'vue' import Vuex from 'vuex' Vue.use(Vuex) export default new Vuex.Store({ state: { // put variables and collections here }, mutations: { // put sychronous functions for changing state e.g. add, edit, delete }, actions: { // put asynchronous functions that can call one or more mutation functions } })./index.html<!DOCTYPE html> <meta charset=utf-8> <title>sample</title> <script src=dist/main.js defer></script> <div id=app></div>bashyarn webpack-dev-serverこの実行環境をもとにガイドを進めていきます。
Store
アプリケーション全体で参照するデータのかたまりの部分です。
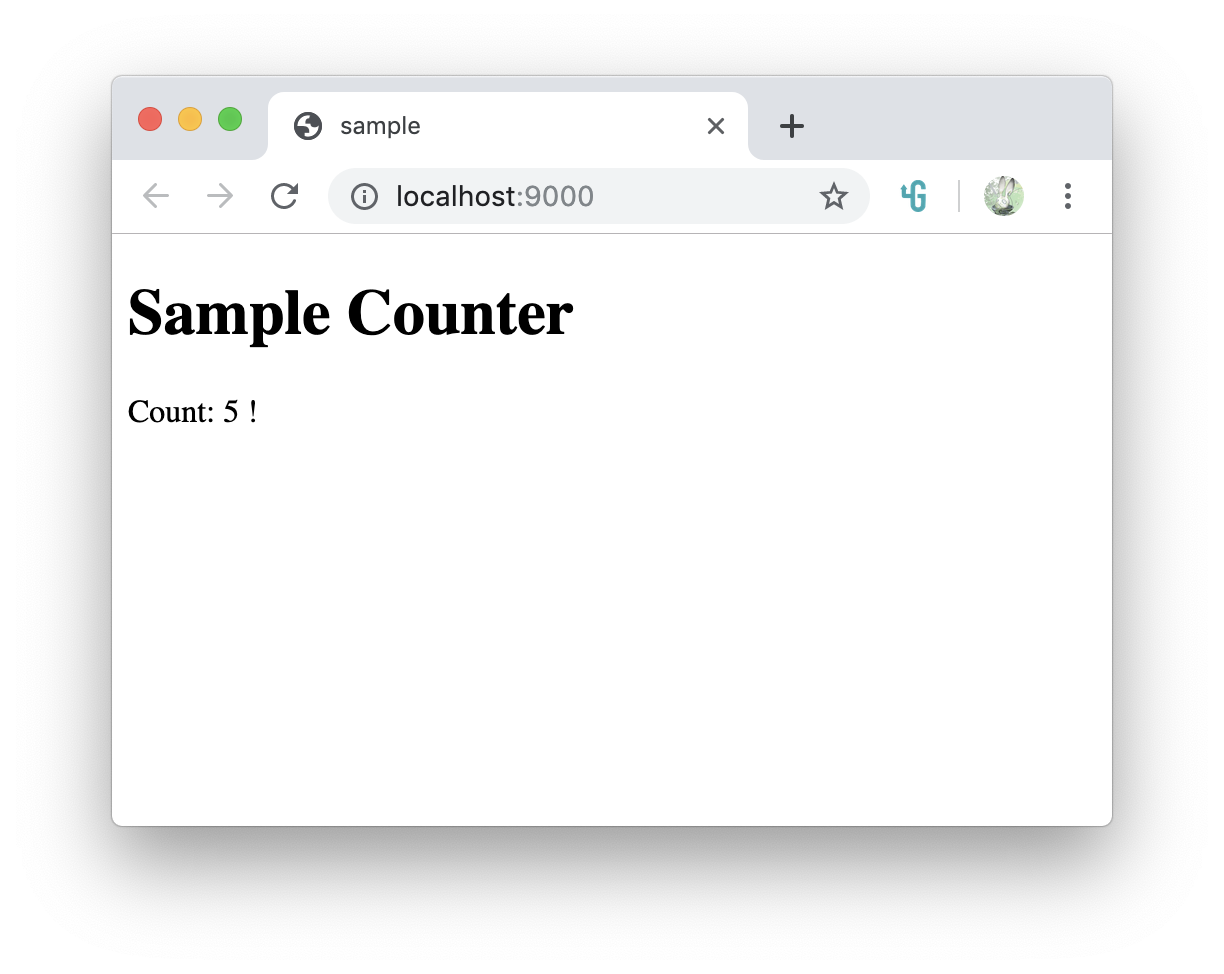
store.jsで以下のように設定してみます。./src/store.jsimport Vue from 'vue' import Vuex from 'vuex' Vue.use(Vuex) export default new Vuex.Store({ state: { products: [], count: 5, loggedInUser: { name: 'John', role: 'Admin' } }, })
$storeを使ってストアを参照するstoreに全てのデータを集約させるので、
<script>タグのdataの部分は削除します./src/components/Counter.vue<template> <div> <p>Count: {{ $store.state.count }} !</p> </div> </template> <script> export default {}; </script>
computedを使うことでスッキリ書くことができます。./src/components/Counter.vue<template> <div> <p>Count: {{ count }} !</p> </div> </template> <script> export default { computed: { count() { return this.$store.state.count; } } }; </script>
mapStateHelper
mapStateを使うことでcomputedをさらに簡潔に書けます./src/components/Counter.vue<template> <div> <p>Welcome, {{ loggedInUser.name }}.</p> <p>Count: {{ count }} !</p> </div> </template> <script> import { mapState } from "vuex"; export default { computed: mapState({ count: state => state.count, loggedInUser: state => state.loggedInUser }) }; </script>また、↑のようにただstoreの値とするだけなら、文字列だけを
mapStateに渡すことでさらに簡潔に書けます。
↓で同じ意味となります。./src/components/Counter.vue<template> <div> <p>Welcome, {{ loggedInUser.name }}.</p> <p>Count: {{ count }} !</p> </div> </template> <script> import { mapState } from "vuex"; export default { computed: mapState([ "count", "loggedInUser" ]) }; </script>
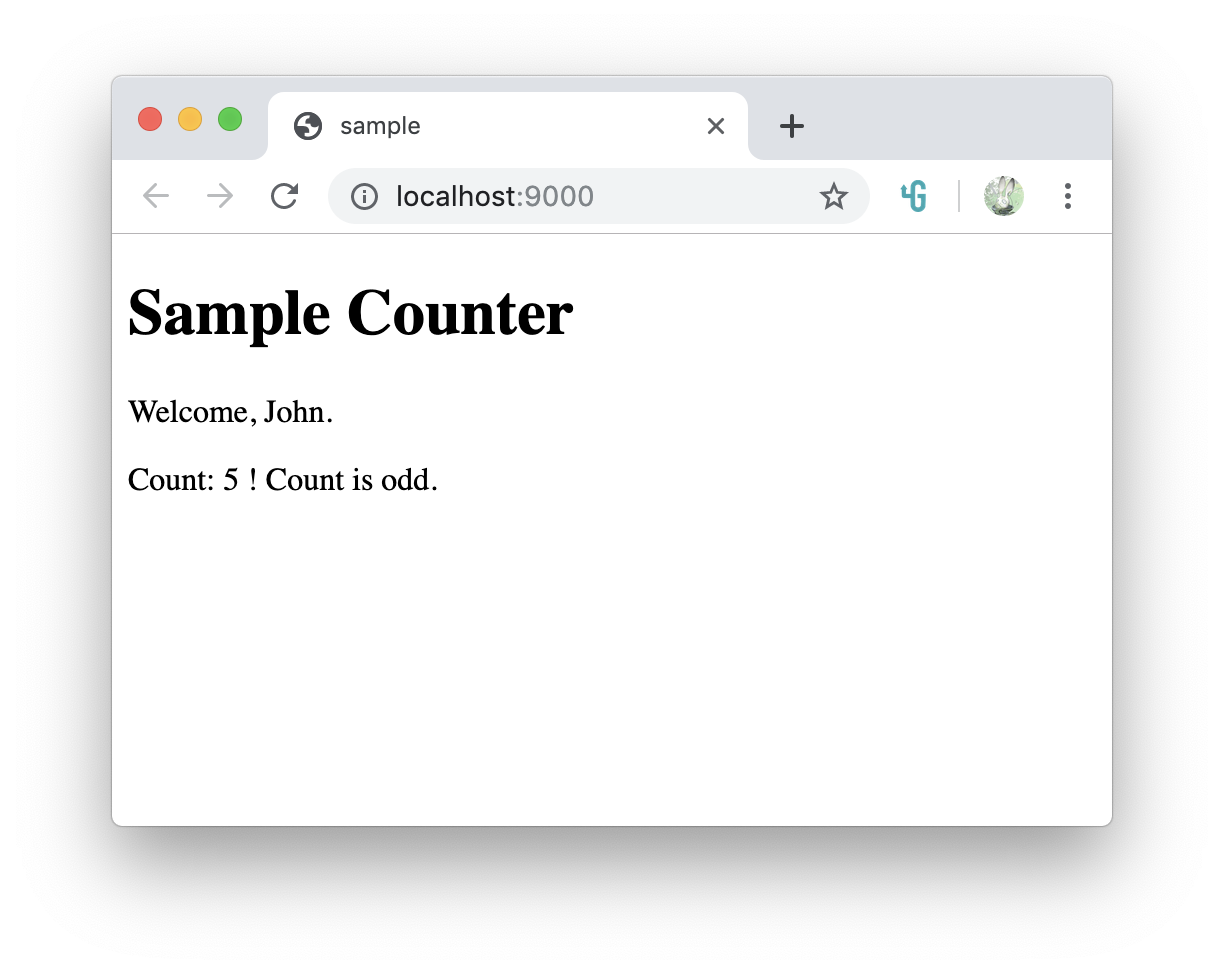
computedにstore以外の値を渡したい場合は、スプレッド構文を使えばうまくいきます。./src/components/Counter.vue<template> <div> <p>Welcome, {{ loggedInUser.name }}.</p> <p>Count: {{ count }} ! Count is {{ parity }}.</p> </div> </template> <script> import { mapState } from "vuex"; export default { computed: { ...mapState([ "count", "loggedInUser" ]), parity () { return this.count % 2 === 0 ? "even" : "odd"; } } }; </script>Getters
vuexの
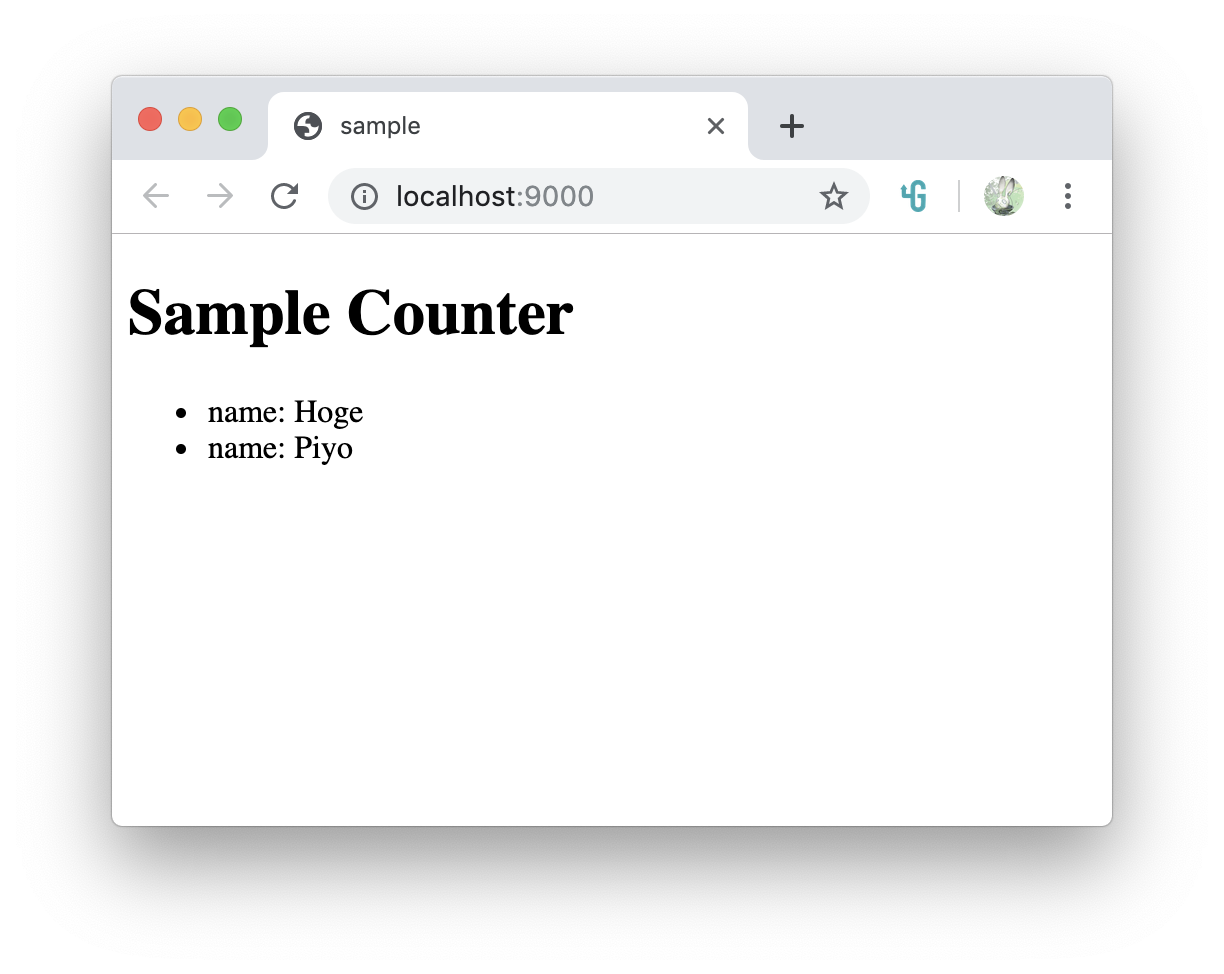
sotreでgetterを設定すると、computedと同じように扱うことができます。./src/store.jsimport Vue from 'vue' import Vuex from 'vuex' Vue.use(Vuex) export default new Vuex.Store({ state: { products: [ { id: 1, name: "Hoge", stock: 0 }, { id: 2, name: "Fuga", stock: 3 }, { id: 3, name: "Piyo", stock: 0 }, ], count: 5, loggedInUser: { name: 'John', role: 'Admin' } }, getters: { depletedProducts: state => { return state.products.filter(product => product.stock <= 0) } }, })./src/components/Counter.vue<template> <div> <ul> <li v-for="(product, i) in depletedProducts" :key="i"> name: {{ product.name }} </li> </ul> </div> </template> <script> export default { computed: { depletedProducts() { return this.$store.getters.depletedProducts; } } }; </script>
mapGettersHelperこちらも
mapGettersというヘルパーが用意されており、簡潔に書くことができます。./src/components/Counter.vue<template> <div> <ul> <li v-for="(product, i) in depletedProducts" :key="i"> name: {{ product.name }} </li> </ul> </div> </template> <script> import { mapGetters } from 'vuex' export default { computed: { ...mapGetters([ 'depletedProducts', 'anotherGetter' ]) } }; </script>
関数を返すことで、
getterに引数を渡すこともできます。getProductById: state => id => { return state.products.find(product => product.id === id); }./src/store.jsimport Vue from 'vue' import Vuex from 'vuex' Vue.use(Vuex) export default new Vuex.Store({ state: { products: [ { id: 1, name: "Hoge", stock: 0 }, { id: 2, name: "Fuga", stock: 3 }, { id: 3, name: "Piyo", stock: 0 }, ], count: 5, loggedInUser: { name: 'John', role: 'Admin' } }, getters: { depletedProducts: state => { return state.products.filter(product => product.stock <= 0) }, getProductById: state => id => { return state.products.find(product => product.id === id); } }, })./src/components/Counter.vue<template> <div> product1: {{ getProductById(2).name }} <ul> <li v-for="(product, i) in depletedProducts" :key="i"> name: {{ product.name }} </li> </ul> </div> </template> <script> import { mapGetters } from "vuex"; export default { computed: { ...mapGetters([ "depletedProducts", "getProductById", ]) } }; </script>Mutations
storeの内容を直接変更してはいけません。
必ずmutationsから変更するようにしましょう。./src/store.jsimport Vue from 'vue' import Vuex from 'vuex' Vue.use(Vuex) export default new Vuex.Store({ state: { count: 1 }, mutations: { increment(state) { state.count++ } } })./src/components/Counter.vue<template> <div> <p>Count: {{ $store.state.count }} !</p> <button @click="updateCount">increment</button> </div> </template> <script> export default { methods: { updateCount() { this.$store.commit("increment"); } } }; </script>
パラメータを渡すこともできます
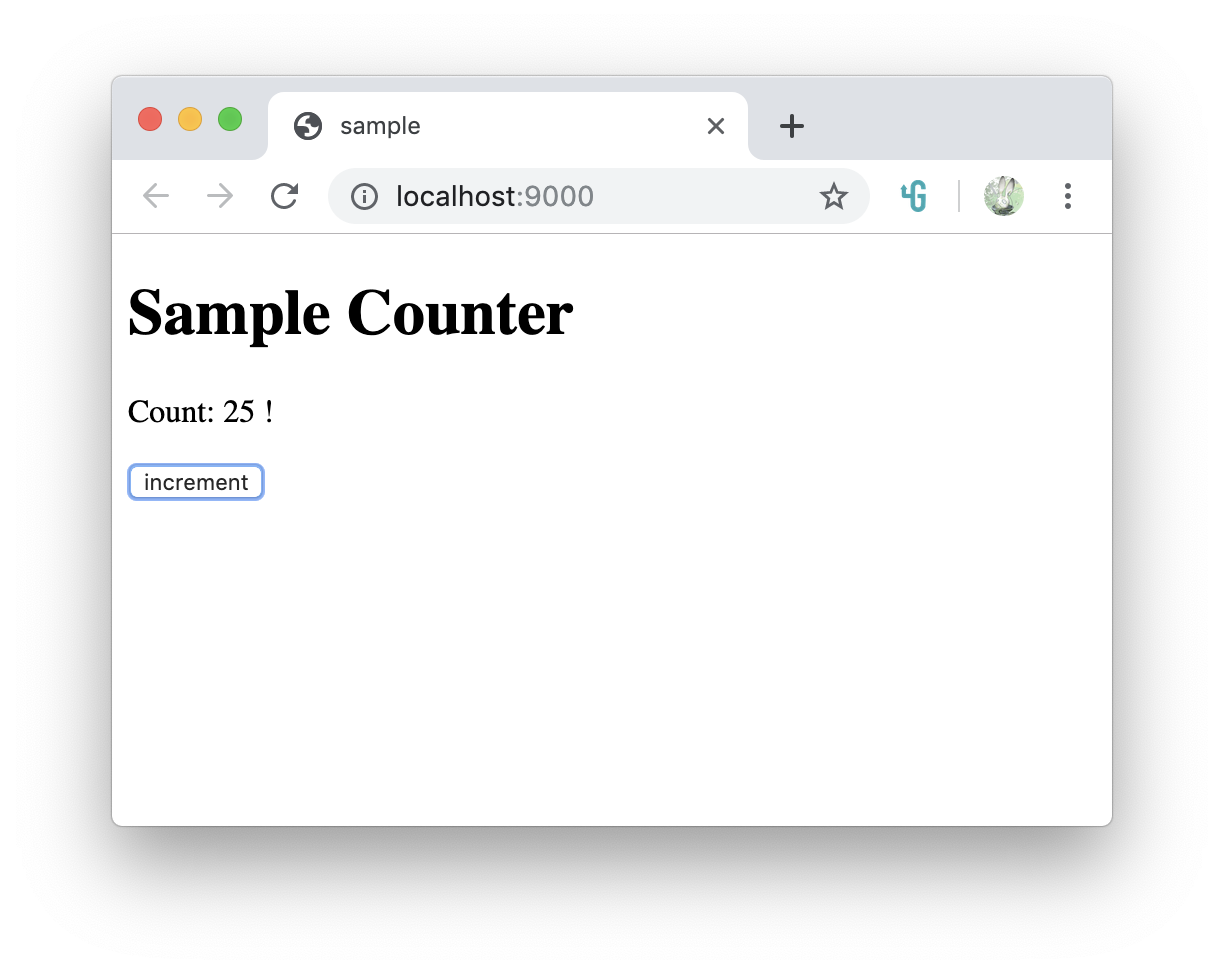
incrementBy(state, n) { state.count += n; }./src/store.jsimport Vue from 'vue' import Vuex from 'vuex' Vue.use(Vuex) export default new Vuex.Store({ state: { count: 0 }, mutations: { incrementBy(state, n) { state.count += n; } } })./src/components/Counter.vue<template> <div> <p>Count: {{ $store.state.count }} !</p> <button @click="updateCount">increment</button> </div> </template> <script> export default { methods: { updateCount() { this.$store.commit('incrementBy', 25); } } }; </script>
オブジェクトをパラメータに渡すこともできる。
mutations: { incrementBy(state, { amount }) { state.count += amount; } }methods: { updateCount() { this.$store.commit('incrementBy', { amount: 25 }); } }
このようなオブジェクトを渡しても大丈夫です。
  methods: {
    updateCount() {
      this.$store.commit({
        type: "incrementBy",
        amount: 25
      });
    }
  }
mapMutationsHelper
mapMutationsを使って簡潔に書くことができます。./src/store.jsimport Vue from 'vue' import Vuex from 'vuex' Vue.use(Vuex) export default new Vuex.Store({ state: { count: 0 }, mutations: { increment(state) { state.count++; }, incrementBy(state, { amount }) { state.count += amount; }, } })./src/components/Counter.vue<template> <div> <p>Count: {{ $store.state.count }} !</p> <button @click="increment">increment</button> <button @click="incrementBy({ amount: 2 })">increment + 2</button> </div> </template> <script> import { mapMutations } from "vuex"; export default { methods: { ...mapMutations([ "increment", "incrementBy" ]) } }; </script>Actions
mutationをcommitするときに、間に入って実行する機能です。
非同期処理を行うときはActionsからcommitします。こちらが参考になりました
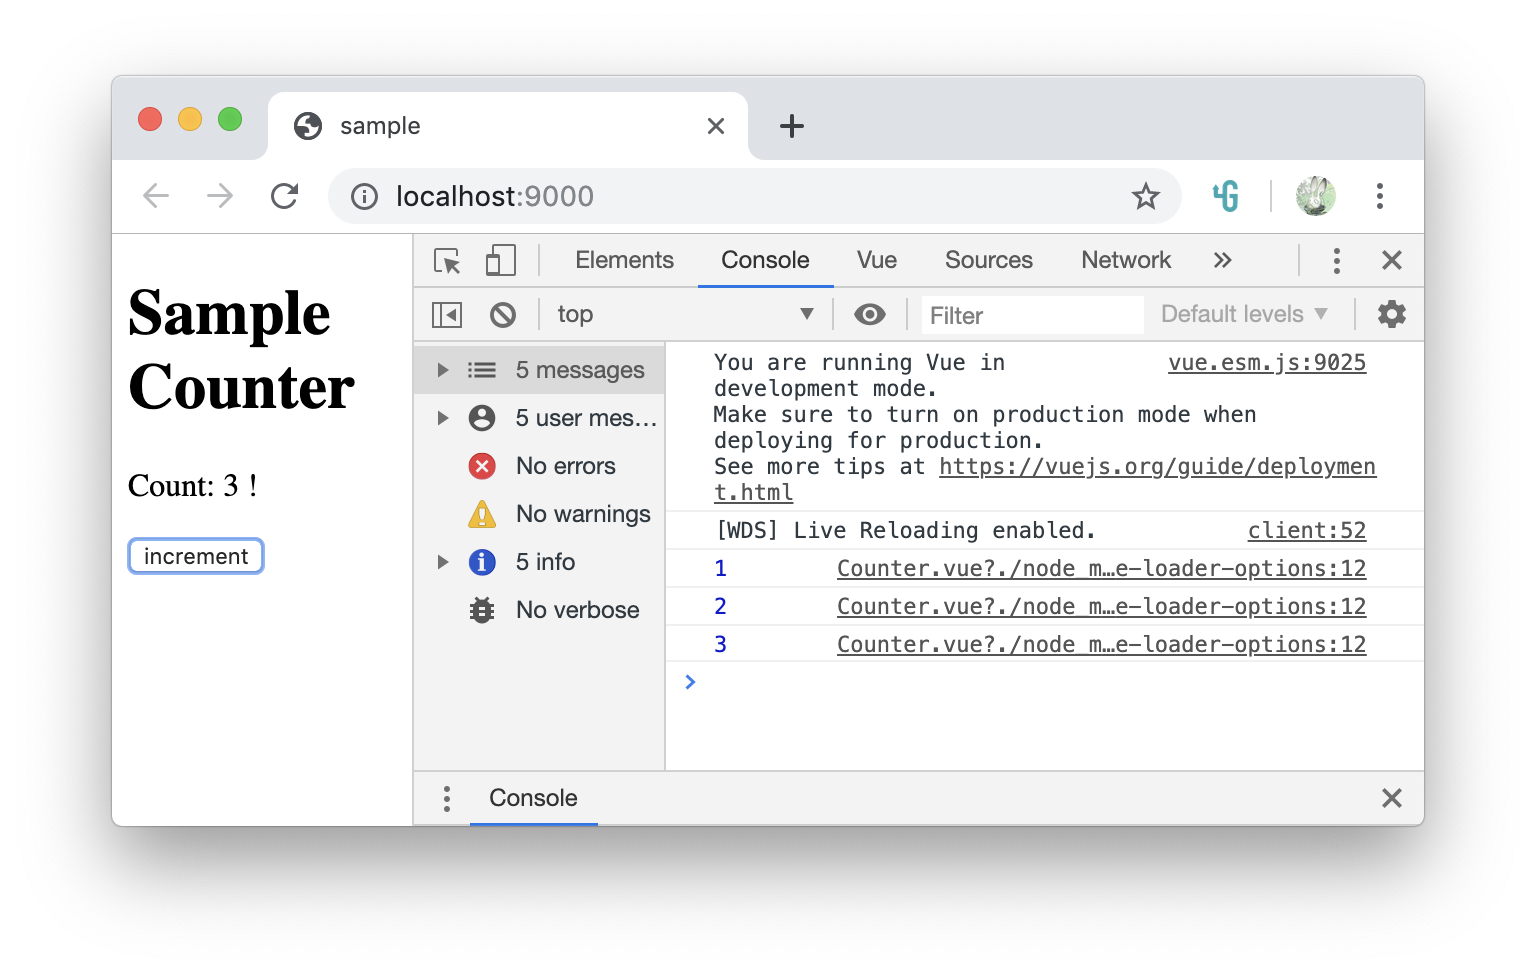
参考:https://vuex.vuejs.org/guide/actions.html#composing-actions./src/store.jsimport Vue from 'vue' import Vuex from 'vuex' Vue.use(Vuex) export default new Vuex.Store({ state: { count: 0 }, mutations: { increment(state) { state.count++; }, }, actions: { increment: context => { return new Promise(resolve => setTimeout(() => { context.commit("increment"); resolve(context.state.count) }, 1000)) } } })./src/components/Counter.vue<template> <div> <p>Count: {{ $store.state.count }} !</p> <button @click="increment">increment</button> </div> </template> <script> export default { methods: { async increment() { console.log(await this.$store.dispatch("increment")); } } }; </script>
        increment: context => {
            return new Promise(resolve => setTimeout(() => {
                context.commit("increment");
                resolve(context.state.count)
            }, 1000))
        }
contextは以下それぞれ受け取ることができます。
context.commit
mutationをcommitするcontext.state
stateを取得context.getters
gettersを取得するなのでこのように書くと簡潔になります
        increment: ({ commit, state, getters}) => {
          // ...
        },
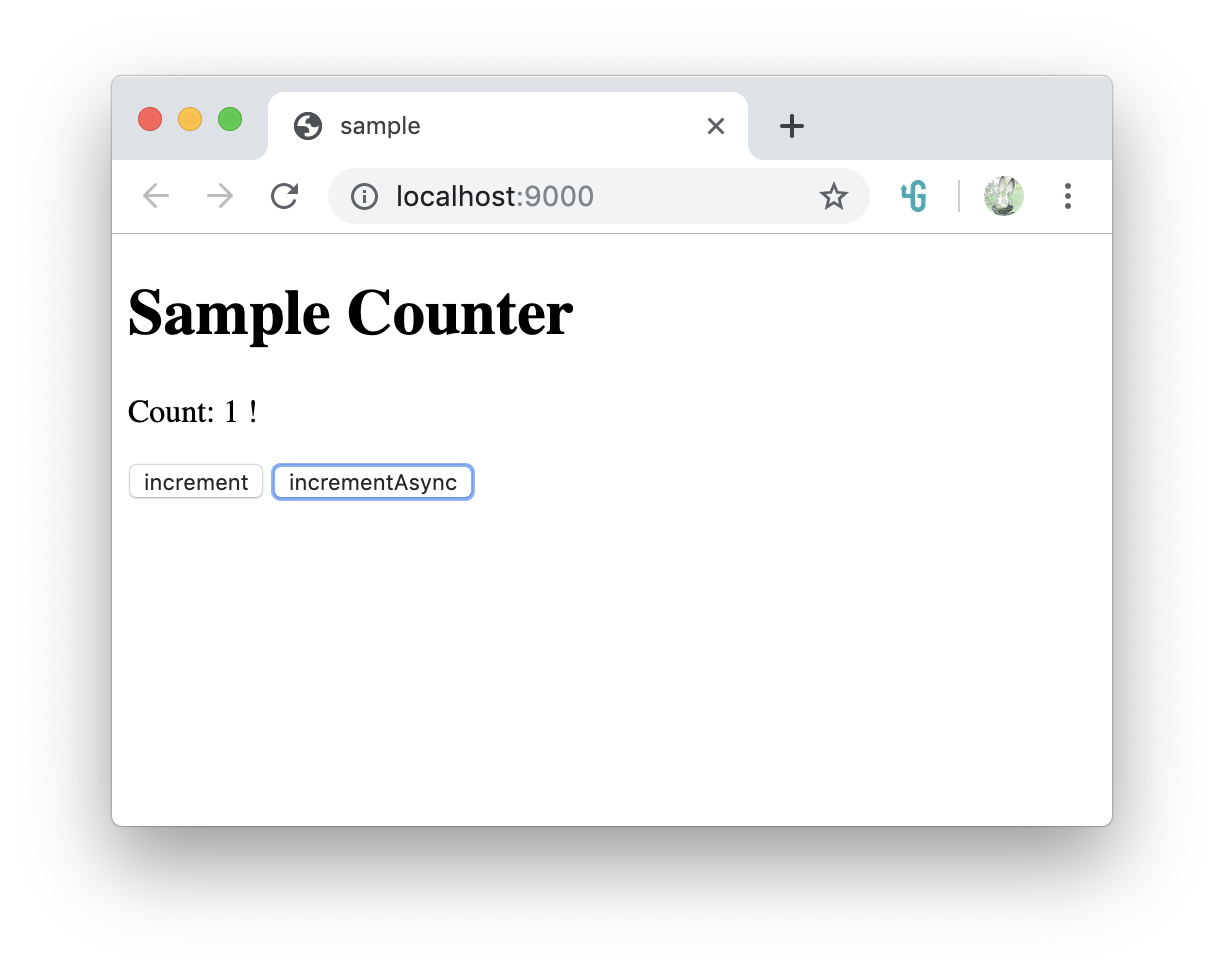
mapActionsHelper./src/store.jsimport Vue from 'vue' import Vuex from 'vuex' Vue.use(Vuex) export default new Vuex.Store({ state: { count: 0 }, mutations: { increment(state) { state.count++; }, }, actions: { increment: ({ commit }) => commit("increment"), incrementAsync: ({ commit, state }) => { return new Promise(resolve => setTimeout(() => { commit("increment"); resolve(state.count) }, 1000)) } } })./src/components/Counter.vue<template> <div> <p>Count: {{ $store.state.count }} !</p> <button @click="increment">increment</button> <button @click="incrementAsync">incrementAsync</button> </div> </template> <script> import { mapActions } from "vuex" export default { methods: { ...mapActions([ "increment", "incrementAsync", ]) } }; </script>Vuexを使ったカウンター作成
ここまでのを組み合わせたカウンターを作成します。
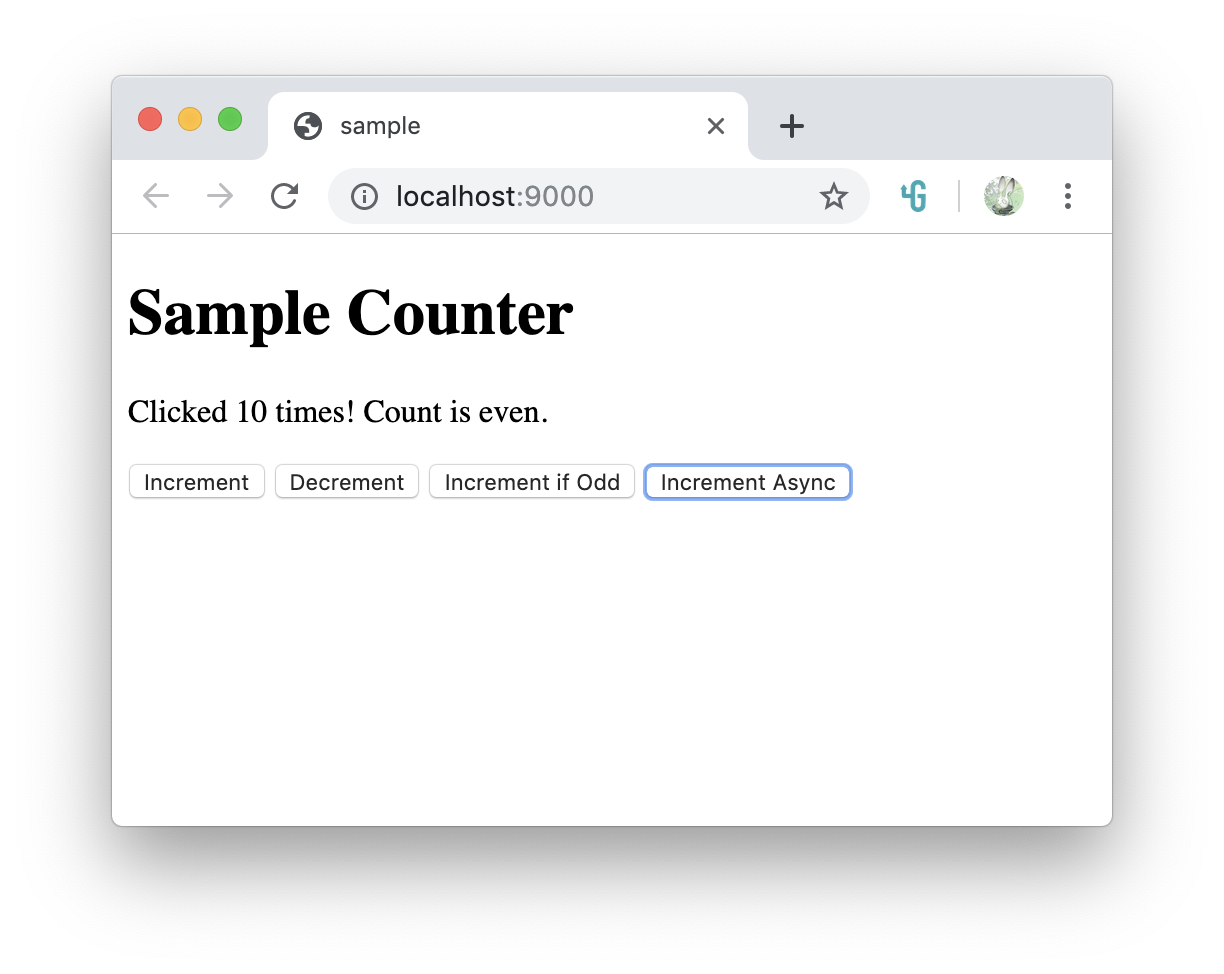
./src/store.jsimport Vue from "vue" import Vuex from "vuex" Vue.use(Vuex) export default new Vuex.Store({ state: { count: 0 }, getters: { parity: state => state.count % 2 === 0 ? "even" : "odd" }, mutations: { increment(state) { state.count++; }, decrement(state) { state.count--; } }, actions: { increment: ({ commit }) => commit("increment"), decrement: ({ commit }) => commit("decrement"), incrementIfOdd: ({ commit, getters }) => getters.parity === "odd" ? commit("increment") : false, incrementAsync: ({ commit }) => { setTimeout(() => { commit("increment") }, 1000); } } });./src/components/Counter.vue<template> <div> <p>Clicked {{ count }} times! Count is {{ parity }}.</p> <button @click="increment">Increment</button> <button @click="decrement">Decrement</button> <button @click="incrementIfOdd">Increment if Odd</button> <button @click="incrementAsync">Increment Async</button> </div> </template> <script> import { mapState, mapGetters, mapActions } from "vuex"; export default { name: "Counter", computed: { ...mapState(["count"]), ...mapGetters(["parity"]) }, methods: mapActions([ "increment", "decrement", "incrementIfOdd", "incrementAsync" ]) }; </script>
最後まで読んでいただいてありがとうございました。m(_ _)m


