- 投稿日:2019-05-23T22:07:27+09:00
Vuetify コンポーネント&オプション一覧
この投稿について
この投稿では、Vuetifyのコンポーネントとオプションについて学習する中で、コードと表示画面をつらつらと保存していくだけの投稿です。
誰かの役に立てればうれしいです。
※記事は随時更新予定です。タイトルの状態にはまだ全然なっていません。(>_<)Alerts
概要
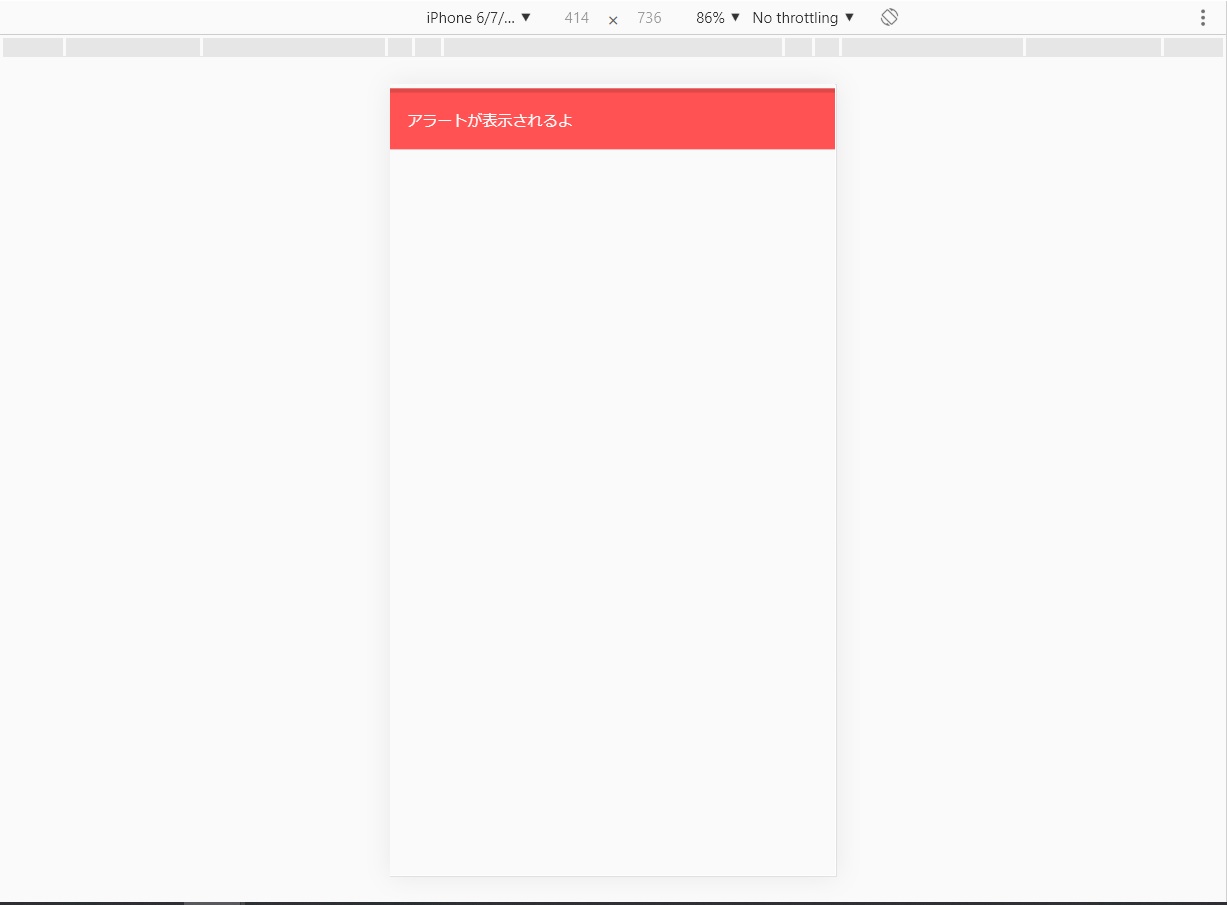
v-alertタグで囲むやつです。
デフォルトは非表示なので、表示させるときはv-modelでコントロールしましょう。vuetifyTest.vue<template> <v-app><!-- vuetify使うからv-appでラップ--> <v-content><!-- グリッドシステム用のラップ--> <v-alert v-model="alert">アラートが表示されるよ</v-alert> </v-content> </v-app> </template> <script> export default { name: 'index', data(){ return{ alert: true } } } </script>v-modelを使わない場合
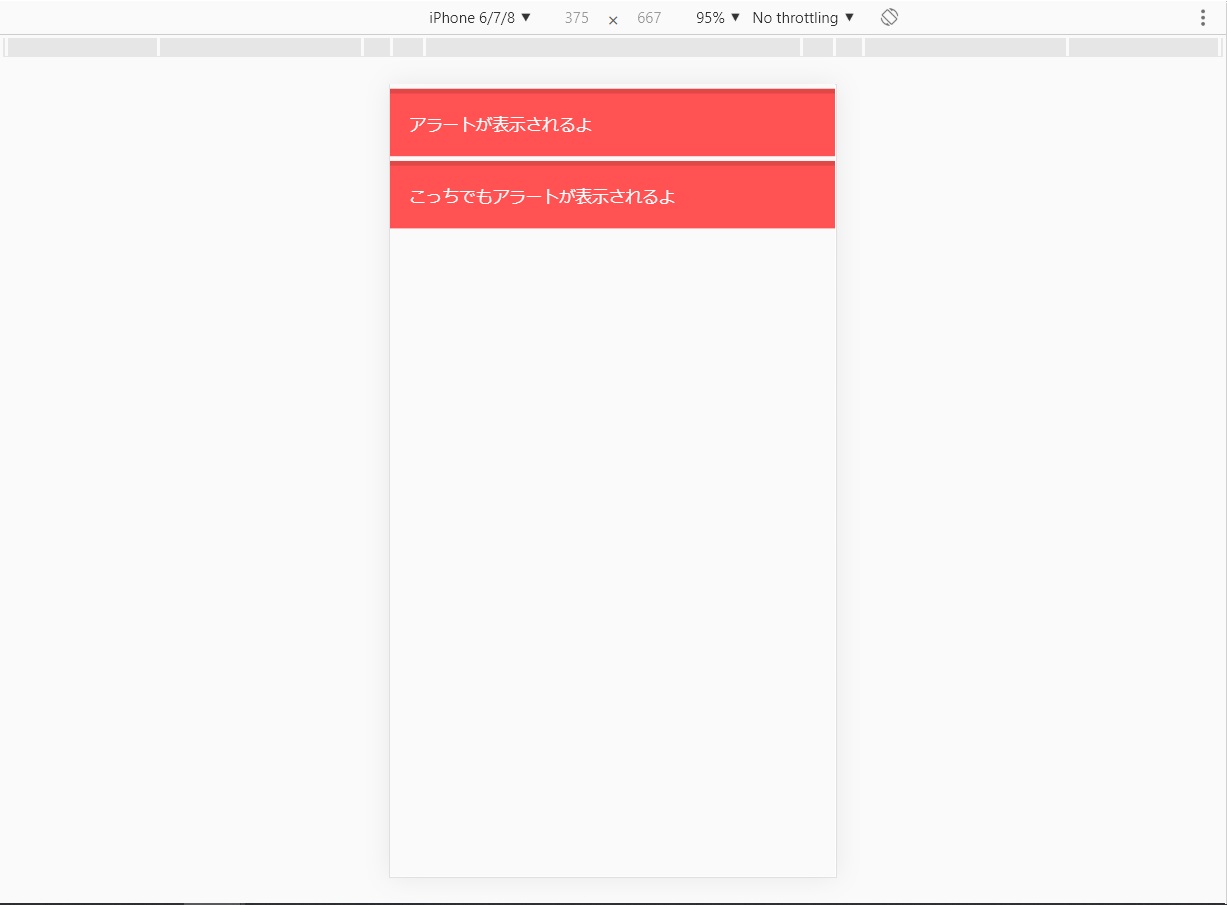
v-modelを使わない場合は、valueオプションをtrueでもOKです。
vuetifyTest.vue<template> <v-app><!-- vuetify使うからv-appでラップ--> <v-content><!-- グリッドシステム用のラップ--> <v-alert v-model="alert">アラートが表示されるよ</v-alert> <v-alert value="true">こっちでもアラートが表示されるよ</v-alert> </v-content> </v-app> </template> <script> export default { name: 'index', data(){ return{ alert: true } } } </script>colorオプション
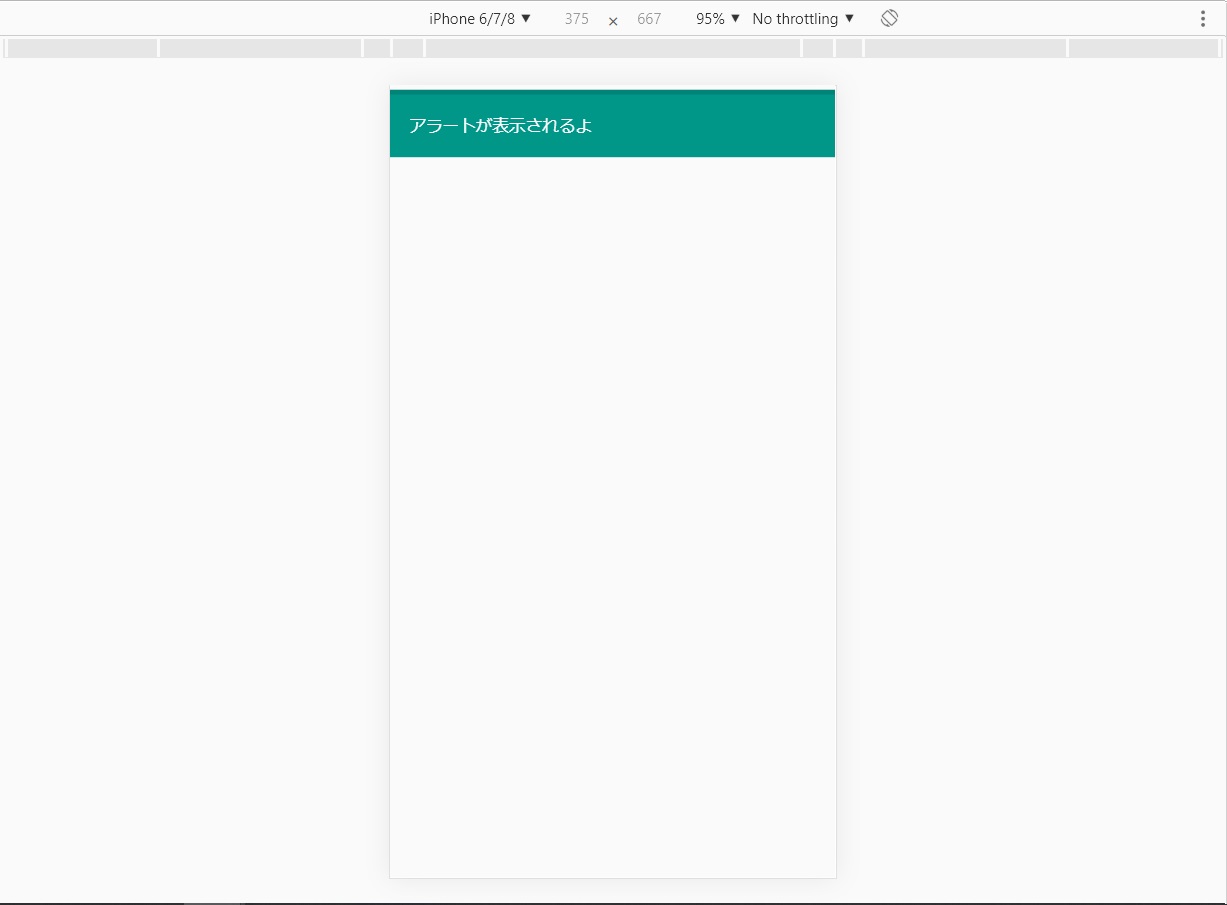
色のオプションです。
(参考:https://vuetifyjs.com/en/framework/colors#colors)vuetifyTest.vue<template> <v-app><!-- vuetify使うからv-appでラップ--> <v-content><!-- グリッドシステム用のラップ--> <v-alert v-model="alert" color="teal"> アラートが表示されるよ </v-alert> </v-content> </v-app> </template> <script> export default { name: 'index', data(){ return{ alert: true } } } </script>dimissibleオプション
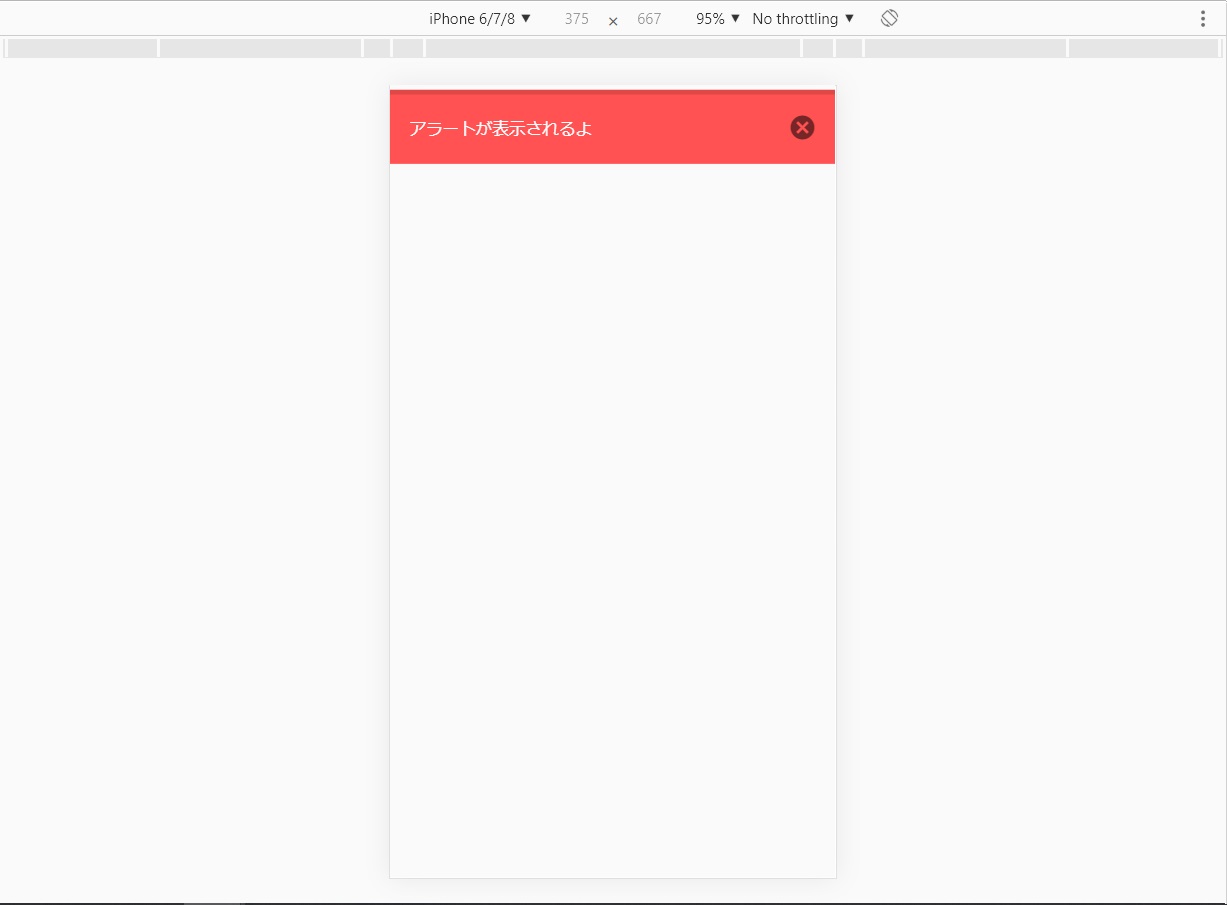
dismiss(アラートを閉じる)ができるかを決めます。デフォルトはfalseです。
vuetifyTest.vue<template> <v-app><!-- vuetify使うからv-appでラップ--> <v-content><!-- グリッドシステム用のラップ--> <v-alert v-model="alert" dismissible="true"> アラートが表示されるよ </v-alert> </v-content> </v-app> </template> <script> export default { name: 'index', data(){ return{ alert: true } } } </script>「×」を押すとdismissします。(アラートの表示が消えます。)
iconオプション
アイコンのオプションです。GoogleのMaterial Iconが使えます。
(参考:https://material.io/tools/icons/?style=baseline)vuetifyTest.vue<template> <v-app><!-- vuetify使うからv-appでラップ--> <v-content><!-- グリッドシステム用のラップ--> <v-alert v-model="alert" icon="build"> アラートが表示されるよ </v-alert> </v-content> </v-app> </template> <script> export default { name: 'index', data(){ return{ alert: true } } } </script>transitionオプション
transitionを使用するかのオプションです。
CSSのアニメーションとか使用するときに使うみたいです。
※理解できていないので、画像なし(理解したら更新します)typeオプション
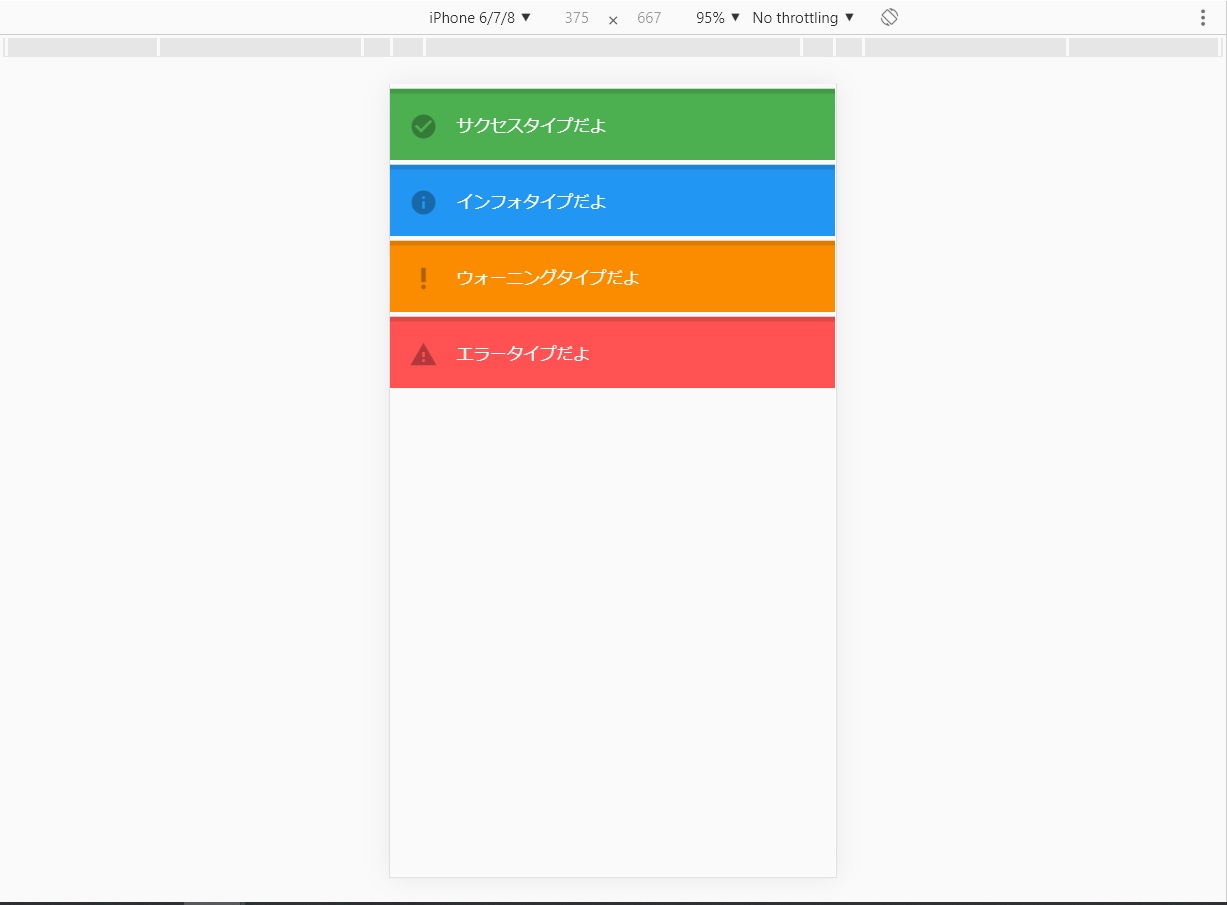
以下の4つのタイプが標準で備わっています。
・success
・info
・warning
・errorvuetifyTest.vue<template> <v-app><!-- vuetify使うからv-appでラップ--> <v-content><!-- グリッドシステム用のラップ--> <v-alert v-model="alert" type="success" > サクセスタイプだよ </v-alert> <v-alert v-model="alert" type="info" > インフォタイプだよ </v-alert> <v-alert v-model="alert" type="warning" > ウォーニングタイプだよ </v-alert> <v-alert v-model="alert" type="error" > エラータイプだよ </v-alert> </v-content> </v-app> </template> <script> export default { name: 'index', data(){ return{ alert: true } } } </script>Avatar
概要
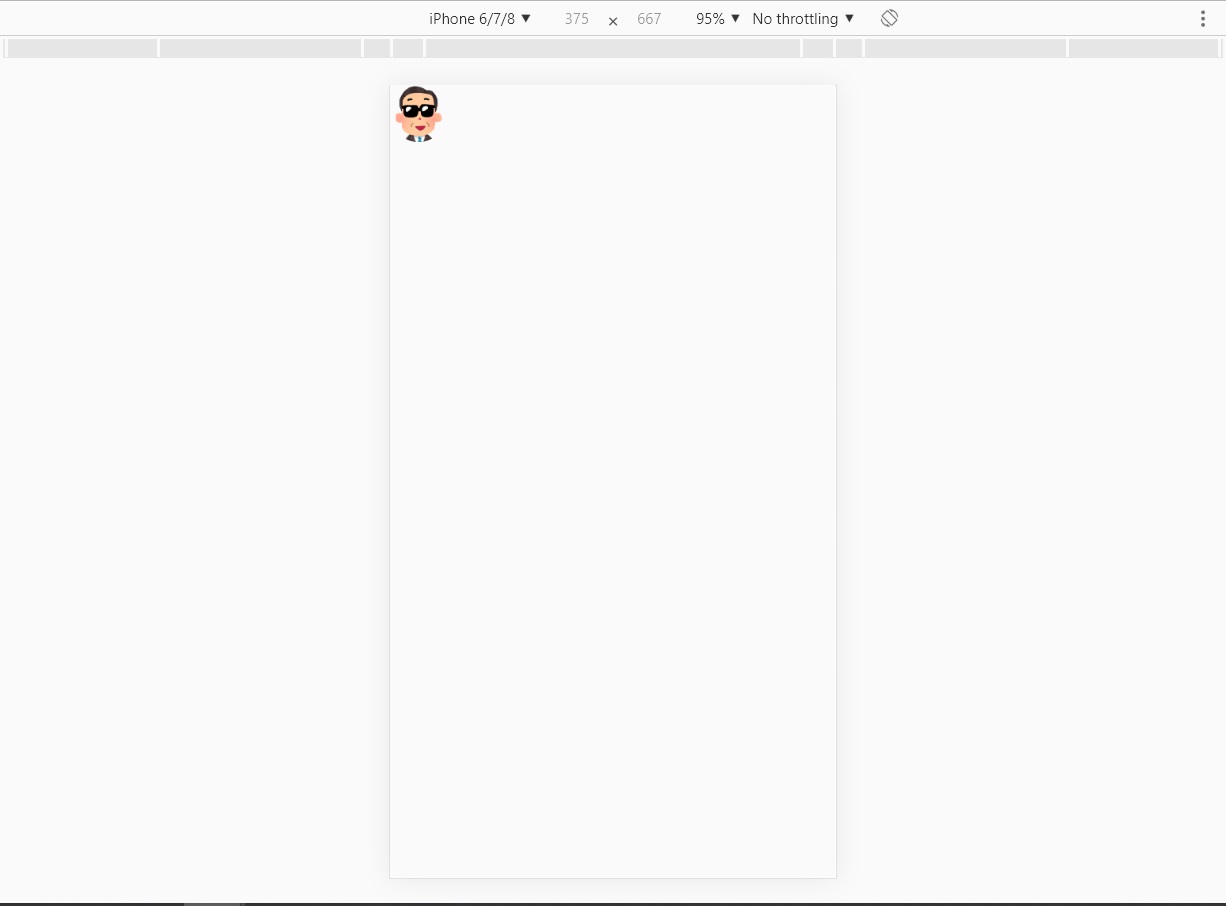
人のアイコンなんかを表示させるやつです。
ブログやウェブ記事で会話形式の表示にも使えそうですね。vuetifyTest.vue<template> <v-app><!-- vuetify使うからv-appでラップ--> <v-content><!-- グリッドシステム用のラップ--> <v-avatar> <img src="@/static/avatar.png" alt="avatar"> </v-avatar> </v-content> </v-app> </template>colorオプション
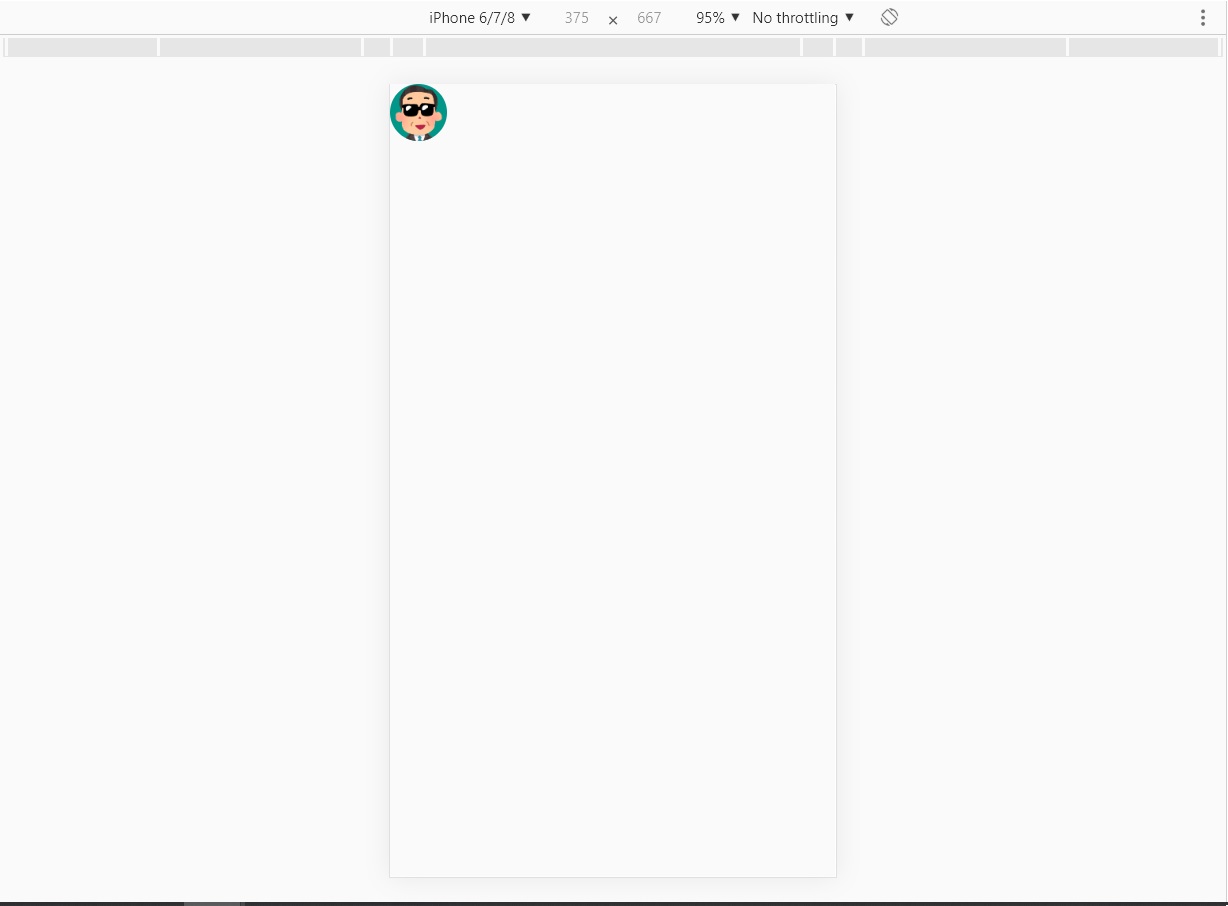
colorオプションをつけるとくっきりします。
vuetifyTest.vue<template> <v-app><!-- vuetify使うからv-appでラップ--> <v-content><!-- グリッドシステム用のラップ--> <v-avatar color="teal" > <img src="@/static/avatar.png" alt="avatar"> </v-avatar> </v-content> </v-app> </template>sizeオプション
デフォルトは48です。大きくしたり小さくしたり画面に合わせたりしましょう。
vuetifyTest.vue<template> <v-app><!-- vuetify使うからv-appでラップ--> <v-content><!-- グリッドシステム用のラップ--> <v-avatar color="teal" size="480" > <img src="@/static/avatar.png" alt="avatar"> </v-avatar> </v-content> </v-app> </template>tileオプション
表示が四角になります。デフォルトはfalseです。
vuetifyTest.vue<template> <v-app><!-- vuetify使うからv-appでラップ--> <v-content><!-- グリッドシステム用のラップ--> <v-avatar color="teal" tile="true" > <img src="@/static/avatar.png" alt="avatar"> </v-avatar> </v-content> </v-app> </template>avatarとicon
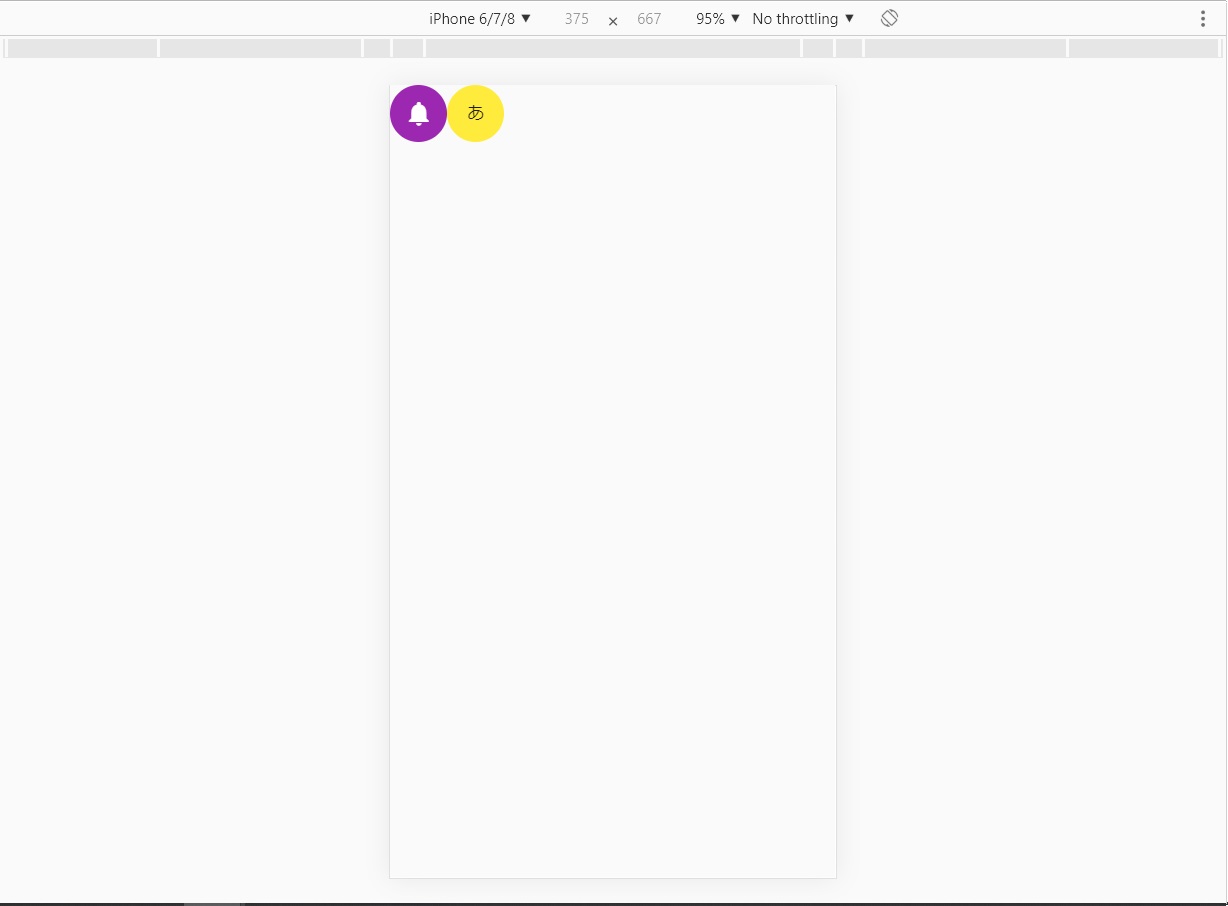
v-avatarの中は、画像以外にもv-iconを入れることができます。
単純な文字も入れられます。vuetifyTest.vue<template> <v-app><!-- vuetify使うからv-appでラップ--> <v-content><!-- グリッドシステム用のラップ--> <v-avatar color="purple red--after" > <v-icon dark>notifications</v-icon> </v-avatar> <v-avatar color="yellow" > あ </v-avatar> </v-content> </v-app> </template>
- 投稿日:2019-05-23T16:48:47+09:00
VueでJsの中に静的と動的に外部Jsを読み込む書き方
Vueプロジェクトを開発する際に、利用中のJsの中で、そのたのJsについてのファンクションやオブジェクトをインポートして利用することがよくあります。外部のJsをインポートするときには、静的にと動的に二つの方法があります。以下で簡単に説明してみます。
例文
index.vue<template> <div> <p>{{ msg }}</p> </div> </template> <script> import { t3m1 } from './t3' export default { name: 'test', data () { return { msg: 'you are ok.' } }, mounted () { t3m1() } } </script>t1.jsconst t1m1 = function () { console.log('t1m1 ok') } function t1m2 () { console.log('t1m2 ok') } export { t1m1, t1m2 }t2.jsconst t2 = {} t2.t2m1 = function () { console.log('t2m1 ok') } t2.t2m2 = function () { console.log('t2m2 ok') } export default { t2 }t3.js// 外部Jsを静的に読み込む書き方 import t2 from './t2' function t3m1 () { console.log('t3m1 ok') // 外部Jsを動的に読み込む書き方 import('./t1.js').then((t1) => { t1.t1m1() }) t2.t2.t2m1() } export { t3m1 }実行結果
- 投稿日:2019-05-23T15:36:30+09:00
VueでExportのいろいろ書き方を纏めておきます
成功した構文
Vueのファイル:index.vue
index.vue<template> <div> <p>{{ msg }}</p> </div> </template> <script> import { t1m1, t1m2 } from './t1' import { t2 } from './t2' import { t3m1 } from './t3' export default { name: 'test', data () { return { msg: 'you are ok.' } }, mounted () { t1m1() t2.t2m1() t1m2() t2.t2m2() t3m1() } } </script>Javascriptファイル1
t1.jsconst t1m1 = function () { console.log('t1m1 ok') } function t1m2 () { console.log('t1m2 ok') } export { t1m1, t1m2 }Javascriptファイル2
t2.jsconst t2 = {} t2.t2m1 = function () { console.log('t2m1 ok') } t2.t2m2 = function () { console.log('t2m2 ok') } export { t2 }Javascriptファイル3
t3.jsexport default function t3m1 () { console.log('t3m1 ok') }失敗した構文
例1
t2.jsconst t2 = {} t2.t2m1 = function () { console.log('t2m1 ok') } function t2.t2m2 () { console.log('t2m2 ok') } export { t2 }エラーメッセージは以下
Module build failed: SyntaxError: t2.js: Unexpected token, expected例2
t2.jsconst t2 = {} t2.t2m1 = function () { console.log('t2m1 ok') } t2.t2m2 = function () { console.log('t2m2 ok') } export default { t2 }エラーメッセージは以下
[Vue warn]: Error in mounted hook: "TypeError: Cannot read property 't2m1' of undefined"例3
t3.jsexport function t3m1 () { console.log('t3m1 ok') }エラーメッセージは以下
[Vue warn]: Error in mounted hook: "TypeError: Object(...) is not a function"例4
t3.jsexport t3m1 = function () { console.log('t3m1 ok') }エラーメッセージは以下
Module build failed: SyntaxError: t3.js: Unexpected token, expected { (1:7)例5
t3.jsconst t3m1 = function () { console.log('t3m1 ok') } export { t3m1 }エラーメッセージは以下
[Vue warn]: Error in mounted hook: "TypeError: Object(...) is not a function"例6
t3.jsconst t3m1 = function () { console.log('t3m1 ok') } export default { t3m1 }エラーメッセージは以下
例7
t3.jsfunction t3m1 () { console.log('t3m1 ok') } export default { t3m1 }エラーメッセージは以下
[Vue warn]: Error in mounted hook: "TypeError: Object(...) is not a function"
- 投稿日:2019-05-23T12:12:02+09:00
[Vue.js] vue.jsでアンカーリンクを作成する
やりたいこと
vue.jsでアンカーリンク(ページ内リンク)の実現
手順
[その1] vue-smooth-scrollのインストール
cd *** // プロジェクトのディレクトリに移動
npm i -D vue-smooth-scroll
[その2] main.jsファイルにプラグインの使用を宣言
import vueSmoothScroll from 'vue-smooth-scroll'
Vue.use(vueSmoothScroll);
[その3] 挿入
<a href="#section1" v-smooth-scroll="{ duration: 1000, offset: -50 }">セクション1</a>

<div id="section1">
  <!-- セクション1のコンテンツ -->
</div>
- 投稿日:2019-05-23T10:33:34+09:00
Vue.jsとBootstrapで切替可能なモーダルをお手軽簡単に実装する
簡単にモーダル作りたい
bootstrapだと一瞬です
<script src="https://cdnjs.cloudflare.com/ajax/libs/jquery/3.4.1/jquery.min.js"></script>
<script src="https://cdnjs.cloudflare.com/ajax/libs/twitter-bootstrap/4.3.1/js/bootstrap.min.js"></script>
jQueryとBootstrapを読み込んで
https://getbootstrap.com/docs/4.0/components/modal/
htmlをこれに習って設定すればすぐ出来ます切替可能なモーダルにしたい
上記のモーダルを切替可能にするのもVue.js使えば簡単に出来ます。
index.html<!-- Button trigger modal --> <button type="button" class="btn btn-primary" data-toggle="modal" data-target="#exampleModal"> Launch demo modal </button> <!-- Modal --> <div class="modal fade" id="exampleModal" tabindex="-1" role="dialog" aria-labelledby="exampleModalLabel" aria-hidden="true"> <div class="modal-dialog" role="document"> <modal v-show="current == '1'" :key="1"> <h5 class="modal-title" id="imgModalLabel" slot="title">ステップ1</h4> <div slot="body"> ステップ1 </div> <button type="button" class="btn btn-secondary" slot="prvbtn" data-dismiss="modal">戻る</button> <button type="button" class="btn btn-primary" slot="nextbtn" @click="current = 2">ステップ2へ</button> </modal> <modal v-show="current == '2'" :key="2"> <h5 class="modal-title" id="imgModalLabel" slot="title">ステップ2</h4> <div slot="body"> ステップ2 </div> <button type="button" class="btn btn-secondary" slot="prvbtn" @click="current = 1">ステップ1へ</button> <button type="button" class="btn btn-primary" slot="nextbtn" @click="current = 3">ステップ3へ</button> </modal> <modal v-show="current == '3'" :key="3"> <h5 class="modal-title" id="imgModalLabel" slot="title">ステップ3</h4> <div slot="body"> ステップ3 </div> <button type="button" class="btn btn-secondary" slot="prvbtn" @click="current = 2">ステップ2へ</button> <button type="button" class="btn btn-primary" slot="nextbtn" data-dismiss="modal">終了</button> </modal> </div> </div>app.jsconst modal_template = { template: ` <div class="modal-content"> <div class="modal-header"> <slot name="title"></slot> </div> <div class="modal-body"> <slot name="body"></slot> </div> <div class="modal-footer"> <slot name="prvbtn"></slot> <slot name="nextbtn"></slot> </div> </div> ` } const app = new Vue({ el: '#exampleModal', components: { 'modal': modal_template, }, data: { current: 1, }, })ボタン部分なんかはもう少し効率化できそうですが、汎用化させてた方が便利だったので
テンプレート使うと余計な部分は重複して書かなくて済むのですっきり
v-showでなくv-ifでも同じことできます。そこは用途に合わせてですかねサンプルはこちら
- 投稿日:2019-05-23T09:14:05+09:00
Vue.jsのテストをする際に起きる「TypeError: Cannot read property '$scopedSlots' of undefined」エラーの回避方法
TypeError: Cannot read property '$scopedSlots' of undefined
shallowMountを使ってテストしていたところを、子コンポーネントも見る必要が出てきてmountに変更しました。しかし、
TypeError: Cannot read property '$scopedSlots' of undefinedと出てしまいます。
ググってみたところ、どうやら sync オプションが原因だったようです。
ウォッチャーを使っていると起きるみたいです。下記のように
syncをfalseにすることで回避されました。mount(component、{sync : false })
