- 投稿日:2020-11-17T23:37:08+09:00
【React初心者】Herokuデプロイ時のエラー
結論:yarn.lockとpackge.lock.jsonのコンフリクトが原因。
以下デプロイできるまでの過程です。
1.creste-react-appでアプリを作成。
2.アプリをHerokuにデプロイ。git push heroku master実行も下記文言と共にエラー。
[rejected] master -> master (non-fast-forward)
error: failed to push some refs to 'https://git.heroku.com/*****.git'
Gitのmasterとローカルレポジトリにあるブランチの内容に不一致の場合に発生するエラーとのこと。
3.Gitでmargeをしてから再度push。また同一の文言でエラー。
masterブランチでのみの作業だったのでmargeが原因ではなさそう。4.Herokuのマイページにログインしてログを確認する。
これは結構大切だと思いました。エラーの原因もここでわかりました。
Two different lockfiles found: package-lock.json and yarn.lock
Both npm and yarn have created lockfiles for this application,
but only one can be used to install dependencies. Installing
dependencies using the wrong package manager can result in missing
packages or subtle bugs in production.
5.yarn.lockとpackage.lock.jsonのどちらかを削除する。
私の場合はyarnを消しました。どちらの方が良いかは他の方の記事を参考にしてみてください。
今回はHerokuでしたが他のサーバでもエラーになるんでしょうね。
- 投稿日:2020-11-17T19:35:15+09:00
React フックを勉強した
以下の公式ドキュメントに沿って勉強しました
https://ja.reactjs.org/docs/hooks-intro.htmlフックとは
登場当初のReactはコンポーネントをclassとして書いて、値をclassのsteteやpropとして管理するというお作法でした。しかしながら、javascriptのthisの挙動が他の言語と違っていたり、ステートフルなコンポーネントの使いまわしがやりにくかったり、その結果としてコードが冗長になったり多層に積み重なってとにかく辛い、という事になっていたのを解消するべく、関数として書けるようにしたのがフックだそうです。
https://ja.reactjs.org/docs/hooks-intro.html元々のコンポーネントやprops, state, コンテクスト, ref, ライフサイクルについてはそのまま使えるように設計されていて変わるのは書き方だけであり、フックを実装済みのコンポーネントについてはclassで書いていたものと同じものをフックでも作れるし、その方が良いよという事のようです。
https://ja.reactjs.org/docs/hooks-faq.html1. プロジェクトの作成
npx create-react-app my-appで作った新規プロジェクトのApp.jsを書き換えてやってみます。
npx create-react-appについては以下に書いたので省略します
https://qiita.com/studio_haneya/items/539adda6df7b7c909da62. ステートフック
コンポーネントのstatesを使えるようにするフックです
classで書いた場合
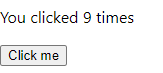
App.jsを以下のように書き換えます。constructorでthis.stateを定義して、button onClickでthis.state.countを1つずつ増加していくという書き方でした。
my-app/src/App.jsimport React from 'react'; class App extends React.Component { constructor(props) { super(props); this.state = { count: 0 }; } render() { return ( <div> <p>You clicked {this.state.count} times</p> <button onClick={() => this.setState({ count: this.state.count + 1 })}> Click me </button> </div> ); } } export default App;カウントアップするアプリになりました
フックで書く場合
上記をフックで書き換えると以下のようになります。useState()がconstructorの代わりをしてくれる関数で、const [count, setCount] = useState(0)と書くと、countという名前のstateの初期値を0として、setCount関数により更新しますという宣言になります。この初期値の代入はApp()が最初に呼ばれた時にしか実行されず、2回目以降では既に定義済みのcountというstateの値を参照するだけで、これをuseState()が上手くやってくれるわけです。
my-app/src/App.jsimport React, { useState } from 'react'; function App() { // Declare a new state variable, which we'll call "count" const [count, setCount] = useState(0); return ( <div> <p>You clicked {count} times</p> <button onClick={() => setCount(count + 1)}> Click me </button> </div> ); } export default App;
2. 副作用(side-effect)フック
コンポーネント内部から外部データを取得する動作をReactでは副作用(side-effect)または短く作用(effect)と呼んでいるようです。
2-1. クリーンアップが不要な場合
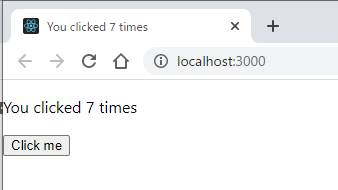
例えば先程の例のようにbutton onClickで増えていくカウントを、本文中だけでなくサイトタイトルにも書き出したい場合、render()される度にdocument.titleを更新したくなります。
クラスで書く場合
これをクラスで書く場合、render()の度に呼ばれるクラスコンポーネントは存在しない為、以下のようにcomponentDidMount()とcomponentDidUpdate()に同じ内容を書くことになります。
my-app/src/App.jsimport React from 'react'; class App extends React.Component { constructor(props) { super(props); this.state = { count: 0 }; } componentDidMount() { document.title = `You clicked ${this.state.count} times`; } componentDidUpdate() { document.title = `You clicked ${this.state.count} times`; } render() { return ( <div> <p>You clicked {this.state.count} times</p> <button onClick={() => this.setState({ count: this.state.count + 1 })}> Click me </button> </div> ); } } export default App;副作用フックで書く場合
react.useEffect()内に書くことで副作用を仕込むことができます。useEffect()はカスタマイズしない限り初回のrender()時と更新がかかって再render()するときに実行されるので、更新がかかったらついでに何かをしたいときにうってつけのやり方になります。
my-app/src/App.jsimport React, { useState, useEffect } from 'react'; function App() { const [count, setCount] = useState(0); useEffect(() => { document.title = `You clicked ${count} times`; }); return ( <div> <p>You clicked {count} times</p> <button onClick={() => setCount(count + 1)}> Click me </button> </div> ); } export default App;2-2. クリーンナップが必要な場合
外部データを読みに行っているような場合はメモリリークが起こらない安全なやり方としてクリーンアップするやり方が推奨されています。これをフックで書く場合はクリーンアップする為の関数をuseEffect()の返り値にすると自動的に処理してくれます。
以下ではChatAPIという外部データ取得用のクラスが既に書かれている場合に、ChatAPI.subscribeToFriendStatus()で取得した値をChatAPI.unsubscribeFromFriendStatus()によりクリーンアップしています。
my-app/src/App.jsimport React, { useState, useEffect } from 'react'; function FriendStatus(props) { const [isOnline, setIsOnline] = useState(null); useEffect(() => { function handleStatusChange(status) { setIsOnline(status.isOnline); } ChatAPI.subscribeToFriendStatus(props.friend.id, handleStatusChange); // Specify how to clean up after this effect: return function cleanup() { ChatAPI.unsubscribeFromFriendStatus(props.friend.id, handleStatusChange); }; }); if (isOnline === null) { return 'Loading...'; } return isOnline ? 'Online' : 'Offline'; }副作用が実行される度にクリーンアップも実行される為、render()される度に実行されることになり、パフォーマンス上の問題が生じる可能性があります。その場合には、更新した場合に副作用の実行が必要な値を監視し、値の変化がない場合は副作用を実行しない、という形で負荷を低減することが出来ます。
https://ja.reactjs.org/docs/hooks-effect.html#tip-optimizing-performance-by-skipping-effects以下ではcountが更新されていない場合に副作用が実行されないようにしています
my-app/src/App.jsuseEffect(() => { document.title = `You clicked ${count} times`; }, [count]); // Only re-run the effect if count changes3. その他フックAPI
useState、useEffect以外にもいろいろなフックAPIが用意されています
https://ja.reactjs.org/docs/hooks-reference.html基本のフック
- useState
- useEffect
- useContext
追加のフック
- useReducer
- useCallback
- useMemo
- useRef
- useImperativeHandle
- useLayoutEffect
- useDebugValue
4. フックのルール
Reactフックが正常に機能する為には以下の2つのルールがあります
https://ja.reactjs.org/docs/hooks-rules.html4-1. Reactの関数のトップレベルから呼ぶ
ループや条件分岐、あるいはネストされた関数内で呼び出してはいけない
4-2. Reactの関数から呼ぶ
通常のJavascript関数から呼んではいけない
(Reactの関数から呼び出すか、カスタムフックから呼ぶ)eslint
上記をチェックできるようにしたeslintプラグインが公開されていて、create-react-appすると自動で適用されるようになっているようです。
https://ja.reactjs.org/docs/hooks-rules.html5. カスタムフック
2-2ではAPIからユーザー情報を取得してOnlineなのかOfflineを返す関数を書いていましたが、これを1つのフックとしておいて使い回すことが出来ます。
import { useState, useEffect } from 'react';

function useFriendStatus(friendID) {
  const [isOnline, setIsOnline] = useState(null);

  useEffect(() => {
    function handleStatusChange(status) {
      setIsOnline(status.isOnline);
    }

    ChatAPI.subscribeToFriendStatus(friendID, handleStatusChange);
    return () => {
      ChatAPI.unsubscribeFromFriendStatus(friendID, handleStatusChange);
    };
  });

  return isOnline;
}
フックだと分かるようにuseStateやuseEffectのように、useから始まるカスタムフック名を設定するように推奨されています。
https://ja.reactjs.org/docs/hooks-custom.html以下のように書けば同じロジックを複数のコンポーネントから使うことが出来ます。
function FriendStatus(props) {
  const isOnline = useFriendStatus(props.friend.id);

  if (isOnline === null) {
    return 'Loading...';
  }
  return isOnline ? 'Online' : 'Offline';
}
function FriendListItem(props) { const isOnline = useFriendStatus(props.friend.id); return ( <li style={{ color: isOnline ? 'green' : 'black' }}> {props.friend.name} </li> ); }6. まとめ
React用のライブラリのスニペットがフックで書かれていたり、フックに慣れてないとReactを使っていくのに支障が出るようになりつつあるようですので頑張って覚えていきましょう。
- 投稿日:2020-11-17T18:49:11+09:00
【3分でわかる】Reactの強みを初学者目線で解説
Reactってなんだよ
javascriptの基礎を勉強し終えた「駆け出しエンジニア」がよく目にするjsフレームワークとして
"react","vue","Angular"...etc
などあるとおもいます。でも結局のところ、「react,vue,Angular」って何ができるの?って思いますよね
(僕も今回の記事を書くまで人に説明できないレベルでした、、)今回はそのjsフレームワークの中のReactについて説明したいと思います。
Reactの特徴3つ
1.リアクティブ!
「リアクティブ」は日本語に直すと「反応的な」という意味合いがあります。
その通りで、Reactで値を変化するとすぐにそれが画面上に表示されます。
今までは、①エンジニアが値を変更する。→②表示の内容を変更させなければならない。
といった手順が必要でした。そのReactによってその手間が省けます。
このことを仮想DOMなどと言われたりしています。一応仮想DOMって何?っていう人は下記の記事をご覧ください。
・
・
・
Reactの仮想DOMとは何か?【仕組みをわかりやすく説明します】
2.大規模なアプリケーション開発に向いている
大規模のアプリケーションを運用するにあたって最も大事なところは運用です。
ページ数が膨大になればなるほど、機能の共通化を図らなければ、膨大な時間をテストや検証にあてなければなりません。
・管理しやすい設計
・カスタマイズしやすい
・複雑な機能に対応できるという点で大規模開発に向いているといえます。
なのでより大きな会社で働きたいエンジニアにはReactはもってこいだと思います。3.めちゃくちゃお得(一度かければ汎用性が高いので)
react.jsは一度習得すれば、Webアプリケーションだけではなく・ネイティブアプリ(Android & iOSが一度にかける)
・VR(React VR)といった
他のアプリケーションにReact.jsで学んだ事を転移できるので自分の領域が広がります。ちなみに、僕のQiita処女作です
最後まで読んでいただいて本当にありがとうございます。
現在ぼくは関西の私立大学の文理融合学部に在籍しています。
Qiitaをやり始めたきっかけは、好奇心です。
アウトプットしたらエンジニアとして成長できるのかな?という疑問符の元はじめました。「自分のアウトプットがが誰かのためになればなあ」ときれいごとながら思っています(笑)
また、自分が学んだことをアウトプットしていく中で
関西地方の大学生エンジニアや社会人エンジニアと仲良くなったりしていきたいなと思っています。よろしければコメントよろしくお願いします!
- 投稿日:2020-11-17T18:07:41+09:00
Material UIでラジオボタンをクリックしても選択されない
問題
{JSON.WorkSheets.map((v, i) => (
   <FormControlLabel
     key={v.ID}
     //type int
     value={v.ID}
     control={<Radio />}
     label={v.Text}
   />
))}
JSON内のWorkSheetsという配列をmapで回して動的にラジオボタンを作っている感じですね。
しかし、これだとラジオボタンを選択しても実際に選択されることはありません。解決方法
{JSON.WorkSheets.map((v, i) => (
   <FormControlLabel
     key={v.ID}
     //int to string
     value={v.ID.toString()}
     control={<Radio />}
     label={v.Text}
   />
))}
stringでないといけませんね。
- 投稿日:2020-11-17T14:04:49+09:00
RedwoodJSとかいうJamstackのすげーやつ
Twitterを眺めていたらRedwoodJSとかいう内容が流れてきたので調べてみた。
RedwoodJS
https://redwoodjs.com/フルスタックフレームワーク!
いいですね。フルスタック。いい言葉です。
僕もフルスタックになりたいですね。どうやらReactとOpenGLをベースにしたフレームワークみたいです。
とりあえずチュートリアルはブログを作る模様
yarn create redwood-app ./redwoodblogkeineme dox % yarn create redwood-app ./redwoodblog yarn create v1.22.5 [1/4] ? Resolving packages... [2/4] ? Fetching packages... [3/4] ? Linking dependencies... [4/4] ? Building fresh packages... success Installed "create-redwood-app@0.20.0" with binaries: - create-redwood-app ✔ Creating Redwood app ✔ Creating directory '/Users/keineme/dox/redwoodblog' ✔ Downloading latest release ✔ Extracting latest release ✔ Clean up ✔ Installing packages ✔ Checking node and yarn compatibility ✔ Running `yarn install`... (This could take a while) Thanks for trying out Redwood! We've created your app in '/Users/keineme/dox/redwoodblog' Enter the directory and run 'yarn rw dev' to start the development server. Join the Community ⮡ Join our Forums: https://community.redwoodjs.com ⮡ Join our Chat: https://discord.gg/redwoodjs Get some help ⮡ Get started with the Tutorial: https://redwoodjs.com/tutorial ⮡ Read the Documentation: https://redwoodjs.com/docs Stay updated ⮡ Sign up for our Newsletter: https://www.redwoodjs.com/newsletter ⮡ Follow us on Twitter: https://twitter.com/redwoodjs Become a Contributor ❤ ⮡ Learn how to get started: https://redwoodjs.com/docs/contributing ⮡ Find a Good First Issue: https://redwoodjs.com/good-first-issue ✨ Done in 141.52s. keineme dox %終わったら移動してコマンド入力ですね。
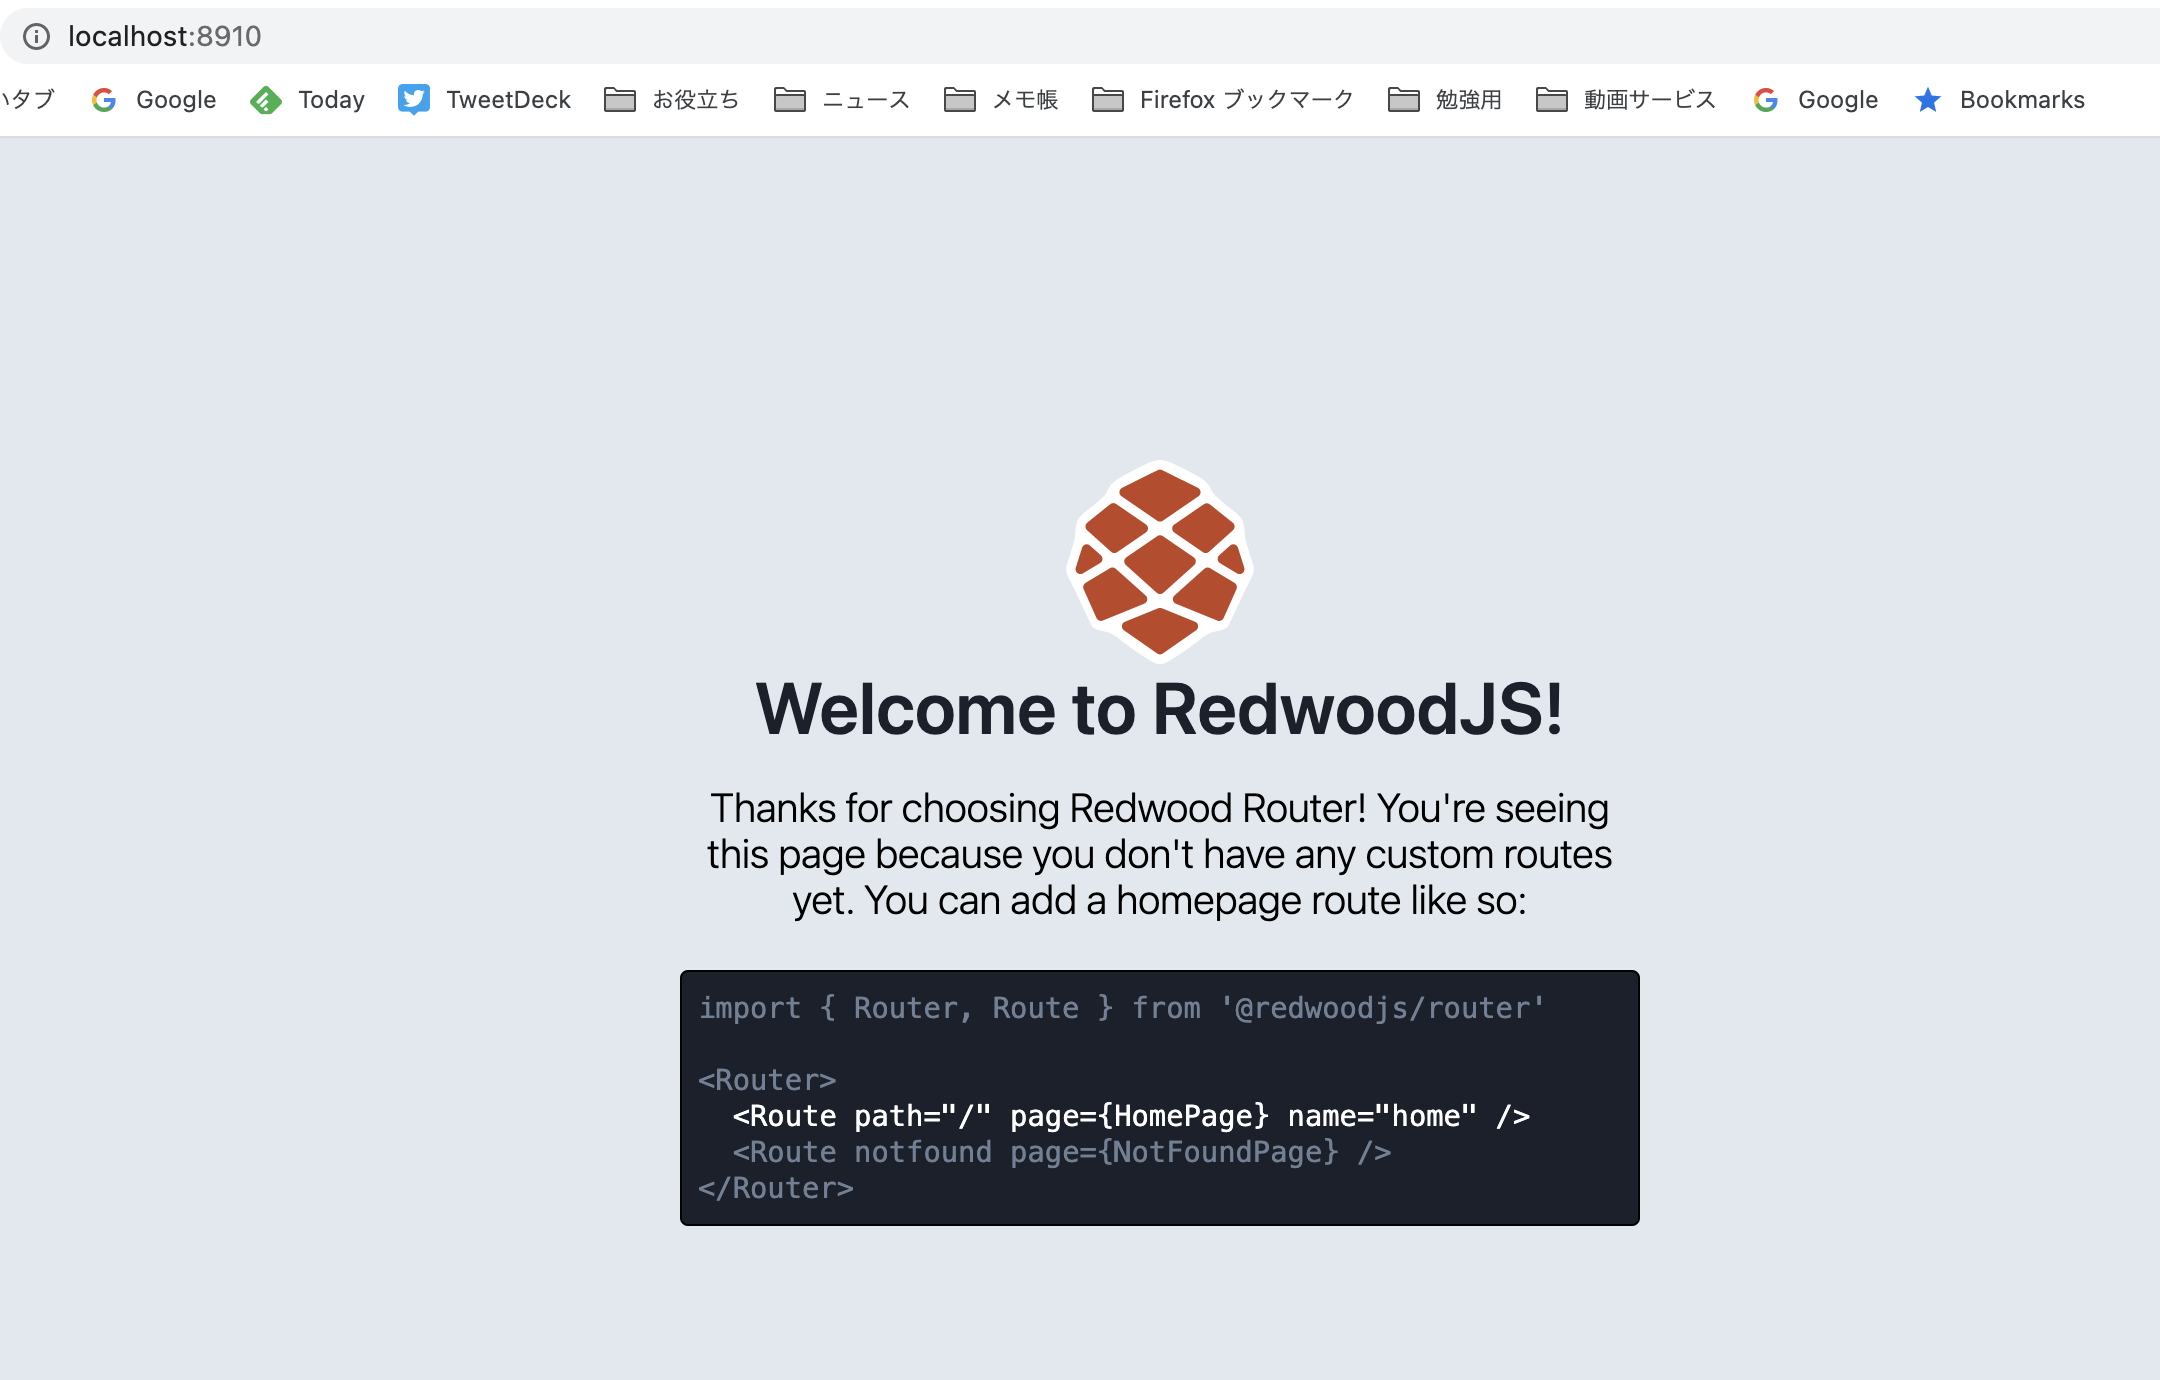
cd redwoodblog
yarn redwood dev
どうやら、ローカル環境ではlocalhost:8910に生成されるみたいです。
Rote.js// In this file, all Page components from 'src/pages` are auto-imported. Nested // directories are supported, and should be uppercase. Each subdirectory will be // prepended onto the component name. // // Examples: // // 'src/pages/HomePage/HomePage.js' -> HomePage // 'src/pages/Admin/BooksPage/BooksPage.js' -> AdminBooksPage import { Router, Route } from '@redwoodjs/router' const Routes = () => { return ( <Router> <Route path="/" page={HomePage} name="home" /> //ここをまずは追記 <Route notfound page={NotFoundPage} /> </Router> ) } export default Routes[NeskMPro:~/dox/redwoodblog] keineme% yarn redwood generate page home / yarn run v1.22.5 $ /Users/keineme/dox/redwoodblog/node_modules/.bin/redwood generate page home / ✔ Generating page files... ✔ Successfully wrote file `./web/src/pages/HomePage/HomePage.stories.js` ✔ Successfully wrote file `./web/src/pages/HomePage/HomePage.test.js` ✔ Successfully wrote file `./web/src/pages/HomePage/HomePage.js` ✔ Updating routes file... ✨ Done in 1.97s. [NeskMPro:~/dox/redwoodblog] keineme%yarn redwood generate page home /このコマンドを入力することで3つのファイルが生成されるようです。
HomePage.jsimport { Link, routes } from '@redwoodjs/router' const HomePage = () => { return ( <> <h1>HomePage</h1> <p> Find me in <code>./web/src/pages/HomePage/HomePage.js</code> </p> <p> My default route is named <code>home</code>, link to me with ` <Link to={routes.home()}>Home</Link>` </p> </> ) } export default HomePageこれでまずはページが生成されました。
一通り、チュートリアルをすすめると投稿フォームだったりブログ生成フォームだったり挙句の果てには認証もかんたんに実装できるようです。
日本記事が少ないので、色々と読み漁ってみようと思います。というメモもかねて。

- 投稿日:2020-11-17T14:04:49+09:00
RedwoodJSとかいうJamstack時代に生まれたフレームワークのすごいやつ
Twitterを眺めていたらRedwoodJSとかいう内容が流れてきたので調べてみた。
RedwoodJS
https://redwoodjs.com/フルスタックフレームワーク!
いいですね。フルスタック。いい言葉です。
僕もフルスタックになりたいですね。どうやらReactとOpenGLをベースにしたフレームワークみたいです。
とりあえずチュートリアルはブログを作る模様
yarn create redwood-app ./redwoodblogkeineme dox % yarn create redwood-app ./redwoodblog yarn create v1.22.5 [1/4] ? Resolving packages... [2/4] ? Fetching packages... [3/4] ? Linking dependencies... [4/4] ? Building fresh packages... success Installed "create-redwood-app@0.20.0" with binaries: - create-redwood-app ✔ Creating Redwood app ✔ Creating directory '/Users/keineme/dox/redwoodblog' ✔ Downloading latest release ✔ Extracting latest release ✔ Clean up ✔ Installing packages ✔ Checking node and yarn compatibility ✔ Running `yarn install`... (This could take a while) Thanks for trying out Redwood! We've created your app in '/Users/keineme/dox/redwoodblog' Enter the directory and run 'yarn rw dev' to start the development server. Join the Community ⮡ Join our Forums: https://community.redwoodjs.com ⮡ Join our Chat: https://discord.gg/redwoodjs Get some help ⮡ Get started with the Tutorial: https://redwoodjs.com/tutorial ⮡ Read the Documentation: https://redwoodjs.com/docs Stay updated ⮡ Sign up for our Newsletter: https://www.redwoodjs.com/newsletter ⮡ Follow us on Twitter: https://twitter.com/redwoodjs Become a Contributor ❤ ⮡ Learn how to get started: https://redwoodjs.com/docs/contributing ⮡ Find a Good First Issue: https://redwoodjs.com/good-first-issue ✨ Done in 141.52s. keineme dox %終わったら移動してコマンド入力ですね。
cd redwoodblog
yarn redwood dev
どうやら、ローカル環境ではlocalhost:8910に生成されるみたいです。
Rote.js// In this file, all Page components from 'src/pages` are auto-imported. Nested // directories are supported, and should be uppercase. Each subdirectory will be // prepended onto the component name. // // Examples: // // 'src/pages/HomePage/HomePage.js' -> HomePage // 'src/pages/Admin/BooksPage/BooksPage.js' -> AdminBooksPage import { Router, Route } from '@redwoodjs/router' const Routes = () => { return ( <Router> <Route path="/" page={HomePage} name="home" /> //ここをまずは追記 <Route notfound page={NotFoundPage} /> </Router> ) } export default Routes[NeskMPro:~/dox/redwoodblog] keineme% yarn redwood generate page home / yarn run v1.22.5 $ /Users/keineme/dox/redwoodblog/node_modules/.bin/redwood generate page home / ✔ Generating page files... ✔ Successfully wrote file `./web/src/pages/HomePage/HomePage.stories.js` ✔ Successfully wrote file `./web/src/pages/HomePage/HomePage.test.js` ✔ Successfully wrote file `./web/src/pages/HomePage/HomePage.js` ✔ Updating routes file... ✨ Done in 1.97s. [NeskMPro:~/dox/redwoodblog] keineme%yarn redwood generate page home /このコマンドを入力することで3つのファイルが生成されるようです。
HomePage.jsimport { Link, routes } from '@redwoodjs/router' const HomePage = () => { return ( <> <h1>HomePage</h1> <p> Find me in <code>./web/src/pages/HomePage/HomePage.js</code> </p> <p> My default route is named <code>home</code>, link to me with ` <Link to={routes.home()}>Home</Link>` </p> </> ) } export default HomePageこれでまずはページが生成されました。
一通り、チュートリアルをすすめると投稿フォームだったりブログ生成フォームだったり挙句の果てには認証もかんたんに実装できるようです。
日本記事が少ないので、色々と読み漁ってみようと思います。というメモもかねて。

- 投稿日:2020-11-17T01:42:07+09:00
子供用の学習アプリケーションを作る(2) アニメーション編
はじめに
以前作成したアプリの続きをしていきます。
参考: 子供用の学習アプリケーションを作る(1)今回は、コンテンツの選択画面にアニメーションを導入し、選択後の詳細画面を作成したので、その実装について記事にしていこうと思います。
動作
まずは、動作を見ていただければと思います。
実装
構成
構成は以下のようになっています。
❯ pwd
/Users/yoshitaka.koitabashi/Desktop/iLearn/src/components

~/Desktop/iLearn/src/components
❯ tree .
.
├── alsContent.tsx
├── contentsSelect.tsx
├── falcon9Content.tsx
├── header.tsx
└── spaceContent.tsx

0 directories, 5 files
今回の実装の説明に使用するのは、こちらです。
・contentsSelect.tsx
コンテンツを選択する画面Home画面からの遷移時に、各コンテンツがふんわり浮かび上がるアニメーションを作成しました。
参考 react-native: Animated
こちらの実装なのですが、単純で、Animatedというライブラリと副作用fookであるuseEffectを利用したパターンになります。contentsSelect.tsximport 'react-native-gesture-handler'; import React, { useRef, useEffect } from 'react'; import { SafeAreaView, ScrollView, StyleSheet, Animated, TouchableOpacity, } from 'react-native'; import { Card, Title } from 'react-native-paper'; import { createStackNavigator } from '@react-navigation/stack'; import AppHeader from './header'; import spaceContent from './spaceContent'; import alsContents from './alsContent'; import falcon9Contents from './falcon9Content'; const contents = ({ navigation }) => { const fadeSpace = useRef(new Animated.Value(0)).current; const fadeAls = useRef(new Animated.Value(0)).current; const fadeFalcon9 = useRef(new Animated.Value(0)).current; const spaceContentFadeIn = () => { Animated.timing(fadeSpace, { toValue: 1, duration: 500, useNativeDriver: true, }).start(); }; const alsContentsFadeIn = () => { Animated.timing(fadeAls, { toValue: 1, duration: 2000, useNativeDriver: true, }).start(); }; const falcon9ContentsFadeIn = () => { Animated.timing(fadeFalcon9, { toValue: 1, duration: 3000, useNativeDriver: true, }).start(); }; useEffect(() => { spaceContentFadeIn(); alsContentsFadeIn(); falcon9ContentsFadeIn(); }); return ( <SafeAreaView style={styles.container}> <ScrollView contentContainerStyle={styles.contentContainer} > <TouchableOpacity onPress={() => { navigation.navigate('Home'); }} > <AppHeader /> </TouchableOpacity> <Animated.View style={[{ opacity: fadeSpace }]}> <Card onPress={() => navigation.navigate('宇宙って?')} style={styles.cardPadding} > <Card.Content> <Title style={styles.cardTitle}>宇宙って?</Title> <Card.Cover source={require('../../public/img/alien.png')} style={styles.cardImg} /> </Card.Content> </Card> </Animated.View> <Animated.View style={[{ opacity: fadeAls }]}> <Card onPress={() => navigation.navigate('ALSって知ってる?')} style={styles.cardPadding} > <Card.Content> <Title style={styles.cardTitle}>ALSって知ってる?</Title> <Card.Cover source={require('../../public/img/health.png')} style={styles.cardImg} /> </Card.Content> </Card> </Animated.View> <Animated.View style={[{ opacity: fadeFalcon9 }]}> <Card onPress={() => navigation.navigate('Falcon9がすごい')} style={styles.cardPadding} > <Card.Content> <Title style={styles.cardTitle}>Falcon 9がすごい</Title> <Card.Cover source={require('../../public/img/startup_isometric.png')} style={styles.cardImg} /> </Card.Content> </Card> </Animated.View> </ScrollView> </SafeAreaView> ); }; const Stack = createStackNavigator(); const contentsSelect = () => ( <Stack.Navigator> <Stack.Screen name="知識の森" component={contents} /> <Stack.Screen name="宇宙って?" component={spaceContent} /> <Stack.Screen name="ALSって知ってる?" component={alsContents} /> <Stack.Screen name="Falcon9がすごい" component={falcon9Contents} /> </Stack.Navigator> ); const styles = StyleSheet.create({ container: { flex: 1, }, cardImg: { height: 300, }, cardPadding: { top: 60, marginBottom: 20, borderRadius: 5, marginLeft: 20, marginRight: 20, }, cardTitle: { fontWeight: 'bold', }, contentContainer: { paddingBottom: 50, }, }); export default contentsSelect;・spaceContent.tsx
宇宙についてのコンテンツの詳細画面詳細画面で少し面白い箇所が、下記です。
何をしているかというと、Home画面に戻す動作をしているのですが、dispatch(StackActions.popToTop())をしないと、navigationのHistoryが消されず想定外の動作をしてしまいます。navigation.navigate('Home'); navigation.dispatch(StackActions.popToTop());spaceContent.tsximport * as React from 'react'; import { ScrollView, StyleSheet, View, Image, TouchableOpacity, } from 'react-native'; import { Card, Paragraph, Chip, Avatar, Title, } from 'react-native-paper'; import { StackActions } from '@react-navigation/native'; import { Text } from 'react-native-elements'; import AppHeader from './header'; const spaceContent = ({ navigation }) => ( <View style={styles.container}> <ScrollView contentContainerStyle={styles.contentContainer} > <TouchableOpacity onPress={() => { navigation.navigate('Home'); navigation.dispatch(StackActions.popToTop()); }} > <AppHeader /> </TouchableOpacity> <Card style={styles.cardPadding} > <Card.Content> <Title style={styles.cardTitle}>宇宙ってなんだろう??</Title> <Card.Cover source={require('../../public/img/alien.png')} /> </Card.Content> </Card> <Card style={styles.cardPadding} > <Card.Content> <Paragraph style={styles.nextCardMessage} > Topics </Paragraph> <View style={styles.row}> <Chip style={styles.chip}> <Text style={styles.chipText}>宇宙開発</Text> </Chip> <Chip style={styles.chip}> <Text style={styles.chipText}>Jaxa</Text> </Chip> <Chip style={styles.chip}> <Text style={styles.chipText}>ISS</Text> </Chip> </View> </Card.Content> </Card> <Card style={styles.cardPadding} > <Card.Content> <Paragraph style={styles.nextCardMessage} > 作者 </Paragraph> <View style={styles.row}> <Avatar.Image size={70} source={require('../../public/img/space-travel.png')} /> <Text style={styles.avatarMessage}> Koitabashi Yoshitaka </Text> </View> </Card.Content> </Card> <Card style={styles.cardPadding} > <Card.Content> <Paragraph style={styles.nextCardMessage} > 物語 </Paragraph> <Text h3 style={styles.storyTitle}> はじめに </Text> <Text style={styles.storyBody}> 宇宙の誕生は、約138億年前のビッグバンから始まります。 </Text> <Image source={require('../../public/img/moon2.png')} style={{ width: 300, height: 200 }} /> <Text h4 style={styles.storyTitle}> ビックバンって、何〜? </Text> <Text style={styles.storyBody}> 人間のまばたきよりも短い時間の中で起こった超・高エネルギーの爆発ビックバンです。 ビッグバンにより、小さな物質同士が結合し合い、星の素となるチリやガスが生まれました。 {'\n'} さらに、それらの物質がくっつき合い、恒星や惑星といった星々が生まれたのです。 {'\n'} </Text> <Image source={require('../../public/img/moon1.png')} style={{ width: 300, height: 200 }} /> <Text style={styles.storyBody}> 誕生以来、宇宙は膨張を続けており、その膨張は加速し続けているといわれています。 {'\n'} そのため、宇宙の大きさは現在の科学でも解明できていません。 </Text> </Card.Content> </Card> </ScrollView> </View> ); const styles = StyleSheet.create({ container: { flex: 1, }, backButton: { paddingTop: 10, paddingBottom: 10, }, cardPadding: { textAlign: 'center', top: 60, marginBottom: 20, borderRadius: 5, marginLeft: 20, marginRight: 20, }, cardTitle: { marginBottom: 15, fontSize: 20, fontWeight: 'bold', }, cardMessage: { marginTop: 15, fontSize: 20, fontWeight: 'bold', }, nextCardMessage: { marginBottom: 20, fontSize: 20, fontWeight: 'bold', }, row: { flexDirection: 'row', flexWrap: 'wrap', paddingHorizontal: 12, }, chip: { backgroundColor: '#2096F3', margin: 2, }, chipText: { color: '#ffffff', }, avatarMessage: { marginLeft: 30, marginTop: 20, fontWeight: 'bold', textAlign: 'left', }, storyTitle: { marginTop: 20, marginBottom: 20, fontWeight: 'bold', }, storyBody: { marginTop: 20, fontWeight: 'bold', }, contentContainer: { paddingBottom: 60, }, }); export default spaceContent;おわり
・ 説明が雑になってきているので、だんだん追記していきます。w
・ 現在は、各コンテンツの内容をハードコーディングしているのですが、いずれ専用のAPIを作成するつもりなので、そこはとりあえず置いておきます。
・ あとは、Qittaのようにmarkdownで誰でも編集できるようにしていきたいと思ってます。参考文献