- 投稿日:2020-07-25T23:50:10+09:00
Laravelで認可(Gate)
認可
簡単に言うと
認証はアクセスしてきているユーザーが誰なのかを認識するもの
認可はアクセスしてきたユーザーに操作を許可するかどうかを判定するもの
ですGateを使った認可
簡単に言うと
真偽値を返す関数(Gate)を作っておき、それを簡単に呼び出せるようにしておくようなものです前提条件
eclipseでLaravel開発環境を構築する。デバッグでブレークポイントをつけて止める。(WindowsもVagrantもdockerも)
本記事は上記が完了している前提で書かれています
プロジェクトの作成もapacheの設定も上記で行っていますLaravelの認証(web画面)
本記事は上記記事でLaravelの認証が実装されている前提で書かれています認可に使うカラム追加
(1) マイグレーション作成
コマンドラインで
cd sample
php artisan make:migration add_rank_to_users --table=users
xdebugの設定をしているとeclipseが実行していいですかというプロンプトを出すのでOKを押します
eclipseプロジェクトを右クリック→リフレッシュ
/sample/database/migrations/xxxx_xx_xx_xxxxxx_add_rank_to_users.phpが現れますxxxx_xx_xx_xxxxxx_add_rank_to_users.php修正
xxxx_xx_xx_xxxxxx_add_rank_to_users.phpuse Illuminate\Database\Migrations\Migration; use Illuminate\Database\Schema\Blueprint; use Illuminate\Support\Facades\Schema; class AddRankToUsers extends Migration { public function up() { Schema::table('users', function (Blueprint $table) { $table->integer('rank')->default(1); }); } public function down() { Schema::table('users', function (Blueprint $table) { $table->dropColumn('rank'); }); } }usersテーブルにrankカラムを追加するマイグレーションです
今回はrankというカラムをつくり、その値によってGateを使った認可が行われるサンプルを作っていきます(2) マイグレーション実行
コマンドラインで
php artisan migrate
xdebugの設定をしているとeclipseが実行していいですかというプロンプトを出すのでOKを押します
usersテーブルにrankカラムが追加されます(3) Model修正
/sample/app/Models/User.php修正User.php‥‥ protected $fillable = [ 'name', 'email', 'password', 'rank', ]; ‥‥$fillableプロパティにrank追加
Gate作成
/sample/app/Gatesフォルダ作成
/sample/app/Gates/UserGate.php作成UserGate.php<?php namespace App\Gates; use App\Models\User; class UserGate { public function __construct() { } public function rank(User $user, int $rank){ if ($user->rank >= $rank) { return true; } return false; } }rankというメソッドをつくりました
Gateのメソッドの第一引数は必ず、ユーザーインスタンスになります
第二引数以降を定義するかどうかは任意です
第二引数が無くてもいいですし、第三引数、第四引数が定義されていてもいいですGateの登録
/sample/app/Providers/AuthServiceProvider.php修正
AuthServiceProvider.php‥‥ public function boot() { $this->registerPolicies(); Gate::define('UserGate-Rank', 'App\Gates\UserGate@rank'); } ‥‥Gate::define('UserGate-Rank', 'App\Gates\UserGate@rank');追記しました
これでLaravelアプリケーションの中でGateを簡単に呼び出せるようになりますController修正
(1) use文追記
use Illuminate\Support\Facades\Gate;
use App\Models\User;(2) /sample/app/Http/Controllers/SampleController.phpにgate1メソッド、gate2メソッドを追記
    public function gate1()
    {
        return view('sample.gate1');
    }

    public function gate2(Request $request)
    {
        $data = [];

        $rank = $request->input('rank');

        if (Gate::denies('UserGate-Rank', [$rank])) {
            return redirect('sample/gate1')->withInput();
        }

        $id1user = User::find(1);
        if(!is_null($id1user) && Gate::forUser($id1user)->allows('UserGate-Rank', [$rank])){
            $data['user1_allows'] = 'user1のランクは' . $rank . '以上';
        } else {
            $data['user1_allows'] = 'user1のランクは' . $rank . '以下';
        }

        return view('sample.gate2', $data);

    }
・AuthServiceProviderで登録したGateを使うには
Gate::allowsや、Gate::deniesで呼べます
第一引数にAuthServiceProviderのbootメソッドで実行したGate::defineの第一引数を与えます。すると、Gate::defineの第二引数に渡したクラス@メソッドが実行されます
Gate::allowsや、Gate::deniesに渡した第二引数の配列は展開されGateの第二引数、第三引数……となります
・Gate::allowsはGateが返す真偽値がそのまま戻り値になります。Gate::deniesはGateが返す真偽値が逆になります
・Gate::allowsはログインしていないユーザーの場合falseを返します。Gate::deniesはログインしていないユーザーの場合trueを返します。Gateの処理は関係なくなります。
もし、ログインしていないユーザーでもGateを実行したい場合は下記のようにGateに定義してメソッドの第一引数のタイプヒントにクエスチョンマークを付けてください
public function rank(?User $user, int $rank){
・Gate::allows、Gate::deniesの場合、Gateの第一引数はAuth::user()になります
・Gate::forUser()->allows、Gate::forUser()->deniesの場合、Gateの第一引数はGate::forUserに与えた引数になります実際にGateを使う場合は
MiddlewareでGate::deniesを呼び出し、結果によってredirectしたり、
Ruleクラスの中で呼び出すことが多いと思います(2) /sample/routes/web.phpに下記を追記
Route::get('sample/gate1', 'SampleController@gate1');
Route::get('sample/gate2', 'SampleController@gate2');viewの作成
(1) /sample/resources/views/sample/gate1.blade.phpファイル作成
gate1.blade.php<html> <head> <title>sample</title> </head> <body> <form action="{{ url('sample/gate2') }}" method="get"> <div>rank<input type="text" name="rank" value="{{ old('rank') }}"></div> <input type="submit" > </form> </body> </html>(2) /sample/resources/views/sample/gate2.blade.phpファイル作成
gate2.blade.php<html> <head> <title>sample</title> </head> <body> <div>{{$user1_allows}}</div> <div> @can('UserGate-Rank', [5]) ログインユーザーのランクは5以上 @elsecan('UserGate-Rank', [4]) ログインユーザーのランクは4以上 @else ログインユーザーのランクは3以下 @endcan </div> <div> @cannot('UserGate-Rank', [2]) ログインユーザーのランクは2未満 @elsecannot('UserGate-Rank', [3]) ログインユーザーのランクは3未満 @else ログインユーザーのランクは3以上 @endcannot </div> </body> </html>blade内でGateを使うにはcanやcannotで呼び出せます
@canはGate::allowsと同じです
@cannotはGate::deniesと同じです
@canや@cannotを使うことで、更新ボタンを特定のユーザーにだけ表示させたり、または、逆に非表示にしてりできます動作確認
usersテーブルのrankカラムの値を適当な値にupdateします
update users set rank = 4;ログインします
http://localhost/laravelSample/
右上のLOGINからログインします
http://localhost/laravelSample/sample/gate1
rankを4にupdateしてので
5以上の値を入力して送信ボタンをクリックするとgate1にリダイレクトされ先に進めないと思います
4以下の値を入力して送信ボタンをクリックするとgate2に遷移できます
今回はサンプルのため入力値のエラーチェックを一切行っていないので、gate1の入力欄には数値を入れてください。数値でない場合、制御されていない型エラーになります
実際にシステムを開発するときはちゃんとエラーチェックを入れましょう
エラーチェックの実装の仕方は下記に書いてあります
Laravelで入力値エラーチェック(validate)を実装する
- 投稿日:2020-07-25T21:53:42+09:00
最初にするLaravelの.envファイルの設定変更
コードを書く前に.envファイルの編集が必要
編集はVScode。
.envファイルをVScodeで開いて編集していきます。
.envファイルは作成したプロジェクトのディレクトリに入っています。publicとかappの上のディレクトリですね。9行目くらいから書かれいるところだけ編集する。
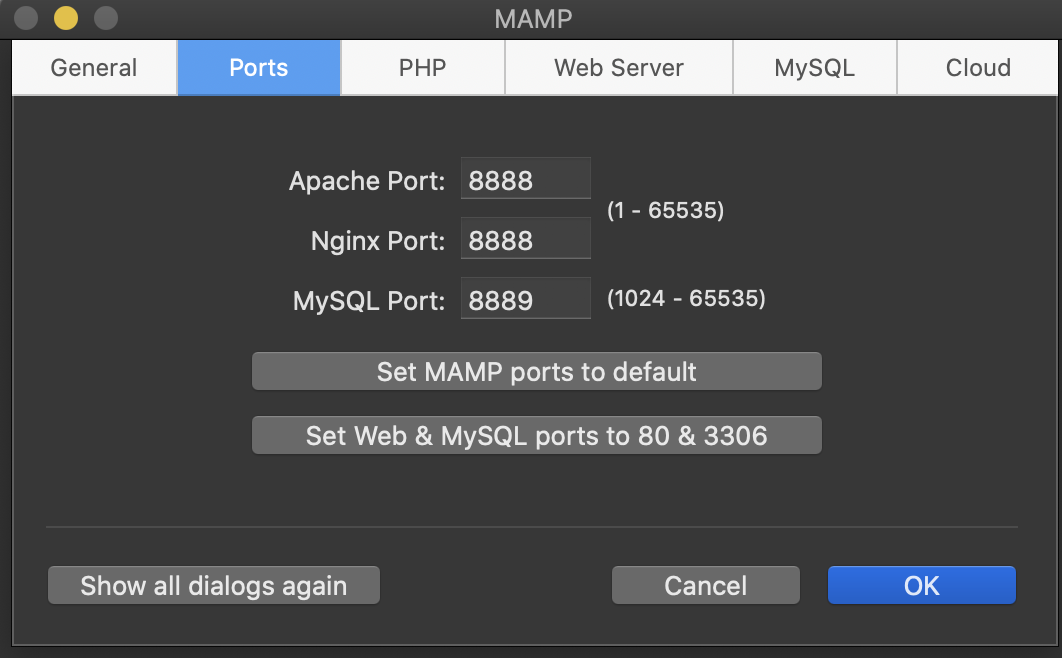
.envAPP_NAME=ブログ // アプリ名に編集。初期値はLaravelでした.envDB_CONNECTION=mysql // 編集なし DB_HOST=127.0.0.1 // 編集なし DB_PORT=8889 // MAMPでportを確認して編集 DB_DATABASE=blog // phpMyAdminで作成したDB名 DB_USERNAME=root // 編集なし DB_PASSWORD=root // 編集なし DB_SOCKET=/Applications/MAMP/tmp/mysql/mysql.sock // 追記
- 編集が3箇所
- 追記が1行
- 投稿日:2020-07-25T21:24:04+09:00
【Mac】MAMPの導入してlaravel を使えるようにするまで
はじめに
PHPを動かすのにサーバを立てないといけない。ということで最初はMacに最初から入っているApacheを使用していました。
しかし、複数のアプリを試しに作って動作を確認しようとすると、ドキュメントルートの設定などがめんどいなと。というか不慣れなだけで慣れれば簡単なのかもしれませんが、コードを書くことに集中しようと思うと、環境設定はやっぱり簡単な物から始めることでも良いのかと思い始めました。
Dockerなども考えましたが、いきなり流行りにノリ過ぎるのもどうかということで、とりあえず有名なMAMPを使うことに。
Windowsを使っていたときはXAMMPを使っていましたので、名前を似てるし、同じようなものかと思ってます。
とりあえず、初期設定などは最初しかやらないので、メモしておこうと思います。
インストール済
- PHP 7.4.8
Laravel Framework 7.21.0
インストール済PHPのバージョンの確認方法
ターミナル% php -v PHP 7.4.8 (cli) (built: Jul 9 2020 23:43:51) ( NTS ) Copyright (c) The PHP Group Zend Engine v3.4.0, Copyright (c) Zend Technologies with Zend OPcache v7.4.8, Copyright (c), by Zend Technologies
- インストール済のLaravelのバージョンの確認方法 laravelで作成した、プロジェクト名を付けたフォルダでターミナルを開いて、そのディレクトリ上で次を実行。
ターミナル% php artisan --version Laravel Framework 7.21.0ちなみに、デスクトップなどで実行すると確認できませんでした。
% php artisan --versionが表示されました
Could not open input file: artisan
作成したディレクトリ上で実行しないとartisanが使えない。つまり、Laravelが使えないということですね。MAMPのダウンロード
https://www.mamp.info/en/mamp/mac/
Free Downloadからダウンロード。ダウンロードして実行。
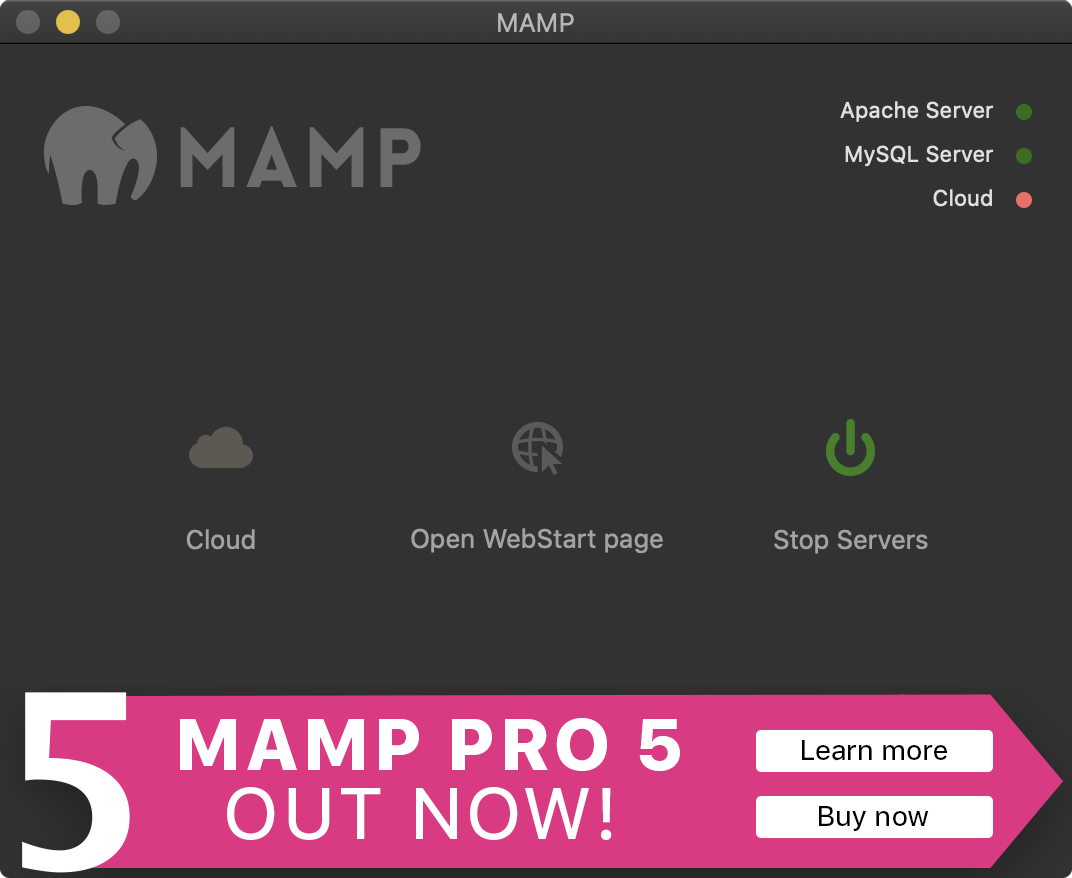
こんな画面が最初に表示されました。
あとはMAMP PROにアップロードしてねとか、Twitterをfollowしてねっていう広告が出てきました。広告の左上に超絶薄い❌マークがあるので、クリックしたら消えました。MAMPのドキュメントルートの設定
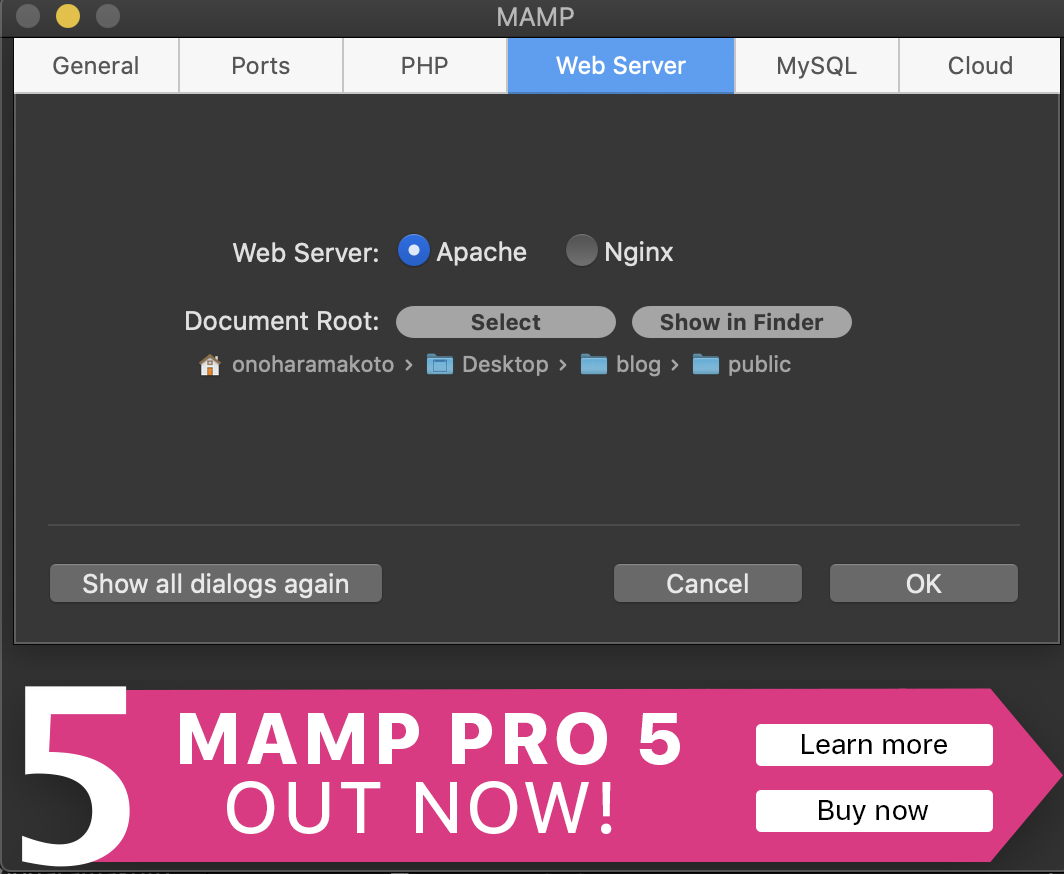
MAMPをクリックすると
Preferences...があるので、そこから設定します。
Web Serverのタブにドキュメントルートを設定するところが出てきます。
Selectからディレクトリを選ぶことができます。publicをドキュメントルートに設定する
自分はDesktopがわかりやすいので、そこにblogというものを作りました。(勉強用)
MAMPの画面に戻ってこれで
Start Serversを起動
Open WebStart pageをクリックすると
URLは以下の方になっていました。
http://localhost:8888/MAMP/?language=Englishちなみに、最後のところが言語の設定になっているので、Japaneseを入力してみたら、ずっとクルクルなって読み込みが終了しませんでした。
余計なことはしない方がいいですねwポートの確認
'Preferences'をひらいてPortsのタブから確認できます。
ApacheのPortが8888になっているので、
localhost:8888をブラウザの検索バーに入れるとトップ画面が出てくるはず!
これが出ていればとりあえずはOKかと。
とりあえずメモメモ。


- 投稿日:2020-07-25T19:27:06+09:00
Laravelのmigrationで詰まった話
Laravelで、todoアプリを作成中です。
migrationのファイルを作成し、
ターミナルにて$php artisan migrateいざ!実行!
エラーが出ました。
エラー内容は以下の通りです。Illuminate\Database\QueryException : SQLSTATE[42000]: Syntax error or access violation: 1071 Specified key was too long; max key length is 767 bytes (SQL: alter table `users` add unique `users_email_unique`(`email`))指定されたキーが長すぎます。キーの最大長は767バイトです。と
参考にさせていただいた記事
https://qiita.com/beer_geek/items/6e4264db142745ea666fmysqlをアップデートしました。
- 投稿日:2020-07-25T10:45:51+09:00
【Laravel】Authを使ったログインとユーザー登録
Authでログイン機能とユーザー登録機能を用意する
composerでlaravel/uiをインストールし、artisanコマンドでスカフォールドを生成する。
composer require laravel/ui

php artisan ui bootstrap --auth
※uiではbootstrapの他に、vueやreactを用いることもできる。
uiの生成
これでログイン機能とユーザー登録機能は用意できたが、このままではデザインがないのでnpmをインストールし、run devでコンパイルしてデザインを付ける。npm install npm run devデータベースの作成
ユーザー情報を保存するためにデータベースを作成する。
今回はmysqlを使う。
mampのスタート画面のtoolsからphpmyadminを開く。
新規作成からデータベース名を埋めてデータベースを作成する。
laravelの.envファイルの内容を書きえる。DB_HOST=127.0.0.1 DB_PORT=3306 DB_DATABASE=laravel DB_USERNAME=root DB_PASSWORD= ↓↓↓↓↓↓↓↓↓↓↓↓↓↓↓↓↓↓↓ B_CONNECTION=mysql DB_HOST=127.0.0.1 DB_PORT=3306 DB_DATABASE=【mampで決めたデータベースの名前】 DB_USERNAME=root DB_PASSWORD=rootdatabase/migrationsにusers_tableのmigrationが作成されているので、あとはartisanコマンドでmigrationとすればusers_tableが作られてログインとユーザーの登録ができるようになる。
Authを使ってアクセスを制限
Authのログイン機能を使い、ログインしていればページが表示され、ログインしていなければログインページを表示する。
Route::get('sample', SampleContoroller@index})->middleware('auth')->name('sample.index');

#groupを使う場合
Route::group(['prefix' => 'sample', 'middleware' => 'auth'], function () {
    Route::get('/', 'SampleController@index')->name('sample.index');
    Route::get('edit', 'SampleController@edit')->name('sample.edit');
    Route::post('update', 'SampleController@update')->name('sample.update');
});
middlewareをつけることでログインしないとそのページにアクセスできないようにできる。
認証についてバージョン
php:7.3.11
Laravel:7.21.0
- 投稿日:2020-07-25T08:49:55+09:00
Laravel Eloquent 論理削除
Laravel Eloquentで論理削除を行う手順
Eloquentで論理削除(Soft Delete)を行う手順
手順概要
- マイグレーションファイルの編集。
- モデルの編集。
- コントローラーの編集。
手順詳細
マイグレーションファイルの編集
テーブル作成のコードに「$table->softDeletes();」を追記。
[コード例]
migtationpublic function up() { Schema::create('tablename', function (Blueprint $table) { $table->id(); $table->string('name', 50); $table->string('tel', 13); $table->timestamps(); $table->softDeletes(); }); }※この記述でテーブルに「deleted_at」が追加されます。
モデルの編集
対象となるモデルに
「use Illuminate\Database\Eloquent\SoftDeletes;」
「use SoftDeletes;」
を追記。[コード例]
Modelnamespace App; use Illuminate\Database\Eloquent\Model; use Illuminate\Database\Eloquent\SoftDeletes; class Modelname extends Model { use SoftDeletes; }コントローラーの編集
あとは、コントローラーで削除すれば、論理削除が実行されます。
[削除コード例]
controllerModelname::find($id)->delete();※削除してもレコードは残り、「deleted_at」に削除日時が挿入されます。
※「deleted_at」が入力されたレコードはget等で取得されません。
- 投稿日:2020-07-25T02:16:23+09:00
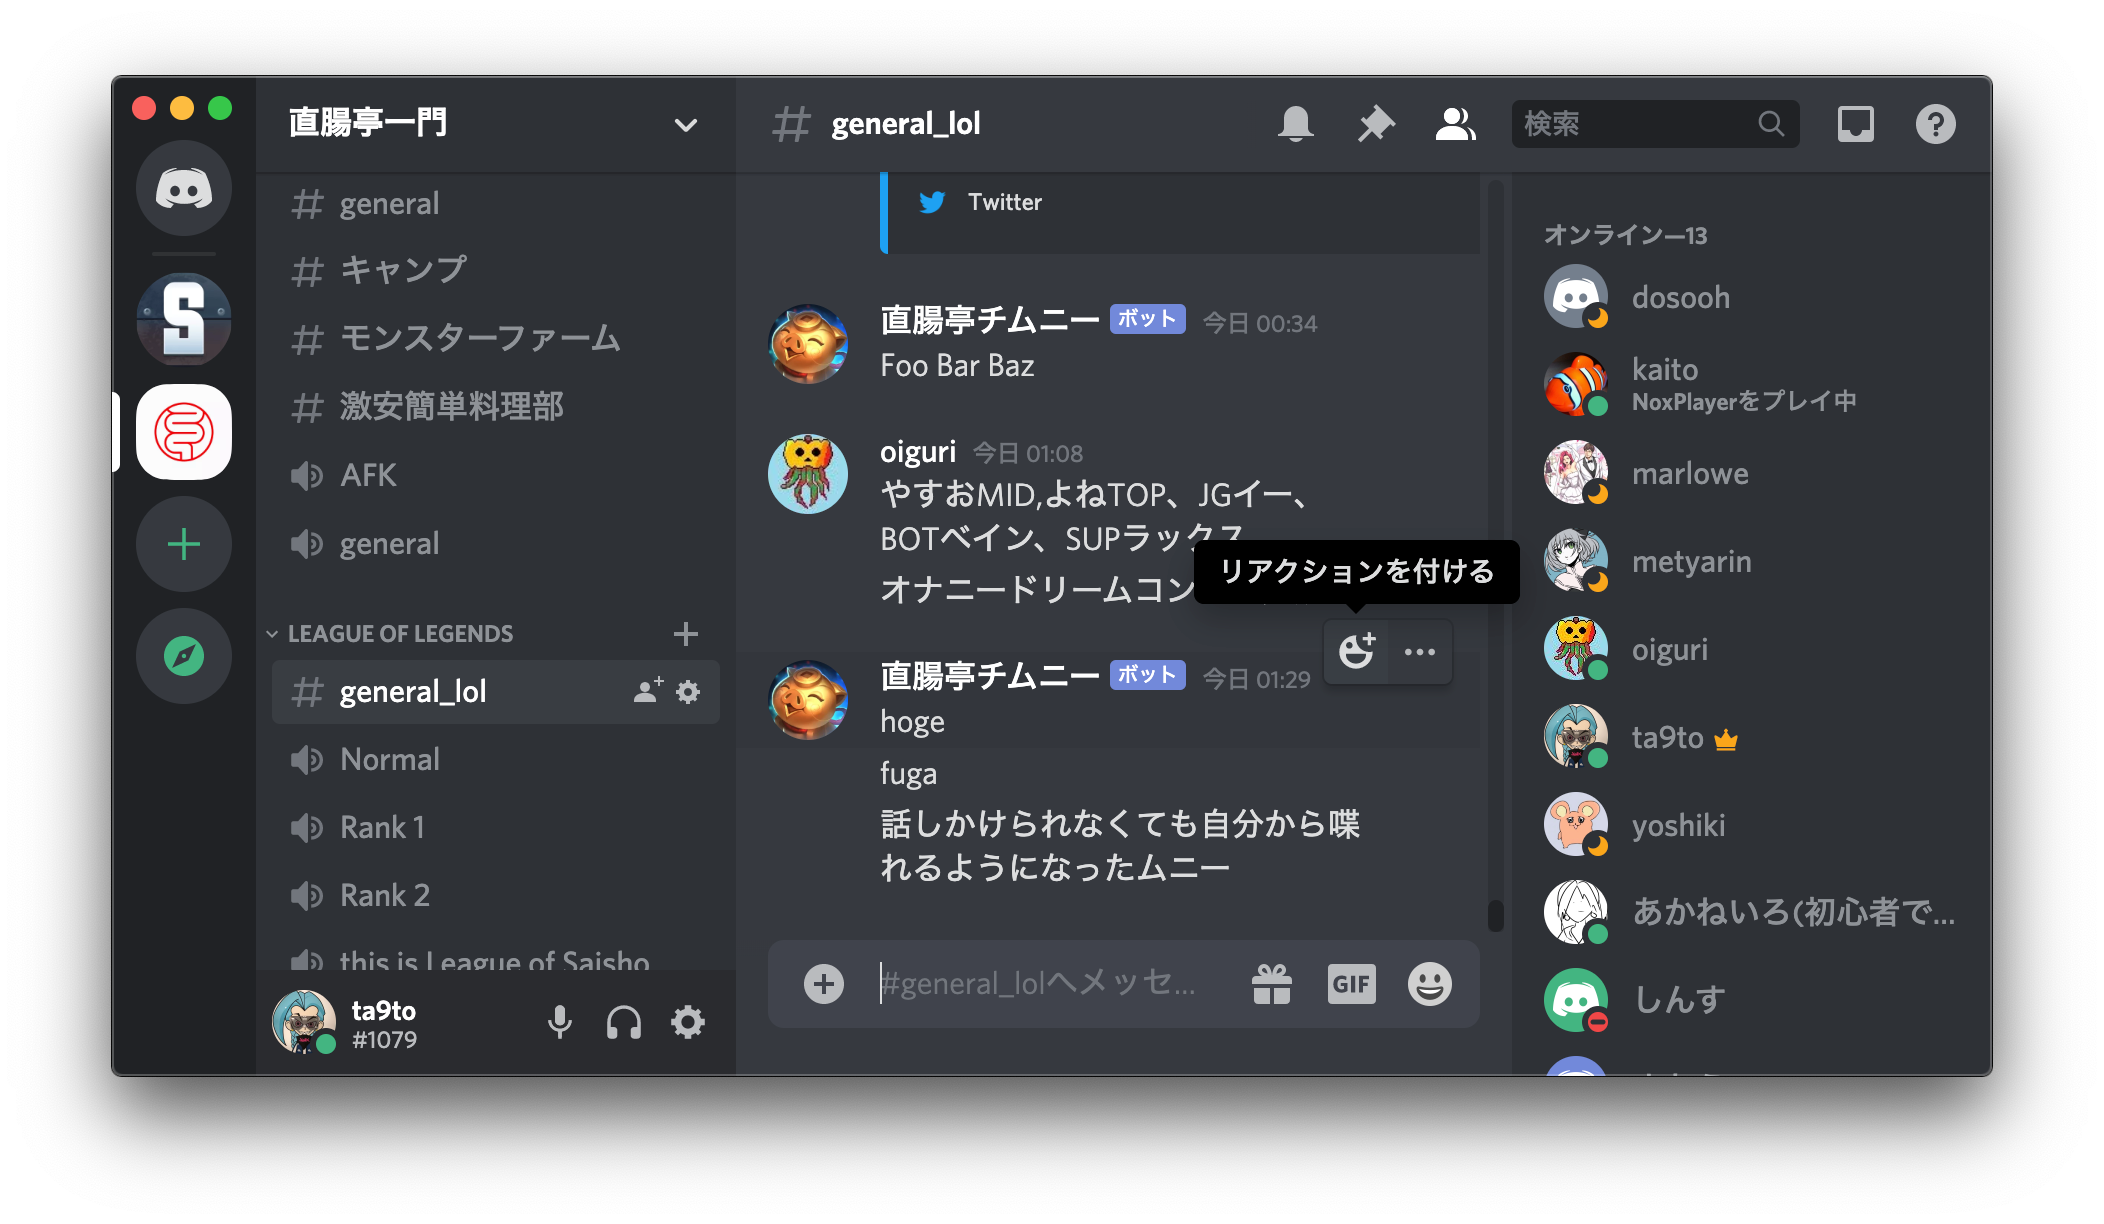
LaravelアプリからDiscordのチャンネルに色々送れるようにする
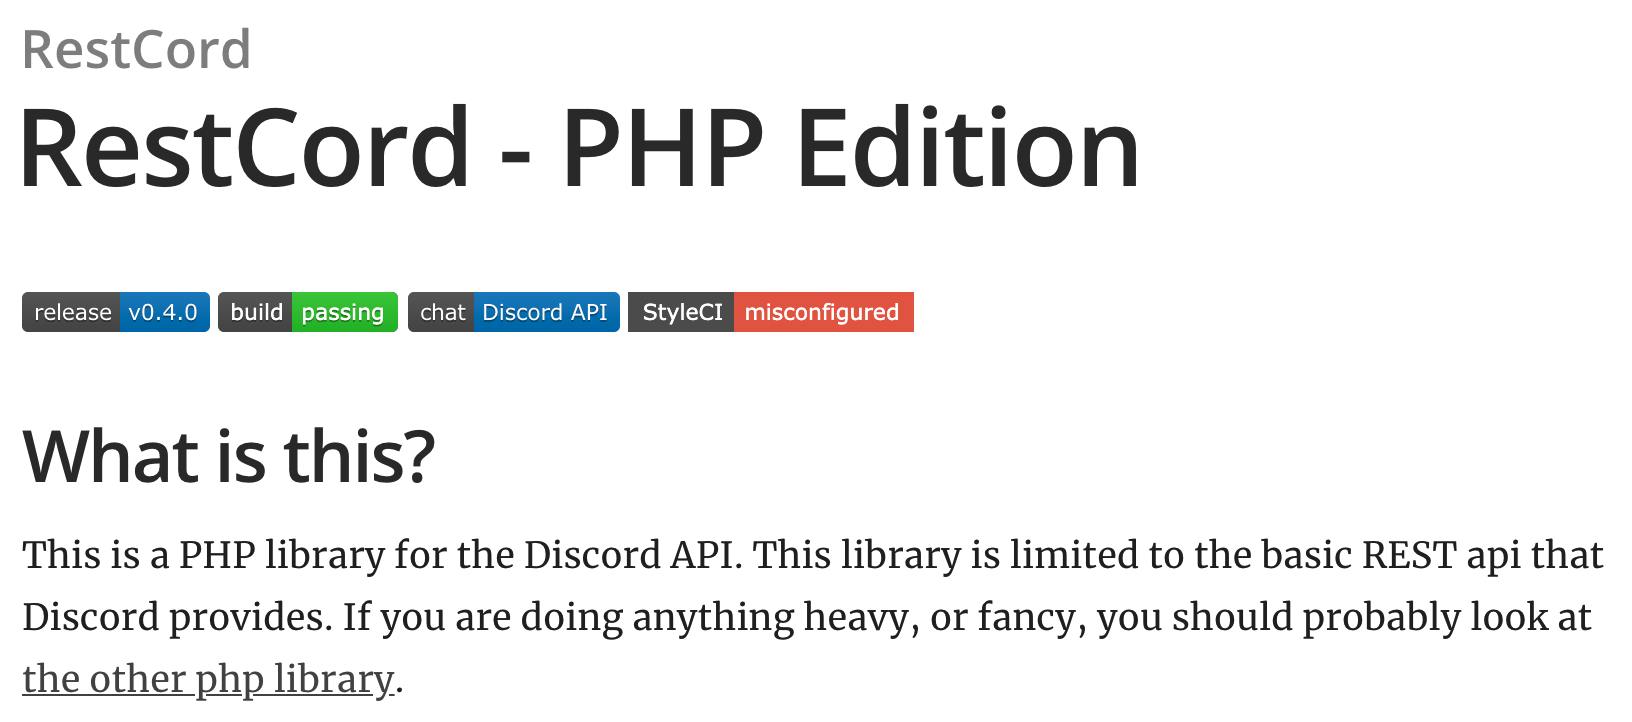
発言に反応するDiscord Botの既存実装があり、そいつにブラウザとかから入力した内容を喋らせたくなったのでLaravelアプリにのっけた実装のメモ。
Setup
$ composer require restcord/restcordTest
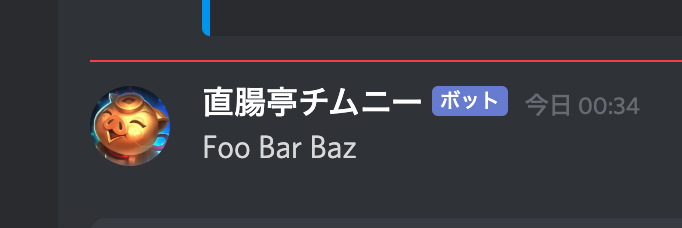
test.php$discord = new DiscordClient(['token' => config('services.discord.token')]); $discord->channel->createMessage(['channel.id' => 613584569618399251, 'content' => 'Foo Bar Baz']); exit;
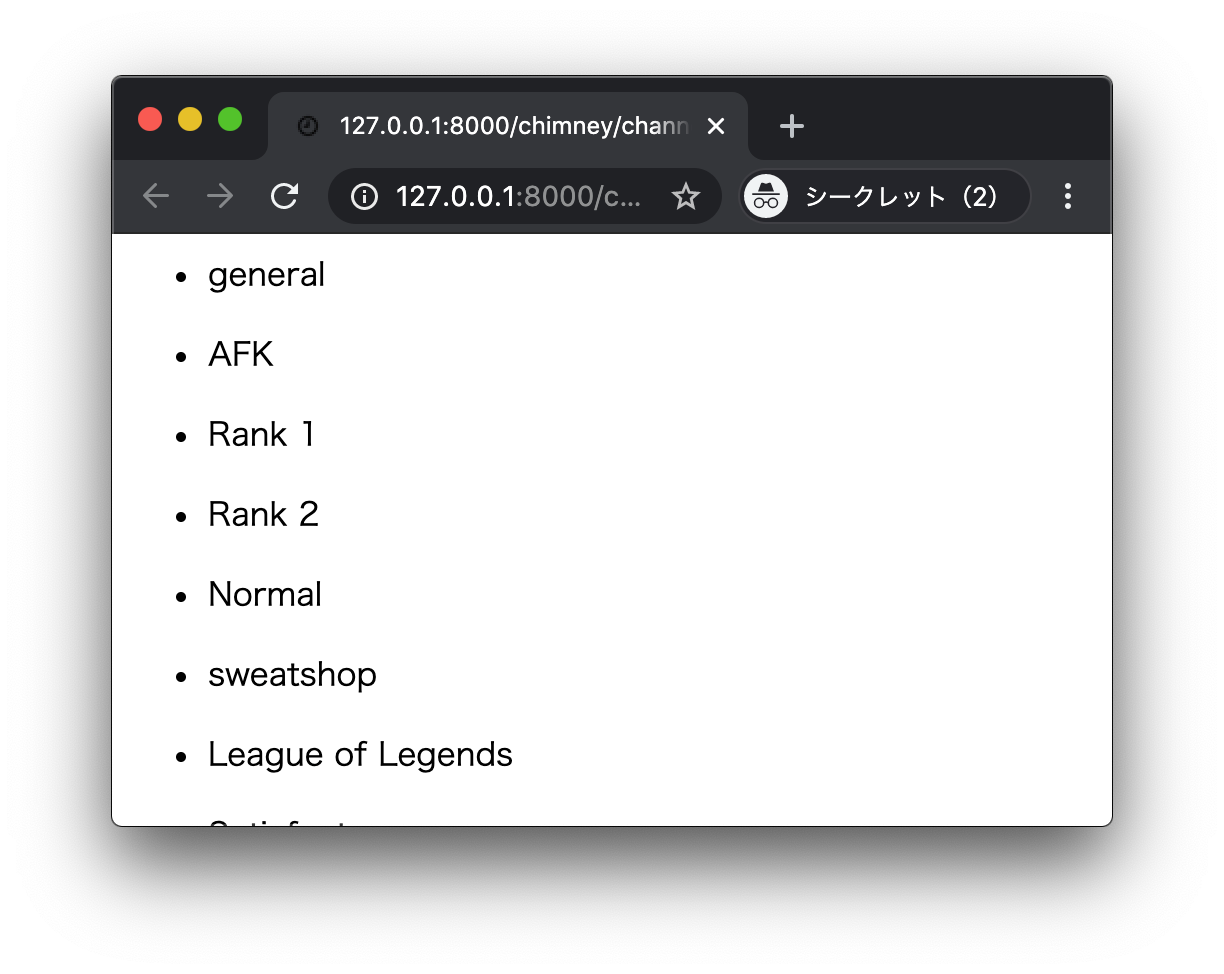
チャンネル一覧の実装
// controller
public function index()
{
    $client = new DiscordClient(['token' => config('services.discord.token')]);
    $channels = $client->guild->getGuildChannels(['guild.id' => 319818715971715073]);
    return view('Channel.index', compact('channels'));
}
// blade @foreach($channels as $channel) <ul> <li>{{ $channel->name }}</li> </ul> @endforeach
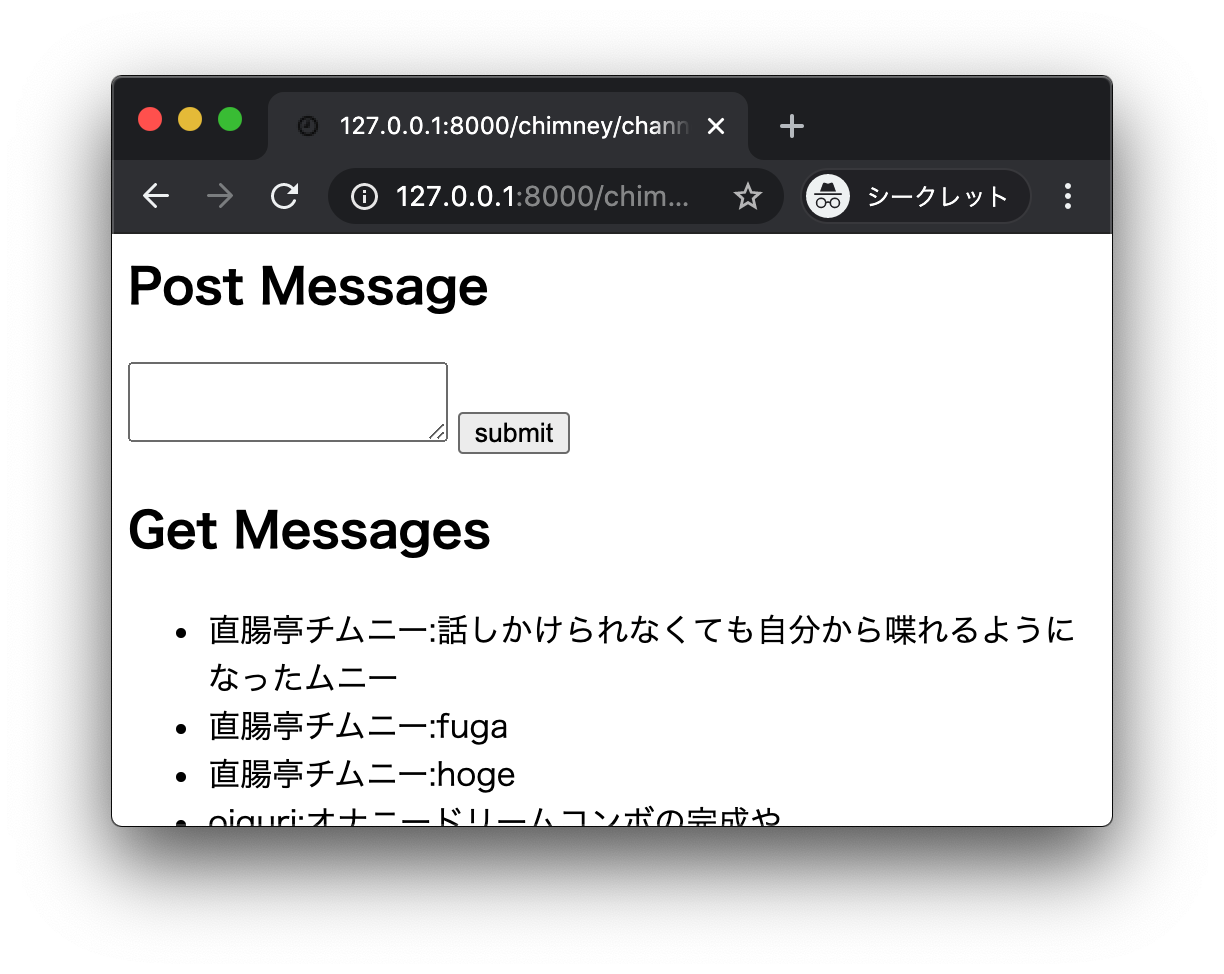
チャンネル詳細からメッセージ送れるようにする実装
// index.blade.php
@foreach($channels as $channel)
    <ul>
        <li><a href="{{ route('channels.show', ['channel' => $channel->id]) }}">{{ $channel->name }}</a></li>
    </ul>
@endforeach
// show.blade.php <h2>Post Message</h2> <form action="{{ route('channels.store') }}" method="post"> {{ csrf_field() }} <input type="hidden" name="channel_id" value="{{ $channelModel->id }}"> <textarea name="content"></textarea> <button type="submit">submit</button> </form> <h2>Get Messages</h2> <ul> @foreach($messages as $message) <li>{{ $message->author['username'] }}:{{ $message->content }}</li> @endforeach </ul>// controller class ChannelController extends Controller { /** @var DiscordClient */ private $discordClient; public function __construct() { $this->discordClient = new DiscordClient(['token' => config('services.discord.token')]); } public function index() { $channels = $this->discordClient->guild->getGuildChannels(['guild.id' => 319818715971715073]); return view('Channel.index', compact('channels')); } public function show(int $channel) { $channelModel = $this->discordClient->channel->getChannel(['channel.id' => $channel]); $messages = $this->discordClient->channel->getChannelMessages(['channel.id' => $channel]); return view('Channel.show', compact('channelModel', 'messages')); } public function store() { $params = [ "channel.id" => (int)request()->input('channel_id'), "content" => (string)request()->input('content') ]; $this->discordClient->channel->createMessage($params); return redirect(route('channels.show', ['channel' => (int)$params['channel.id']])); } }
VCチャンネルに参加させて何か喋らせる
追記予定
成果物
チャンネル一覧
https://www.ta9to.com/chimney/channelsチャンネル詳細(メッセージ投稿フォーム)
https://www.ta9to.com/chimney/channels/732386754056683651
- 投稿日:2020-07-25T00:14:42+09:00
Laravel+Vue.js(+vue-chartjs)でUnknown custom elementのエラー
現在、独学でLaravel、Vue.jsを使ってWEBサービス開発の練習をしています。
プログラミングの勉強は1年ほどになりますが、LaravelとVue.jsは2ヶ月ほど触っただけの超素人です。最初に結論
laravelでVue Componentを書いたら
resources/js/app.jsに登録する。
でないと、コンソールに
Unknown custom element: <chart> - did you register the component correctly? For recursive components, make sure to provide the "name" option.
(コンポーネントが正しく登録されてないよ)とエラーが出る。状況
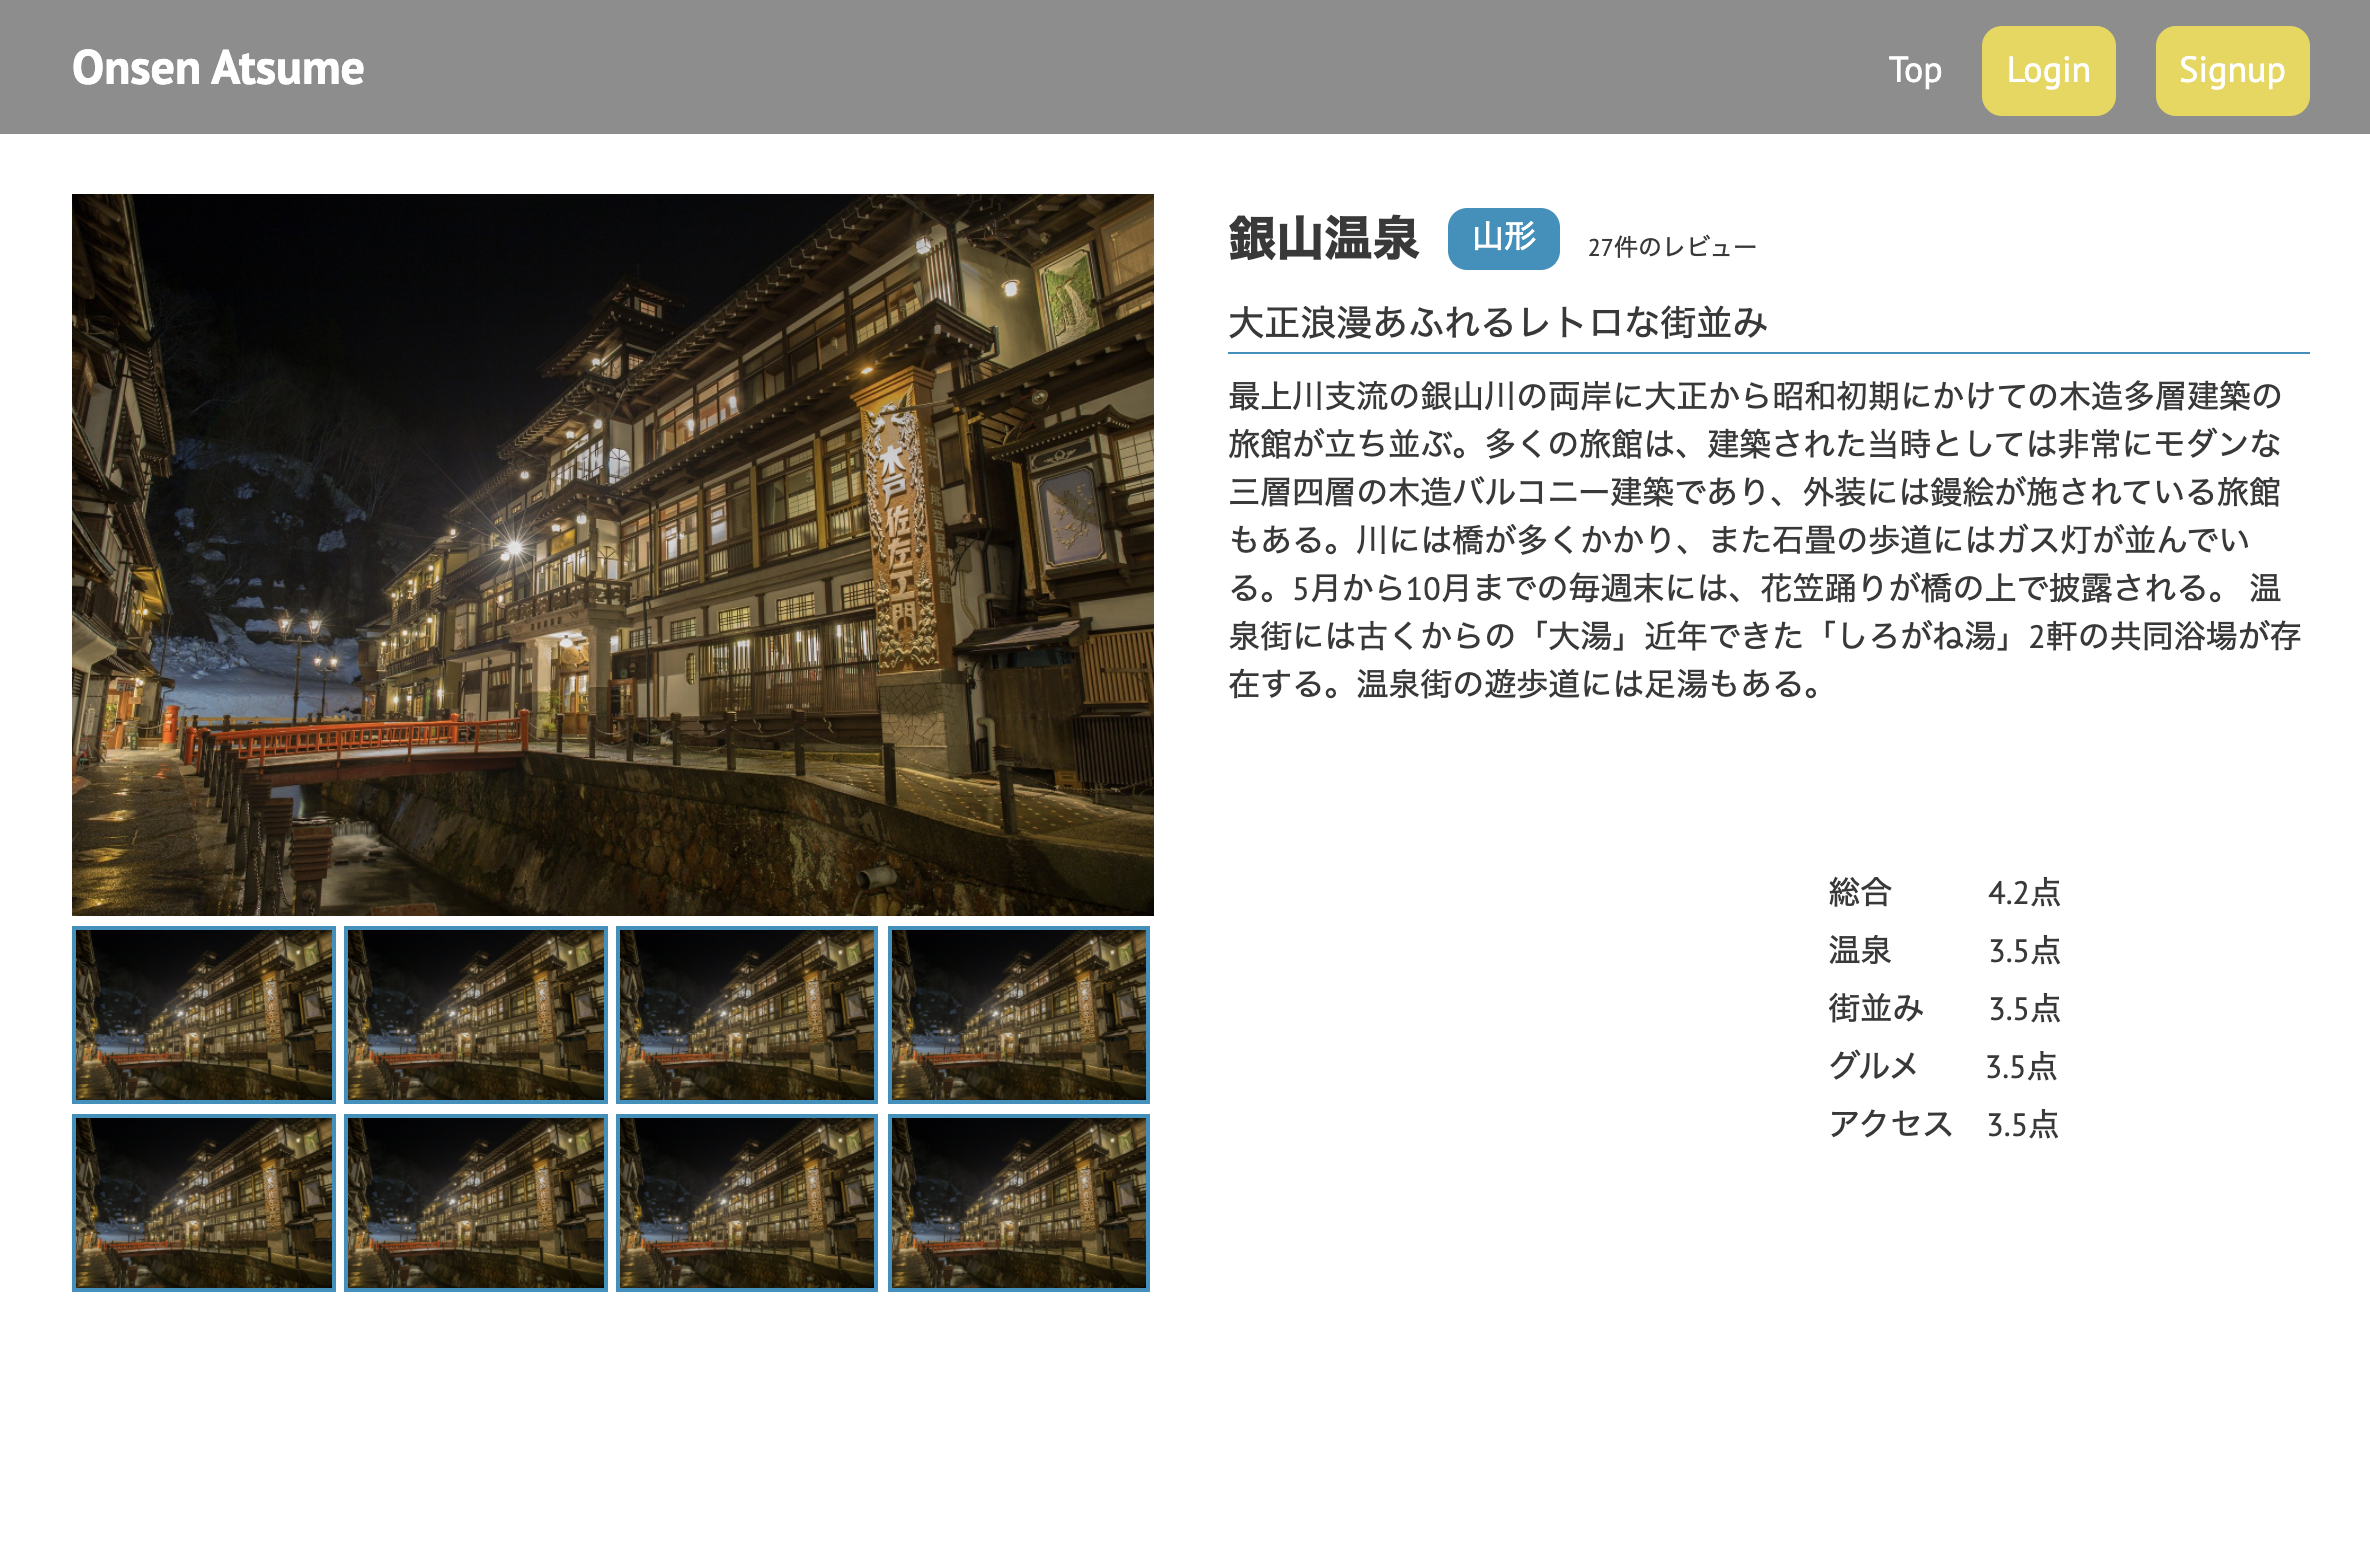
上のような温泉レビュー掲示板を作成中。
vue-chartjsでレーダーチャートを作成。
このレーダーチャート部分をコンポーネント化したく、resources/js/components/Chart.vueを作成。Chart.vue<script> import { Radar } from 'vue-chartjs' export default { extends: Radar, data () { return { data: { labels: ["総合", "温泉", "街並み", "グルメ", "アクセス"], datasets: [{ data: [5, 4, 3, 2, 1], backgroundColor: 'rgba(255, 234, 42, 0.8)', borderColor: 'rgba(255, 234, 42, 0.8)', borderWidth: 1, pointRadius:0 }] }, options: { title: { display: true }, legend: { display: false }, scale:{ ticks:{ suggestedMin: 0, suggestedMax: 5, stepSize: 1, callback: function(value, index, values){ return value } } } } } }, mounted () { this.renderChart(this.data, this.options) } } </script> <style> </style>次に、温泉個別ページ(
show.blade.php)からコンポーネントを呼び出す。show.blade.php<div id="app" class="chart"> <chart></chart> </div>しかし、画面にチャートが表示されない。
コンソールにエラーが出ている。
Unknown custom element: <chart> - did you register the component correctly? For recursive components, make sure to provide the "name" option.よう分からんコンポーネントがありますよ。正しく登録しました?とのこと。
調べてみると、vueファイルはresources/js/app.jsに登録して初めて、コンポーネントとして使えるようだ。(仕組みは分かっていないので勉強していきます。)
とにかく、resources/js/app.jsを確認してみる。app.js/** * The following block of code may be used to automatically register your * Vue components. It will recursively scan this directory for the Vue * components and automatically register them with their "basename". * * Eg. ./components/ExampleComponent.vue -> <example-component></example-component> */ // const files = require.context('./', true, /\.vue$/i); // files.keys().map(key => Vue.component(key.split('/').pop().split('.')[0], files(key).default)); Vue.component('example-component', require('./components/ExampleComponent.vue').default);次のコードを書いたらあなたのVue componentが自動的に登録されます。とのこと。
It will recursively~は何のこっちゃ、さっぱりわかりません。
とりあえず、既にExampleComponent.vueが既に登録されていたので、それに倣ってChart.vueも登録します。app.js/** * The following block of code may be used to automatically register your * Vue components. It will recursively scan this directory for the Vue * components and automatically register them with their "basename". * * Eg. ./components/ExampleComponent.vue -> <example-component></example-component> */ // const files = require.context('./', true, /\.vue$/i); // files.keys().map(key => Vue.component(key.split('/').pop().split('.')[0], files(key).default)); Vue.component('example-component', require('./components/ExampleComponent.vue').default); Vue.component('chart', require('./components/Chart.vue').default);もう一度画面を確認すると、レーダーチャートが表示されました!
最後に
こういった基本的なことすら、まだまだ知らないことばかりです。頑張らねば。