- 投稿日:2019-10-26T19:50:07+09:00
ズンドコキヨシ with Combine
TL; DR
- 3年前に流行ったツイートとRxSwiftを使った記事を思い出したのでCombineで再現してみました
ズンドコキヨシをCombineで再現してしまった...
— mshrwtnb (@mshrwtnb_) October 25, 2019
- 元ネタはこちら
Javaの講義、試験が「自作関数を作り記述しなさい」って問題だったから
— てくも (@kumiromilk) March 9, 2016
「ズン」「ドコ」のいずれかをランダムで出力し続けて「ズン」「ズン」「ズン」「ズン」「ドコ」の配列が出たら「キ・ヨ・シ!」って出力した後終了って関数作ったら満点で単位貰ってた0. ゴールの確認
- 「ずん」「どこ」「き・よ・し!」の出力はすべてreceiveValueで受け取る
Stringとする(= assignしようと思えばできる状態を目指す)。記事ではinput:○○○の○○○で表現する。- Publisherの
print(_:to:)はデバグ用に使う(回答としてカウントしない)- 一度「き・よ・し!」を出力したら処理を終了する
1. ずんどこ川の水源を作る
まずは「ずん」または「どこ」が湧き出る水源を作っていく。
勢いよく湧き出て欲しいので、0.1秒間隔で出力していこう。iOS 13から追加された
Timer.publish(every:tolerance:on:in:options:)を使っていく。let ずんどこ水源 = Timer.publish(every: 0.1, on: .main, in: .default) .autoconnect() .map { _ in Int.random(in:0..<2) == 0 ? "ずん" : "どこ" } .share() self.cancellable = ずんどこ水源 .sink(receiveCompletion: { _ in print("===完===") }, receiveValue: { print("input: \($0)") })結果はこちら。
良い。すごく良い。勢いある湧出量だ。
2. センサー付きの水門づくり
上述のとおり、ずんどこ水源からは「ずん」または「どこ」が1語ずつ流れてくる。
検知したいのは「ずん、ずん、ずん、ずん、どこ」の5要素なので、FIFO方式でずんどこが5つだけたまる溜池を作る。
そして、溜まった要素がお目当てのパターンか判定するセンサーを作る。
もしパターンを検知できたら水門を閉じる。
いたずらにずんどこを溜めない。let センサー付き水門 = ずんどこ水源 .scan([], { (reservoir: [String], element: String) -> [String] in // 溜池 var newReservoir = Array(reservoir + [element]) if newReservoir.count > 5 { newReservoir.removeFirst() } return newReservoir.prefix(5).map { $0 } }) .allSatisfy { $0 != ["ずん", "ずん", "ずん", "ずん", "どこ"] } .map { _ in } .share()3. 検知後「き・よ・し!」を知らせる
()が流れてくる仕組みを活用し、「き・よ・し!」と流れるスピーカーを作ろう。let スピーカー = センサー付き水門.map { _ in "き・よ・し!" }これでも悪くはない。
しかし、贅沢を言えば「どこ」と「き・よ・し!」の間には"ため"が欲しい。
そこで1秒くらい"ため"を作ろう。
結果には影響を与えない形で"ため"を確認できるようprintしておこう。let スピーカー = センサー付き水門.map { _ in "き・よ・し!" } .handleEvents(receiveOutput: { _ in print("(せーの...!)") }) .delay(for: .seconds(1.0), scheduler: RunLoop.main)4. 整備されたずんどこ川の全貌
野川状態だった、ずんどこ川にも必要な設備が揃った。
あとはこれらをうまく組み合わせていく。
これで、河川管理もバッチリだ。let ずんどこ水源 = Timer.publish(every: 0.1, on: .main, in: .default) .autoconnect() .map { _ in Int.random(in:0..<2) == 0 ? "ずん" : "どこ" } .share() let センサー付き水門 = ずんどこ水源 .scan([], { (reservoir: [String], element: String) -> [String] in // 溜池 var newReservoir = Array(reservoir + [element]) if newReservoir.count > 5 { newReservoir.removeFirst() } return newReservoir.prefix(5).map { $0 } }) .allSatisfy { $0 != ["ずん", "ずん", "ずん", "ずん", "どこ"] } .map { _ in } .share() let スピーカー = センサー付き水門.map { _ in "き・よ・し!" } .handleEvents(receiveOutput: { _ in print("(せーの...!)") }) .delay(for: .seconds(1.0), scheduler: RunLoop.main) self.cancellable = ずんどこ水源 .prefix(untilOutputFrom: センサー付き水門) // センサーが検知するまで、ずんどこを流す .merge(with: スピーカー) // 検知したら、き・よ・し!を流す .sink(receiveCompletion: { _ in print("===完===") }, receiveValue: { print("input: \($0)") })よし、最後にこれを動かしてみよう。
...
....
.....
???????????????
あとがき
ふざけているようですが、トライしてみるとオペレーターの挙動に詳しくなります
もっと良い実装例があったら@mshrwtnbまで教えていただけると勉強になります
https://github.com/mshrwtnb/zundoko-combine にソースを置きました。以上
- 投稿日:2019-10-26T17:17:28+09:00
【コードでAutoLayout】関連付けた2つのUIViewのtranslatesAutoresizingMaskIntoConstraintsがtrueとfalseの組み合わせの場合の挙動
AutoLayoutを始めたのが最近なので3周遅れぐらいでいろいろ調べている。暖かく見守っていただきたい。
2つのViewに関連をつけるときにtranslatesAutoresizingMaskIntoConstraintsの設定が片方だけtrueのときの挙動はどうなるか。前提
ソースで書く。Storyboardは使わない。
UIViewとUIViewの組み合わせ
viewA : AutoLayoutがオフ
viewB : AutoLayoutがオン
とする。viewAが何かの方法でframeが確定したとき、関連付けられているviewBは意図する設定がされるのか?結論
viewAもAnchorの値は有効。
viewAのAnchorが決定するので、関連付けられたviewBのAnchorを決定することができる。コード
//testView1.translatesAutoresizingMaskIntoConstraints = false
testView1.frame = CGRect(x: 30.0, y: 50.0, width: 50.0, height: 50.0)

testView2.translatesAutoresizingMaskIntoConstraints = false
testView2.topAnchor.constraint(equalTo: testView1.topAnchor).isActive = true
testView2.leadingAnchor.constraint(equalTo: testView1.trailingAnchor, constant: 30.0).isActive = true
testView2.heightAnchor.constraint(equalTo: testView1.heightAnchor).isActive = true
testView2.widthAnchor.constraint(equalTo: testView1.widthAnchor).isActive = true
UIScrollViewとUIViewの組み合わせ
今回のメインイベントである。UIScrollViewとその中に入れたUIViewはどうなるか?
UIScrollViewがAutoLayoutオフ、UIViewがオンのとき
結論
意図したとおりになる。まあ、意図というのは私自身にしかわからない表現かもしれない。
UIScrollViewのcontentSizeは、中にあるUIViewのサイズに関連してAutoLayoutで指令可能ということである。UIScrollView自身はAutoLayoutオフなのであるが。コード
//scrollView.translatesAutoresizingMaskIntoConstraints = false
scrollView.frame = CGRect(x: 30.0, y: 200.0, width: 200.0, height: 200.0)

testView3.translatesAutoresizingMaskIntoConstraints = false
testView3.topAnchor.constraint(equalTo: scrollView.topAnchor, constant: 10.0).isActive = true
testView3.leadingAnchor.constraint(equalTo: scrollView.leadingAnchor, constant: 10.0).isActive = true
testView3.bottomAnchor.constraint(equalTo: scrollView.bottomAnchor, constant: -10.0).isActive = true
testView3.trailingAnchor.constraint(equalTo: scrollView.trailingAnchor, constant: -10.0).isActive = true
testView3.heightAnchor.constraint(equalToConstant: 400.0).isActive = true
testView3.widthAnchor.constraint(equalToConstant: 400.0).isActive = true
UIScrollViewがAutoLayoutオン、UIViewがオフのとき
結論
UIScrollViewの外枠はAutoLayoutで指令できるが、contentSizeはAutoLayoutを使えなかった。中のUIViewのサイズが決定すればAutoLayoutでcontentSizeが設定可能かなと思ったのだが。古典的に指定することになる。
コード
scrollView.translatesAutoresizingMaskIntoConstraints = false
scrollView.topAnchor.constraint(equalTo: view.topAnchor, constant: 200.0).isActive = true
scrollView.leadingAnchor.constraint(equalTo: view.leadingAnchor, constant: 30.0).isActive = true
scrollView.heightAnchor.constraint(equalToConstant: 200.0).isActive = true
scrollView.widthAnchor.constraint(equalToConstant: 200.0).isActive = true

//testView3.translatesAutoresizingMaskIntoConstraints = false
testView3.frame = CGRect(x: 10.0, y: 10.0, width: 400.0, height: 400.0)
scrollView.contentSize = CGSize(width: 420.0, height: 420.0)
何か間違いや、表現の中途半端さがあれば指摘してください。
追記
少し問題に遭遇したのでこの方法を検討しましたが、問題は別の方法で対応することにしたので、この方法は結局使いませんでした。
- 投稿日:2019-10-26T16:41:35+09:00
Apple Storeから警告?が来た Missing Push Notification Entitlement の対処方
はじめに
xcodeのバージョンは11
ionicで開発したアプリです。アーカイブ作成+アップロード後に起きた
【2019年版】iOSアプリをApp Storeに公開するための全手順まとめ
上記のページでの手順8の後にApp Store Connectからメールが来た。。
Dear Developer,
We identified one or more issues with a recent delivery for your app, >"アプリ名" 1.0 (1). Your delivery was successful, but you may wish to >correct the following issues in your next delivery:
ITMS-90078: Missing Push Notification Entitlement - Your app appears to >register with the Apple Push Notification service, but the app >signature's entitlements do not include the "aps-environment" >entitlement. If your app uses the Apple Push Notification service, make >sure your App ID is enabled for Push Notification in the Provisioning >Portal, and resubmit after signing your app with a Distribution >provisioning profile that includes the "aps-environment" entitlement. >Xcode does not automatically copy the aps-environment entitlement from >provisioning profiles at build time. This behavior is intentional. To >use this entitlement, either enable Push Notifications in the project >editor's Capabilities pane, or manually add the entitlement to your >entitlements file. For more information, see >https://developer.apple.com/library/content/documentation/NetworkingInt>ernet/Conceptual/RemoteNotificationsPG/HandlingRemoteNotifications.html>#//apple_ref/doc/uid/TP40008194-CH6-SW1.
After you’ve corrected the issues, you can use Xcode or Application >Loader to upload a new binary to App Store Connect.
Best regards,
The App Store Team
最初は意味不明だった。。
こちらを参考にしたところ、プッシュ通知の設定をしろって事らしい。
プッシュ通知の設定
・Xcodeを開く
・TARGETSを選択
・signing & capabilitiesを選択
・+Capabilityのボタンを押す
・検索枠にpushと入れてPush Notificationsを選ぶ
追加された。
ビルド番号を変更してもう一度アーカイブを作る
TARGETSの中のGeneralでビルド番号を変更
その後は前にアーカイブを作った通りに
Product>Archive>Distribute Appで新しいアーカイブを作る。App Store Connectでビルドのバージョンを変更
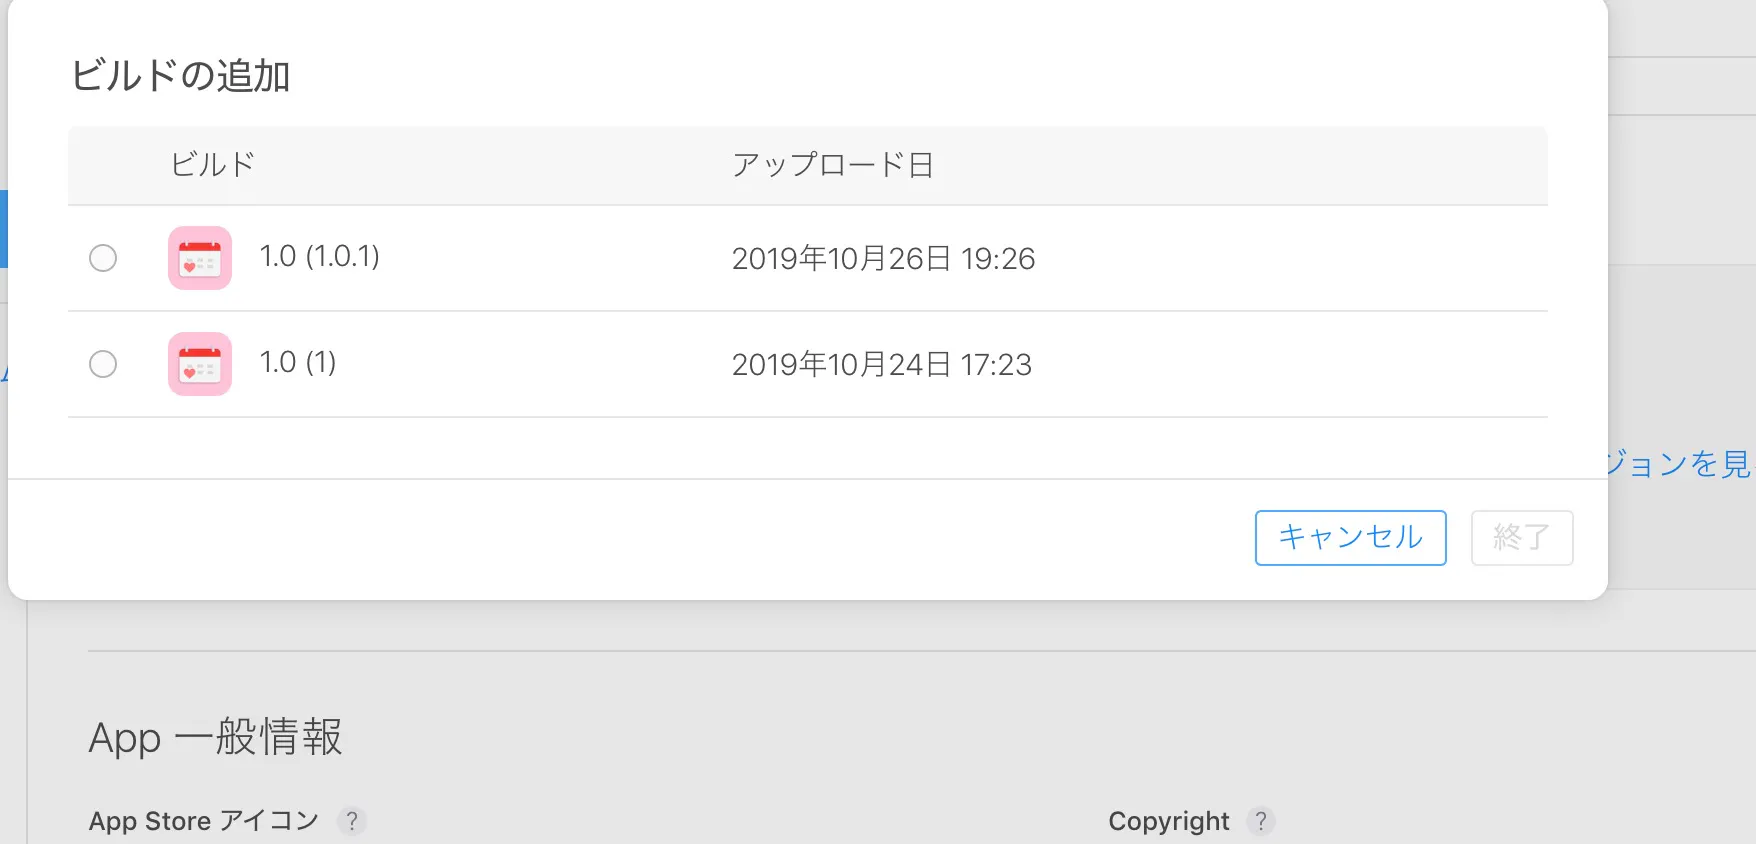
アーカイブのアップロード後、少し時間を置いてからApp Store Connectへ行く。
①まずは既存のビルドを消す(赤色のマイナスアイコンを選択)
②またプラスアイコンを押す
③新しいバージョンを選ぶ
今の所同じ警告メールは来ていない。。。
参考