- 投稿日:2019-05-29T20:14:24+09:00
[Vue.js] 複数の引数を持つfilterを使ってみたメモ
Filter.js
src直下にpluginsディレクトリを切り、その中にfilter処理だけを書くFilter.jsを置く
export default {
  install(vue) {
    vue.filter('decimalPointShaping', value => {
      if (!Number(value)) {
        return value
      }
      return Math.round(value)
    })

  // 複数の引数を持つfilterはこれ↓
    vue.filter('percentageCalculation', (value, sum) => {
        console.log('percentageCalculation',value,sum)
      return (value / sum) * 100
    })
  },
}
使い方
<p>
{{ 【value】 | percentageCalculation(【sum】) | decimalPointShaping }}%
</p>
- 投稿日:2019-05-29T16:37:53+09:00
【Vue.js】v-modelの基本的な使い方と、修飾子の使い方
本記事について
v-modelの挙動と、v-modelでのinputタグの値の取得のTipsを記載します。
目次
・v-modelとは
・v-modelを使ってみる
・v-modelで使う修飾子v-modelとは
v-modelとはそもそも何なのか。
公式ドキュメントによるとform の input 要素 や textarea 要素、 select 要素に双方向 (two-way) データバインディングを作成するには、v-model ディレクティブを使用することができます。それは、自動的に入力要素のタイプに基づいて要素を更新するための正しい方法を選択します。
とのことです。うーん、ちょっとわかりにくい。。
とりあえず、コードを書いて理解してみましょう。
v-modelを使ってみる
とても基本的な使い方ですが、まずはHTMLに下記のように書きます。
index.html<!-- Vue.jsが読み込まれている前提 --> <div id="app"> <input type="text" v-model="sample_v_model" placeholder="sample_v_model"><br> <p>ここにsample_v_modelの値をリアルタイムに表示: {{ sample_v_model }}</p> </div> <script> new Vue({ el: "#app", data: { sample_v_model: '' } }) </script>inputタグに
v-model="sample_v_model"という記述があります。
そして、scriptタグの中身にsample_v_model: ''という記述があります。new Vueとして、Vueインスタンスを作っているわけですが、それをマウントする先が
#appで囲まれた箇所になるので、HTML側のv-model="sample_v_model"とjs側のsample_v_model: ''が紐づいているのですね。公式ページに書いてあった、「双方向 (two-way) データバインディングを作成するには、v-model ディレクティブを使用することができます」という部分がこれに当たるのだと理解できました。
jsの方ではsample_v_modelというデータを持っていて、ページが読みこまれた表示された時にはその中身は空っぽ、そして、inputタグも空っぽという状態です。なので、ページが表示された時には
・inputタグの中身は空っぽ
・js上で定義されたデータの中身も空っぽということになります。
↓こんな感じですね。
これで、v-modelの基本的な使い方を理解することができました。
v-modelで使う修飾子
今回はinputタグの中身を計算する上で数値にする必要があり、そのデータをHTML上にも反映しようとしたところ、v-forの部分でそれがうまくいかず、「100」と入力すると。「1」「0」「0」と入力されたと見なされてしまったので、その解決のためにnumber修飾子を使いました。
その実際のコードがこちらです
<div class="">
  <label for="number_of_years">運用する年数</label>
  <input type="number" v-model.number="number_of_years" placeholder="運用する年数を入力してください">年
</div>

(略)

<tr v-for="number_of_year in number_of_years">
  <th>{{ number_of_year }}年後</th>
  <td>{{ Math.round(amountOfShare * Math.pow(rateOfIncrease, number_of_year)) }}</td>
</tr>
これで、無事に数値としてnumber_of_yearsをv-forのところで使う数値の部分に入れることができました。
今回はnumberを使いましたが、他にも修飾子があったので下記にまとめておきます。
修飾子 内容 lazy 入力ボックスに入力されたタイミングではなく、入力し終わったタイミングでデータを変更する。 number 入力した値の型変換を自動で数値にする。 trim 入力した値から自動で空白を削除する それぞれ使うタイミングが出てきたら具体的な例も追記できればと思います。

- 投稿日:2019-05-29T16:35:15+09:00
Docker on Storybook@Vueを最小構成で動かす
何時もの備忘録として
- docker-compose runの仕様にはまった
まずはチュートリアル通りに動かす
こちらを参照に進める
docker-compose.ymlの準備
version: '3'
services:
  node:
    image: node:12.3.1-alpine
    volumes:
      - ./:/app
    working_dir: /app
    ports:
      - 9001:9001
モジュールをインストール
docker-compose run node npm init
docker-compose run node npm install @storybook/vue --save-dev
docker-compose run node npm install vue --save
docker-compose run node npm install vue-loader vue-template-compiler @babel/core babel-loader babel-preset-vue --save-dev
packeage.jsonの編集
以下を追加
packeage.json{ "scripts": { "storybook": "start-storybook --ci -p 9001 -c .storybook", } }設定ファイルを作成
.storybook/config.jsを作成 .storybookディレクトリに注意
storybook/config.jsimport { configure } from '@storybook/vue'; function loadStories() { require('../stories/index.js'); } configure(loadStories, module);./stories/index.jsを作成
index.jsimport Vue from 'vue'; import { storiesOf } from '@storybook/vue'; import MyButton from '../components/Button'; storiesOf('Button', module) .add('with text', () => '<my-button>with text</my-button>') .add('with emoji', () => '<my-button>? ? ? ?</my-button>') .add('as a component', () => ({ components: { MyButton }, template: '<my-button :rounded="true">rounded</my-button>' }));./components/Button.vueを作成
Button.vue//何でもいいので作る <template> <button @click="hello">hello</button> </template> <script> export default { methods: { hello: e => { alert('hello'); } } } </script>そして
docker-compose run run node run storybookでブラウザが開かない。。。
docker-compose runの仕様でそのままだとportsのマッピングが効かない。知らなかった。。。
気を取り直して
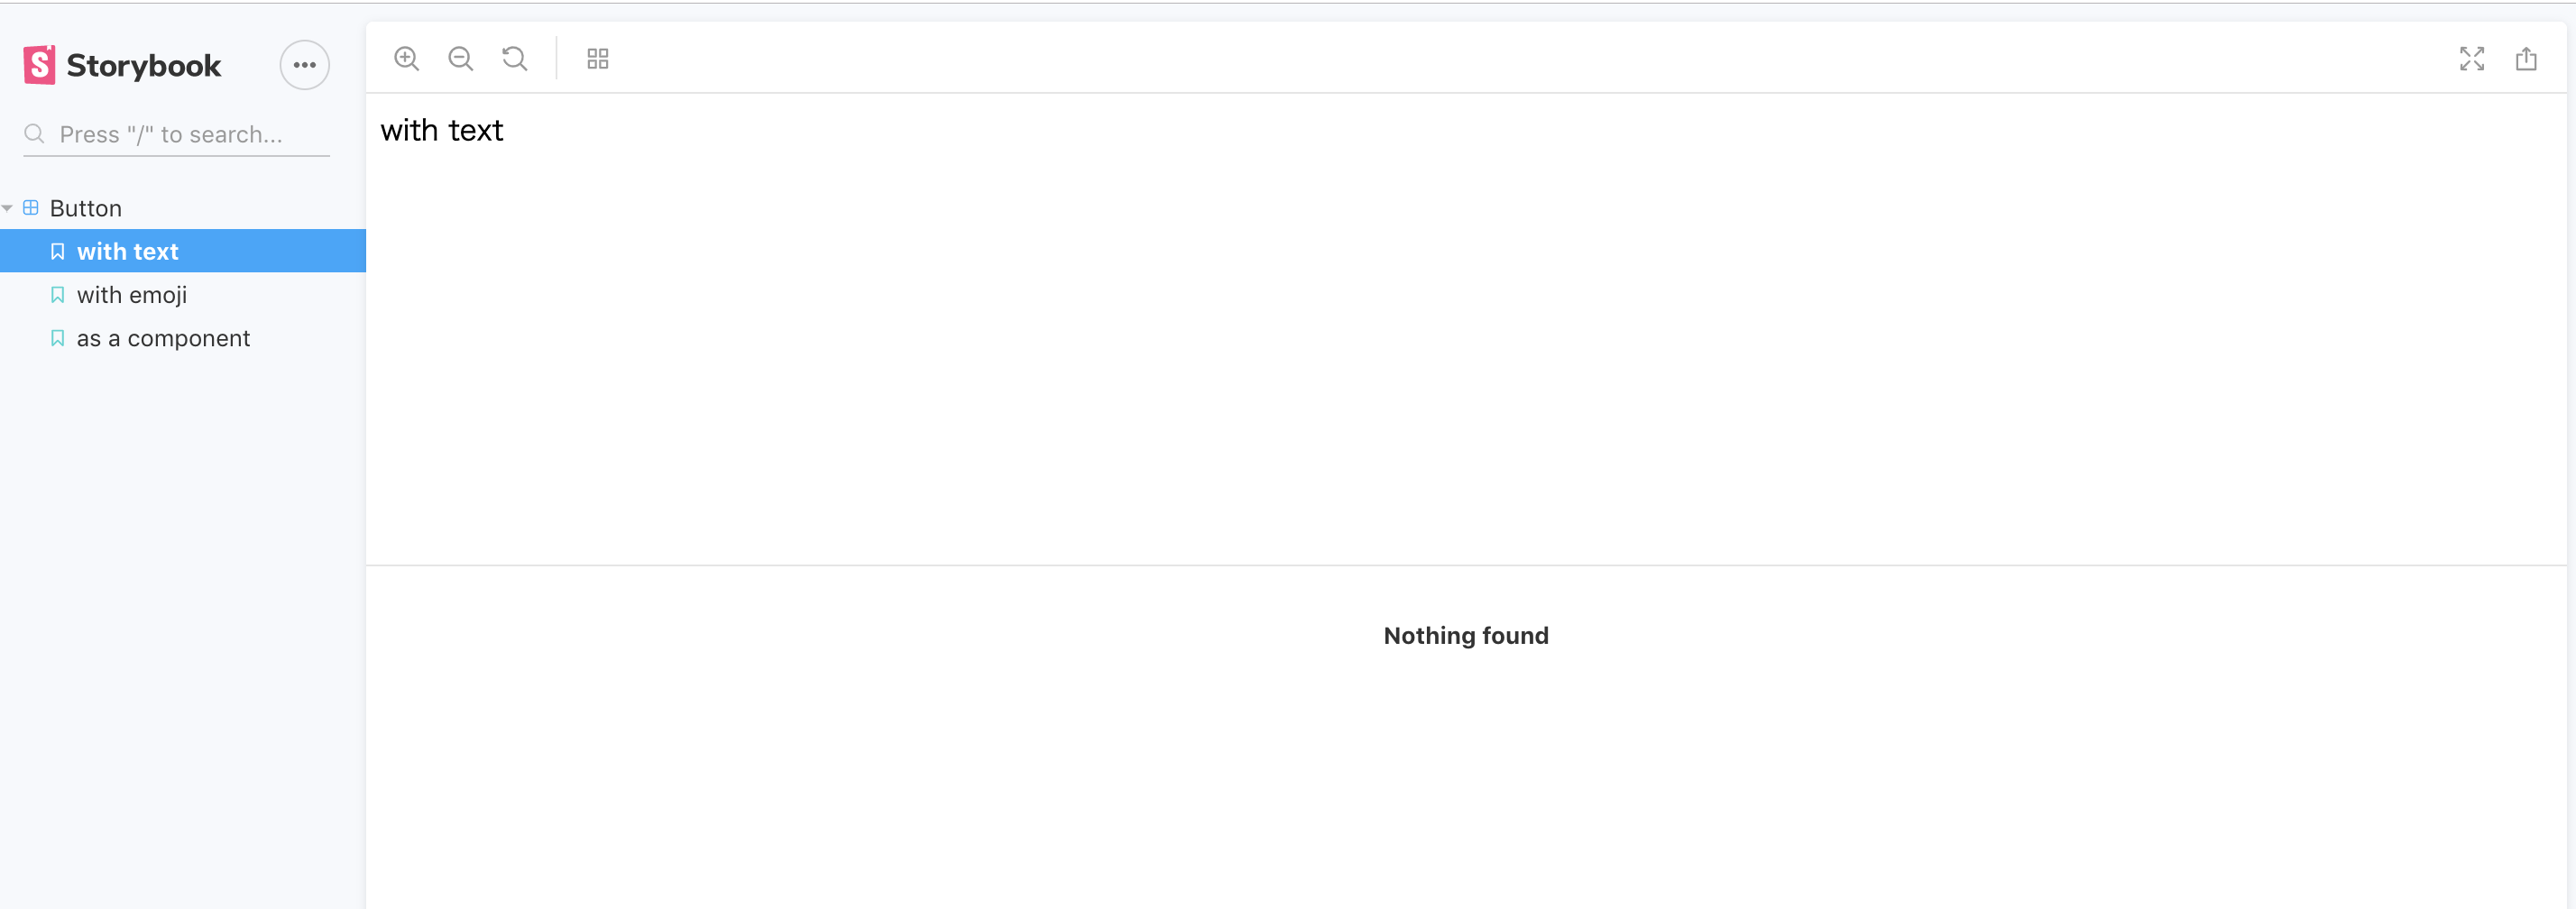
docker-compose run --service-ports node npm run storybooklocalhost:9001でStorybookが確認できる
参考
- 投稿日:2019-05-29T14:59:12+09:00
Vue-Tables2とScrollBoosterを組み合わせてみる
概要
Vue.jsを使って、テーブルタグからデータ明細を見せるようなWebアプリケーションをサクッと実装。
ダッシュボード的なアプリなどでデータを見せる際に便利ではないでしょうか。
タイトルにあるライブラリを使う際の注意点やノウハウを展開します。ライブラリの紹介
- ScrollBooster
- https://ilyashubin.github.io/scrollbooster/
- 【Github】 https://github.com/ilyashubin/scrollbooster
- マウスのドラッグスクロールを実現するライブラリ
- スマホのような、任意スクロールが簡単にできる。どんな動きなのかはリンク先を参照
- Vue-Tables2
- https://github.com/matfish2/vue-tables-2
- テーブルにソート・ページネーション・フィルタなどの機能を簡単に足せるライブラリ
- データ部はjsonで扱える。
- 動きのイメージはこちらの記事が詳しい https://qiita.com/kimullaa/items/4182644b4eed505413ad
ポイント
- ScrollBoosterに渡すviewportとcontent
- $refsから取得するのが楽
- サンプルコードでは、Vue-Tables2が自動付与するtable-responsiveのclass名を使ってみた
- updateMetrics()の呼び出し
- Vue-Tables2にデータが入るとテーブルの幅部分のwidthが変わってしまうので、更新する必要がある
- その際に使用するのがScrollBooster.updateMetrics()
- Vue-Tables2が提供するイベント関数を使って、幅の更新をする
- 設定したのは「ソート(sorted)」「ページネーション(pagenation)」「件数変更(limit)」
- 「フィルタリング(filter)」でも幅変更があり得るが、幅が伸びる事は無いと思ったので設定してない
- $nextTickの使用
- 幅を更新する際、実DOMの更新がされてからでないと幅計算が正しくならないと思われるので、Vueの提供する$nextTickを使っている
サンプルコード
html<div ref="table"> <v-client-table :columns="vueTables.columns" :data="vueTables.data" :options="vueTables.options" @sorted="updateScrollBooster" @pagination="updateScrollBooster" @limit="updateScrollBooster"> </v-client-table> </div>script// 一部、ここに書いてない定数があるのでそのままは使えない。注意 new Vue({ el: '#app', data: { // vue-tables-2用定義 vueTables: { columns: [ 'acceptDate', 'validStartDate', 'validEndDate', 'productName', ], data: [], options: { headings: VUE_TABLES_HEADINGS, sortable: [ 'acceptDate', 'validStartDate', 'validEndDate', 'productName', ], orderBy: { column: 'acceptDate' }, skin: 'table-striped table-bordered table-hover table-sm', texts: VUE_TABLES_TEXTS, perPage: 50, perPageValues: [50, 100, 500, 1000], sortIcon: VUE_TABLES_SORTICON }, }, scrollBoosterNormal: null, }, mounted() { // ScrollBoosterを設定 let viewport = this.$refs.table.querySelector('.table-responsive'); let content = viewport.querySelector('table'); this.scrollBooster = setScrollBooster(viewport, content); }, methods: { updateScrollBooster() { // ScrollBoosterのviewport幅を更新する(検索結果に合わせて) this.$nextTick(function () { // nextTickでDOMの幅が確定した状態でupdateMetricsを実行する this.scrollBooster.updateMetrics(); }); }, }, })補足
Vue-Tables2で横スクロールを有効にするために、実際にはCSS定義も行ってある(overflow-x: scroll)
- 投稿日:2019-05-29T13:04:20+09:00
Vuetify と Vue Router でレスポンシブなナビゲーションを作ってみました
はじめに
最初に作ったものを載せておきます。
デモ
https://upbeat-nobel-068b4d.netlify.com/
コード
https://github.com/youbeer/vuetify-vuerouter-navbar-example
事前準備
VueCLI3 のインストールを行なってください
【Vue】プロジェクトの作成
terminal$ vue create vuetify-vuerouter-navbar-exampleいくつか質問が表示されるので
- Manually select features を選択肢し
- Router を追加してください
その他はお好みでどうぞ
terminalVue CLI v3.7.0 ┌───────────────────────────┐ │ Update available: 3.8.2 │ └───────────────────────────┘ ? Please pick a preset: default (babel, eslint) ❯ Manually select featuresterminal? Please pick a preset: Manually select features ? Check the features needed for your project: ◉ Babel ◯ TypeScript ◯ Progressive Web App (PWA) Support ❯◉ Router ◯ Vuex ◯ CSS Pre-processors ◉ Linter / Formatter ◯ Unit Testing ◯ E2E TestingVuetify を追加
プロジェクト直下に移動し Vuetify をインストールします。
terminal$ cd vuetify-vuerouter-navbar-example $ vue add vuetifypreset は Default (recommended)を選択してください
terminal? Choose a preset: ❯ Default (recommended) Prototype (rapid development) Configure (advanced)サーバを起動
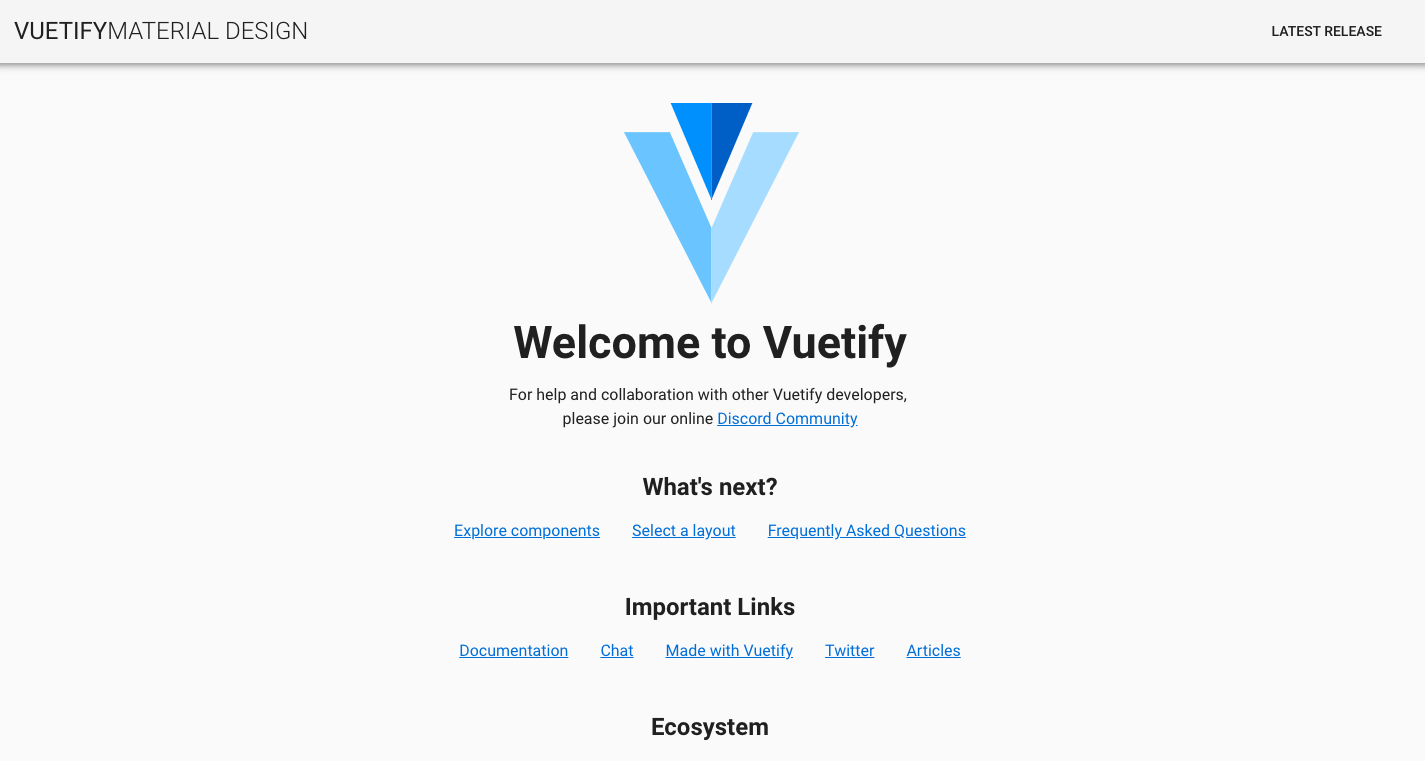
terminal$ yarn servehttp://localhost:8080/ をブラウザで開いて
Welcome to Vuetify の文字が出てくれば OK です
プロジェクトを確認
plugins ディレクトリに vuetify.js が作られていて
それを main.js でインポートしているようです。src/plugins/vuetify.jsimport Vue from "vue"; import Vuetify from "vuetify/lib"; import "vuetify/src/stylus/app.styl"; Vue.use(Vuetify, { iconfont: "md" });src/main.jsimport Vue from "vue"; import "./plugins/vuetify"; // ... 略コンポーネントの作成
ここからいよいよ本題です。
Header.vue を作成しナビゲーションの内容を記述します。src/components/Header.vue<template> <div> <v-navigation-drawer v-model="drawer" absolute temporary> <v-list class="pa-1"> <v-list-tile avatar> <v-list-tile-avatar> <img src="https://randomuser.me/api/portraits/men/85.jpg" /> </v-list-tile-avatar> <v-list-tile-content> <v-list-tile-title>John Leider</v-list-tile-title> </v-list-tile-content> </v-list-tile> </v-list> <v-list> <v-text-field clearable flat label="Search" prepend-inner-icon="search" solo single-line hide-details ></v-text-field> </v-list> <v-list class="pt-0" dense> <v-divider></v-divider> <v-list-tile v-for="item in items" :key="item.title" :to="item.to"> <v-list-tile-action> <v-icon>{{ item.icon }}</v-icon> </v-list-tile-action> <v-list-tile-content> <v-list-tile-title>{{ item.title }}</v-list-tile-title> </v-list-tile-content> </v-list-tile> </v-list> </v-navigation-drawer> <v-toolbar dark color="primary" clipped-left fixed app> <v-toolbar-side-icon @click.stop="drawer = !drawer" class="hidden-md-and-up" ></v-toolbar-side-icon> <v-toolbar-title class="headline text-uppercase white--text"> <span>Vuetify</span> <span class="font-weight-light">MATERIAL DESIGN</span> </v-toolbar-title> <v-spacer></v-spacer> <v-expand-x-transition> <v-text-field class="hidden-sm-and-down" clearable flat label="Search" prepend-inner-icon="search" solo-inverted single-line hide-details v-show="showSearchInput" ></v-text-field> </v-expand-x-transition> <v-toolbar-items class="hidden-sm-and-down"> <v-btn icon @click="showSearchInput = !showSearchInput"> <v-icon>search</v-icon> </v-btn> <v-btn flat to="/">Home</v-btn> <v-btn flat to="/about">About</v-btn> </v-toolbar-items> </v-toolbar> </div> </template> <script> export default { name: "Header", data() { return { drawer: null, showSearchInput: false, items: [ { title: "Home", icon: "dashboard", to: "/" }, { title: "About", icon: "question_answer", to: "/about" } ] }; } }; </script>ナビゲーションとサイドパネル
下記を参考にしました。
アニメーション
<v-expand-x-transition>で検索 box の表示切替のときにアニメーションを付けています。v-expand-x-transition<v-expand-x-transition> <v-text-field class="hidden-sm-and-down" clearable flat label="Search" prepend-inner-icon="search" solo-inverted single-line hide-details v-show="showSearchInput" ></v-text-field> </v-expand-x-transition>ブレークポイント
hidden-md-and-upと
hidden-sm-and-down
で画面サイズによって表示切替をするブレークポイントをつけています。hidden-md-and-up<v-toolbar-side-icon @click.stop="drawer = !drawer" class="hidden-md-and-up" ></v-toolbar-side-icon>hidden-sm-and-down<v-toolbar-items class="hidden-sm-and-down"> <v-btn icon @click="showSearchInput = !showSearchInput"> <v-icon>search</v-icon> </v-btn> <v-btn flat to="/">Home</v-btn> <v-btn flat to="/about">About</v-btn> </v-toolbar-items>App.js で Header.vue を呼び出す
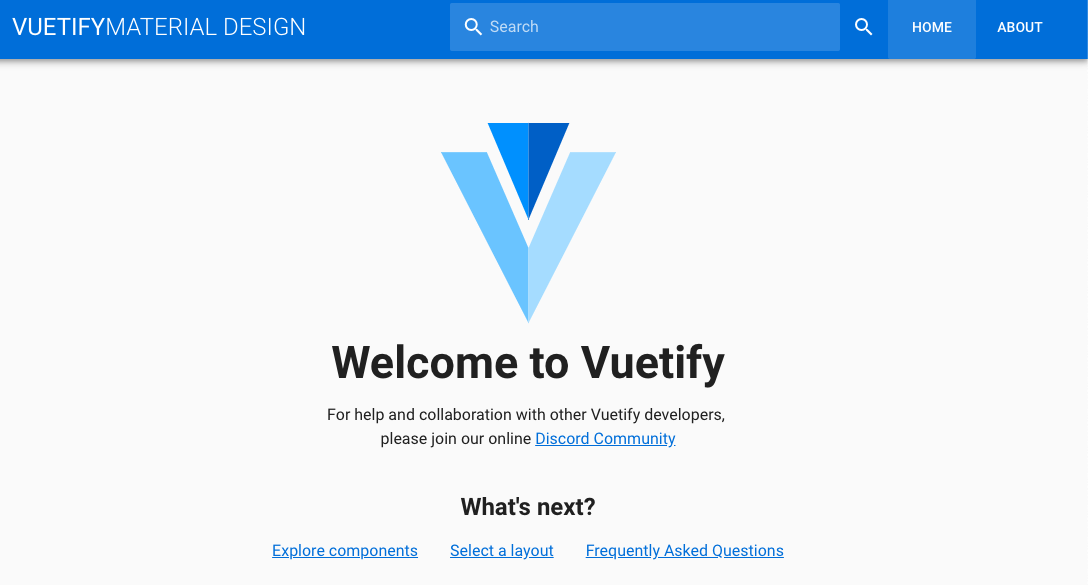
src/App.vue<template> <v-app> <Header /> <v-content> <v-container fluid fill-height> <v-layout justify-center align-center> <router-view></router-view> </v-layout> </v-container> </v-content> </v-app> </template> <script> import Header from "@/components/Header"; export default { name: "App", components: { Header } }; </script>さて、完成したので再度 http://localhost:8080/ へアクセスして確認してみましょう
こんな表示になっていれば OK です。
おわりに
最後まで読んでいただきありがとうございました。
Vuetify は Theme も公開されているようですね
中には無料の物もあるようなので試してみてはいかがでしょうか
Free / Premium Themes — Vuetify.jsVue.js は至れり尽くせりですね ?

- 投稿日:2019-05-29T12:37:42+09:00
[Vue.js]Vue.jsでChart.jsのoptionsの渡し方についてのメモ
はじめに
vue.jsでchart.jsを使うとき、opitonsの書き方をよく忘れてしまうのでメモ。
構成としては、グラフそのものを表示させる「TheRerdarGraph.vue」と、
その設定をしてある「TheRerdarGraphSetting.vue」を用いる。memo
TheRardarGraph.vue
<template>
  <div class="small">
    <the-big5-graph-setting :chart-data="datacollection" :options="options" />  /*** ←★opitonsをバインドさせる ***/
  </div>
</template>

<script>
import TheBig5GraphSetting from '@/components/object/project/TheBig5GraphSetting'

export default {
  name: 'TheBig5Graph',
  components: {
    TheBig5GraphSetting,
  },
  props: {
    analysisResult: {
      type: Object,
      required: true,
    },
  },
  data() {
    // @todo this.analysisResult.big5_** の値をグラフ用の datacollection に変換する
    // console.log('big5', this.analysisResult)
    return {
      datacollection: null,
      big5_neurotic_ism: this.analysisResult.big5_neurotic_ism,
      big5_extra_version: this.analysisResult.big5_extra_version,
      big5_openness: this.analysisResult.big5_openness,
      big5_agreeableness: this.analysisResult.big5_agreeableness,
      big5_conscientiousness: this.analysisResult.big5_conscientiousness,
/************************* ★optionsの書き方★ *************************/
      options: {
        scale: {
          ticks: { //http://www.chartjs.org/docs/#scales-radial-linear-scale
            stepSize: 10, // 目盛の間隔
            max: 100, //最大値
          }
        },
        legend: {
          display: false,
        },
      },
    }
/************************* ★optionsの書き方★ *************************/
  },
  mounted() {
    this.fillData()
  },
  methods: {
    fillData() {
      this.datacollection = {
        labels: ['感情性', '外向性', '開放的', '協調性', '誠実性'],
        datasets: [
          {
            label: '1',
            backgroundColor: 'rgba(244, 40, 88,0.3)',
            data: [
              this.big5_neurotic_ism,
              this.big5_extra_version,
              this.big5_openness,
              this.big5_agreeableness,
              this.big5_conscientiousness,
            ],
          },
        ],
      }
    },
    getRandomInt() {
      return Math.floor(Math.random() * (50 - 5 + 1)) + 5
    },
  },
}
</script>

<style>
.small {
  max-width: 300px;
}
</style>
TheRardarGraphSetting.vue
<script>
import { Radar, mixins } from 'vue-chartjs'
const { reactiveProp } = mixins

export default {
  name: 'TheBig5GraphSetting',
  extends: Radar,
  mixins: [reactiveProp],
  props: ['options', 'chartData'],
  mounted() {
    // this.chartData is created in the mixin.
    // If you want to pass options please create a local options object
    this.renderChart(this.chartData, this.options)
  },
}
</script>

<style></style>
最後に
dataにopitonsの内容をオブジェクトとして格納し、
それを
- 投稿日:2019-05-29T09:13:38+09:00
IntelliJ (or WebStorm) + Vue.js + TypeScriptで書いたコードのデバッグをする
console.log()での出力がつらくなって来たのでメモ。下記のようにするとブレークポイントで実行が止まります。
yarn run serve --debugもしくは直接vue-cli-service serve --debugなどでデバッグモードでVueアプリをサーブ- (IntelliJでブレークポイントをはっておく)
- IntelliJの Run > Debug... > Edit Configurations... でデバッグ実行の設定画面を開く
- 左上の +ボタン > JavaScript Debug を選ぶ
- URLの欄に
http://localhost:8080/#/...などVueアプリのURL(デバッグしたいもの)を入力- Debugボタン(右下の)を押す
- 投稿日:2019-05-29T01:19:36+09:00
vue-cli無しでvueの単一コンポーネントファイルを使用する。scssも。
経緯
よくvue関連の情報で「単一ファイルコンポーネントを使用するにはvue-cliが必要」と目にする気がします。
情報例:
・https://jp.vuejs.org/v2/guide/single-file-components.html
(「これはあなたがまだ使ったことのない、いくつかの追加ツールの使い方を学ぶことを意味します。」「Vue CLI 3 を確認することをお勧めします。」)単一ファイルコンポーネントはとても便利なのですが、vue-cliは学習敷居が高いので以下のような困った場面があります。
・手早く単一ファイルコンポーネントを学習したい。
・既存のwebシステムにvueを適応させたい。単一ファイルコンポーネントありで。
・開発メンバーにvueを普及させたい。「node.jsとかnpmとかwebpackとかvue-cliとか使用せずに単純にhtmlからvueファイルを使用したい」「できれば、スタイルシートもscssで記述したい」と思っていたところ、http-vue-loaderというものがあるそうです。
@horikeso様の記事で知りました。サンプル1
これで単一ファイルコンポーネントを使用できました。
index-1.html<!DOCTYPE html> <html> <head> </head> <body> <div id="app"> <vc-main-1></vc-main-1> </div> <!-- promise (IEに必要) --> <script src="https://unpkg.com/es6-promise"></script> <!-- vue --> <script src="https://unpkg.com/vue"></script> <!-- http-vue-loader --> <script src="https://unpkg.com/http-vue-loader"></script> <script type="text/javascript"> //メインコンポーネント var vue = new Vue({ el: '#app', components: { 'vc-main-1': httpVueLoader('vc-main-1.vue') //他階層にあるなら、('js/components/vc-main-1.vue')の様な指定も可能 } }); </script> </body> </html>vc-main-1.vue<template> <div class="vc-main-1"> <h1>Hello</h1> <p>{{message}}</p> </div> </template> <script> module.exports = { data: function() { return { message: 'こんにちは' } } } </script> <style> .vc-main-1 h1{ font-size: 3.5rem; } .vc-main-1 p{ font-weight: bold; } </style>サンプル1の注意点
「module.exports = {」の箇所が「export default {」だとダメな様子です。
サンプル2 scssを使用する
こんな風にするとscssも使用できるみたいです。
index-2.html<!DOCTYPE html> <html> <head> </head> <body> <div id="app"> <vc-main-2></vc-main-2> </div> <!-- promise (IEに必要) --> <script src="https://unpkg.com/es6-promise"></script> <!-- sass --> <script src="https://cdnjs.cloudflare.com/ajax/libs/sass.js/0.10.13/sass.sync.min.js"></script> <!-- vue --> <script src="https://unpkg.com/vue"></script> <!-- http-vue-loader --> <script src="https://unpkg.com/http-vue-loader"></script> <script type="text/javascript"> //set sass to http-vue-loader httpVueLoader.langProcessor.scss = function(scssText) { return new Promise(function(resolve, reject) { Sass.compile(scssText, function(result) { if (result.status === 0) resolve(result.text) else reject(result) }); }); } //メインコンポーネント var vue = new Vue({ el: '#app', components: { 'vc-main-2': httpVueLoader('vc-main-2.vue') } }); </script> </body> </html>vc-main-2.vue<template> <div class="vc-main-2"> <h1>Hello</h1> <p>{{message}}</p> </div> </template> <script> module.exports = { data: function() { return { message: 'こんにちは' } } } </script> <style lang="scss"> .vc-main-2 { h1{ font-size: 3.5rem; } p{ font-weight: bold; } } </style>サンプル2の注意点
IEだとできませんでした。。。
なにか方法があるかもしれませんが。以上です。
vue-cliが使用できない場合にとても便利かも。