- 投稿日:2019-02-28T22:39:36+09:00
オフラインMacでDocker containerからHostOSへ接続する
背景
日頃はオンラインで, Docker containerからHostOSへの接続はHostOSのhostnameで解決していた. 久しぶりにオフラインでDocker containerからHostOSへ接続しようとしたら127.0.0.1が返ってきた. Docker containerのloopbackと競合するので困った.
環境
- OS: macOS Mojave Version 10.14.3
- Docker Desktop:
シンプルな解決策
host.docker.internal を使用するとDocker containerからHostOSへ接続できる.
Networking features in Docker Desktop for Mac
I WANT TO CONNECT FROM A CONTAINER TO A SERVICE ON THE HOST
The host has a changing IP address (or none if you have no network access). From 18.03 onwards our recommendation is to connect to the special DNS name host.docker.internal, which resolves to the internal IP address used by the host. This is for development purpose and will not work in a production environment outside of Docker Desktop for Mac.
シンプルでない解決策
loopback interface lo0にaliasを設定し, aliasへ接続する.
$ sudo ifconfig lo0 alias xxx.xxx.xxx.xxx
$ sudo ifconfig lo0 -alias xxx.xxx.xxx.xxx
オフライン時にHostOSのhostnameを解決したら127.0.0.1が返ってくるのは何故?
オンライン時とオフライン時を比較してみる
HostOSへ接続している.terminal.container.online$ ping HOSTNAME.local PING HOSTNAME.local (xxx.xxx.xxx.xxx): 56 data bytes 64 bytes from xxx.xxx.xxx.xxx: seq=0 ttl=37 time=0.758 ms 64 bytes from xxx.xxx.xxx.xxx: seq=1 ttl=37 time=1.172 ms自Containerへ接続している.terminal.container.offline$ ping HOSTNAME.local PING HOSTNAME.local (127.0.0.1): 56 data bytes 64 bytes from 127.0.0.1: seq=0 ttl=64 time=0.058 ms 64 bytes from 127.0.0.1: seq=1 ttl=64 time=0.155 msterminal.hostos.online$ ifconfig lo0: flags=8049<UP,LOOPBACK,RUNNING,MULTICAST> mtu 16384 options=1203<RXCSUM,TXCSUM,TXSTATUS,SW_TIMESTAMP> inet 127.0.0.1 netmask 0xff000000 inet6 ::1 prefixlen 128 inet6 fe80::1%lo0 prefixlen 64 scopeid 0x1 nd6 options=201<PERFORMNUD,DAD> en0: flags=8863<UP,BROADCAST,SMART,RUNNING,SIMPLEX,MULTICAST> mtu 1500 ether xx:xx:xx:xx:xx:xx inet6 xxxx::xxxx:xxxx:xxxx:xxxx%en0 prefixlen 64 secured scopeid 0x8 inet xxx.xxx.xxx.xxx netmask 0xfffffff0 broadcast xxx.xxx.xxx.xxx nd6 options=201<PERFORMNUD,DAD> media: autoselect status: activeterminal.hostos.offline$ ifconfig lo0: flags=8049<UP,LOOPBACK,RUNNING,MULTICAST> mtu 16384 options=1203<RXCSUM,TXCSUM,TXSTATUS,SW_TIMESTAMP> inet 127.0.0.1 netmask 0xff000000 inet6 ::1 prefixlen 128 inet6 fe80::1%lo0 prefixlen 64 scopeid 0x1 nd6 options=201<PERFORMNUD,DAD> en0: flags=8823<UP,BROADCAST,SMART,SIMPLEX,MULTICAST> mtu 1500 ether xx:xx:xx:xx:xx:xx nd6 options=201<PERFORMNUD,DAD> media: autoselect (<unknown type>) status: inactiveterminal.hostos.online$ netstat -rn Routing tables Internet: Destination Gateway Flags Refs Use Netif Expire default xxx.xxx.xxx.xxx UGSc 123 0 en0 127 127.0.0.1 UCS 0 0 lo0 127.0.0.1 127.0.0.1 UH 11 59676 lo0 他色々terminal.hostos.offline$ netstat -rn Routing tables Internet: Destination Gateway Flags Refs Use Netif Expire 127 127.0.0.1 UCS 0 0 lo0 127.0.0.1 127.0.0.1 UH 11 59680 lo0 他色々
- オンライン
- IPAddress(xxx.xxx.xxx.xxx)へ接続している
- en0が生きている
- Routing tablesにen0がある
- オフライン
- 127.0.0.1へ接続している
- en0が死んでいる
- Routing tablesにlo0しかない
Multicast DNSを使っていた
そもそもDNSでhostnameを解決しておらず, hostnameコマンドで取得できる名前がHOSTNAME.localだった. .localはMulticast DNSで解決されるのでDNSとはちょっと異なる. ざっくり言うと"ホスト名さえ分かれば通信できるよぁ"ってプロトコル. MacだとBonjourで動いている.
Metricsが分からない
複数ルーティングルールがある場合, どのルーティングルールを適用するか?といった優先度を決めるMetricという値がある. loopback interface lo0とen0のMetricをMacOSで確認しようとしたが見つからない. 敢えていうなら, System Preferences > NetworkのSet Service Order...が該当するがloopback項目がない.
推測してみる
MacOSのルーティングルールのMetricはSystem Preferences > NetworkのSet Service Order..で設定されていて, 暗黙のルールでloopbackは最下位設定になっている. オフライン時はloopback interface lo0のみ有効となる. 併せて, Multicast DNSで解決した場合loopback interface lo0の127.0.0.1となる. 全部, 妄想.
ついでに
docker networkはdefault bridgeとユーザー定義ネットワークでDNS設定が異なるらしい. docker containerからHostOSへの接続を詳しく知りたい方はどうぞ.
所感
terminal.container.offline/srv # ping host.docker.internal PING host.docker.internal (???.???.???.???): 56 data bytes 64 bytes from ???.???.???.???: seq=0 ttl=37 time=0.373 ms 64 bytes from ???.???.???.???: seq=1 ttl=37 time=0.893 mshost.docker.internalだとレスポンスが早いので通信が閉じた感じなのかな? Dockerはまだまだ落ち着かないので, しっかり追わないと駄目ですね. これでネットワーク難民時にも色々遊べる. ちゃんちゃん.
参考文献
- 投稿日:2019-02-28T14:14:23+09:00
Git 毎回パスワードを聞かれる問題について
はじめに
職場で使用していたPCが重くなってきて、新しいPCに買い替えました。
無事に移行は完了しましたが、Sourcetreeでプッシュやプルしている時に毎回パスワードを聞かれるようになっていました。前提
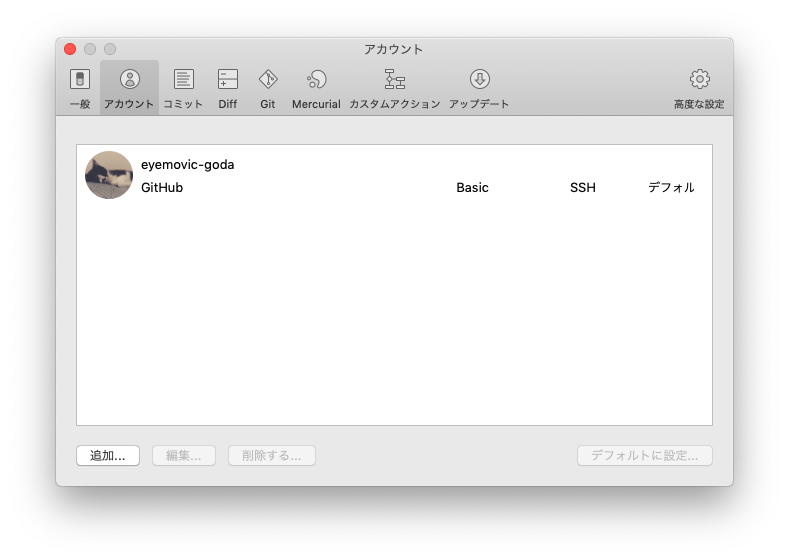
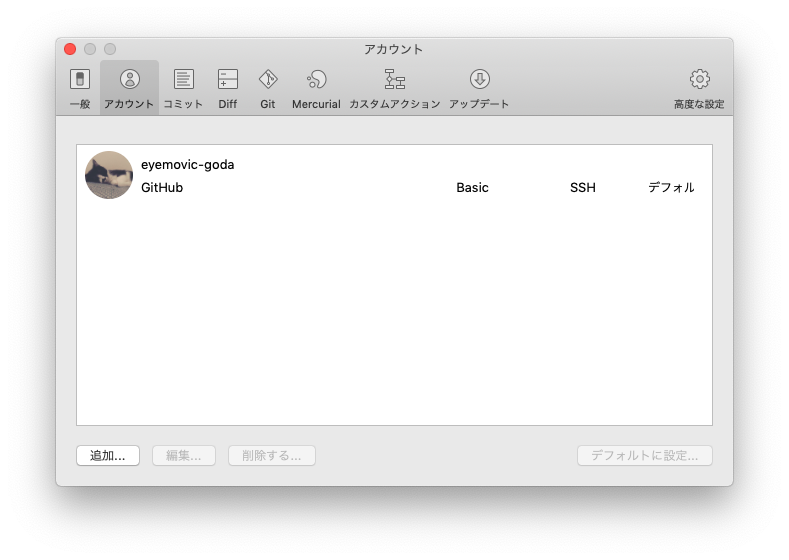
- SourcetreeでGitHubのログインはSSHで済んでいる。

SSHでSourceTreeにクローン済み
git@github.com:eyemovic/hoge.gitgithubのsshのkey設定などは済んでいる
~/.ssh配下のpermissionなども正しい
問題
プッシュしようとすると、
gouda:hoge-branch gouda$ git push origin hoge-branch公開鍵のパスワードを聞かれる(毎回)
Enter passphrase for key '/Users/gouda/.ssh/id_rsa解決方法
SSHキーを追加してあげる
gouda:hoge-branch gouda$ ssh-add ~/.ssh/id_rsa
SSHキーのパスワードを聞かれるので入力してあげる
Enter passphrase for key '/Users/gouda/.ssh/id_rsaプッシュしてみる
gouda:hoge-branch gouda$ git push origin hoge-branchパスワードを聞かれずに、プッシュできました!
Everything up-to-dateおわりに
設定する時間がなく、とりあえず毎回パスワードを入力していたので、ようやく改善されてよかったです。
間違えているところなどあればコメントをお願いいたします。
- 投稿日:2019-02-28T00:49:56+09:00
HomebrewでComposerをインストール
環境
- macOS Siera 10.12.6
インストール
$ brew install composer
==> Downloading https://getcomposer.org/download/1.8.4/composer.phar
######################################################################## 100.0%
?  /usr/local/Cellar/composer/1.8.4: 3 files, 1.8MB, built in 21 seconds
確認
$ composer -v
   ______
  / ____/___  ____ ___  ____  ____  ________  _____
 / /   / __ \/ __ `__ \/ __ \/ __ \/ ___/ _ \/ ___/
/ /___/ /_/ / / / / / / /_/ / /_/ (__  )  __/ /
\____/\____/_/ /_/ /_/ .___/\____/____/\___/_/
                    /_/
Composer version 1.8.4 2019-02-11 10:52:10
- 投稿日:2019-02-28T00:48:30+09:00
HomebrewでPHP7.2をインストール
環境
- macOS Siera 10.12.6
インストール済みのPHPバージョン
$ php -v
PHP 5.6.30 (cli) (built: Oct 29 2017 20:30:32)
Copyright (c) 1997-2016 The PHP Group
Zend Engine v2.6.0, Copyright (c) 1998-2016 Zend Technologies
インストール
Formulaを探す。
$ brew search php72
==> Formulae
php@7.2
$ brew install php@7.2 ==> Installing dependencies for php@7.2: apr, openssl, apr-util, argon2, aspell, autoconf, brotli, c-ares, libidn, libmetalink, libssh2, jansson, jemalloc, libev, libevent, nghttp2, openldap, rtmpdump, curl-openssl, libtool, unixodbc, freetds, libpng, freetype, gettext, libffi, pcre, glib, gmp, icu4c, jpeg, libpq, libsodium, libzip, readline, sqlite, tidy-html5 and webp ==> Installing php@7.2 dependency: apr ==> Downloading https://homebrew.bintray.com/bottles/apr-1.6.5.sierra.bottle.tar ######################################################################## 100.0% ==> Pouring apr-1.6.5.sierra.bottle.tar.gz ==> Caveats略
確認
$ php -v
PHP 5.6.30 (cli) (built: Oct 29 2017 20:30:32)
Copyright (c) 1997-2016 The PHP Group
Zend Engine v2.6.0, Copyright (c) 1998-2016 Zend Technologies
ターミナルを再起動後、改めて確認するも変化なし。
シンボリックリンクの作成
$ brew link php72 --force
Linking /usr/local/Cellar/php@7.2/7.2.15... 25 symlinks created

If you need to have this software first in your PATH instead consider running:
  echo 'export PATH="/usr/local/opt/php@7.2/bin:$PATH"' >> ~/.bash_profile
  echo 'export PATH="/usr/local/opt/php@7.2/sbin:$PATH"' >> ~/.bash_profile
パスを通す
$ echo 'export PATH="/usr/local/opt/php@7.2/bin:$PATH"' >> ~/.bash_profile
$ echo 'export PATH="/usr/local/opt/php@7.2/sbin:$PATH"' >> ~/.bash_profile
再び確認
ターミナルを再起動後、確認。
$ php -v
PHP 7.2.15 (cli) (built: Feb 26 2019 10:47:19) ( NTS )
Copyright (c) 1997-2018 The PHP Group
Zend Engine v3.2.0, Copyright (c) 1998-2018 Zend Technologies
    with Zend OPcache v7.2.15, Copyright (c) 1999-2018, by Zend Technologies
おしまい。
- 投稿日:2019-02-28T00:46:52+09:00
Homebrewをインストール
環境
- macOS Siera 10.12.6
インストール
$ /usr/bin/ruby -e "$(curl -fsSL https://raw.githubusercontent.com/Homebrew/install/master/install)"上記、公式サイトに記載されていたインストール用のスクリプトをターミナルで実行。
==> This script will install:
/usr/local/bin/brew
/usr/local/share/doc/homebrew
/usr/local/share/man/man1/brew.1
/usr/local/share/zsh/site-functions/_brew
/usr/local/etc/bash_completion.d/brew
/usr/local/Homebrew
==> The following new directories will be created:
/usr/local/Caskroom

Press RETURN to continue or any other key to abort
==> /usr/bin/sudo /bin/mkdir -p /usr/local/Caskroom
Password:
中略
==> Installation successful!

==> Homebrew has enabled anonymous aggregate formulae and cask analytics.
Read the analytics documentation (and how to opt-out) here:
  https://docs.brew.sh/Analytics

==> Homebrew is run entirely by unpaid volunteers. Please consider donating:
  https://github.com/Homebrew/brew#donations
==> Next steps:
- Run `brew help` to get started
- Further documentation:
    https://docs.brew.sh
途中、パスワードの入力を求められたりしながら数分で終了。
確認
バージョン確認
$ brew -v
Homebrew 2.0.2
Homebrew/homebrew-core (git revision 46be2; last commit 2019-02-27)
環境診断
$ brew doctor
Your system is ready to brew.
メモ
Homebrewのインストールを説明する記事では
事前にXcode(Command Line Tools)のインストールを行なっているものが多い。今回、Homebrewを直接インストールしたが特に問題はなさそう。
https://sutepulu.com/homebrew-about-command-line-tools-installation/
Command Line Toolsがインストールされていない場合は、以下のように、Homebrewのインストール中にCommand Line Toolsが自動でダウンロードされ、インストールされました。

