- 投稿日:2020-03-30T23:58:09+09:00
Laravel7.xにVue-Routerを実装してみる
Vue-Routerのインストール
npm install vue-routerpackage.jsonに "vue-router"が追加されたことを確認
package.json"dependencies": { "bootstrap": "^4.4.1", "bootstrap-vue": "^2.7.0", "cross-env": "^7.0.2", "vue": "^2.6.11", "vue-router": "^3.1.6" }Vue-Routerを追加
・app.jsでVue-Routerをインポートして、VueRouterを定義する
・ラウトで表示する「Report / Formページ」も作成resources/js/app.jsrequire('./bootstrap'); // Bootstrap-vueの実装 import Vue from 'vue' import VueRouter from 'vue-router' import { BootstrapVue, IconsPlugin } from 'bootstrap-vue' Vue.use(VueRouter) import 'bootstrap/dist/css/bootstrap.css' import 'bootstrap-vue/dist/bootstrap-vue.css' window.Vue = require('vue'); import ReportPage from './pages/report.vue' import FormPage from './pages/form.vue' import NavVar from './components/navbar.vue' Vue.component('navigation-bar', NavVar) const router = new VueRouter({ mode: 'history', routes: [ { path: '/', name: 'report-page', component: ReportPage }, { path: 'form', name: 'form-page', component: FormPage } ] }); const app = new Vue({ el: '#app', router });ラウト先の内容を表示するコンポーネントを作成
router-viewの作成
resources/views/welcome.blade.php……省略…… <router-view></router-view> ……省略……VueRouterで定義したページを作成
resources/js/pages/report.vue<template> <div class="container"> <div class="row justify-content-center"> <div class="col-12"> <div class="card"> <div class="card-header">{{ greeting }}</div> <div class="card-body"> Report Component </div> </div> </div> </div> </div> </template> <script> module.exports = { data: function() { return { greeting: 'hello' } } } </script>resources/js/pages/form.vue<template> <div class="container"> <div class="row justify-content-center"> <div class="col-md-8"> <div class="card"> <div class="card-header">{{ greeting }}</div> <div class="card-body"> Form Component </div> </div> </div> </div> </div> </template> <script> module.exports = { data: function() { return { greeting: 'hello' } } } </script>・各ページの入り口になるナビゲーションバーの作成
・<router-link>がVue-Routerでの<a>タグになるresources/js/components/navbar.vue<template> <nav class="navbar navbar-expand-lg fixed-top navbar-light" style="background-color: #e3f2fd;"> <a class="navbar-brand" href="#" style="font-weight:bold;">自己管理ツール</a> <button class="navbar-toggler" type="button" data-toggle="collapse" data-target="#navbarNav" aria-controls="navbarNav" aria-expanded="false" aria-label="Toggle navigation"> <span class="navbar-toggler-icon"></span> </button> <div class="collapse navbar-collapse" id="navbarNav"> <ul class="navbar-nav"> <li class="nav-item active"> <router-link class="nav-link" :to="{ name: 'report-page' }">レポート <span class="sr-only">(current)</span></router-link> </li> <li class="nav-item"> <router-link class="nav-link" :to="{ name: 'form-page' }">記録</router-link> </li> </ul> </div> </nav> </template>結果確認
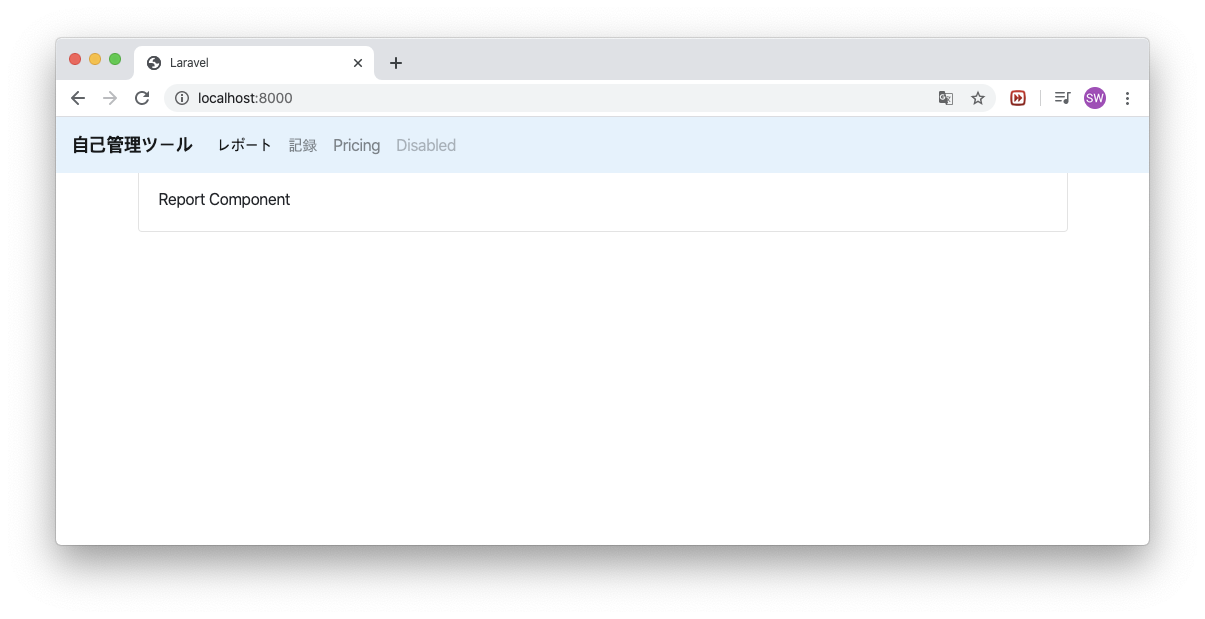
・リポートページ
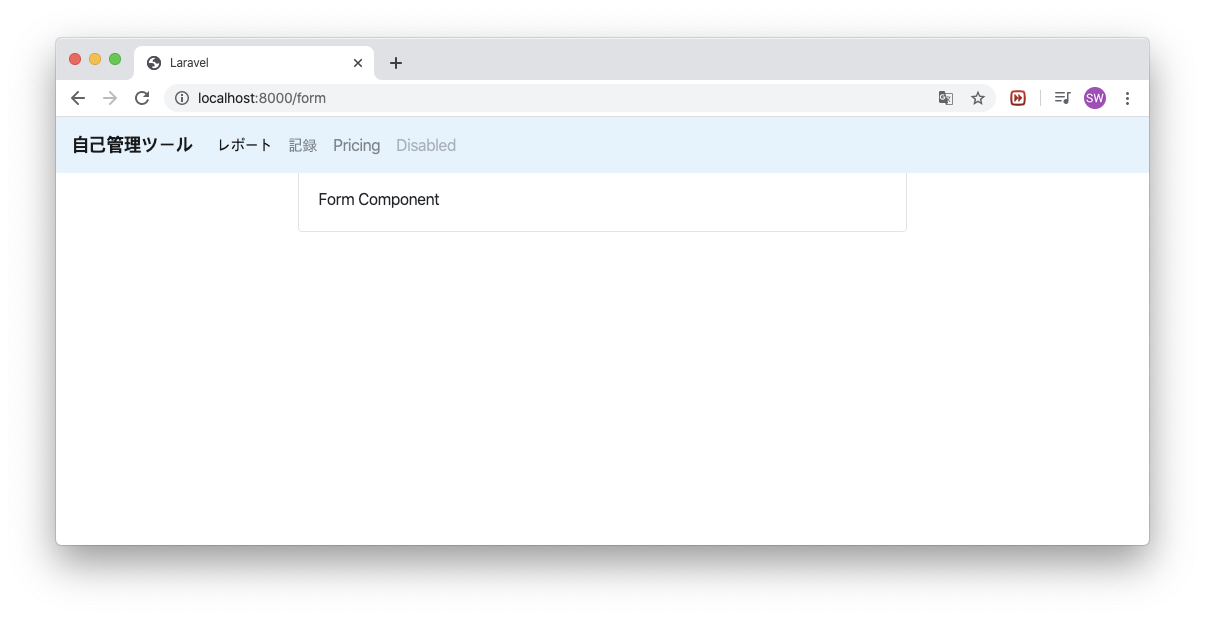
・フォームページ
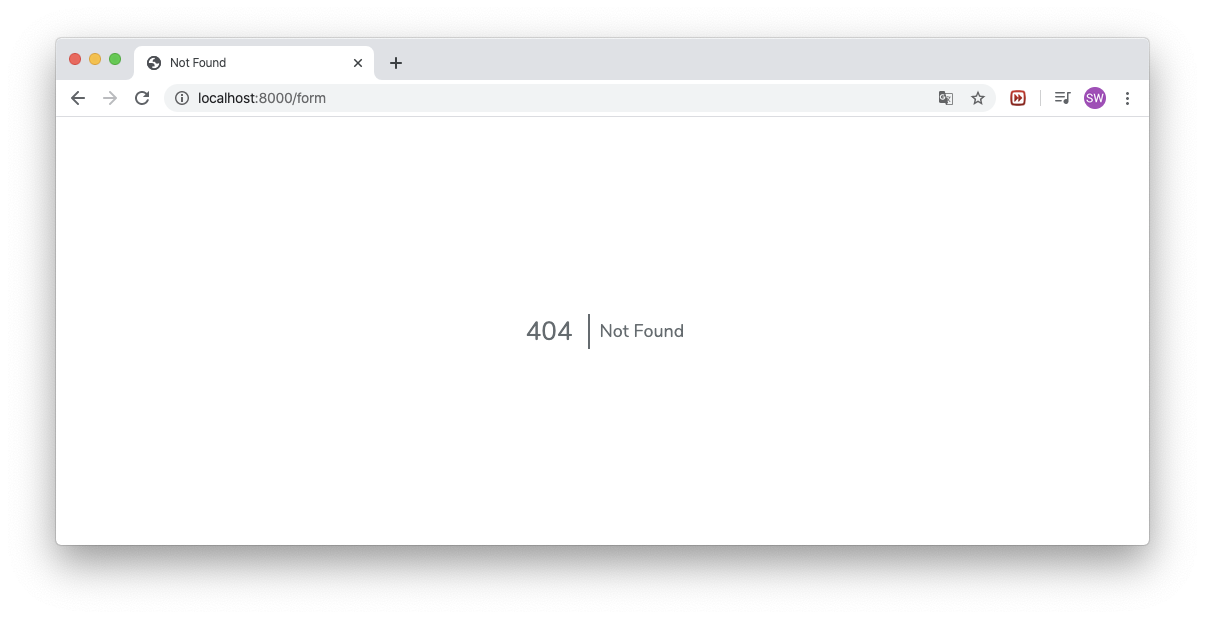
・フォームページでリフフェッシュする場合
→ Laravelアプリ内でのラウトではないため、404エラーが出力されるのが当然
今後対応してみよう!


- 投稿日:2020-03-30T23:58:09+09:00
Laravel7.xにVue-Routerを実装してSPAを実装してみる
Vue-Routerのインストール
npm install vue-routerpackage.jsonに "vue-router"が追加されたことを確認
package.json"dependencies": { "bootstrap": "^4.4.1", "bootstrap-vue": "^2.7.0", "cross-env": "^7.0.2", "vue": "^2.6.11", "vue-router": "^3.1.6" }Vue-Routerを追加
・app.jsでVue-Routerをインポートして、VueRouterを定義する
・ラウトで表示する「Report / Formページ」も作成resources/js/app.jsrequire('./bootstrap'); // Bootstrap-vueの実装 import Vue from 'vue' import VueRouter from 'vue-router' import { BootstrapVue, IconsPlugin } from 'bootstrap-vue' Vue.use(VueRouter) import 'bootstrap/dist/css/bootstrap.css' import 'bootstrap-vue/dist/bootstrap-vue.css' window.Vue = require('vue'); import ReportPage from './pages/report.vue' import FormPage from './pages/form.vue' import NavVar from './components/navbar.vue' Vue.component('navigation-bar', NavVar) const router = new VueRouter({ mode: 'history', routes: [ { path: '/', name: 'report-page', component: ReportPage }, { path: 'form', name: 'form-page', component: FormPage } ] }); const app = new Vue({ el: '#app', router });ラウト先の内容を表示するコンポーネントを作成
router-viewの作成
resources/views/welcome.blade.php……省略…… <router-view></router-view> ……省略……VueRouterで定義したページを作成
resources/js/pages/report.vue<template> <div class="container"> <div class="row justify-content-center"> <div class="col-12"> <div class="card"> <div class="card-header">{{ greeting }}</div> <div class="card-body"> Report Component </div> </div> </div> </div> </div> </template> <script> module.exports = { data: function() { return { greeting: 'hello' } } } </script>resources/js/pages/form.vue<template> <div class="container"> <div class="row justify-content-center"> <div class="col-md-8"> <div class="card"> <div class="card-header">{{ greeting }}</div> <div class="card-body"> Form Component </div> </div> </div> </div> </div> </template> <script> module.exports = { data: function() { return { greeting: 'hello' } } } </script>・各ページの入り口になるナビゲーションバーの作成
・<router-link>がVue-Routerでの<a>タグになるresources/js/components/navbar.vue<template> <nav class="navbar navbar-expand-lg fixed-top navbar-light" style="background-color: #e3f2fd;"> <a class="navbar-brand" href="#" style="font-weight:bold;">自己管理ツール</a> <button class="navbar-toggler" type="button" data-toggle="collapse" data-target="#navbarNav" aria-controls="navbarNav" aria-expanded="false" aria-label="Toggle navigation"> <span class="navbar-toggler-icon"></span> </button> <div class="collapse navbar-collapse" id="navbarNav"> <ul class="navbar-nav"> <li class="nav-item active"> <router-link class="nav-link" :to="{ name: 'report-page' }">レポート <span class="sr-only">(current)</span></router-link> </li> <li class="nav-item"> <router-link class="nav-link" :to="{ name: 'form-page' }">記録</router-link> </li> </ul> </div> </nav> </template>結果確認
・リポートページ
・フォームページ
・フォームページでリフフェッシュする場合
→ Laravelアプリ内でのラウトではないため、404エラーが出力されるのが当然
今後対応してみよう!

- 投稿日:2020-03-30T23:58:09+09:00
Laravel7.xにVue-Routerを実装してSPAを実装してみる (1)
LaravelアプリにVue-Routerを実装してみる
Vue-Routerのインストール
npm install vue-routerpackage.jsonに "vue-router"が追加されたことを確認
package.json"dependencies": { "bootstrap": "^4.4.1", "bootstrap-vue": "^2.7.0", "cross-env": "^7.0.2", "vue": "^2.6.11", "vue-router": "^3.1.6" }Vue-Routerを追加
・app.jsでVue-Routerをインポートして、VueRouterを定義する
・ラウトで表示する「Report / Formページ」も作成resources/js/app.jsrequire('./bootstrap'); // Bootstrap-vueの実装 import Vue from 'vue' import VueRouter from 'vue-router' import { BootstrapVue, IconsPlugin } from 'bootstrap-vue' Vue.use(VueRouter) import 'bootstrap/dist/css/bootstrap.css' import 'bootstrap-vue/dist/bootstrap-vue.css' window.Vue = require('vue'); import ReportPage from './pages/report.vue' import FormPage from './pages/form.vue' import NavVar from './components/navbar.vue' Vue.component('navigation-bar', NavVar) const router = new VueRouter({ mode: 'history', routes: [ { path: '/', name: 'report-page', component: ReportPage }, { path: 'form', name: 'form-page', component: FormPage } ] }); const app = new Vue({ el: '#app', router });ラウト先の内容を表示するコンポーネントを作成
router-viewの作成
resources/views/welcome.blade.php……省略…… <router-view></router-view> ……省略……VueRouterで定義したページを作成
resources/js/pages/report.vue<template> <div class="container"> <div class="row justify-content-center"> <div class="col-12"> <div class="card"> <div class="card-header">{{ greeting }}</div> <div class="card-body"> Report Component </div> </div> </div> </div> </div> </template> <script> module.exports = { data: function() { return { greeting: 'hello' } } } </script>resources/js/pages/form.vue<template> <div class="container"> <div class="row justify-content-center"> <div class="col-md-8"> <div class="card"> <div class="card-header">{{ greeting }}</div> <div class="card-body"> Form Component </div> </div> </div> </div> </div> </template> <script> module.exports = { data: function() { return { greeting: 'hello' } } } </script>・各ページの入り口になるナビゲーションバーの作成
・<router-link>がVue-Routerでの<a>タグになるresources/js/components/navbar.vue<template> <nav class="navbar navbar-expand-lg fixed-top navbar-light" style="background-color: #e3f2fd;"> <a class="navbar-brand" href="#" style="font-weight:bold;">自己管理ツール</a> <button class="navbar-toggler" type="button" data-toggle="collapse" data-target="#navbarNav" aria-controls="navbarNav" aria-expanded="false" aria-label="Toggle navigation"> <span class="navbar-toggler-icon"></span> </button> <div class="collapse navbar-collapse" id="navbarNav"> <ul class="navbar-nav"> <li class="nav-item active"> <router-link class="nav-link" :to="{ name: 'report-page' }">レポート <span class="sr-only">(current)</span></router-link> </li> <li class="nav-item"> <router-link class="nav-link" :to="{ name: 'form-page' }">記録</router-link> </li> </ul> </div> </nav> </template>結果確認
・リポートページ
・フォームページ
・フォームページでリフフェッシュする場合
→ Laravelアプリ内でのラウトではないため、404エラーが出力されるのが当然
今後対応してみよう!
- 投稿日:2020-03-30T15:29:51+09:00
[初心者向け] laravel ルーティング
ルーティング
アクセスしたアドレスを元に処理を割り振ること。
phpのときはwebappっていうフォルダの中にhello.phpファイルを用意すれば、http:〇〇_webapp/hello.phpでアクセスできましたが、
laravelでは特定のアドレスにアクセスすると、そのアドレスに割り当てられたプログラムが実行されます。
このように「〇〇というアドレスにアクセスしたら、✖️✖️という処理を呼び出す」
という関連付けを行っている機能。routesフォルダにあるweb.phpを開きます。
web.php<?php Route::get('/', function () { return view('welcome'); });これは、laravelのあの白いページを表示させる処理です。
ルートの情報の基本(GETアクセス)
Route::get(アドレス, 関数など);
getメソッドでアドレスと処理を割り当てる
第一引数:アドレス
第二引数:アドレスによって呼び出される処理(関数、コントローラーなど)では、web.phpをみていきましょう。
第一引数は'/'でトップページを表していて、
第二引数は関数を指定しています。
内部では、returnで返り値を指定。返される値が、そのアドレスにアクセスした時に表示される内容。
view関数を使うことで「views」フォルダのテンプレートファイルを使用できる。
(viewsファイルはresourcesフォルダにあります)では、welcome.blade.phpをみていきましょう。
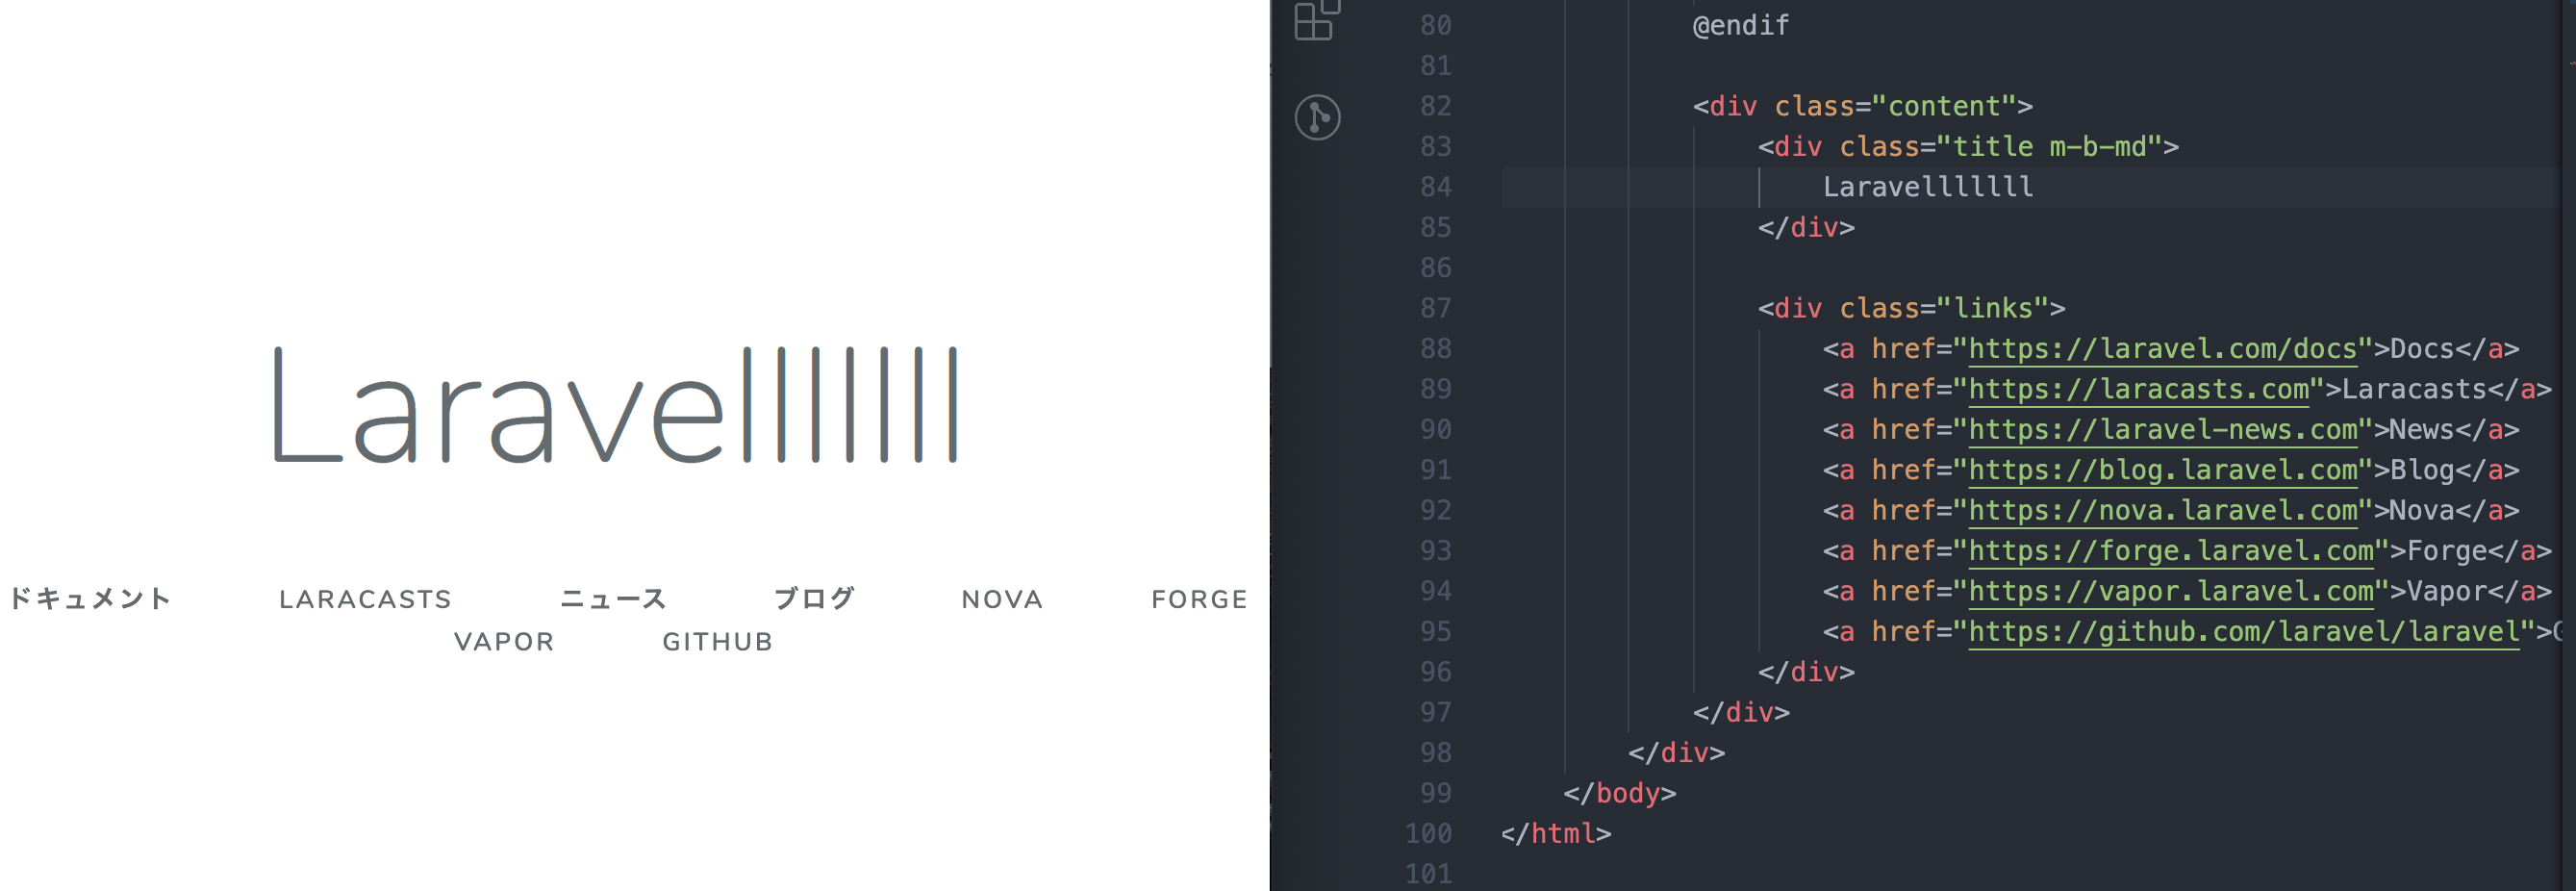
laravelのところなどを書き換えてみるとブラウザに反映されているのが分かります。
@で始まる文はHTMLでもPHPでもなく、Bladeというlaravelのソースコードです。
「view」フォルダの中にテンプレートファイルが用意されそれをview関数で読み込んでいます。HTMLを出力する
次は実際に動かしてみましょう
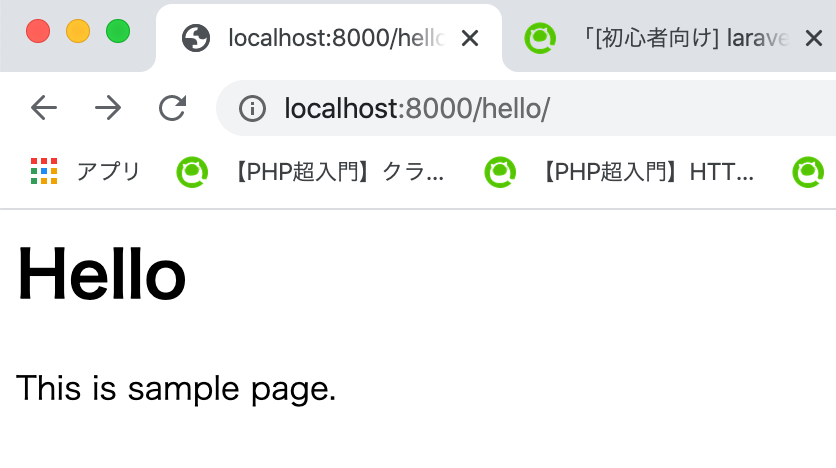
routesフォルダのweb.phpを開いて以下を追加してくださいweb.php<?php Route::get('hello', function () { return '<html><body><h1>Hello</h1><p>This is sample page. </p></body></html>'; });書いたら、htpp://localhost:8000/helloにアクセスをすると
となれば成功です。returnでHTMLのコードを直接渡すことで、そのソースコードがWebブラウザへと送られているのが分かります。
ルートパラメータ
Route::get('〇〇/{パラメータ}', function($受け取る引数){・・・});
getの第一引数に{パラメータ}とパラメータを指定し、関数に引数を用意することで、アクセスしたアドレスからパラメータを取り出せる。web.php<?php Route::get('hello/{msg}',function($msg){ $html = <<<EOF <html> <head> <title>Hello</title> </head> <body> <h1>Hello</h1> <p>{$msg}</p> <p>これはサンプルページで作ったページです。</p> </body> </html> EOF; return $html; });
今回はlocalhost:8000/hello/の後にaaaaaと入力しました。
そうすると$msgにパラメータが代入され、表示されています。先ほどのは必須パラメータといいパラメータを指定しないとエラーになります。
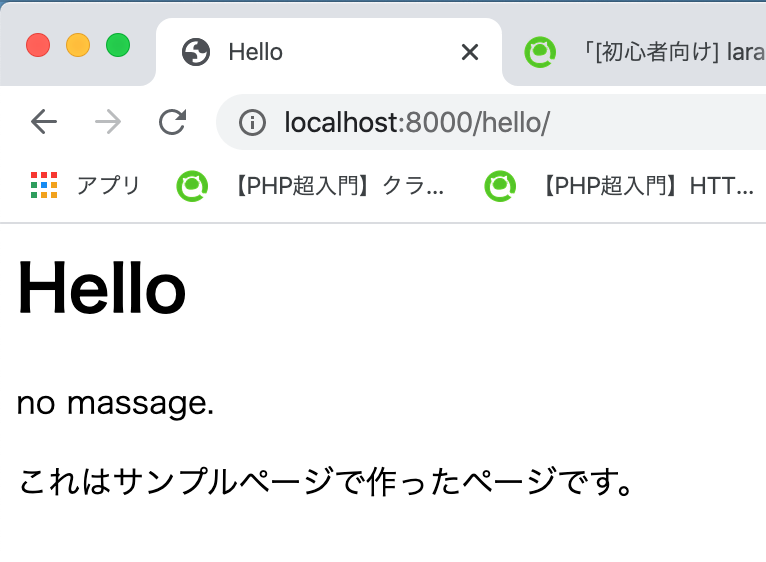
パラメーターをつけなくてもアクセスできるようにするには、任意パラメータを使いましょう。web.php<?php Route::get('hello/{msg?}',function($msg='no massage.'){ ・・・・とパラメータに「?」を付け、$msgに初期値を与えるとパラメータがなくてもアクセスできます。
となれば成功です。

- 投稿日:2020-03-30T14:40:10+09:00
自分の考えていたUnitTestはUnitTestじゃなかった
はじめに
下記記事において、factoryが動かないので
PHPUnit\Framework\TestCaseをTests\TestCaseにすればひとまず動くよって書きました。https://qiita.com/kawagashira/items/7a2fa6550403944f793b
そこで湧いた疑問
- そもそもこの2つの違いは?
Tests\TestCaseはLaravelフレームワーク外のPHPUnit\Framework\TestCaseを継承し、フレームワークのテストとしている(※表現要確認)PHPUnit\Framework\TestCaseでfactory呼べるようにならないのか
- 上記理由(フレームワーク外)と後述より、自然には呼べないし、呼ぶべきでない
- そもそもどういう経緯で
Tests\TestCaseからPHPUnit\Framework\TestCaseを利用するようになったのか
- 本題
調べてみた
https://github.com/laravel/framework/commit/e30a0c979d98f2f1f7b6c565e4002734237a280b#diff-2af5293bd425fda750632a8ba4fab87a
https://github.com/laravel/laravel/pull/5169要約
PHPUnit\Framework\TestCaseは単体テストTests\TestCaseは結合テストで使ってね
- 確かにFeatureテストをmakeすると
Tests\TestCaseがデフォルトで継承される- factory使うようなのはその時点で結合テストです
つまり
自分が書いたテストは結合テストだった。
認識としては、「モデルの1メソッドを動かして保存されてるかどうかをテストするのは単体テストやろ!」って感じだった。
とはいえ、プロジェクト的なUnitテストの認識がもうそうなっているので、しばらくは
Tests\TestCaseの書き換えで対応しそう。感想
- 認識を誤っていてすみませんでした。
- そこ変えたときにドキュメントに差を書いてくれればよかったのに。
- 読んでいるつもりですが書いていたら重ねてお詫び申し上げます
あとがき
友人が「Qiitaは翻訳サイト」って書いていて、まさにそうなったなぁと。
- 投稿日:2020-03-30T10:13:07+09:00
Laravel6 Eloquent で複数代入を使用したupdate()の書き方と注意点
初投稿です。
なんか公式のドキュメントに書いていない気がするので書きました。
バージョンはLaravel6で確認してまいすが、5.1~7.*は多分同じ。複数代入とは
こうじゃなくて。
$flight = App\Flight::find(1);
$flight->name = 'New Flight Name';
$flight->hoge = 'New Flight Hoge';
$flight->save();
こうするやつ。
App\Flight::find(1)->update([
    'name' => 'New Flight Name',
    'hoge' => 'New Flight Hoge',
]);
update()を使います。
$fillableか$guardedをModelに定義していないとエラーになります。
更新したくない値がリクエストに含まれていても、とりあえずは安心です。呼ばれてるのはこれ。実は
fill()してsave()してるだけ。\vendor\laravel\framework\src\Illuminate\Database\Eloquent\Model.php/** * Update the model in the database. * * @param array $attributes * @param array $options * @return bool */ public function update(array $attributes = [], array $options = []) { if (! $this->exists) { return false; } return $this->fill($attributes)->save($options); }実は二種類あるupdate()
ここが注意点です。
こんな風に書いてしまった場合App\Flight::where(['id' => 1])->update([ 'name' => 'New Flight Name', 'hoge' => 'New Flight Hoge', ]);
where()はBuilderを返すので、Builderのupdate()が呼ばれます。\vendor\laravel\framework\src\Illuminate\Database\Eloquent\Builder.php/** * Update a record in the database. * * @param array $values * @return int */ public function update(array $values) { return $this->toBase()->update($this->addUpdatedAtColumn($values)); }こちらは戻り値が「変更された行」ですので、
updated_atがないテーブルとかだと、普通に0が返ってきます。(ifで悲しいことになるやつ)
ついでに$fillableも$guardedも効きません。
ここに書いてる通り、Modelとか関係ないやつです。まとめ
EloquentはModelだったりBuilderだったりCollectionだったりするので注意が必要です。