- 投稿日:2020-02-28T23:05:41+09:00
Vue.js研修資料
私
証券営業 → テックエキスパート卒業生 → インターネット広告会社(エンジニア6ヶ月目)
Twitter → https://twitter.com/ar_tokki
言語
python Vuejs AWS
機械学習と統計の勉強中
TECH::EXPERTを卒業後、転職して半年間の振り返り
https://qiita.com/tokki7127/items/2eb5bbd3b1bb54e33824Vue.jsチートシート
https://qiita.com/tokki7127/items/4e0429e0f0ab34930302この資料について
・2020年の新卒に向けた研修資料である
・目的はVue.jsへの導入
・プロゲートで【HTML・CSS・JavaScript】を一通り終えた後を想定して作った
・この講義の後は下のサイトのイントロコースをやってもらう
https://www.vuemastery.com/
イントロコース完了後にVueUIの Vuetifyについて講義を行う(キータで投稿予定)
https://vuetifyjs.com/ja/Vue.jsとは
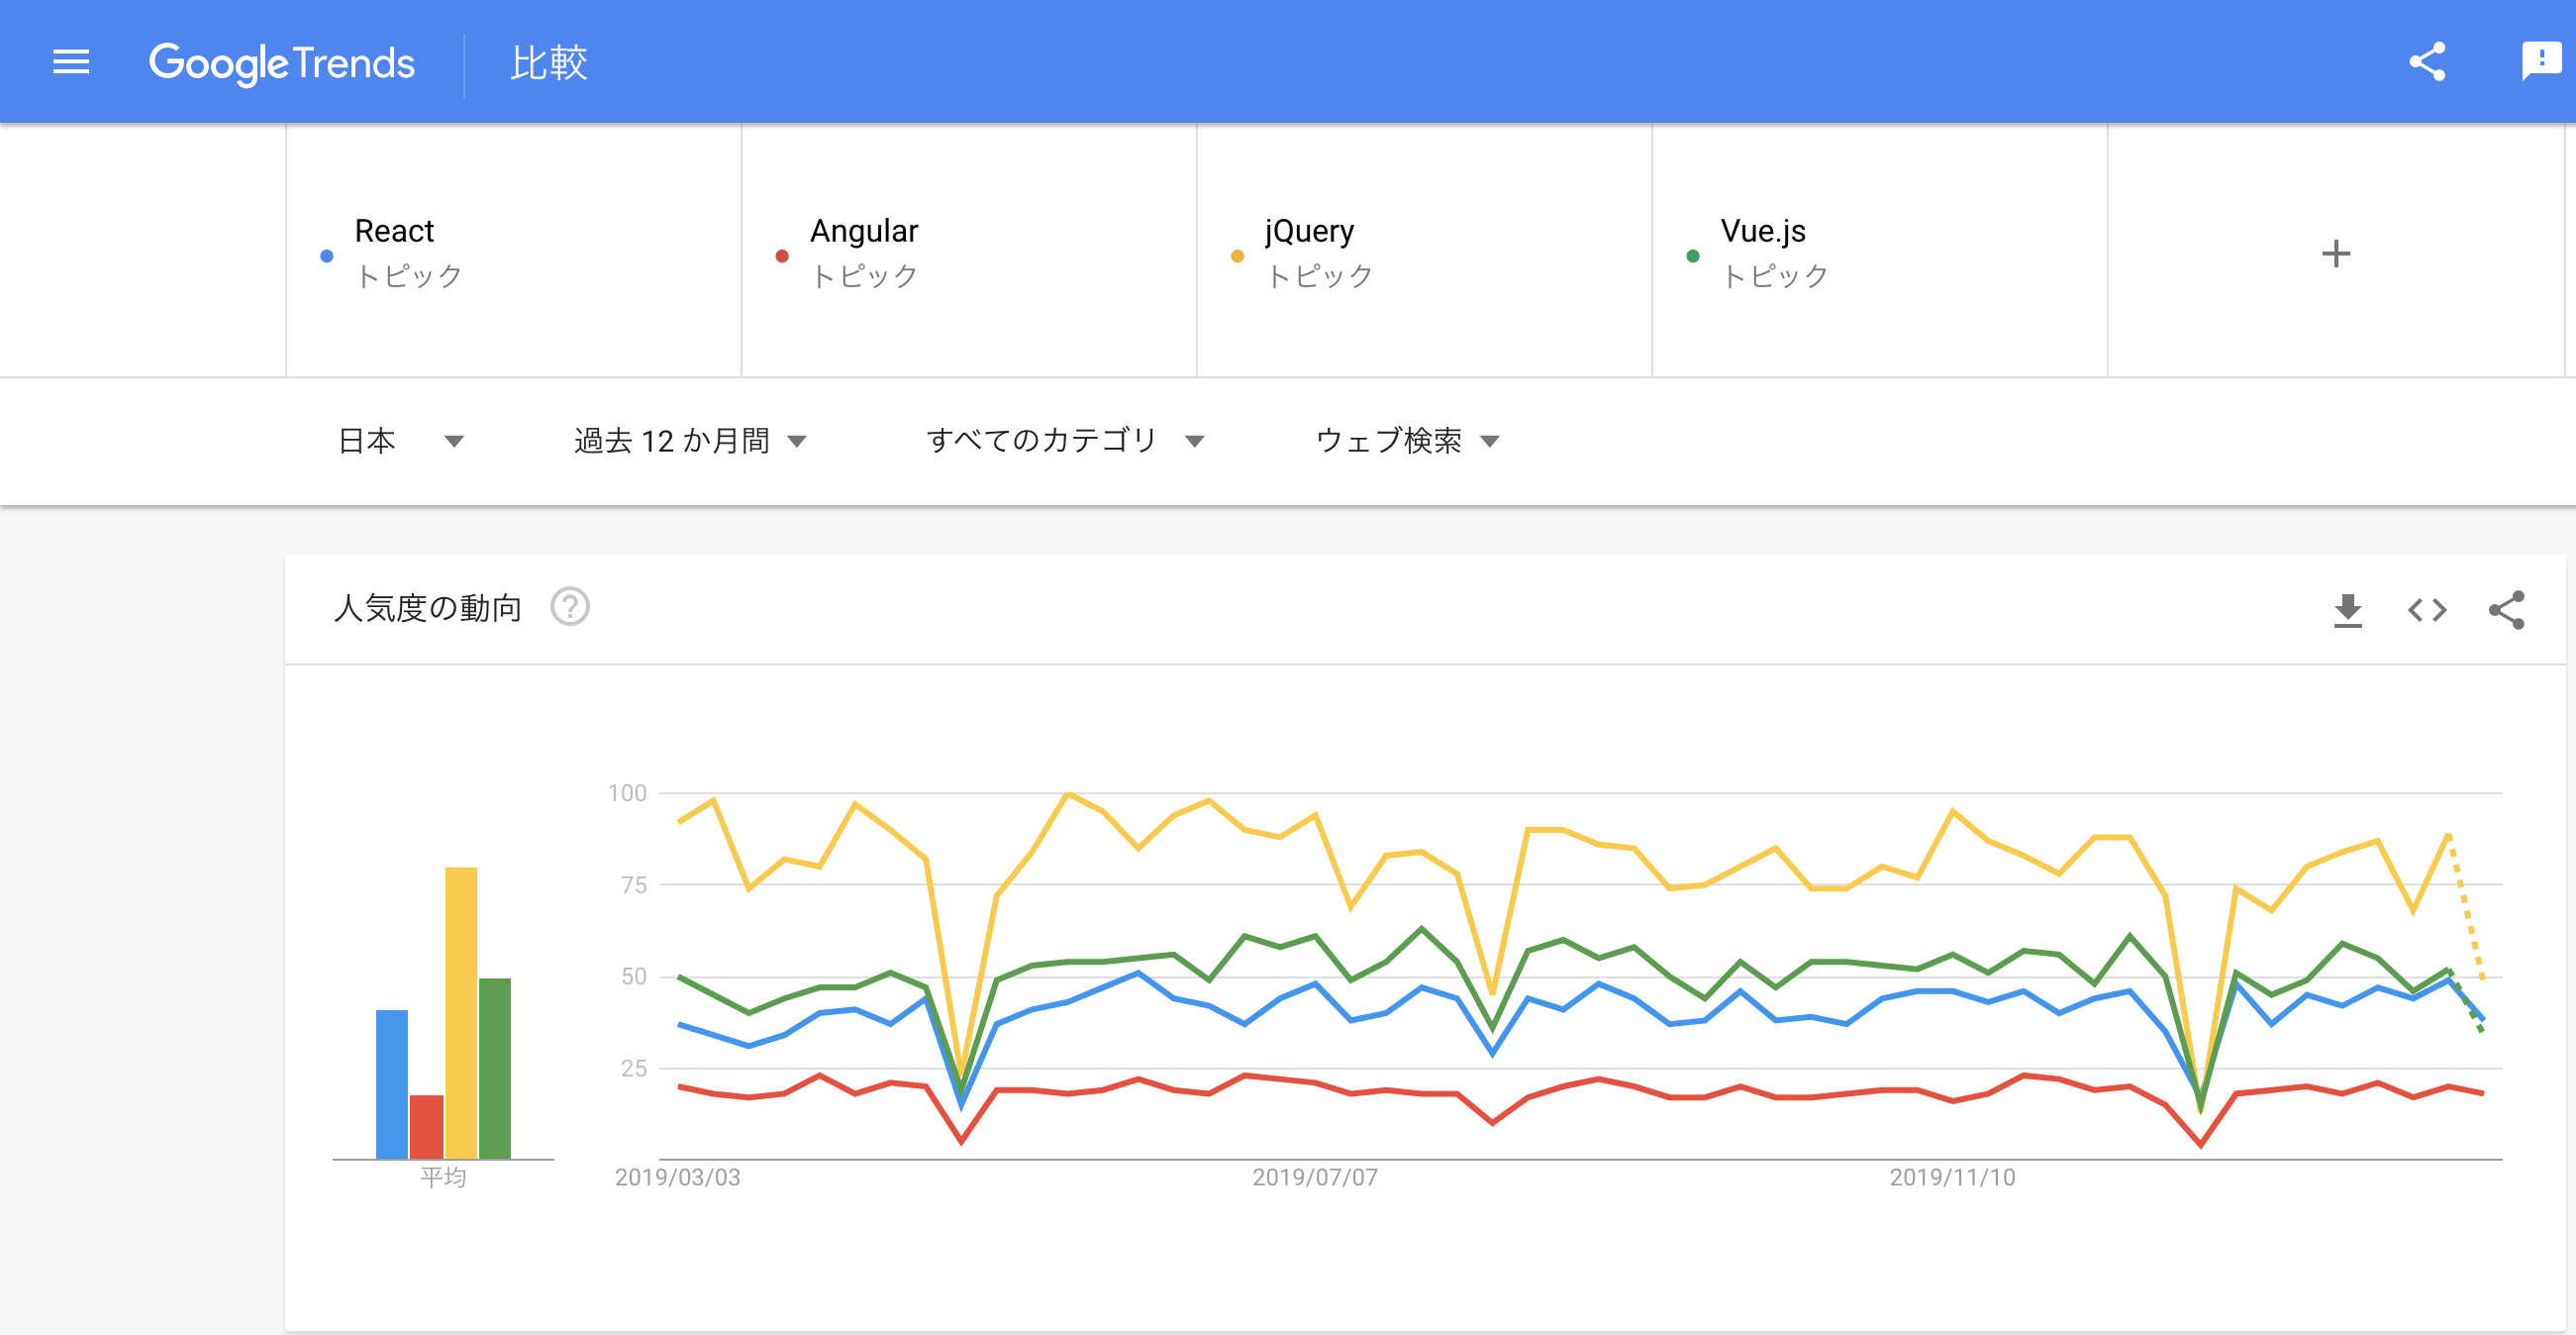
JavaScriptの3大フレームワークの1つ
左から順番にAngular・React・Vue.js
利用している企業
Angular
・YouTube Google Udemy Nike PayPal
React
・Facebook Instagram Netflix Dropbox
Vue.js
・Xiaomi Alibaba DeNA LINE情報の比較
Angular React Vue 開発元 Google+コミュニティ Facebook+コミュニティ コミュニティ主体 初期リリース日 2010/10(Angular.js) 2013/07 2013/12 機能 フルスタック ユーザーインターフェイス ユーザーインターフェイス ルーティング 同梱 React Router Vue Router 適切な開発規模 大 中〜やや大 小〜中 エコシステム 多い 豊富 小〜中 学習コスト 高い 中 やや低〜中 構文上の特徴 TypeScript JSX 単一コンポーネントファイルシステム Googleトレンドのトピックの推移
Vue.jsのメリット
学習コストが低い
公式ドキュメントがしっかりしている
日本語ドキュメントが多い軽量なフレームワークである
基本機能に絞ることで簡単に作れる
DOM操作を自動的に行ってくれる
小中規模のWebサイトを作るのに向いている
SPA(Single Page Application)開発につよい
簡単かつシンプルで日本語ドキュメントもある!!→社内システムを作るのにちょうどいい
Vueの勉強の仕方
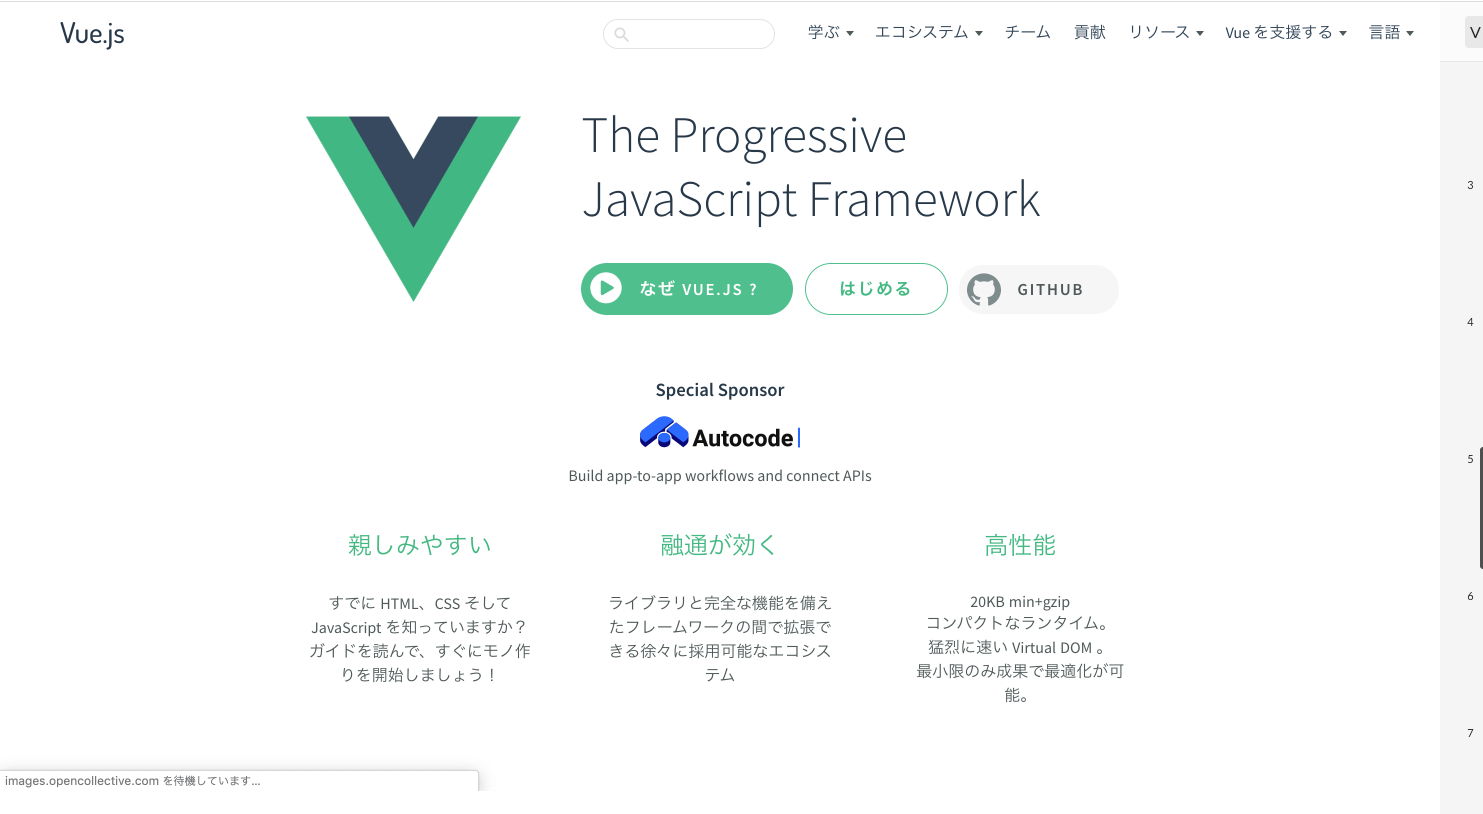
公式サイト:https://jp.vuejs.org/index.html
勉強を始める前になぜ Vue.jsの動画を見ると感覚的に理解できる有名な本
amazon:https://www.amazon.co.jp/s?k=vue&__mk_ja_JP=%E3%82%AB%E3%82%BF%E3%82%AB%E3%83%8A&ref=nb_sb_noss_1オススメのサイト:https://www.vuemastery.com/
英語ではあるがイントロコースを終了する頃にはある程度理解できているはずである
https://www.vuemastery.com/courses/intro-to-vue-js/vue-instanceVueを支えるシステム
コンポーネントシステム:部分ごとに切り分けてコードを作成することで使い回しが可能(ヘッダーとかサイドバーなど)
リアクティブシステム:状態の変化を自動的に画面に反映する仕組み
レンタリングシステム:仮想DOMによる高速レンタリング
この辺はおいおい理解すれば良い基本のコード(オススメ作業場所:https://jsfiddle.net/)
hello.html<!DOCTYPE html> <title>始めてのVue.js</title> <script src="https://unpkg.com/vue@2.5.17"></script> <div id="app" ></div> <script> new Vue({ template: '<p>{{msg}}</p>', data: {msg: 'hello world'} }).$mount('#app') </script> <style> p{background-color: red;} </style>vue.ファイル
app.vue<template> <p class="message">メッセージ:{{ msg }}</p> </template> <script> export default{ data(){ return{msg: 'こんにちわ'} } } </script> <style> .message{background-color: red;} </style>vue端子を出力したい時は@vue/cli @vue/cli-service-globalが必要になる
$を除いたコマンドを順番にうてばおそらく使えるはず
$ npm install -g @vue/cli @vue/cli-service-global
$ vue–version
$ vueserve –o用語について
フレームワークという単語自体は英語で「枠組み・構造」を意味しています。
つまり、JavaScriptでWebサービスやアプリを開発するうえで、
サーバーとの連携、ルーティング、データの送受信(CRUD)など、全体的な処理の流れを構造化するわけです。
そのため、フレームワークを使えば足りない部分だけを集中して開発すれば良いので、
とても効率が良いうえ複数人が一緒に作業しやすくなるメリットもあります。SPAとは単一のページでコンテンツの切り替えを行うWebアプリケーションのことです。
Vue.jsはSPA(Single Page Application)開発に使われていることが非常に多いです。
SPAで開発すると、ページ遷移をする時はJavaScriptを使用してHTMLの一部を差し替えて切り替えます。
従来のWebページではページ遷移の時は全体を切り替える必要があったため、
SPAによって新しいUIの実現やスピードの向上が可能となりました。
パフォーマンスの良さから今は多くの企業でWebサイト・アプリケーションにSPAを採用しており、
SPA開発に使われるVue.jsの人気も高まっています。
DeNAやGMOペパボなど、大手IT企業の開発現場でもVue.jsは採用されています。DOMとは「Document Object Model」の略
直訳すると、「ドキュメントを物として扱うモデル」になる。
プログラムからHTMLやXMLを自由に操作するための仕組みだ。
例えばブラウザに表示される文字の色を変更したり、大きくしたりと、Webページの見た目をプログラムで処理をしたい場合があるだろう、
しかし何もしていない状態のHTMLファイルではJavaScriptから手を出す事が出来ない。
そこでファイルの特定の部分に目印を付けて「この部分」に「こういう事をしたい」という処理を可能にするための
取り決めがDOMである公開した目的
エンジニア経験6ヶ月で研修を任せてもらえたので、資料を作成した。
どうせ作った資料だからいろんな人に見てもらいたい
後、スーパーエンジニアにアドバイスもらえたらなんて、、、


- 投稿日:2020-02-28T19:38:13+09:00
Reactでクラスフィールドを使用する(create-react-appとBabelを使用)
はじめに
最近、Reactのクラスコンポーネントの書き方も色々あると知ったので備忘として残しておきます。
同じ内容だけど違う書き方のクラスコンポーネント
いつものReactの書き方
constructorが書いてあってなんだか安心します。
関数のbindもしてますね。class App extends Component { constructor(props) { super(props); this.state = { counter: 0 }; this.incrementCounter = this.incrementCounter.bind(this); } incrementCounter() { this.setState({ counter: this.state.counter + 1 }); } render() { … } } export default App;いつもと違うReactの書き方
え!?constructorが書いてないじゃん!
constructorは最初に呪文のように書けって習ったよ!?
関数のbindもしてないじゃん!import React, {Component} from 'react'; class App extends Component { state = { counter: 0 }; incrementCounter = () => { this.setState({ counter: this.state.counter + 1 }); } render() { ... } } export default App;なぜ動く??
それでは、なぜ動くのでしょうか?
create-react-appが、既にBabelに設定をしてくれているためだそうです。
https://medium.com/@damianperaltam/using-class-instance-properties-in-react-with-create-react-app-and-babel-4ac4da5299e
- 投稿日:2020-02-28T13:24:45+09:00
2020年版 React+Firebaseでアプリを作成する
1. 概要
ReactでFirebaseを利用するための方法について。
2. 前提条件
作業日時
- 2020/2/28
ソフトウェアのバージョン
ソフトウェア バージョン react 16.13.0 react-dom 16.13.0 typescript 3.7.5 firebase-tools 7.14.0 3. Firebaseのプロジェクト作成
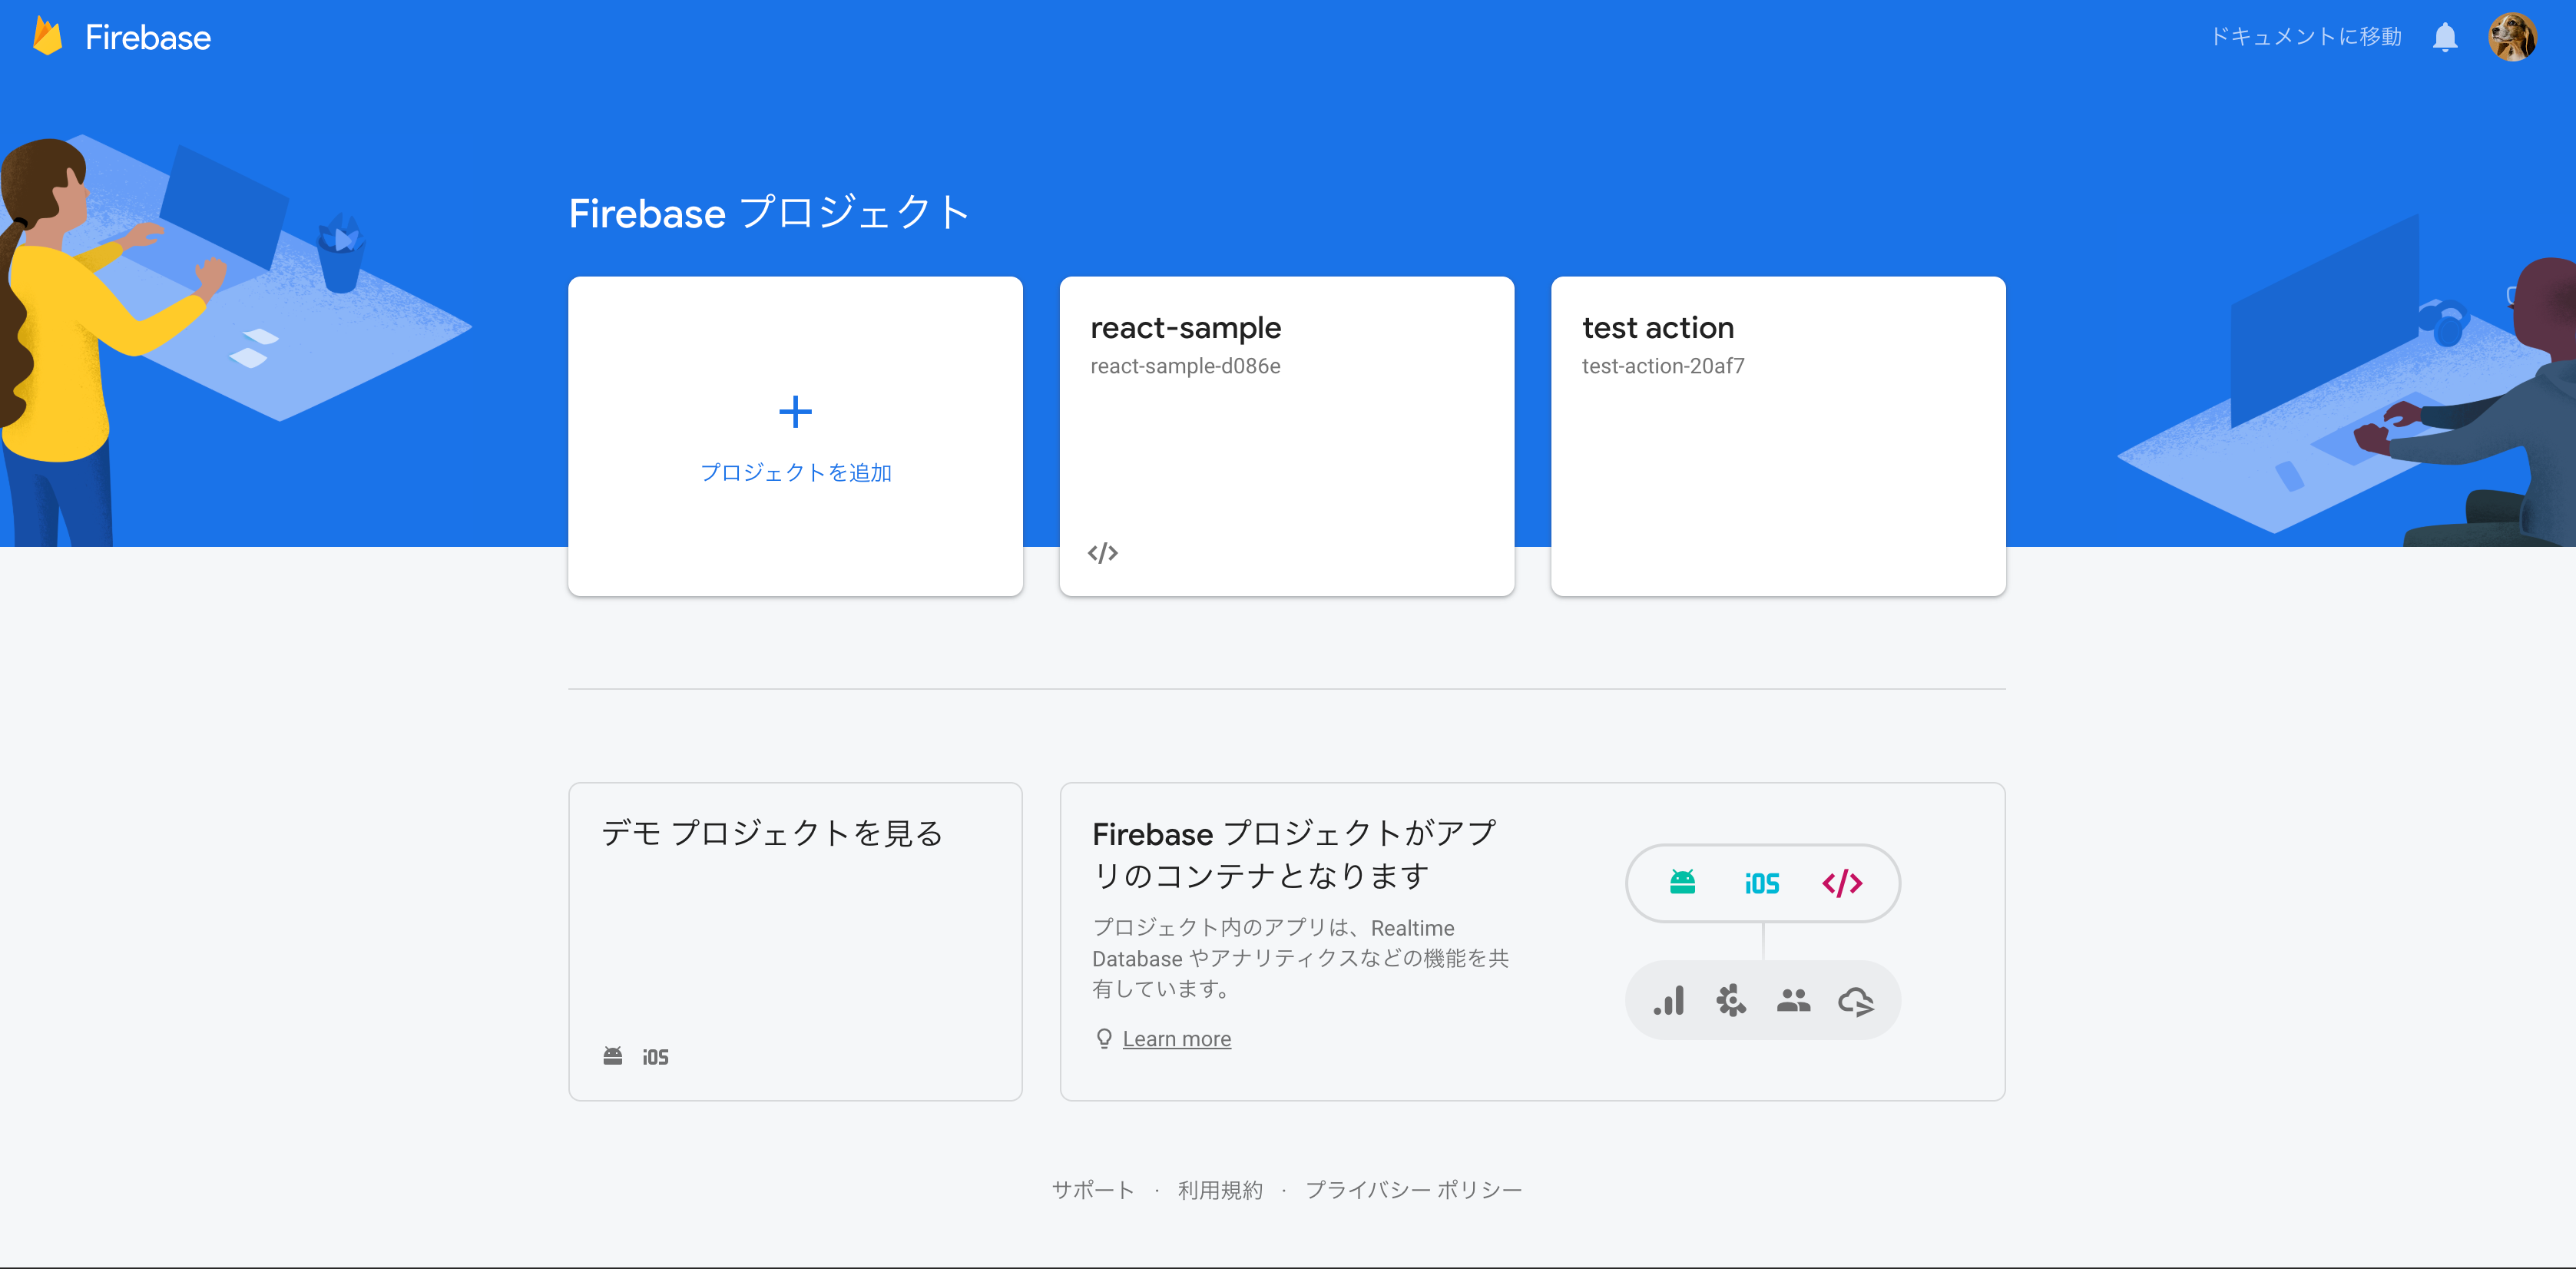
まずは、 FirebaseのWebサイト でプロジェクトを作ります。
- Firebaseにサインアップします。Googleアカウントがあればすぐ登録できます。
- プロジェクトを新規作成します。
4. Firebase CLIのセットアップ
次に、ローカル環境にFirebase CLIをインストールします。
$ yarn global add firebase-toolsFirebase CLIでFirebaseへログインすることで、認証されます。
ブラウザが起動して、ログイン画面が表示されるのでログインします。firebase login5. Reactアプリの作成
Firebaseのサンプル用のReactのアプリを作成します。
$ npx create-react-app firebase-sample --template typescript
$ cd firebase-sample/
6. Firebase Hostingへのデプロイ
6.1. Firebaseの初期設定を行います。
Firebaseの初期化を行います。
$ firebase init

     ######## #### ########  ######## ########     ###     ######  ########
     ##        ##  ##     ## ##       ##     ##  ##   ##  ##       ##
     ######    ##  ########  ######   ########  #########  ######  ######
     ##        ##  ##    ##  ##       ##     ## ##     ##       ## ##
     ##       #### ##     ## ######## ########  ##     ##  ######  ########

You're about to initialize a Firebase project in this directory:

  /Users/hoge/Documents/00_mygit/hoshimado/firebase-sample

? Which Firebase CLI features do you want to set up for this folder? Press Space to select features, then Enter to confirm your choices. (Press <space> to select, <a> to toggle all, <i>
 to invert selection)
❯◯ Database: Deploy Firebase Realtime Database Rules
 ◯ Firestore: Deploy rules and create indexes for Firestore
 ◯ Functions: Configure and deploy Cloud Functions
 ◯ Hosting: Configure and deploy Firebase Hosting sites
 ◯ Storage: Deploy Cloud Storage security rules
 ◯ Emulators: Set up local emulators for Firebase features
色々質問をされるので、次のように選択します。
? Which Firebase CLI features do you want to set up for this folder? Press Space to select features, then Enter to confirm your choices. (Press <space> to select, <a> to toggle all, <i>
 to invert selection)
→Hostingを上下で選択肢し、
スペースで選択する。その後、Enterで決定。First, let's associate this project directory with a Firebase project. You can create multiple project aliases by running firebase use --add, but for now we'll just set up a default project. ? Please select an option: Use an existing project ? Select a default Firebase project for this directory: ❯ sample-9f36d (sample)→
Use an existing projectを選択肢、その後、先程作成したプロジェクトを選択する。Your public directory is the folder (relative to your project directory) that will contain Hosting assets to be uploaded with firebase deploy. If you have a build process for your assets, use your build's output directory. ? What do you want to use as your public directory? (public)→
Enter(puclicを利用する)を押下する。? Configure as a single-page app (rewrite all urls to /index.html)? (y/N)→SPA用の設定にするため、
yを入力し、Enterを押下する。? File public/index.html already exists. Overwrite? (y/N)→
Nを入力し、Enterを押下する。最後に以下のようなメッセージが出れば、成功です。
i  Skipping write of public/index.html

i  Writing configuration info to firebase.json...
i  Writing project information to .firebaserc...

✔  Firebase initialization complete!
最後に、firebaseのホスティングの設定を修正する。
ローカルのbuildディレクトリをリモートのpublicにアップロードするように修正する。firebase.json{ "hosting": { "public": "build", /* publicからbuildに修正する。*/ "ignore": [ "firebase.json", "**/.*", "**/node_modules/**" ], "rewrites": [ { "source": "**", "destination": "/index.html" } ] } }6.2. デプロイする
次に、Firebase Hostingにデプロイするためのアプリをビルドします。
$ yarn run buildその後、以下のコマンドでFirebase Hostingにデプロイします。
$ firebase deploy7. 動作確認
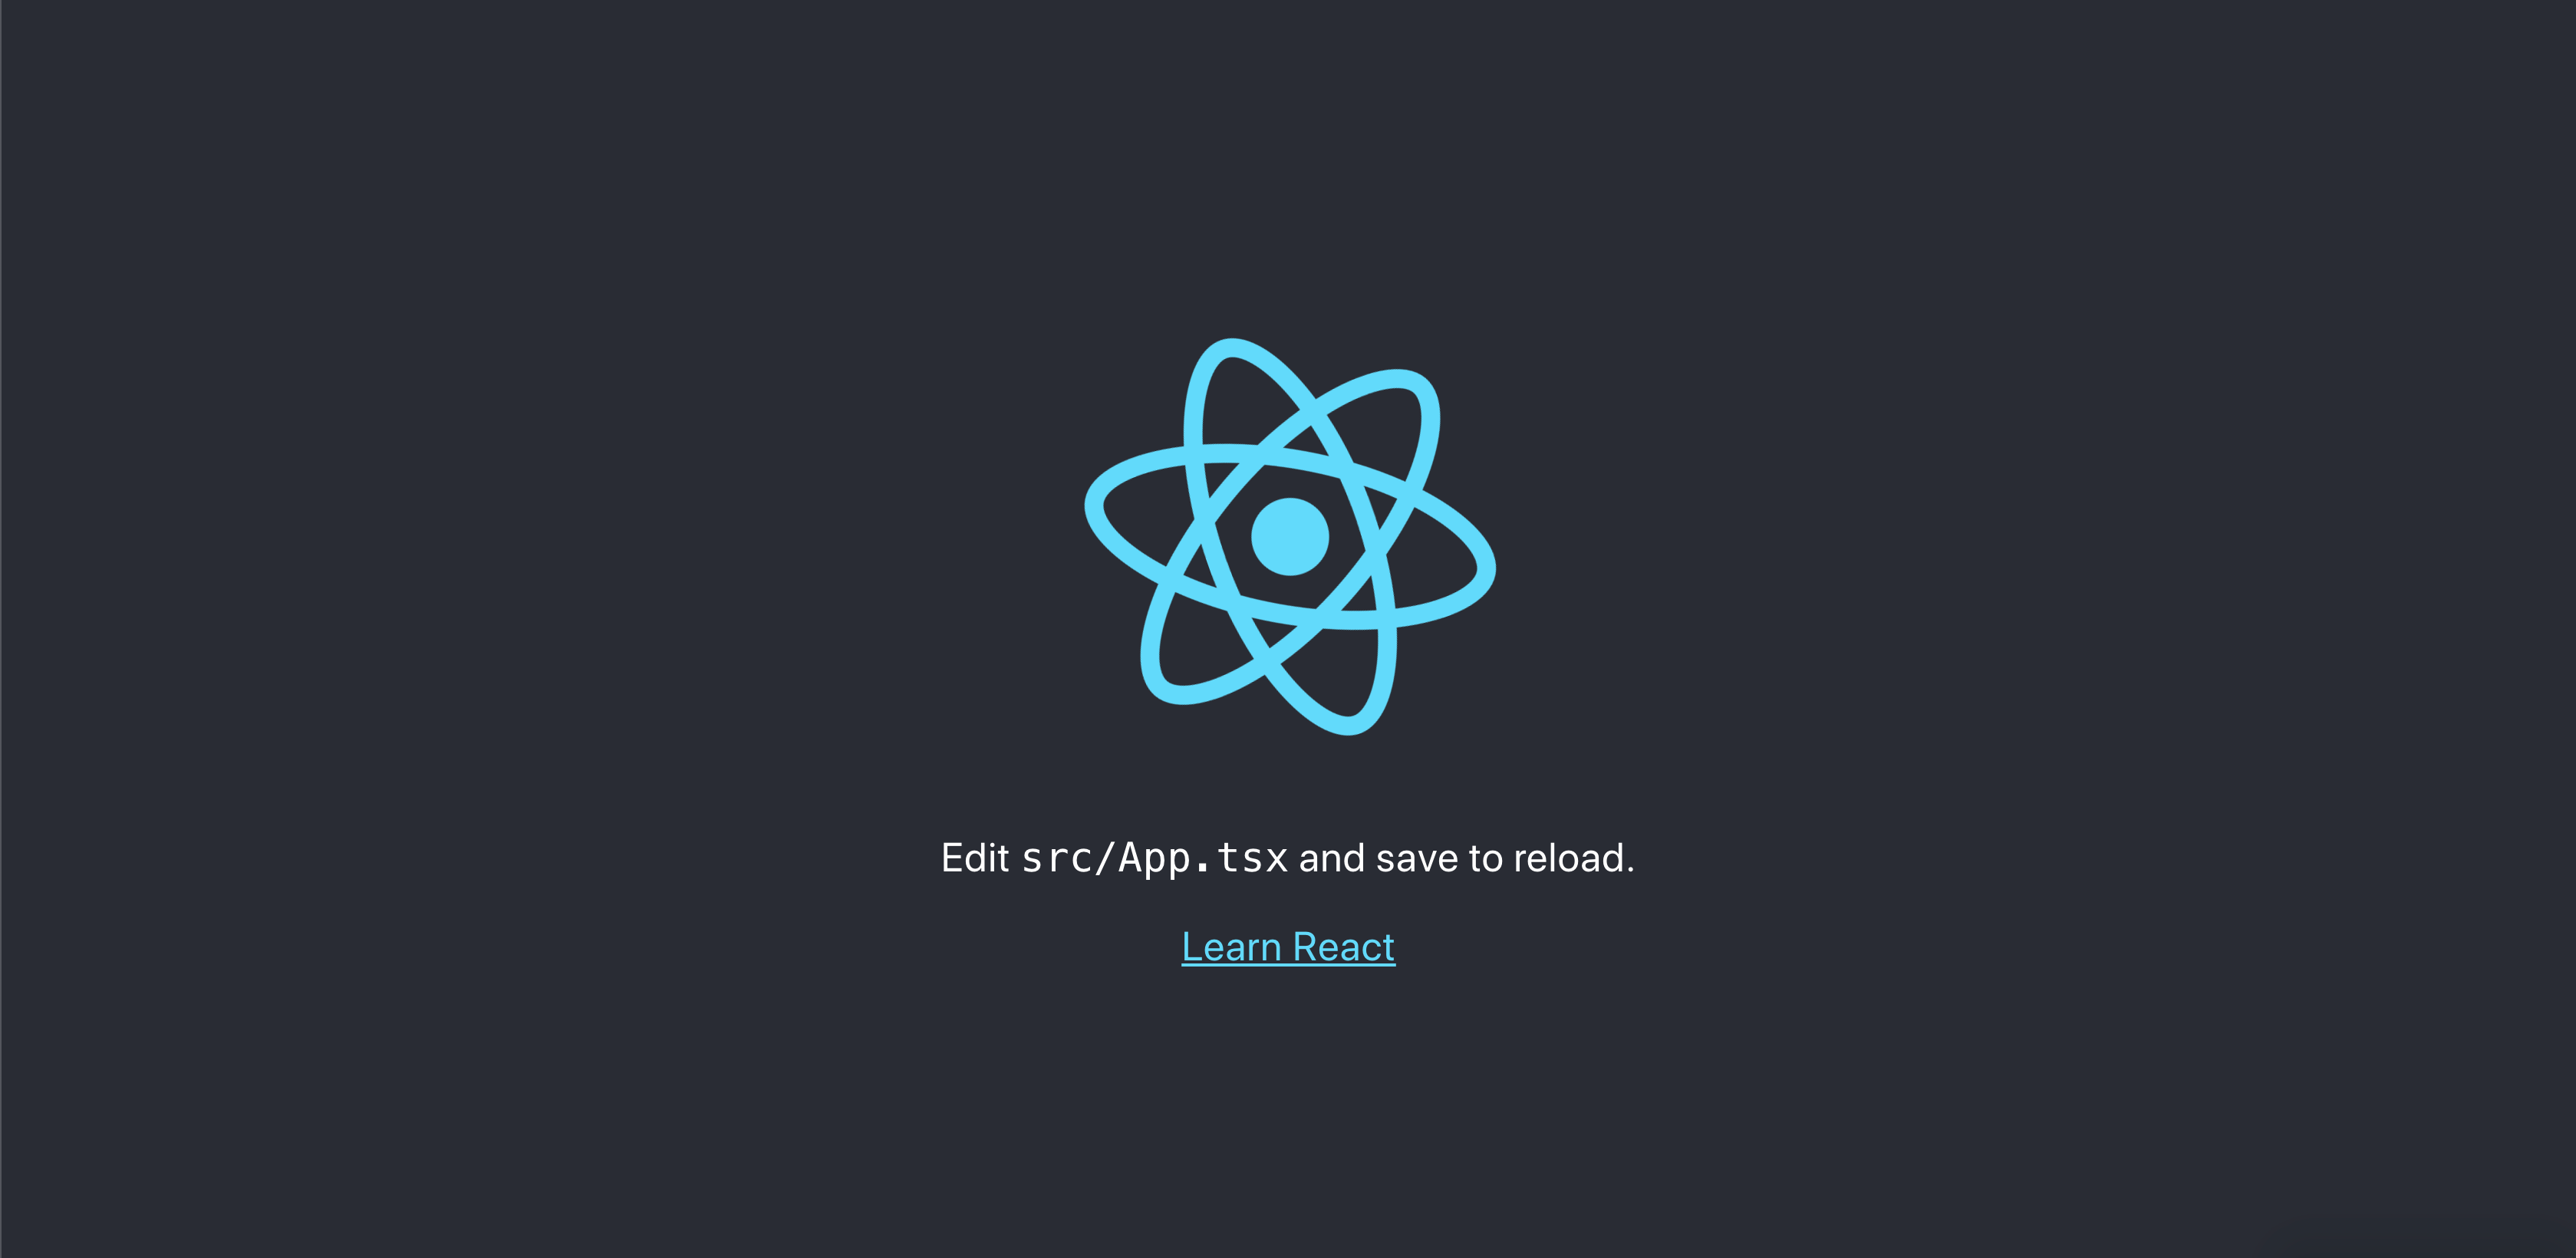
デプロイ後に表示される
Hosting URLをブラウザで開くとReactの画面が確認できます。=== Deploying to '*****'... 略 ✔ Deploy complete! Project Console: https://console.firebase.google.com/project/*****/overview Hosting URL: https://*****.firebaseapp.com
8. 最後に
次回はFirebaseへのデータの書き込みと、読み込みについてです。
- 投稿日:2020-02-28T09:10:11+09:00
2020年版 ReactのMaterial UI V4の使い方について
概要
ReactのMaterial UI V4の使い方について、基本的な利用方法について学習する。
Material UIを利用して、画面がデザインできるようになることを目標とする。*参考
- material-ui公式前提条件
作業日時
- 2020/2/28
ソフトウェアのバージョン
ソフトウェア バージョン react 16.13.0 react-dom 16.13.0 typescript 3.7.5 Material UI v4.9.4 @material-ui/core 4.9.4 @material-ui/icons 4.9.1 事前準備
Material UIを試すためのサンプル用アプリを
create-react-appで作成する。
@material-ui/iconsは、表示も早く、綺麗なSVGアイコンを利用するためにインストールする。$ npx create-react-app material-ui-sample --template typescript $ cd material-ui-sample/ $ yarn add @material-ui/core @material-ui/icons以下コマンドでローカルにサーバーを立上げ、ブラウザで画面イメージを確認しながら、編集を行う。プログラムを編集すると自動的に画面に変更が反映される。
$ yarn start上記、コマンドで自動的にブラウザが起動するが、ブラウザを閉じてしまった場合などは、 http://localhost:8080/ でアクセスすることが可能。
サンプルアプリの作成
App.tsx
既存の
App.tsxを以下のように修正する。/src/App.tsximport React from "react"; import './App.css'; import { MuiThemeProvider, createMuiTheme } from '@material-ui/core/styles'; import CssBaseline from "@material-ui/core/CssBaseline"; import green from '@material-ui/core/colors/green'; import red from '@material-ui/core/colors/red'; // 独自に作成したコンポーネントのインポート import MainContent from "./MainContent"; import MyAppBar from "./MyAppBar"; // 独自のテーマを作成する const theme = createMuiTheme({ palette: { //type: 'dark', // ダークテーマ primary: green, // primary: red, }, typography: { fontFamily: [ 'Noto Sans', 'sans-serif', ].join(','), fontSize: 12, h1: { fontSize: "1.75rem" }, h2: { fontSize: "1.5rem" }, h3: { fontSize: "1.25rem" }, h4: { fontSize: "1.125rem" }, h5: { fontSize: "1rem" }, h6: { fontSize: "1rem" }, } }); function App() { return ( <MuiThemeProvider theme={theme}> <CssBaseline /> <MyAppBar /> <MainContent /> </MuiThemeProvider > ); } export default App;ソースの冒頭で各種必要なpackageをimportしている。
importの仕方は以下の2つ({}の有無)がある。{}無しはdefaultでexportされているものを読み込む。
-import hoge from hogefuga
-import {hoge, fuga} from hogefuga
createMuiThemeはMaterial UIのテーマを修正するために利用する。palette.primaryの色を指定するだけで、その色をベースとしたテーマにすることができる。
Themeを適用するためには<MuiThemeProvider theme={theme}>のタグで囲う必要がある。その配下でThemeが適用される。
CssBaselineは、ブラウザ間の表示差異をなくし、意図通りにスタイリングを行なうためのもの。
ページのマージンが無くなり、背景色がtheme.palette.background.defaultで指定した色になる。MyAppBar.tsx
MyAppBar.tsxをsrc配下に新規に作成する。/src/MyAppBar.tsximport React, { useState } from "react"; import { makeStyles, createStyles, Theme } from '@material-ui/core/styles'; import { AppBar, Toolbar, Typography, IconButton, Avatar, List, ListItem, ListItemIcon, ListItemText, Drawer, Divider, } from '@material-ui/core'; // Material-UIアイコン取得 import SettingsIcon from '@material-ui/icons/Settings'; import InfoIcon from '@material-ui/icons/Info'; import HomeIcon from '@material-ui/icons/Home'; import MenuIcon from "@material-ui/icons/Menu"; // スタイルを適用する const useStyles = makeStyles((theme: Theme) => createStyles({ headerLogo: { color: "inherit", marginRight: 20, }, headerTitleStyle: { flexGrow: 1, color: "inherit", }, menuButton: { color: "inherit", padding: '8px', }, avatar: { margin: '8px', }, drawerList: { width: 200, height: "100%" }, }), ); function MyAppBar() { // Drawerの状態 const [isOpen, setOpen] = useState(false); // CSSを適用する。 const classes = useStyles(); // Drawerの状態を変更する関数。 const toggleDrawerNav = () => { setOpen(!isOpen); }; const closeDrawerNav = () => { setOpen(false); }; return ( <React.Fragment> {/* 上部のバー */} <AppBar position='static' aria-label="Global Navi"> <Toolbar> <IconButton onClick={toggleDrawerNav} aria-label="SideMenu"> <MenuIcon /> </IconButton> <Typography className={classes.headerLogo} variant="subtitle1">My Sample App</Typography> <Typography className={classes.headerTitleStyle} variant="subtitle1" >Material UI test</Typography> <IconButton className={classes.menuButton} aria-label="Menu"> <Avatar className={classes.avatar}></Avatar> </IconButton> </Toolbar> </AppBar> {/* サイドメニュー */} <Drawer open={isOpen} onClose={closeDrawerNav}> <div className={classes.drawerList}> <List> <ListItem button onClick={closeDrawerNav}> <ListItemIcon> {<HomeIcon />} </ListItemIcon> <ListItemText primary={"Home"} /> </ListItem> <ListItem button onClick={closeDrawerNav}> <ListItemIcon> {<InfoIcon />} </ListItemIcon> <ListItemText primary={"Info"} /> </ListItem> <ListItem button onClick={closeDrawerNav}> <ListItemIcon> {<SettingsIcon />} </ListItemIcon> <ListItemText primary={"Setting"} /> </ListItem> </List> <Divider /> </div> </Drawer> </React.Fragment> ); } export default MyAppBar;
const useStyles = makeStyles((theme: Theme) =>{}はMateril-uiでCSSを適用するための方法。
*他にもいくつかCSSを適用する方法はあります。
冒頭でクラス名と適用したいスタイルを宣言する。CSSの記法と多少異なるので注意。実際に利用するには、まず、関数の中で
const classes = useStyles();を呼び出し、スタイルを適用したいコンポーネントに<Avatar className={classes.avatar}></Avatar>でクラス名を指定する。
const [isOpen, setOpen] = useState(false);はReact HookのuseStateというもので、ここではDrawerの状態の変数を宣言している。
useStateはconst [<変数名>, <変数に値を設定する関数名>] = useState(<初期値>);でstate(変数)を宣言することができる。Material-uiのコンポーネントは
import {hoge} '@material-ui/core';でインポートしてから利用する。
アイコンはimport MailIcon from '@material-ui/icons/Mail';で利用する。MainContent.tsx
続いて、
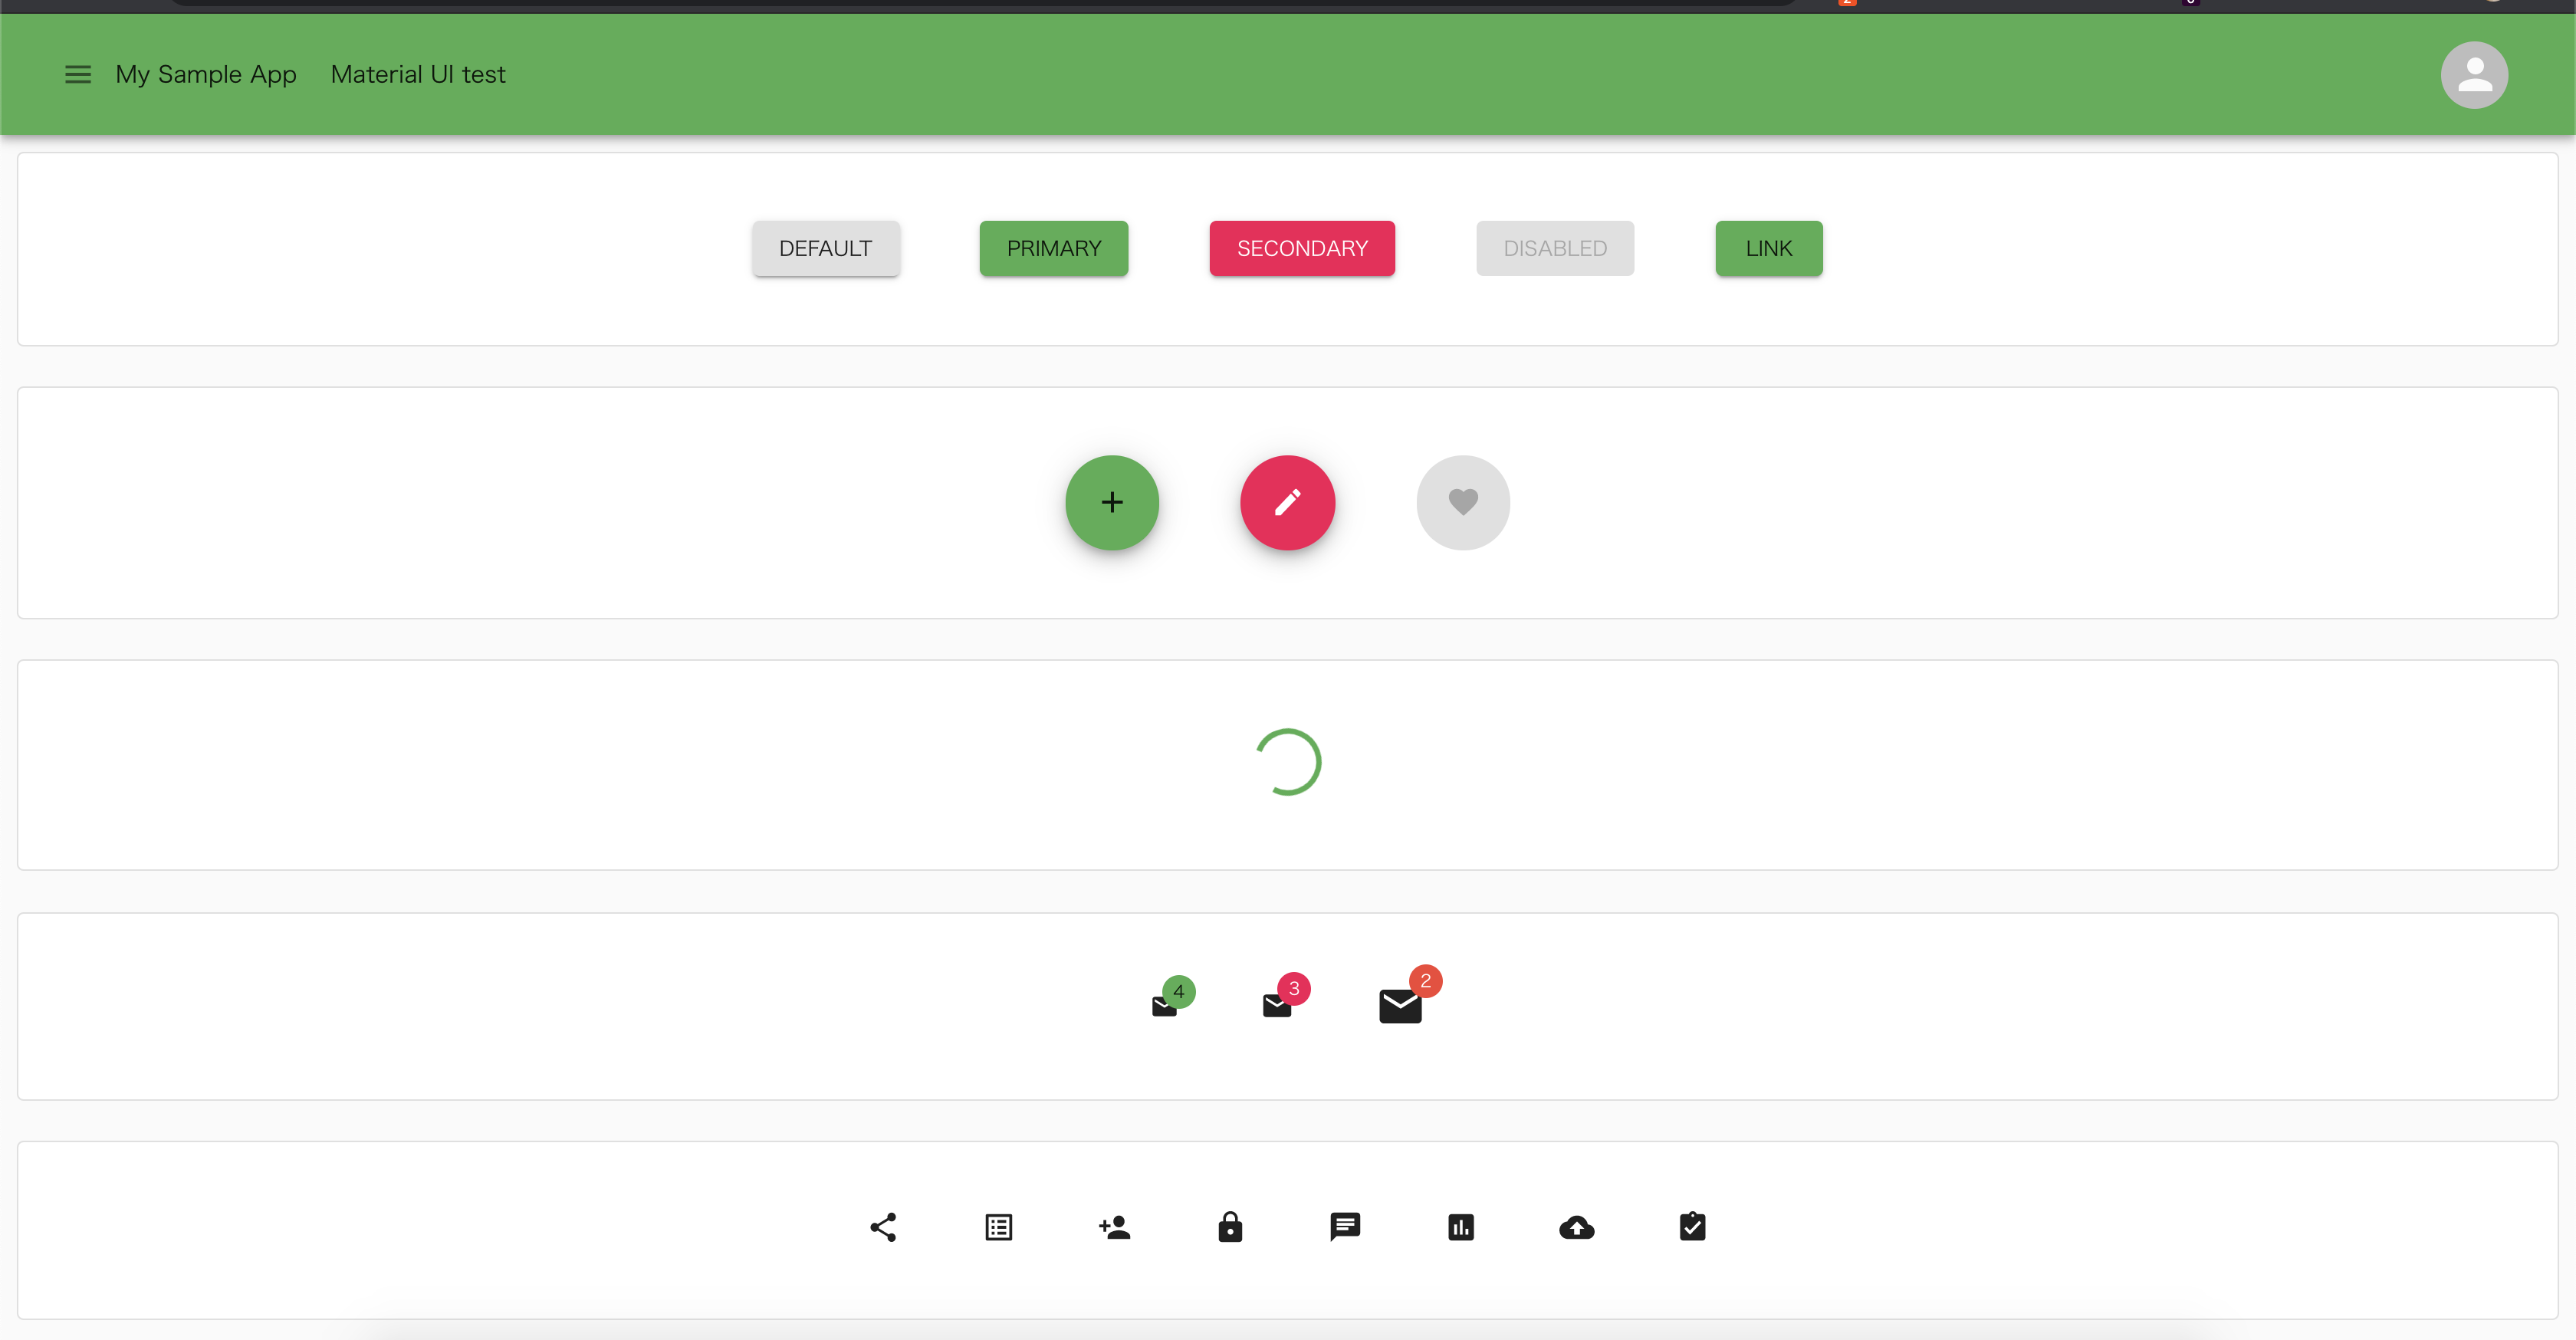
MainContent.tsxをsrc配下に新規に作成する。/src/MainContent.tsximport React from "react"; import { makeStyles, createStyles, Theme } from '@material-ui/core/styles'; import { Badge, CircularProgress, Paper, Button, Fab, Grid } from '@material-ui/core'; // Material-UIアイコン取得 import MailIcon from '@material-ui/icons/Mail'; import ShareIcon from '@material-ui/icons/Share'; import ListAlt from '@material-ui/icons/ListAlt'; import PersonAdd from '@material-ui/icons/PersonAdd'; import Lock from '@material-ui/icons/Lock'; import Chat from '@material-ui/icons/Chat'; import Assessment from '@material-ui/icons/Assessment'; import CloudUpload from '@material-ui/icons/CloudUpload'; import AssignmentTurnedIn from '@material-ui/icons/AssignmentTurnedIn'; import AddIcon from '@material-ui/icons/Add'; import EditIcon from '@material-ui/icons/Edit'; import FavoriteIcon from '@material-ui/icons/Favorite'; // スタイルを適用する const useStyles = makeStyles((theme: Theme) => createStyles({ root: { flexGrow: 1, padding: '10px', }, paper: { padding: theme.spacing(2), textAlign: 'center', '& > *': { margin: theme.spacing(3), }, }, }), ); function MainContent() { // CSSを適用する。 const classes = useStyles(); return ( <Grid container className={classes.root} spacing={3}> <Grid item xs={12} justify="center" > <Paper variant="outlined" elevation={3} className={classes.paper}> <Button variant="contained">Default</Button> <Button variant="contained" color="primary"> Primary </Button> <Button variant="contained" color="secondary"> Secondary </Button> <Button variant="contained" disabled> Disabled </Button> <Button variant="contained" color="primary" href="#contained-buttons"> Link </Button> </Paper> </Grid> <Grid item xs={12} justify="center" > <Paper variant="outlined" elevation={3} className={classes.paper}> <Fab color="primary" aria-label="add"> <AddIcon /> </Fab> <Fab color="secondary" aria-label="edit"> <EditIcon /> </Fab> <Fab disabled aria-label="like"> <FavoriteIcon /> </Fab> </Paper> </Grid> <Grid item xs={12} justify="center" > <Paper variant="outlined" elevation={3} className={classes.paper}> <CircularProgress /> </Paper> </Grid> <Grid item xs={12} justify="center" > <Paper variant="outlined" elevation={3} className={classes.paper}> <Badge badgeContent={4} color="primary"> <MailIcon fontSize="small" /> </Badge> <Badge badgeContent={3} color="secondary"> <MailIcon /> </Badge> <Badge badgeContent={2} color="error"> <MailIcon fontSize="large"/> </Badge> </Paper> </Grid> <Grid item xs={12} justify="center" > <Paper variant="outlined" elevation={3} className={classes.paper}> <ShareIcon /> <ListAlt /> <PersonAdd /> <Lock /> <Chat /> <Assessment /> <CloudUpload /> <AssignmentTurnedIn /> </Paper> </Grid> </Grid> ); } export default MainContent;画面イメージ
ここまでで以下のような画面が作成される。
最後に
firebaseとの連携方法は次回記載予定。
- 投稿日:2020-02-28T00:19:25+09:00
GitHub Actionsでgh-pagesを利用してReactアプリをGitHub Pagesにデプロイする
はじめに
最近Reactをさわり始めて、以下のような流れに。
1. せっかくReactアプリを作ったので、GitHub Pagesにデプロイして公開したい。
2. デプロイはできるようになったけど、ソースを変更した際にいちいちコマンド打つの面倒。
3. そうだ!GitHub Actionsあるやん。こんな経緯でGitHub Actionsのworkflow書いてたのですが、地味に手間取ったのでやり方を書いておこうと思います。
対象
この記事は以下の人を対象としています。
- Reactアプリをgh-pagesでデプロイする環境ができている人。
npm run deployで実行できる状態にしてください。- 環境構築はGitHub PagesにReactアプリをデプロイする方法が参考になりました。
- GitHub Actionsでデプロイ処理を自分で書きたい人。
- 重要! なぜならGitHub Actions による GitHub Pages への自動デプロイでusesを使った実装方法が書いてあるからです。
要約
GitHub Actionsのworkflowで、jobs.stepsに以下のような処理を追加することで実装できます。
gitの設定をしてnpm run deployをするだけです。steps: (npm installとかの処理) - name: deploy to GitHub Pages env: GITHUB_TOKEN: ${{ secrets.GITHUB_TOKEN }} run: | git config --global user.email "action@example.com" # 任意のメールアドレス git config --global user.name "GitHub Action" # 任意のユーザ名 git remote set-url origin https://${GITHUB_ACTOR}:${GITHUB_TOKEN}@github.com/${GITHUB_REPOSITORY}.git npm run deploy # gh-pages -d buildの実行前提
- ローカル環境で以下のコマンドを実行すると、ReactアプリがGitHub Pagesにデプロイされる状態であること。
npm run deploy参考としてpackage.json設定を書いておきます。
package.json{ ... "homepage": "https://${ユーザ名}.github.io/${リポジトリ}", "devDependencies": { ... "gh-pages": "^2.2.0" }, "scripts": { ... "predeploy": "npm run build", "deploy": "gh-pages -d build" }, ... }全体
ローカル環境から
gh-pagesでデプロイできる状態であれば、
GitHub Actionsのworkflowを書いてあげれば良いです。workflowname: deploy CI on: [push] # トリガー jobs: test-deploy: runs-on: ubuntu-latest strategy: matrix: node-version: [12.x] # 実行するノードバージョン steps: - uses: actions/checkout@v2 - name: Use Node.js ${{ matrix.node-version }} uses: actions/setup-node@v1 with: node-version: ${{ matrix.node-version }} - name: npm install run: npm install - name: deploy to GitHub Pages env: GITHUB_TOKEN: ${{ secrets.GITHUB_TOKEN }} run: | git config --global user.email "action@example.com" # push時に使われるgitユーザメールアドレス git config --global user.name "GitHub Action" # push時に使われるgitユーザ名(表示名) git remote set-url origin https://${GITHUB_ACTOR}:${GITHUB_TOKEN}@github.com/${GITHUB_REPOSITORY}.git npm run deploypush時に使われるgitユーザは自分自身の情報である必要はないみたいですが、
作成されるgh-pagesの更新者として使われるため、それっぽい情報にしておいた方が良さそうです。
workflowの設定ができたら、あとは指定したトリガーによってデプロイが完了することを確認するだけです。参考として、私が作ったworkflowを置いておきます。
https://github.com/salty-byte/practice_autotest/blob/master/.github/workflows/sample_web.yml発生したエラー対応
作業中に発生したエラーを以下に書いておきます。
どれもエラー内容を見ればわかるような内容ではありますが、今後のために残しておこうと思います。エラー1: enoent ENOENT: no such file or directory, open 〇〇
CI実行時Run npm run deploy npm run deploy shell: /bin/bash -e {0} npm ERR! code ENOENT npm ERR! syscall open npm ERR! path /home/runner/work/practice_autotest/practice_autotest/package.json npm ERR! errno -2 npm ERR! enoent ENOENT: no such file or directory, open '/home/runner/work/practice_autotest/practice_autotest/package.json' npm ERR! enoent This is related to npm not being able to find a file. npm ERR! enoent npm ERR! A complete log of this run can be found in: npm ERR! /home/runner/.npm/_logs/2020-02-25T14_38_46_919Z-debug.log ##[error]Process completed with exit code 254.原因は。実行場所が間違っており、
package.jsonが読み込めないためでした。
サブディレクトリ内でReactのアプリを作っていたため、GitHub Actionsで実行する場合はworking-directoryを設定してあげる必要がありました。workflow- name: deploy to GitHub Pages working-directory: ./sample_web # <= 実行ディレクトリを設定する run: # (処理)エラー2: fatal: empty ident name (for <〇〇>) not allowed
CI実行時> gh-pages -d build *** Please tell me who you are. Run git config --global user.email "you@example.com" git config --global user.name "Your Name" to set your account's default identity. Omit --global to set the identity only in this repository. fatal: empty ident name (for <runner@fv-az69.str34x0cr0pe5ekn2npy21mm0h.bx.internal.cloudapp.net>) not allowed npm ERR! code ELIFECYCLE npm ERR! errno 1 npm ERR! sample_web@0.1.0 deploy: `gh-pages -d build` npm ERR! Exit status 1 npm ERR! npm ERR! Failed at the sample_web@0.1.0 deploy script. npm ERR! This is probably not a problem with npm. There is likely additional logging output above. npm ERR! A complete log of this run can be found in: npm ERR! /home/runner/.npm/_logs/2020-02-25T14_49_48_023Z-debug.log ##[error]Process completed with exit code 1.原因は、push時に使われるgitユーザを設定していないためでした。
workflowrun: | git config --local user.email "action@github.com" # <= gitユーザを設定する git config --local user.name "GitHub Action" # <= gitユーザを設定する git remote set-url origin {PATH} npm run deployエラー3: fatal: could not read Username for 〇〇: No such device or address
CI実行時> gh-pages -d build fatal: could not read Username for 'https://github.com': No such device or address npm ERR! code ELIFECYCLE npm ERR! errno 1 npm ERR! sample_web@0.1.0 deploy: `gh-pages -d build` npm ERR! Exit status 1 npm ERR! npm ERR! Failed at the sample_web@0.1.0 deploy script. npm ERR! This is probably not a problem with npm. There is likely additional logging output above. npm ERR! A complete log of this run can be found in: npm ERR! /home/runner/.npm/_logs/2020-02-25T15_43_08_640Z-debug.log ##[error]Process completed with exit code 1.原因は、リモートのURLが設定されていない or 間違っているためでした。
workflowrun: | git config --local user.email "action@github.com" git config --local user.name "GitHub Action" git remote set-url origin {PATH} # <= リモートURLを設定する npm run deploy参考文献
- GitHub PagesにReactアプリをデプロイする方法
- Setting up Github Actions for a React App on Github Pages
- 環境変数の利用 - GitHub ヘルプ
- GitHub Actions による GitHub Pages への自動デプロイ
おわりに
今回は勉強としてrunの中身を書きましたが、usesで他の人が公開しているActionを使った方が楽だと思います。
また、GitHub Actionsは初めて触ったのですが、テスト実行以外にもいろいろなことができそうなので活用していきたいと思います。