if(!empty($_POST)){$statement=$db->prepare('INSERT INTO members SET name=?, email=?, password=?, picture=?, created=NOW()');$statement->execute(array($_SESSION['join']['name'],$_SESSION['join']['email'],// 「sha1」というのは記号化してくれるもの(不可逆)sha1($_SESSION['join']['password']),$_SESSION['join']['image'],));
if($_POST['email']!=''&&$_POST['password']!==''){$login=$db->prepare('SELECT * FROM members WHERE email=? AND password=?');$login->execute(array($_POST['email'],sha1($_POST['password'])));$member=$login->fetch();if($member){$_SESSION['id']=$member['id'];$_SESSION['time']=time();header('Location: index.php');exit();
if(isset($_SESSION['id'])&&$_SESSION['time']+3600>time()){$_SESSION['time']=time();$members=$db->prepare('SELECT * FROM members WHERE id=?');$members->execute(array($_SESSION['id']));$member=$members->fetch();}else{header('Location: login.php');exit();}
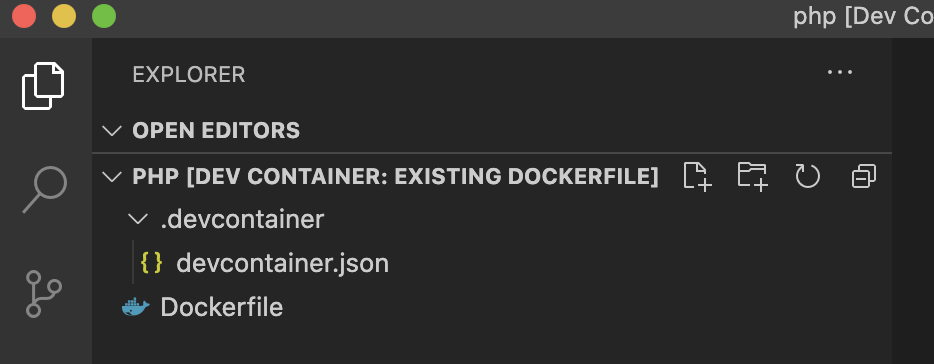
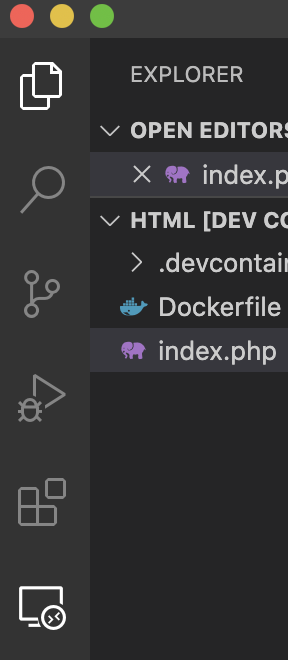
// For format details, see https://aka.ms/devcontainer.json. For config options, see the README at:// https://github.com/microsoft/vscode-dev-containers/tree/v0.158.0/containers/docker-existing-dockerfile{"name":"Existing Dockerfile",// Sets the run context to one level up instead of the .devcontainer folder."context":"..",// Update the 'dockerFile' property if you aren't using the standard 'Dockerfile' filename."dockerFile":"../Dockerfile",// Set *default* container specific settings.json values on container create."settings":{"terminal.integrated.shell.linux":null},// Add the IDs of extensions you want installed when the container is created."extensions":[]// Use 'forwardPorts' to make a list of ports inside the container available locally.// "forwardPorts": [],// Uncomment the next line to run commands after the container is created - for example installing curl.// "postCreateCommand": "apt-get update && apt-get install -y curl",// Uncomment when using a ptrace-based debugger like C++, Go, and Rust// "runArgs": [ "--cap-add=SYS_PTRACE", "--security-opt", "seccomp=unconfined" ],// Uncomment to use the Docker CLI from inside the container. See https://aka.ms/vscode-remote/samples/docker-from-docker.// "mounts": [ "source=/var/run/docker.sock,target=/var/run/docker.sock,type=bind" ],// Uncomment to connect as a non-root user if you've added one. See https://aka.ms/vscode-remote/containers/non-root.// "remoteUser": "vscode"}
修正後
// For format details, see https://aka.ms/devcontainer.json. For config options, see the README at:// https://github.com/microsoft/vscode-dev-containers/tree/v0.158.0/containers/docker-existing-dockerfile{"name":"Existing Dockerfile",// Sets the run context to one level up instead of the .devcontainer folder."context":"..",// Update the 'dockerFile' property if you aren't using the standard 'Dockerfile' filename."dockerFile":"../Dockerfile",// Set *default* container specific settings.json values on container create."settings":{"terminal.integrated.shell.linux":null},"workspaceFolder":"/var/www/html","workspaceMount":"type=bind,source=${localWorkspaceFolder},target=/var/www/html",// Add the IDs of extensions you want installed when the container is created."extensions":[]// Use 'forwardPorts' to make a list of ports inside the container available locally.// "forwardPorts": [],// Uncomment the next line to run commands after the container is created - for example installing curl.// "postCreateCommand": "apt-get update && apt-get install -y curl",// Uncomment when using a ptrace-based debugger like C++, Go, and Rust// "runArgs": [ "--cap-add=SYS_PTRACE", "--security-opt", "seccomp=unconfined" ],// Uncomment to use the Docker CLI from inside the container. See https://aka.ms/vscode-remote/samples/docker-from-docker.// "mounts": [ "source=/var/run/docker.sock,target=/var/run/docker.sock,type=bind" ],// Uncomment to connect as a non-root user if you've added one. See https://aka.ms/vscode-remote/containers/non-root.// "remoteUser": "vscode"}
<?phpuseAws\S3\S3Client;useAws\S3\Transfer;$client=newS3Client(['region'=>'****','version'=>'latest',]);// from$source='s3://bucket/foo';// to ローカルディレクトリのパス$dest='/path/to/destination/dir';$manager=newTransfer($client,$source,$dest,);$manager->transfer();
非同期転送
sample.php
<?phpuseAws\S3\S3Client;useAws\S3\Transfer;$client=newS3Client(['region'=>'****','version'=>'latest',]);// from$source='s3://bucket/foo';// to ローカルディレクトリのパス$dest='/path/to/destination/dir';$manager=newTransfer($client,$source,$dest,);$promise=$manager->promise();$promise->then(function(){echo'Done!';})->otherwise(function($reason){echo'Transfer failed';});
classFileImportRequestextendsFormRequest{/**
* Determine if the user is authorized to make this request.
*
* @return bool
*/publicfunctionauthorize(){returntrue;}/**
* Get the validation rules that apply to the request.
*
* @return array
*/publicfunctionrules(){return['uploaded_file'=>/*バリデーションルール*/,'file_type'=>/*バリデーションルール*/];}/**
* convert request values into FileImportDto
*
* @return FileImportDto
*/publicfunctionconvertIntoDto():FileImportDto{$uploadedFile=$this->file('uploaded_file');returnnewFileImportDto($uploadedFile,(int)$this->input('file_type'),$uploadedFile->getClientOriginalName(),$uploadedFile->path());}}
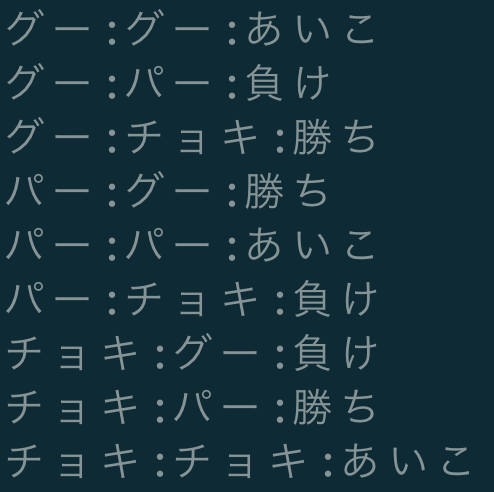
<?phpnamespaceJanken;useClosure;constWIN_LOSE_TABLE=['グー'=>['チョキ'=>1,'パー'=>-1],'チョキ'=>['パー'=>1,'グー'=>-1],'パー'=>['グー'=>1,'チョキ'=>-1],];constEMOJI_TABLE=['グー'=>'✊','チョキ'=>'✌','パー'=>'?',];$printer=fn(string$my_hand,string$your_hand,int$result):string=>sprintf("[%s vs %s] %s",EMOJI_TABLE[$my_hand],EMOJI_TABLE[$your_hand],match($result){-1=>'あなたの負け',0=>'あいこ',1=>'あなたの勝ち',});foreach(['グー','チョキ','パー']as$my_hand){foreach(['グー','チョキ','パー']as$your_hand){echobattle($my_hand,$your_hand,$printer),PHP_EOL;}}functionbattle(string$my_hand,string$your_hand,Closure$printer):string{return$printer($my_hand,$your_hand,WIN_LOSE_TABLE[$my_hand][$your_hand]??0);}