- 投稿日:2020-07-08T22:30:28+09:00
dockerでrails+mySQLの環境構築したけどlocalhost:3000にアクセス出来なくて困ってたら驚愕の事実が発覚した話
こちらの記事を参考に、docker-composeでrails+mySQLの環境構築をしてみた。
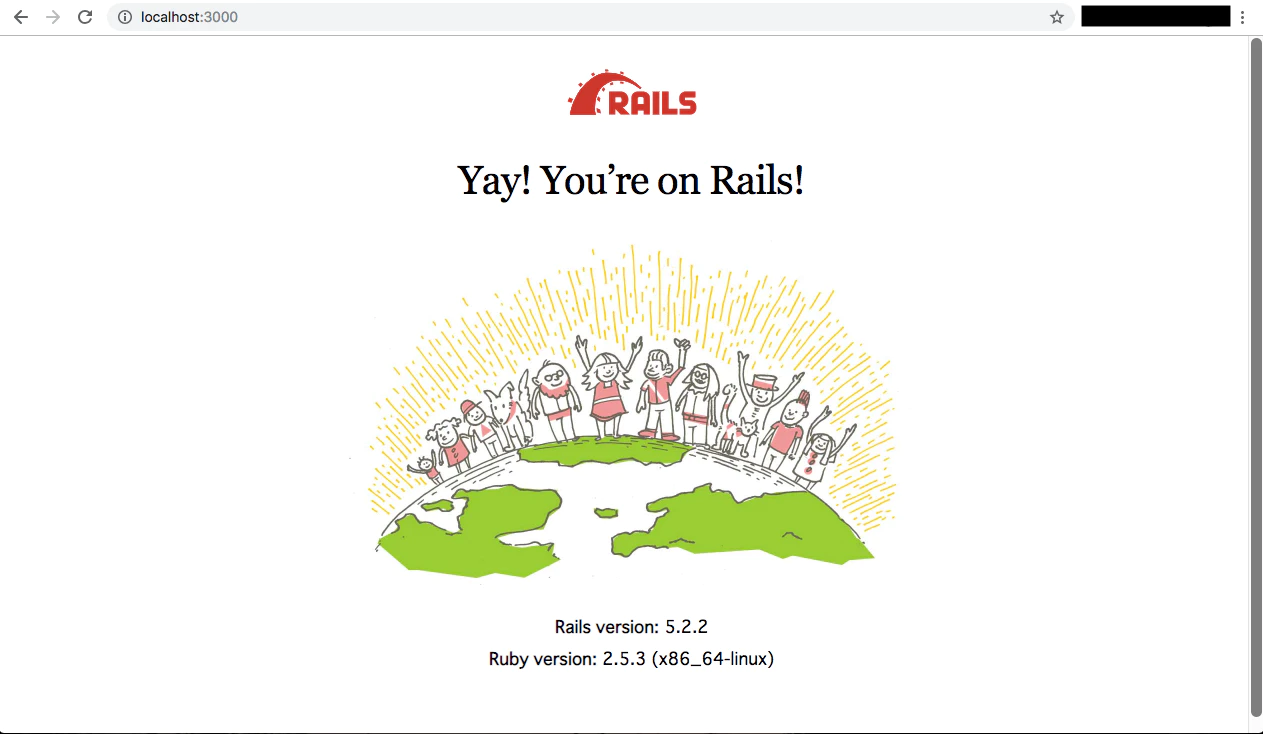
DBの作成まですんなり行き「docker最高!!!!!!!!」みたいになってたが、localhost:3000にアクセスすると「このページは動作していません。」と返ってくる…
うーわ、最悪
環境構築には嫌な思い出しかない。
一度virtualboxとvagrantで環境構築したとき無限にエラーが出続けて「これはもう神がプログラミングをやめろと言っているのでは???」みたいになって以来、環境構築という単語を聞いただけで寒気がしてくる。まあプログラミングの学習をする上で避けては通れない道なのでやるしかない。
とりあえずコンテナ内のサーバーが起動しているか確認。
$ docker exec -it コンテナ名 bash
**** # curl http://localhost:3000/
コンテナの中に入ってlocalhost:3000にアクセスしてみると普通にHTMLが返ってくる。こっちは問題なさそう。
次にログを見てみる。
docker logs ***_***_web見たけど特にエラーは出ていない。
もう一度コンテナ内からアクセスしたのちログをみると、さっきと同様のログが一つ増えていたので多分このログはコンテナ内からアクセスしたものっぽい。ブラウザからアクセスしてもログが残っていないということは、そもそもブラウザからWebコンテナの3000ポートまでリクエストが到達してないってことらしい。
なるほどね……………ドユコト???クッソ、横文字ばっか並べやがって…
その後も格闘は続いた。ありとあらゆるサイトを読み漁り、英語を必死に読解し、嫌になってスプラトゥーンをやって、YouTubeを見て、twitterを見て…とかなんとかしているうちに夜になっていた。
もう諦めようか…そんな考えが頭をよぎり出したとき、ある記事が目に入る。
私と同じようなエラーが出て困っているようだったのだが、その人が「esetのファイアウォールを無効にしたらいけました〜」と言うているのだ。eset??まって私もセキュリティソフトesetだわ、ウイルスバスターって名前がダサくて嫌だったから特に何も考えずに購入したeset…まさかお前が…?いや、こんな悩みに悩んだ挙句セキュリティソフトに通信遮断されてました!は流石に酷いと思わない…???ねえ、違うよね??違うって言ってよ!!!
とか思いながら恐る恐るesetのファイアウォールを無効にしてlocalhost:3000にアクセスしてみたら
で、出た〜〜〜〜〜〜〜〜〜!!!!!!!!!!!!お前、あっさり出た〜〜〜〜〜〜〜〜!!!!!!!!
くそがよ
- 投稿日:2020-07-08T17:43:35+09:00
JSPから送信された画像を表示した後、MySQLのBlob型のカラムに格納する
はじめに
私は今、学校の課題でECサイトをチームで開発しています。その際に、画面から指定された画像をMySQLデータベースのBlob型のカラムに保存するのに手間取ったので、そのやり方を記事として投稿しようと思います。
やりたいこと
画面で画像を選択する
↓
画面遷移して入力内容を表示する(選択した画像を表示する)
↓
画像をデータベースに格納する画面から画像を選択する
<form action="displayImage" method="post" enctype=multipart/form-data>
  <p>画像</p>
  <input type="file" name="image" accept="image/*">
  <input type="submit" value="送信">
</form>
上記のようにinputタグの
typeをfileに指定することでバイナリファイルを選択することができるようになります。
その際にformタグでenctype=multipart/form-dataを指定します。これを指定することで複数の種類のデータをサーバーに送信することができるようになります。
また、inputタグでaccept="image/*"を選択することで選択できるファイルを画像のみに制限することができます。選択された画像を取得する
@WebServlet("/displayImage")
@MultipartConfig(location = "/tmp")
public class DisplayImageServlet extends HttpServlet {

    @Override
    protected void doPost(HttpServletRequest request, HttpServletResponse response) throws ServletException, IOException {
        Part part = request.getPart("image");
        InputStream inputStream = part.getInputStream();

        byte[] byte = convertInputStreamToByteArray(inputStream);
        ImageBean imageBean = new ImageBean;
        imageBean.setImage(byte);

        HttpSession session = request.getSession();
        session.setAttribute("imageBean", imageBean);

        request.getRequestDispatcher("WEB-INF/jsp/image_view.jsp").forward(request, response);
    }

    //InputStreamをByte配列にする
    public byte[] convertInputStreamToByteArray(InputStream inputStream) throws IOException {
        ByteArrayOutputStream buffer = new ByteArrayOutputStream();
        int nRead;
        byte[] data = new byte[16777215];
        while ((nRead = inputStream.read(data, 0, data.length)) != -1) {
            buffer.write(data, 0, nRead);
        }
        return buffer.toByteArray();
    }
}
画面から送信された画像を取得するServletでは、
@MultipartConfigアノテーションをつける必要があります。
multipart/form-dataで送信されたデータは、getParameter()ではなくgetPart()で取得します。
その後、取得したデータをInputStreamに変換し、さらにバイト配列に変換します。
そして、変換したバイト配列をBeanに格納し、セッションに保存します。確認画面で画像を表示する
<p>画像</p> <img src="getImage" alt="画像"> <form action="uploadImage" method="post"> <input type="submit" value="格納"> </form>@WebServlet("/getImage") public class GetImageServlet extends HttpServlet { @Override protected void doGet(HttpServletRequest request, HttpServletResponse response) throws ServletException, IOException { HttpSession session = request.getSession(); InputStream inputStream = new ByteArrayInputStream(((ImageBean) session.getAttribute("imageBean")).getImage()); BufferedInputStream bufferedInputStream = new BufferedInputStream(inputStream); BufferedImage img = ImageIO.read(bufferedInputStream); response.setContentType("image/png"); OutputStream outputStream = response.getOutputStream(); ImageIO.write(img, "png", outputStream); outputStream.flush(); } }imgタグの
srcに画像取得用のGetImageServletのアノテーションを指定することでServletを介して画像を取得します。
GetImageServletでは、先ほどセッションに保存したImageBeanから画像のバイト配列を取得し、InputStreamに戻した後に、それを読み込んで画面に返しています。画像をデータベースに格納する
CREATE TABLE `image` ( `image` mediumblob )@WebServlet("/uploadImage") public class UploadImageServlet extends HttpServlet { @Override protected void doGet(HttpServletRequest request, HttpServletResponse response) throws ServletException, IOException { HttpSession session = request.getSession(); ImageBean imageBean = (ImageBean) session.getAttribute("imageBean"); ImageDao imageDao = new ImageDao(); imageDao.uploadImage(imageBean.getImage()); } }public class ImageDao { public void uploadImage(byte[] byte){ PreparedStatement stmt = null; try { Class.forName("com.mysql.cj.jdbc.Driver"); con = DriverManager.getConnection("jdbc:mysql://localhost:3306/image", "root", "root"); stmt = con.prepareStatement("INSERT INTO image (image) VALUES (?)"); stmt.setBinaryStream(1, new ByteArrayInputStream(byte)); stmt.executeUpdate(); } catch (ClassNotFoundException | SQLException e) { e.printStackTrace(); } finally { try { if (con != null) { con.close(); } } catch (SQLException e) { e.printStackTrace(); } } } }画像をデータベースに格納します。バイト配列を
InputStreamに変換したものをSQLのプレースホルダーにsetBinaryStream()を使って格納します。最後にSQLを発行すればデータベースへの画像の格納は完了です。ここで、もし
DisplayImageServletで画像データをInputStreamに変換した後、バイト配列に変換していないと、画像をうまくデータベースに格納することができません。
バイト配列に変換しない場合、画像を表示する際にGetImageServletでInputStreamをreadするとデータの最後まで読み込むので、ImageDaoでsetBinaryStream()を使うときにInputStreamの終端からの値を格納するのが原因っぽい?参考
[フロントエンド] multipart/form-dataを理解してみよう
JSP/サーブレット ファイルアップロードの実装
サーブレット・JSPでDBに登録されている画像を表示
- 投稿日:2020-07-08T16:00:13+09:00
Docker ComposeのMySQLに初期データを設定する
初期データ
initdb.dフォルダを作成してinit.sqlとpet.txtを配置する。
init.sqlの内容はテーブル削除、作成とデータ挿入を記述init.sqldrop table if exists pet; create table if not exists pet ( name varchar(20) , owner varchar(20) , species varchar(20) , sex char(1) , birth date , death date ); load data local infile '/docker-entrypoint-initdb.d/pet.txt' into table pet;
pet.txtの内容はテーブルに挿入するデータをcsv形式で記述pet.txtFluffy Harold cat f 1993-02-04 \N Claws Gwen cat m 1994-03-17 \N Buffy Harold dog f 1989-05-13 \N Fang Benny dog m 1990-08-27 \N Bowser Diane dog m 1979-08-31 1995-07-29 Chirpy Gwen bird f 1998-09-11 \N Whistler Gwen bird \N 1997-12-09 \N Slim Benny snake m 1996-04-29 \N設定
docker-compose.ymlのvolumesに初期データフォルダを記述する。
ローカルのinitdb.dフォルダをコンテナ内にdocker-entrypoint-initdb.dフォルダで配置する。
dockerhub - mysqldocker-compose.ymlversion: '3.8' services: mysql: image: mysql:5.7 ports: - "3306:3306" volumes: - db_data:/var/lib/mysql - ./initdb.d:/docker-entrypoint-initdb.d restart: always environment: MYSQL_ROOT_PASSWORD: root MYSQL_DATABASE: my_test MYSQL_USER: mysql MYSQL_PASSWORD: mysql volumes: db_data: {}起動
いつも通りにコンテナを起動する。
$ docker-compose up -d終わり
起動後にデータを入れ直す
コンテナを
down --volumesして再度upすれば良いんだろうけど。。。
別の方法と言うことで、コンテナ内に入る。
$ docker-compose exec mysql /bin/bashコンテナ内でmysqlコマンドをバッチモードで実行する。
# mysql -u mysql --password=mysql my_test < /docker-entrypoint-initdb.d/init.sqlコンテナ内から出る。
# exitほんとに終わり
- 投稿日:2020-07-08T00:16:54+09:00
mysqlclientをpip installできないときの対処法
環境
macOS Catalina 10.15.5
pipenv 2020.6.2
Homebrew 2.4.3
エラー
mysqlclientをインストールしようとすると、長い長いエラーメッセージが出てきてインストールできませんでした。
※ pipenv でインストールしていますが、pipでバージョン指定ナシでも同様の現象があるようでした。
※ Catalinaにアップグレードしたら起こったという情報もありました。$ pipenv install mysqlclient==1.4.6 . . . ERROR: Couldn't install package: mysqlclientこうしたらいけた
mysql-connector-cをインストール
$ brew install mysql-connector-copensslのパッケージ情報を表示
$ brew info openssl

openssl@1.1: stable 1.1.1g (bottled) [keg-only]
Cryptography and SSL/TLS Toolkit
https://openssl.org/
/usr/local/Cellar/openssl@1.1/1.1.1g (8,059 files, 18MB)
  Poured from bottle on 2020-05-03 at 16:19:23
From: https://github.com/Homebrew/homebrew-core/blob/HEAD/Formula/openssl@1.1.rb
==> Caveats
A CA file has been bootstrapped using certificates from the system
keychain. To add additional certificates, place .pem files in
  /usr/local/etc/openssl@1.1/certs

and run
  /usr/local/opt/openssl@1.1/bin/c_rehash

openssl@1.1 is keg-only, which means it was not symlinked into /usr/local,
because macOS provides LibreSSL.

If you need to have openssl@1.1 first in your PATH run:
  echo 'export PATH="/usr/local/opt/openssl@1.1/bin:$PATH"' >> /Users/あなたのホームディレクトリ/.bash_profile

For compilers to find openssl@1.1 you may need to set:
  export LDFLAGS="-L/usr/local/opt/openssl@1.1/lib"
  export CPPFLAGS="-I/usr/local/opt/openssl@1.1/include"

For pkg-config to find openssl@1.1 you may need to set:
  export PKG_CONFIG_PATH="/usr/local/opt/openssl@1.1/lib/pkgconfig"

==> Analytics
install: 583,299 (30 days), 2,291,367 (90 days), 6,244,922 (365 days)
install-on-request: 72,656 (30 days), 337,989 (90 days), 825,813 (365 days)
build-error: 0 (30 days)
上記コマンドで表示される以下の3つを実行
※ 環境によって異なります.$ echo 'export PATH="/usr/local/opt/openssl@1.1/bin:$PATH"' >> /Users/あなたのホームディレクトリ/.bash_profile$ export LDFLAGS="-L/usr/local/opt/openssl@1.1/lib"$ export CPPFLAGS="-I/usr/local/opt/openssl@1.1/include"参照
https://stackoverflow.com/questions/35190465/virtualenvpython3-4-pip-install-mysqlclient-error