- 投稿日:2020-07-22T20:26:20+09:00
【メモ】MAC 公開鍵・秘密鍵作成
- 投稿日:2020-07-22T17:09:51+09:00
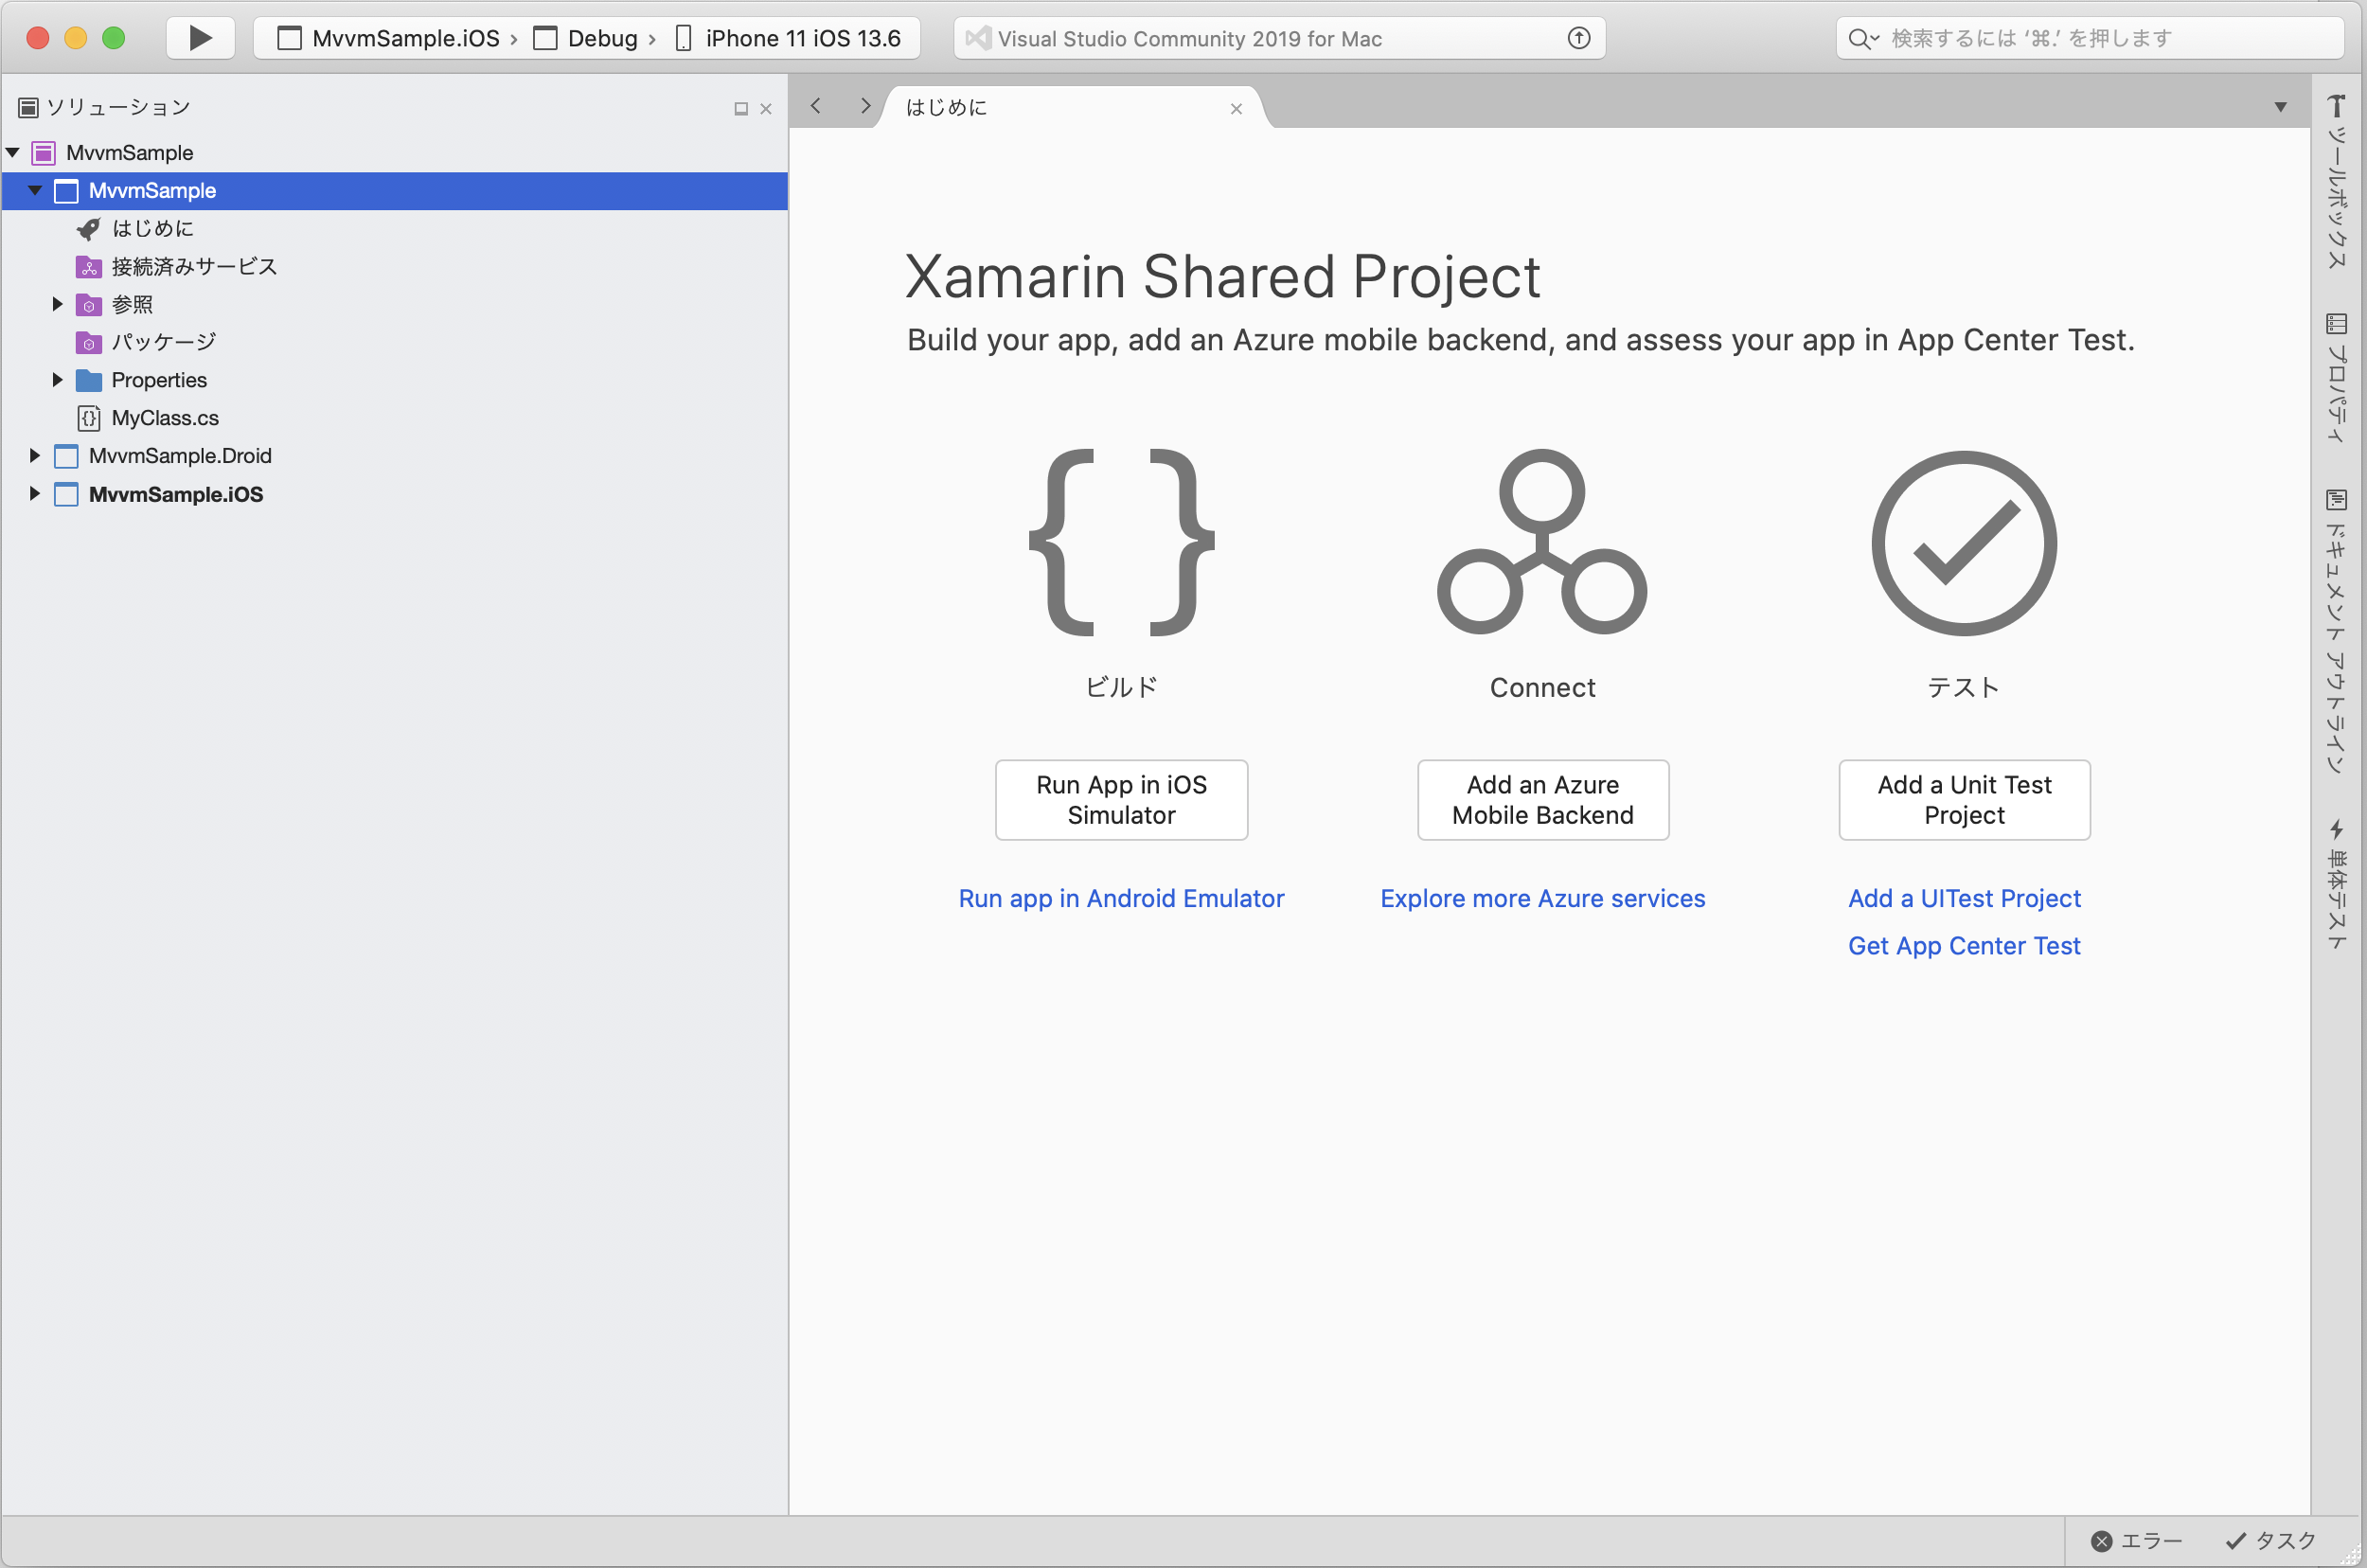
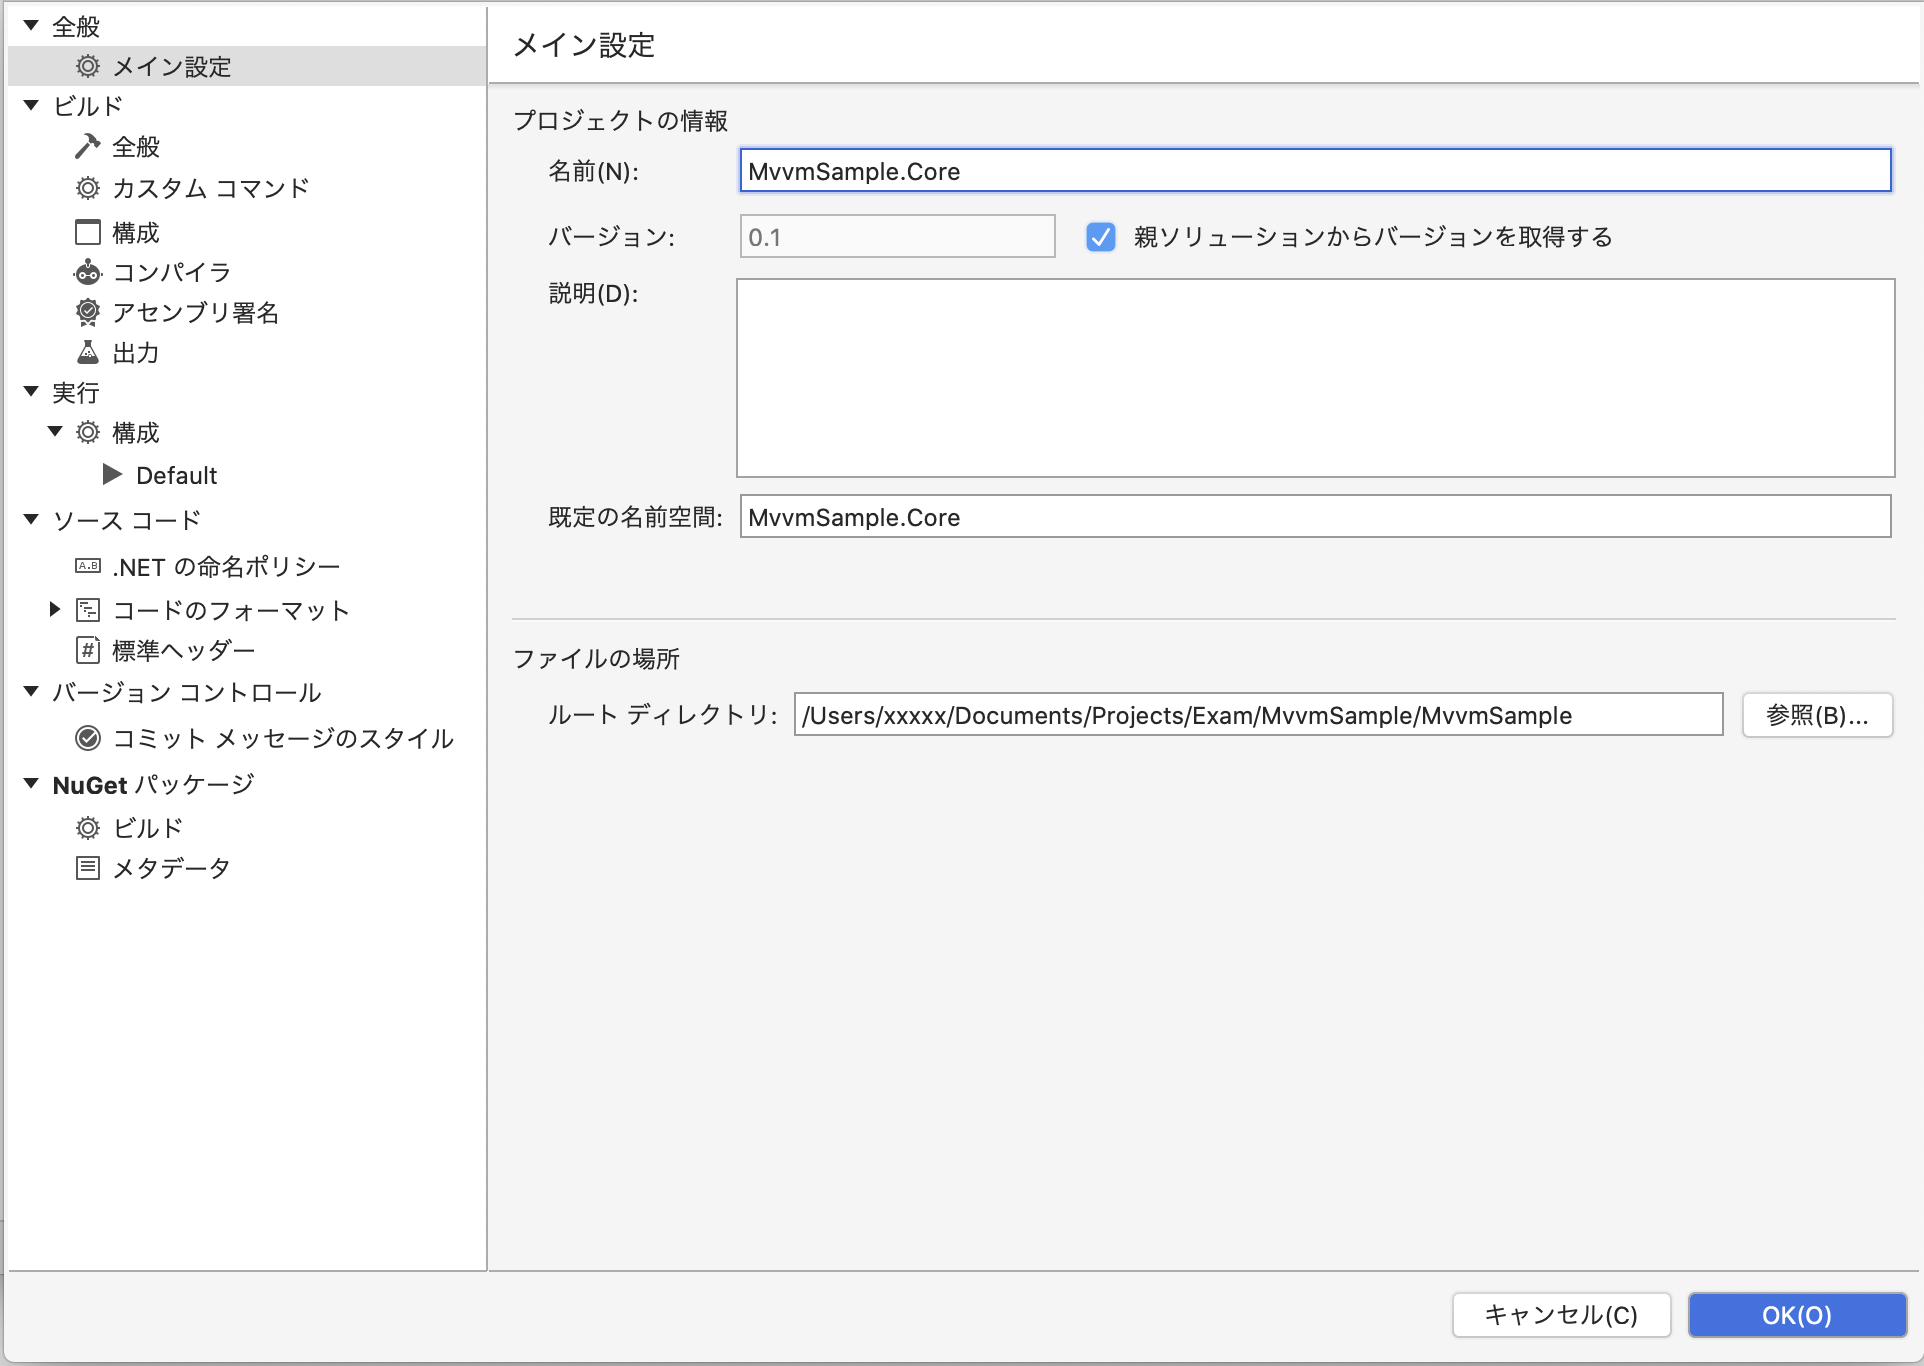
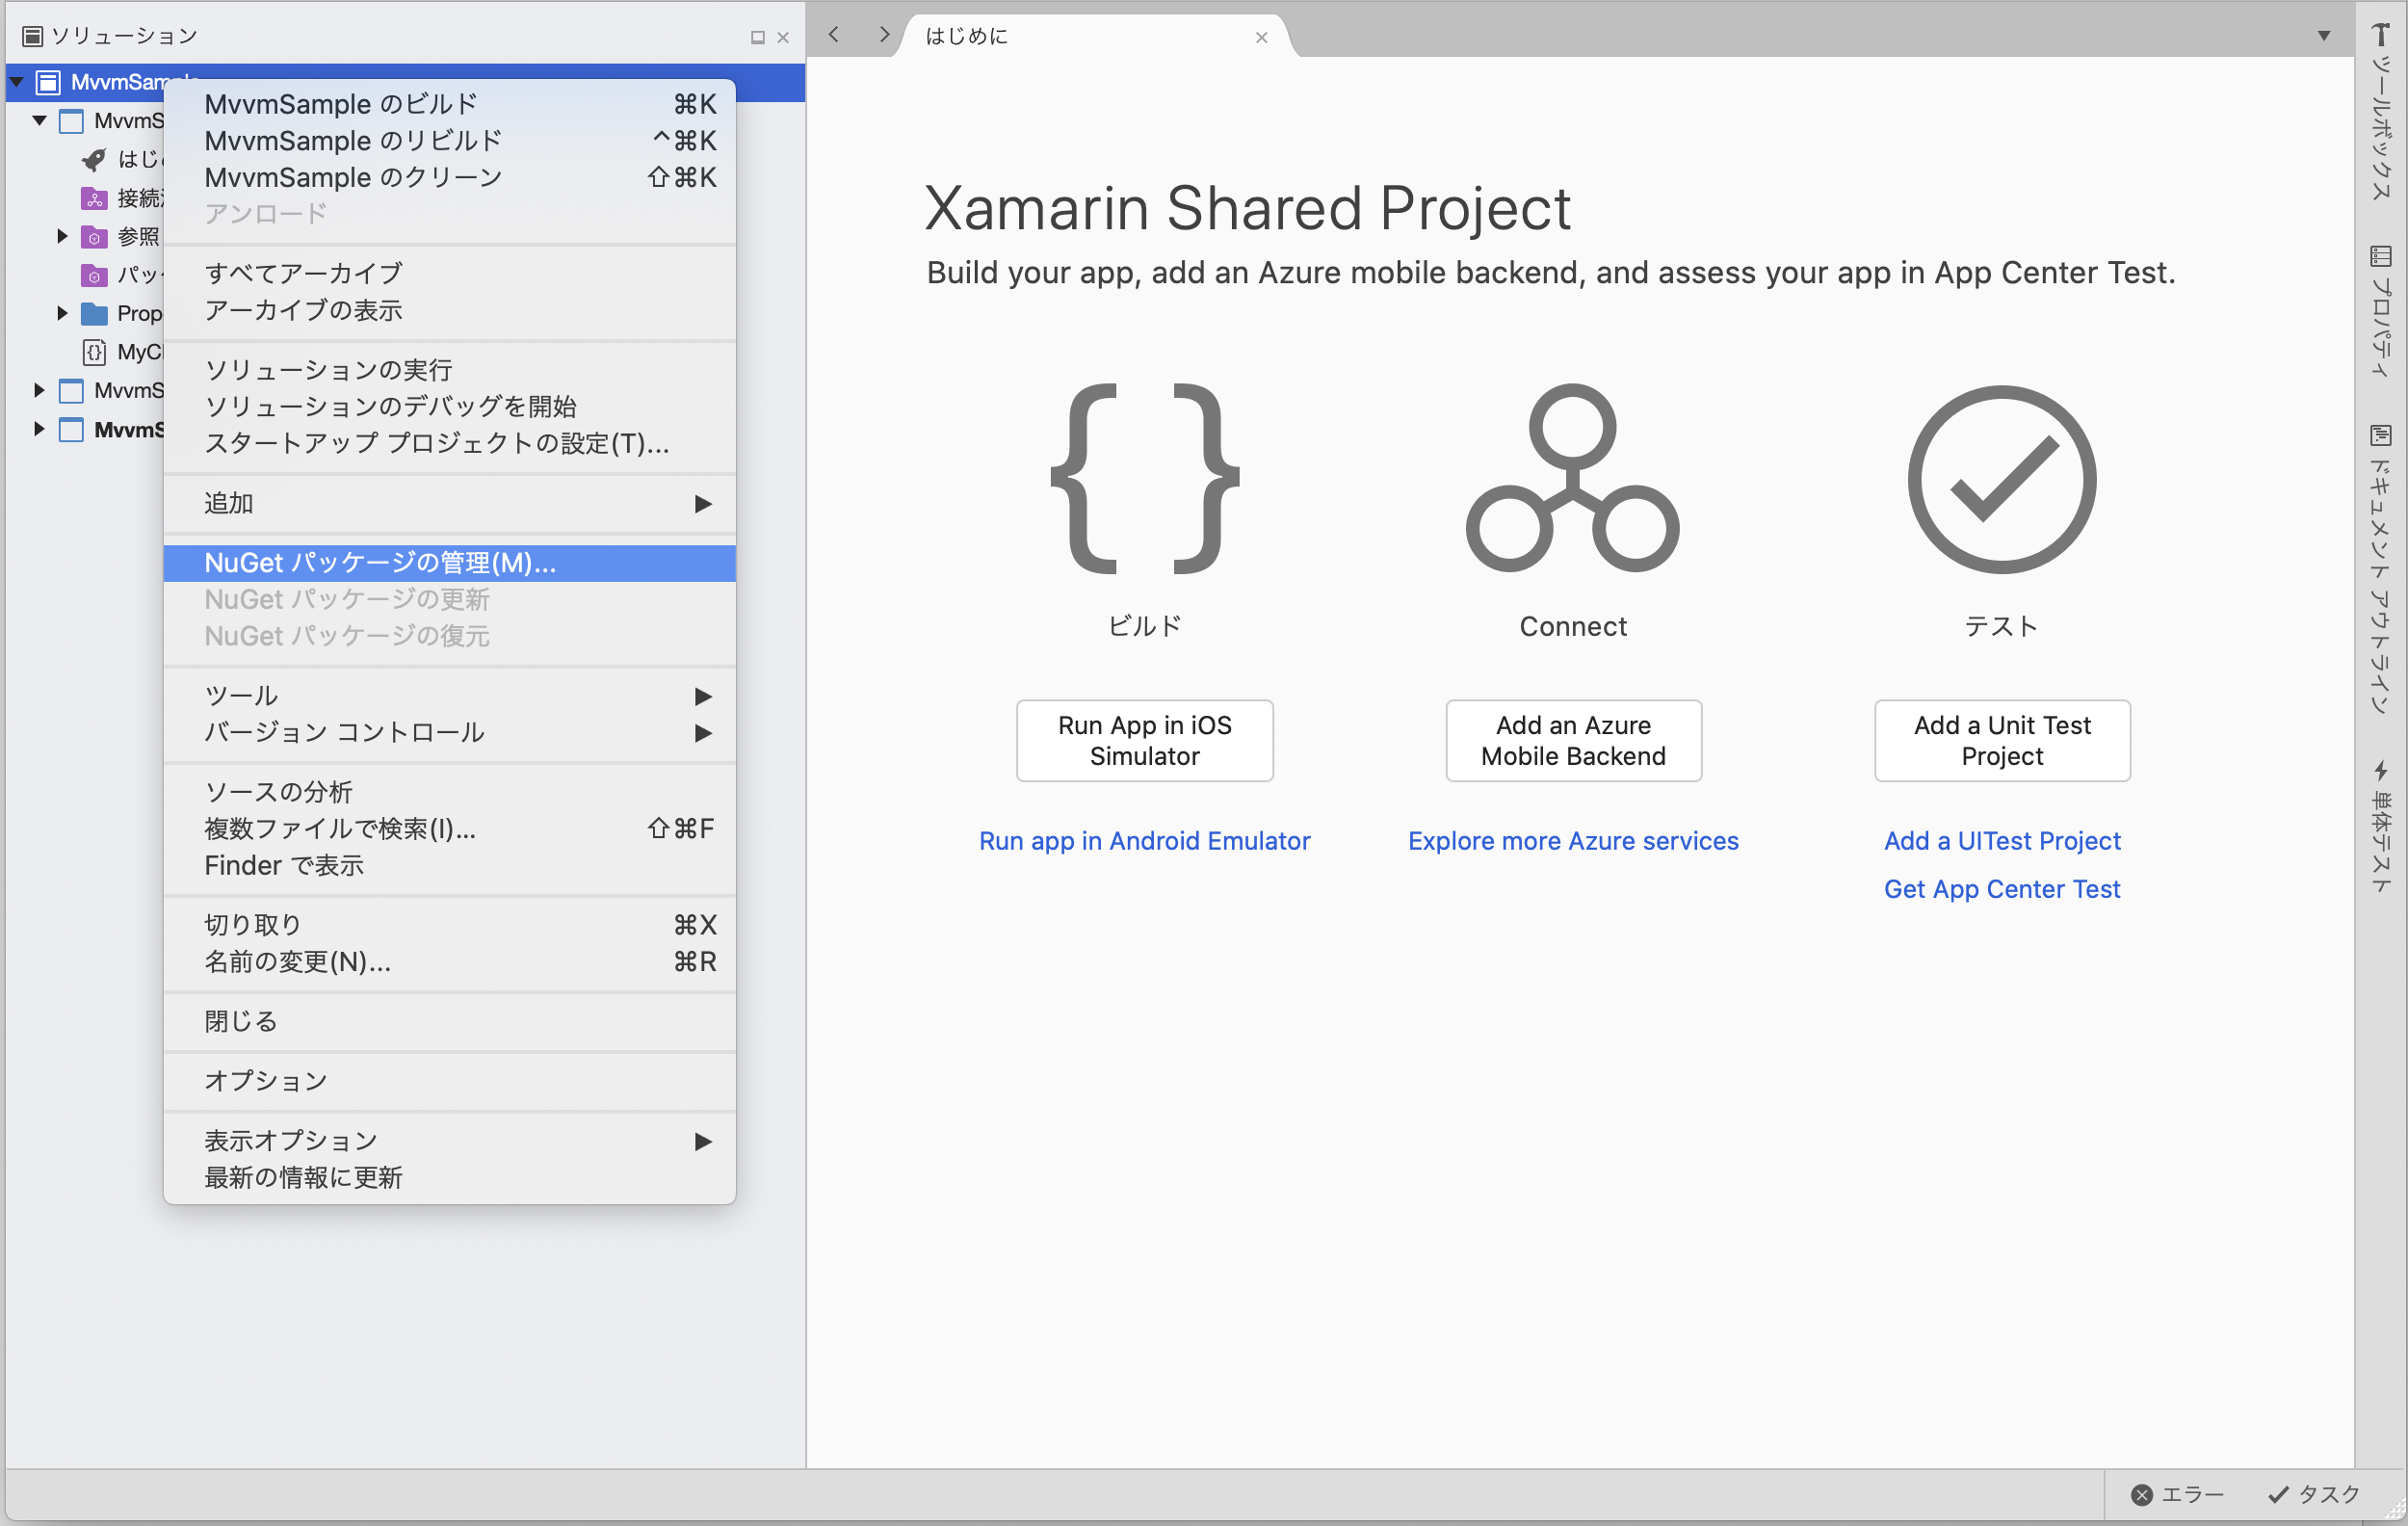
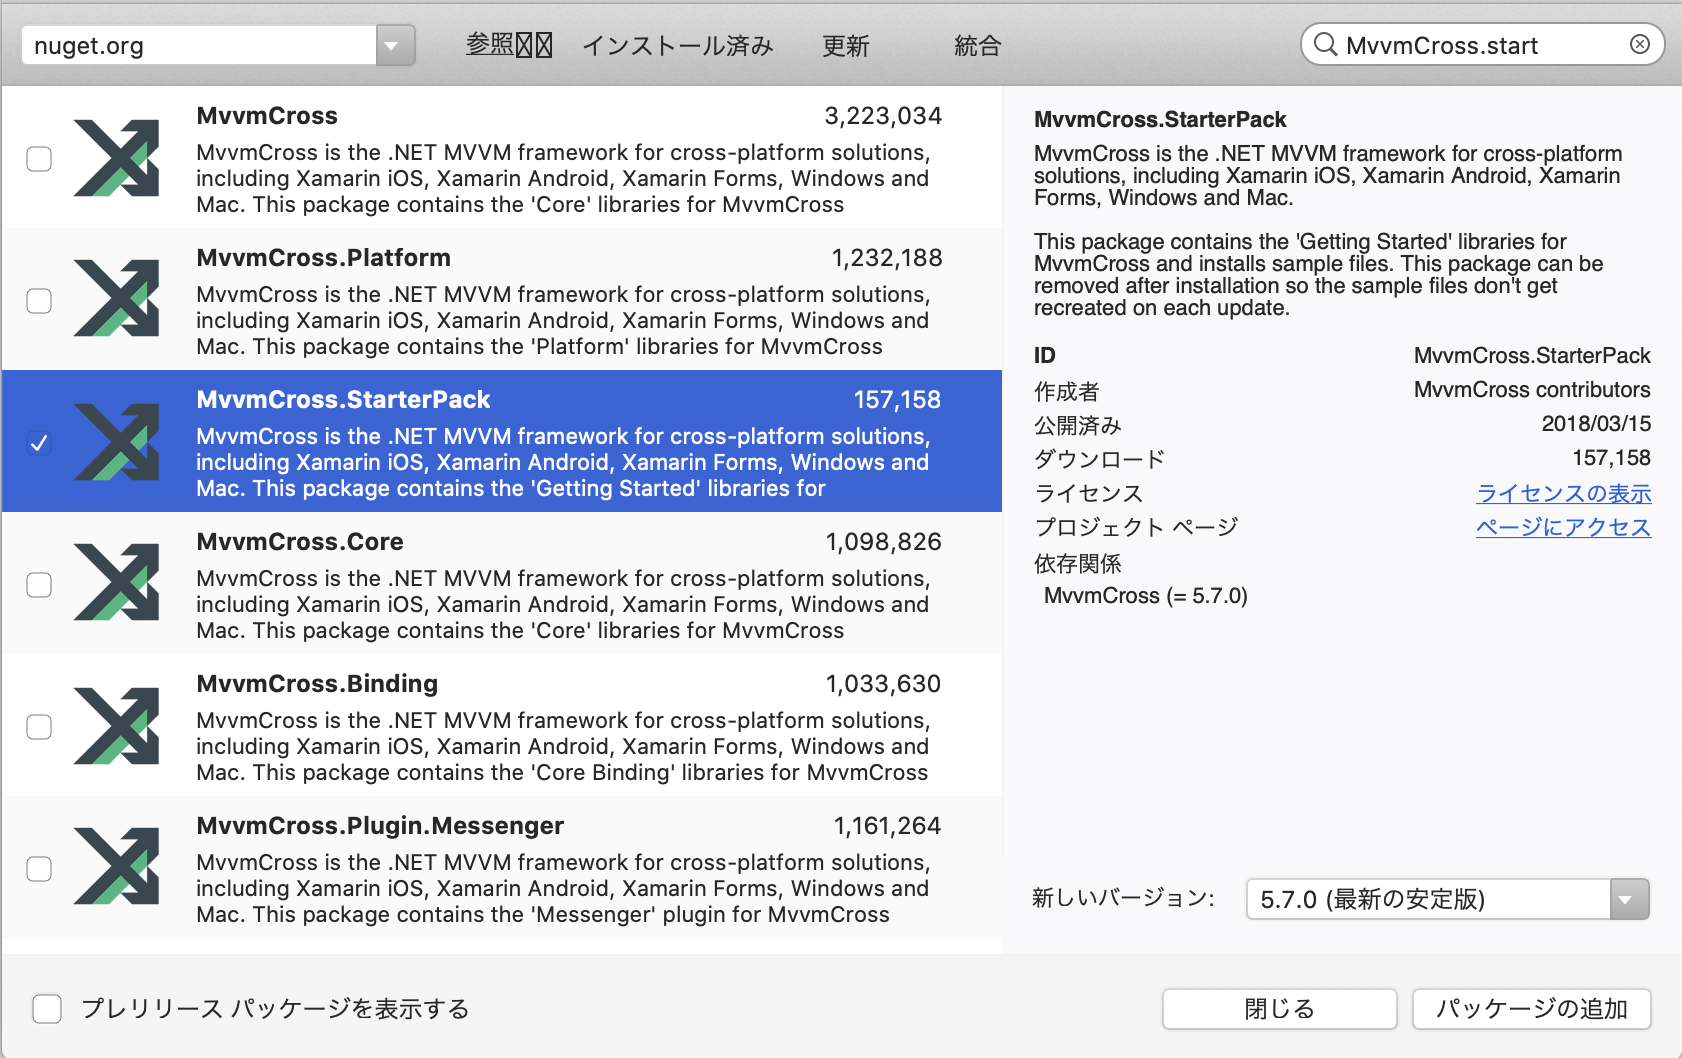
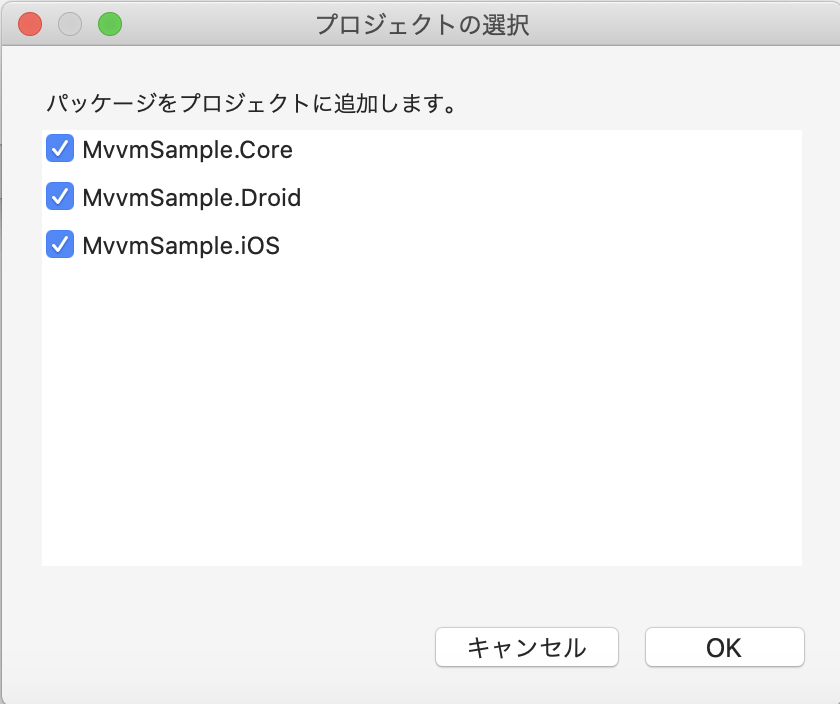
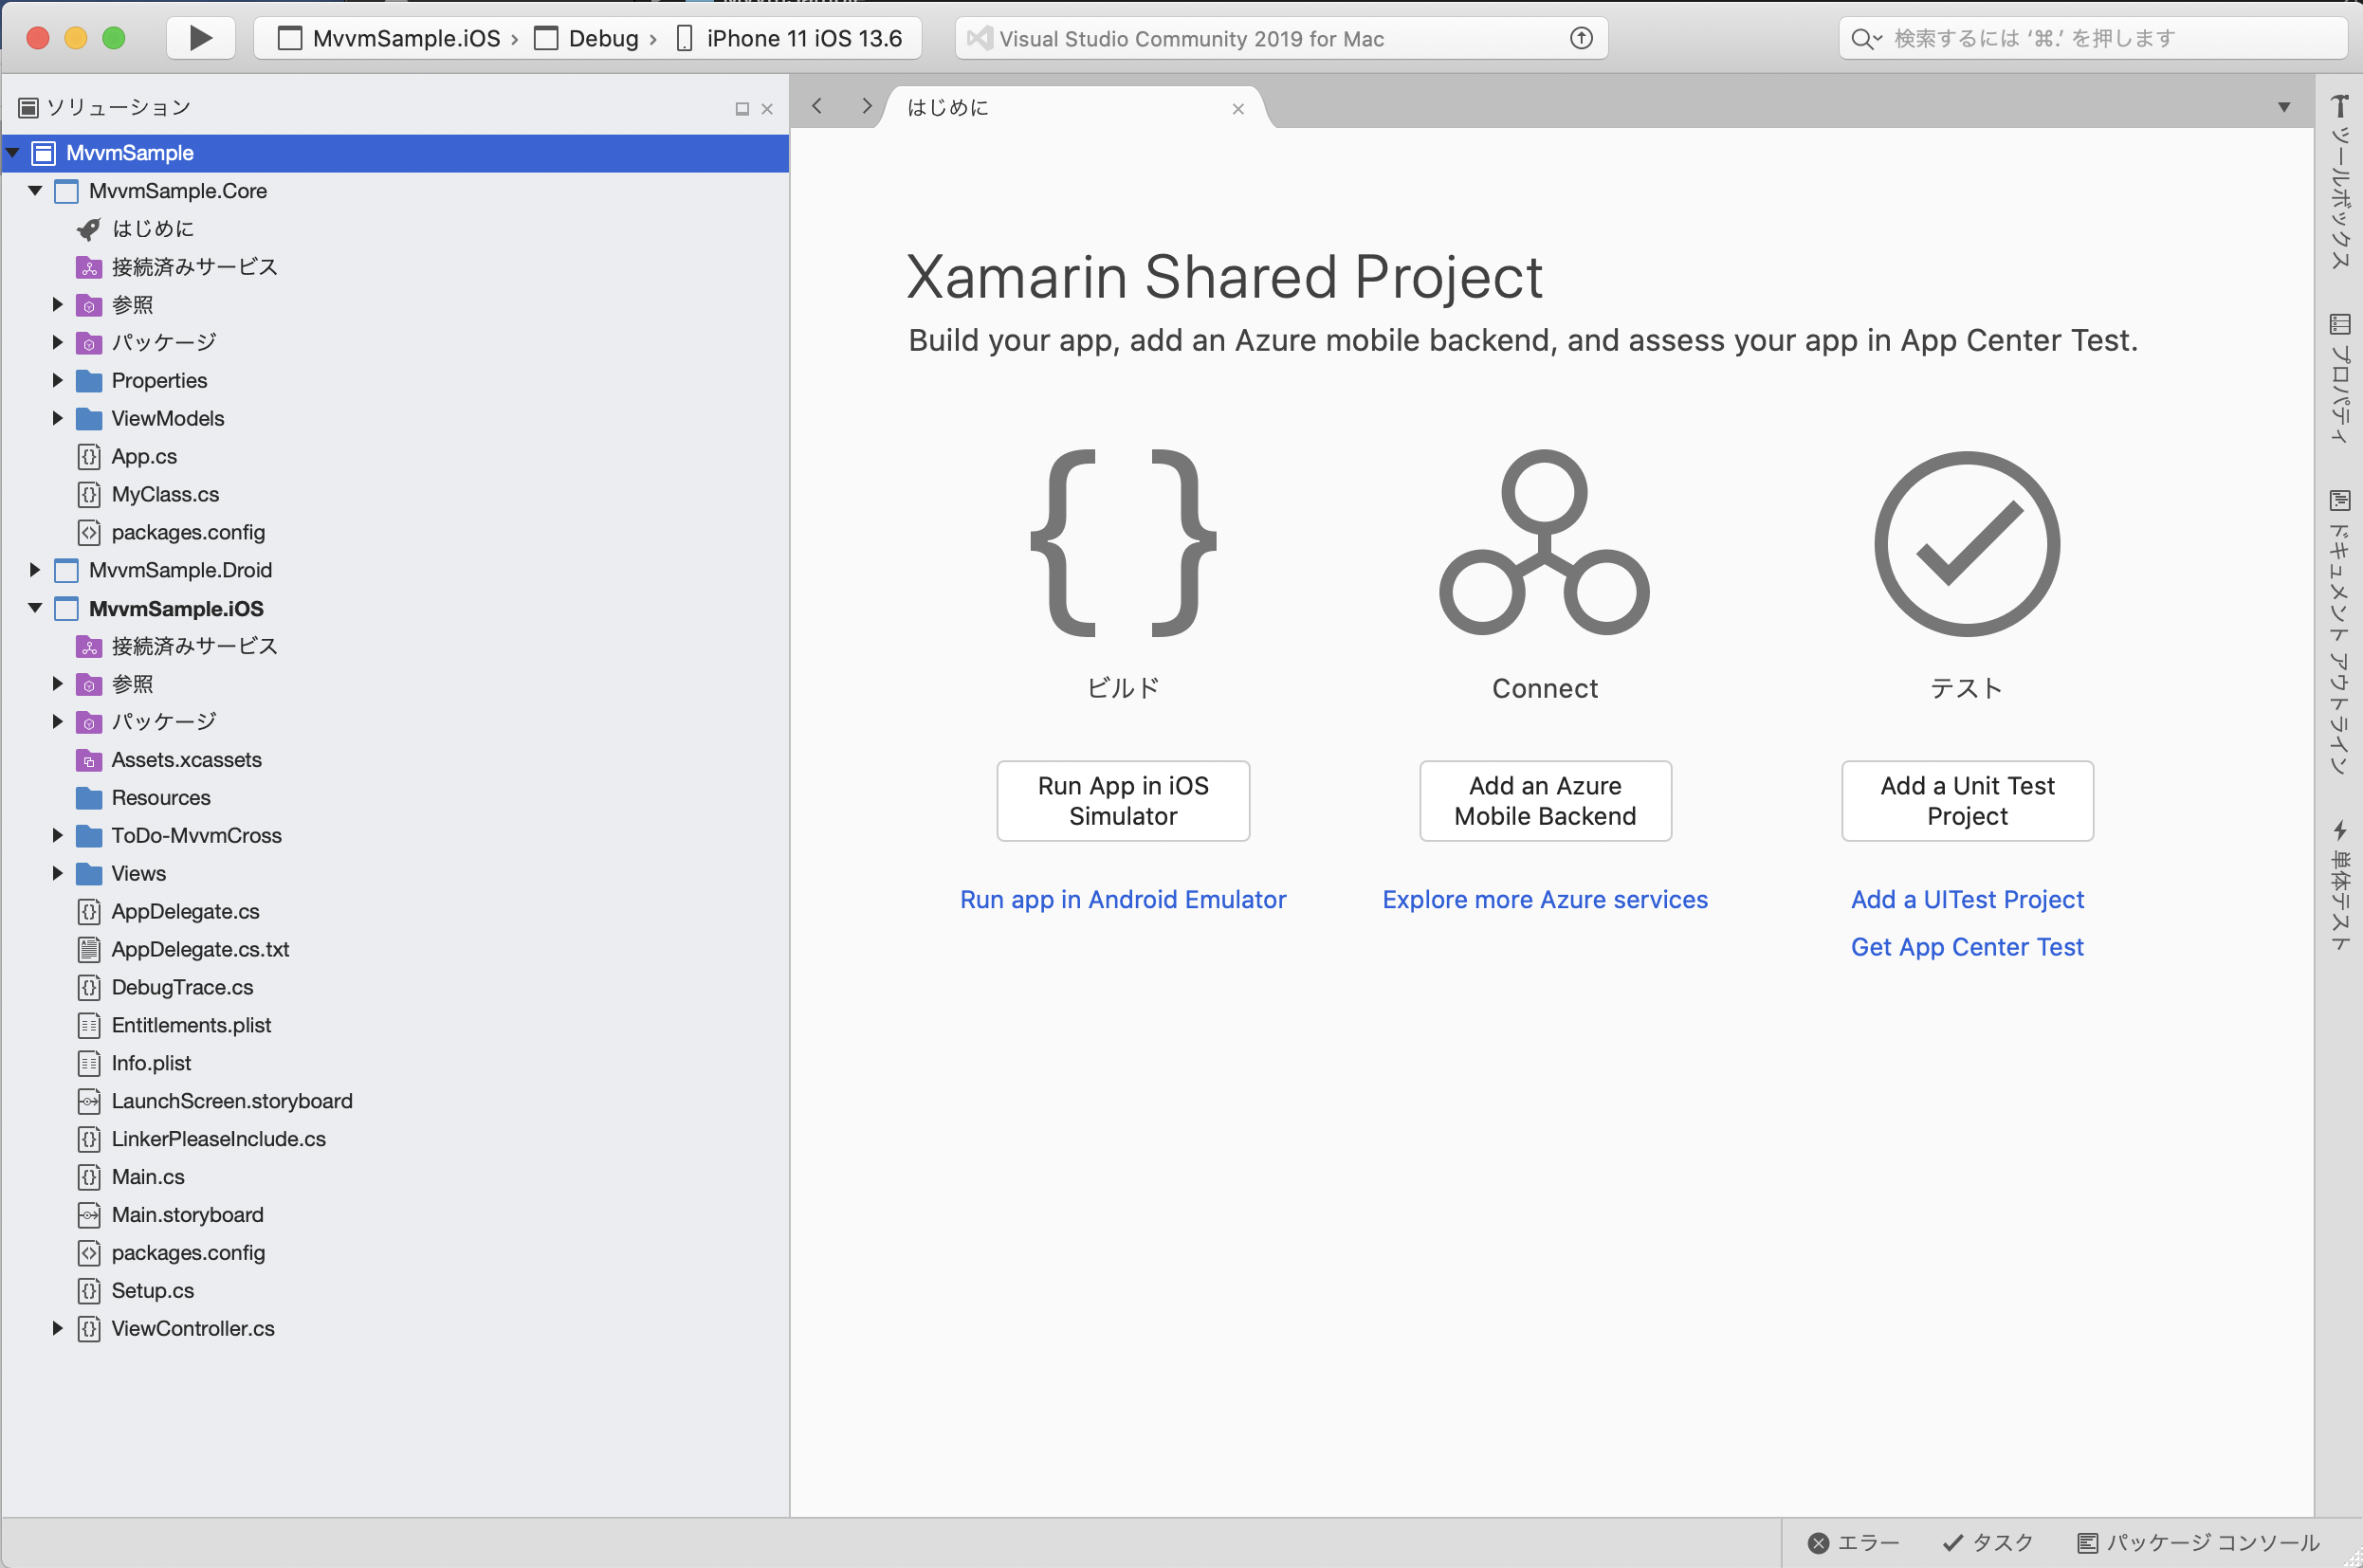
Mvvmを利用したプロジェクト作成 〜MvvmCross.StarterPackの導入〜
1.前提条件
・開発環境 macOS Catalina 10.15.x
・開発ツール: Visual Studio 2019 for Mac
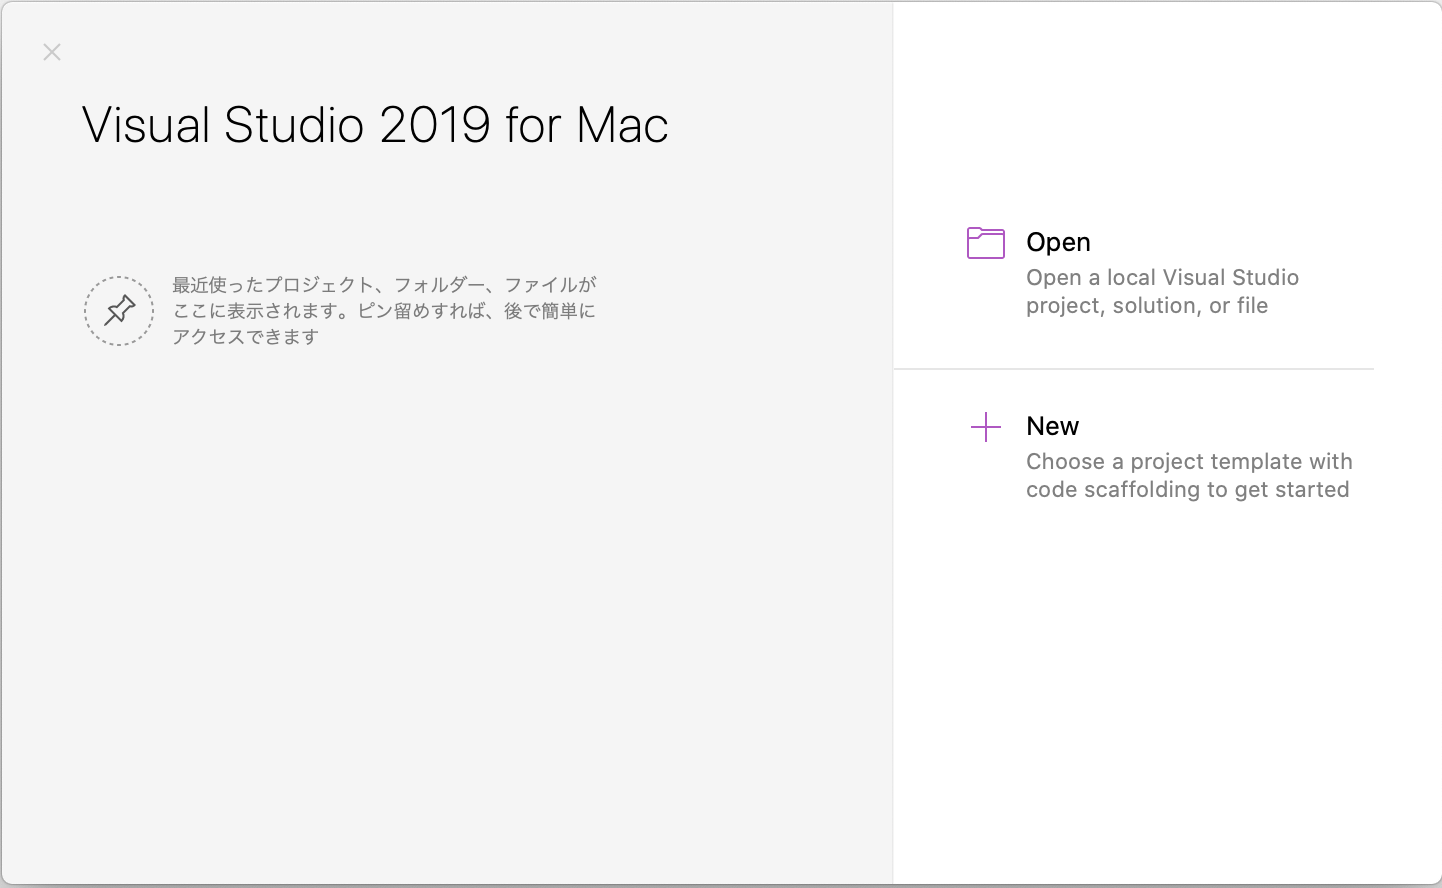
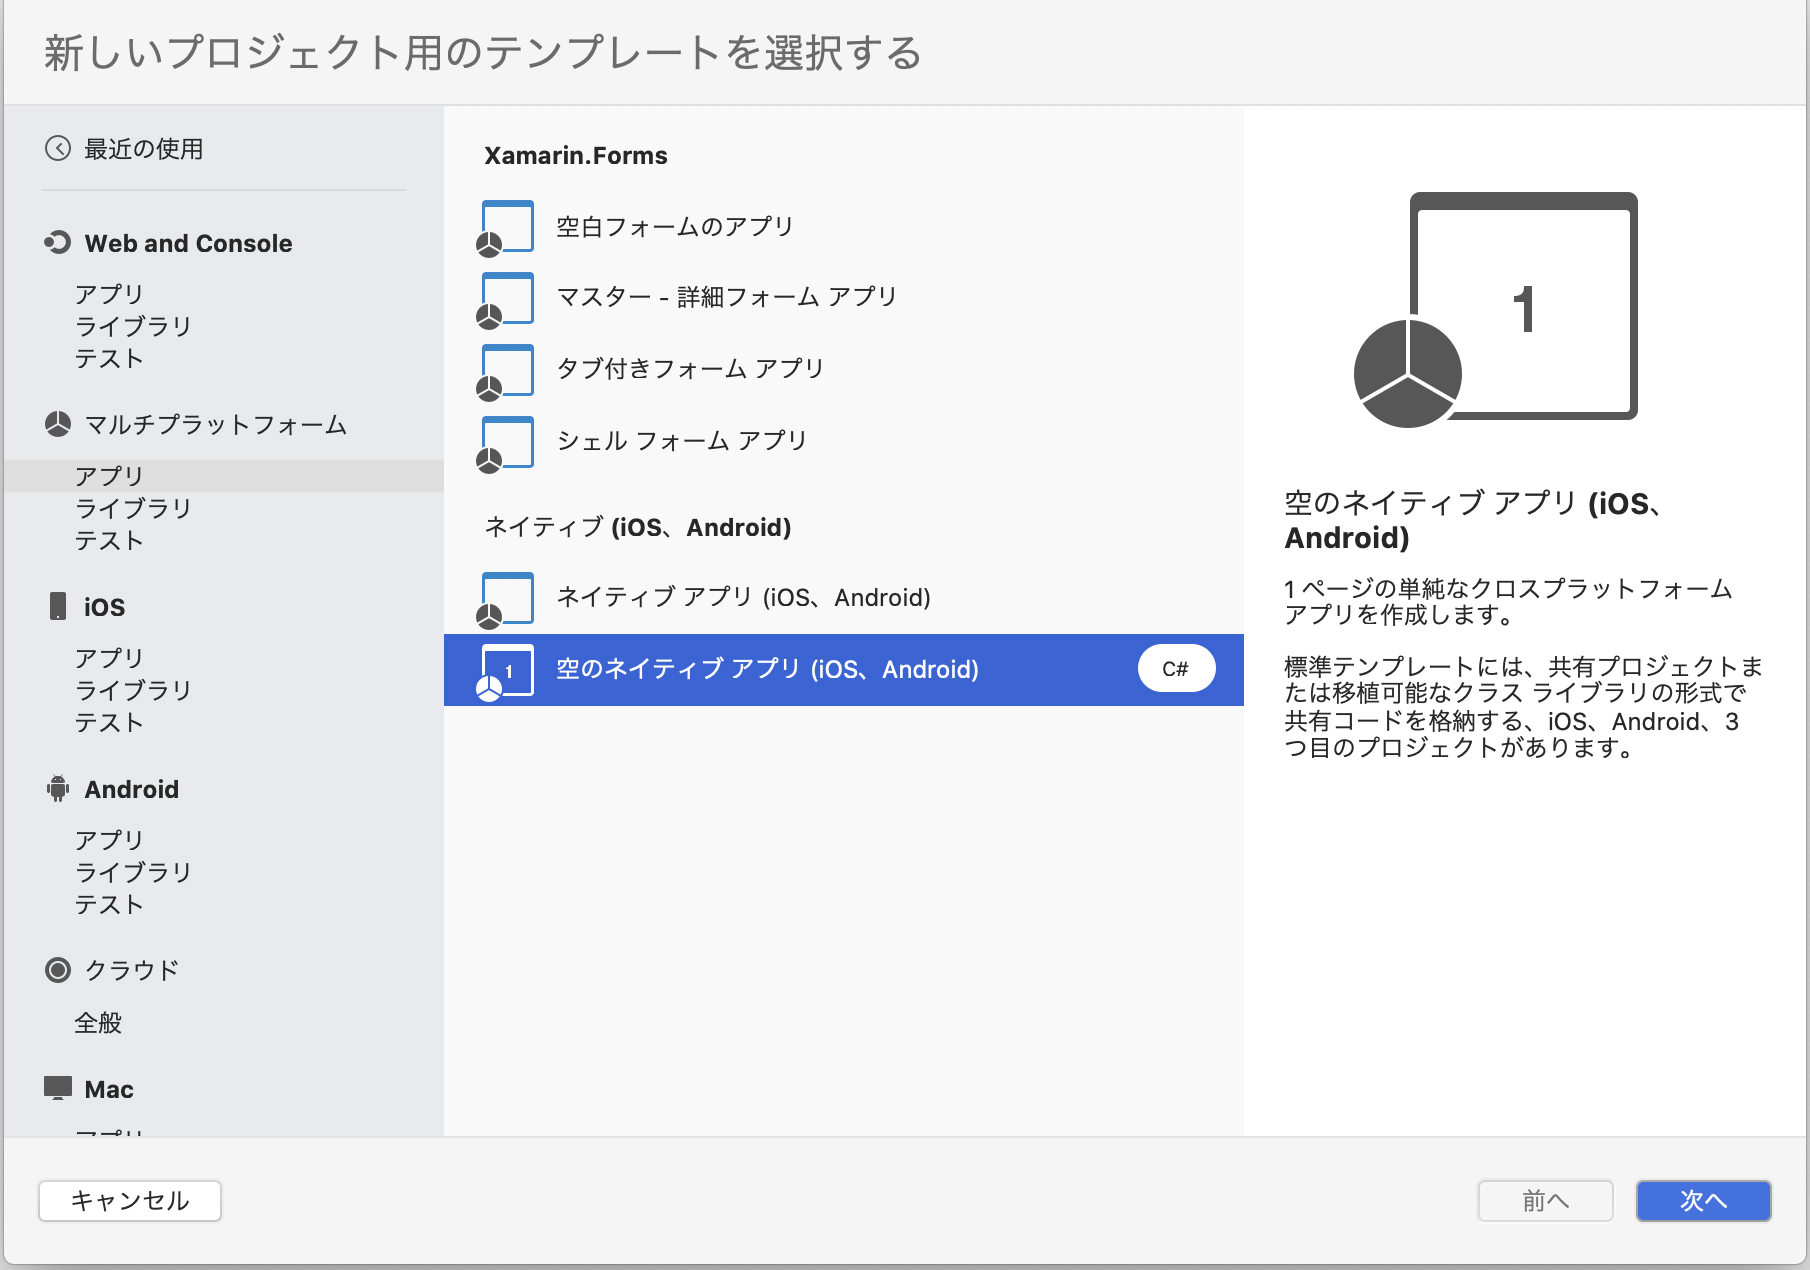
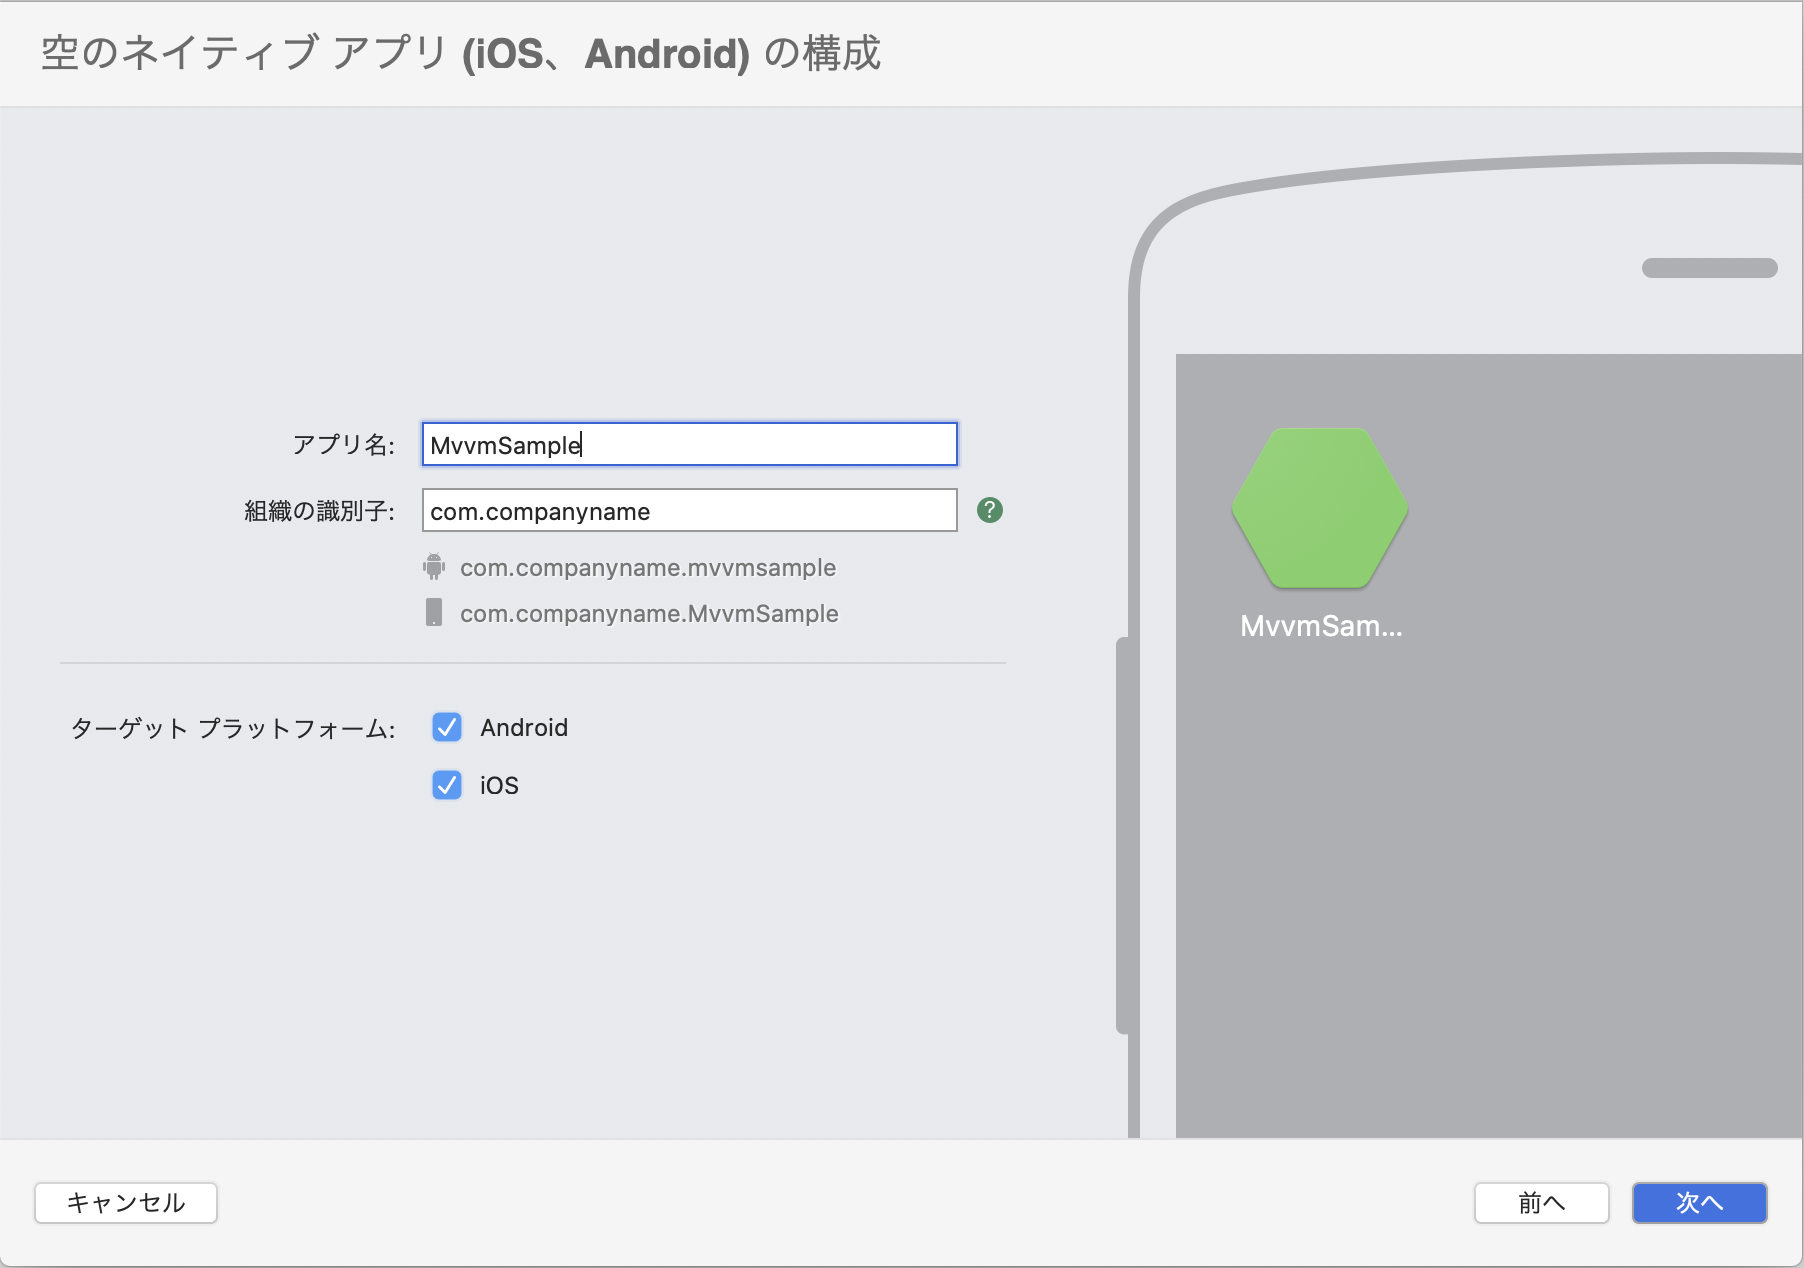
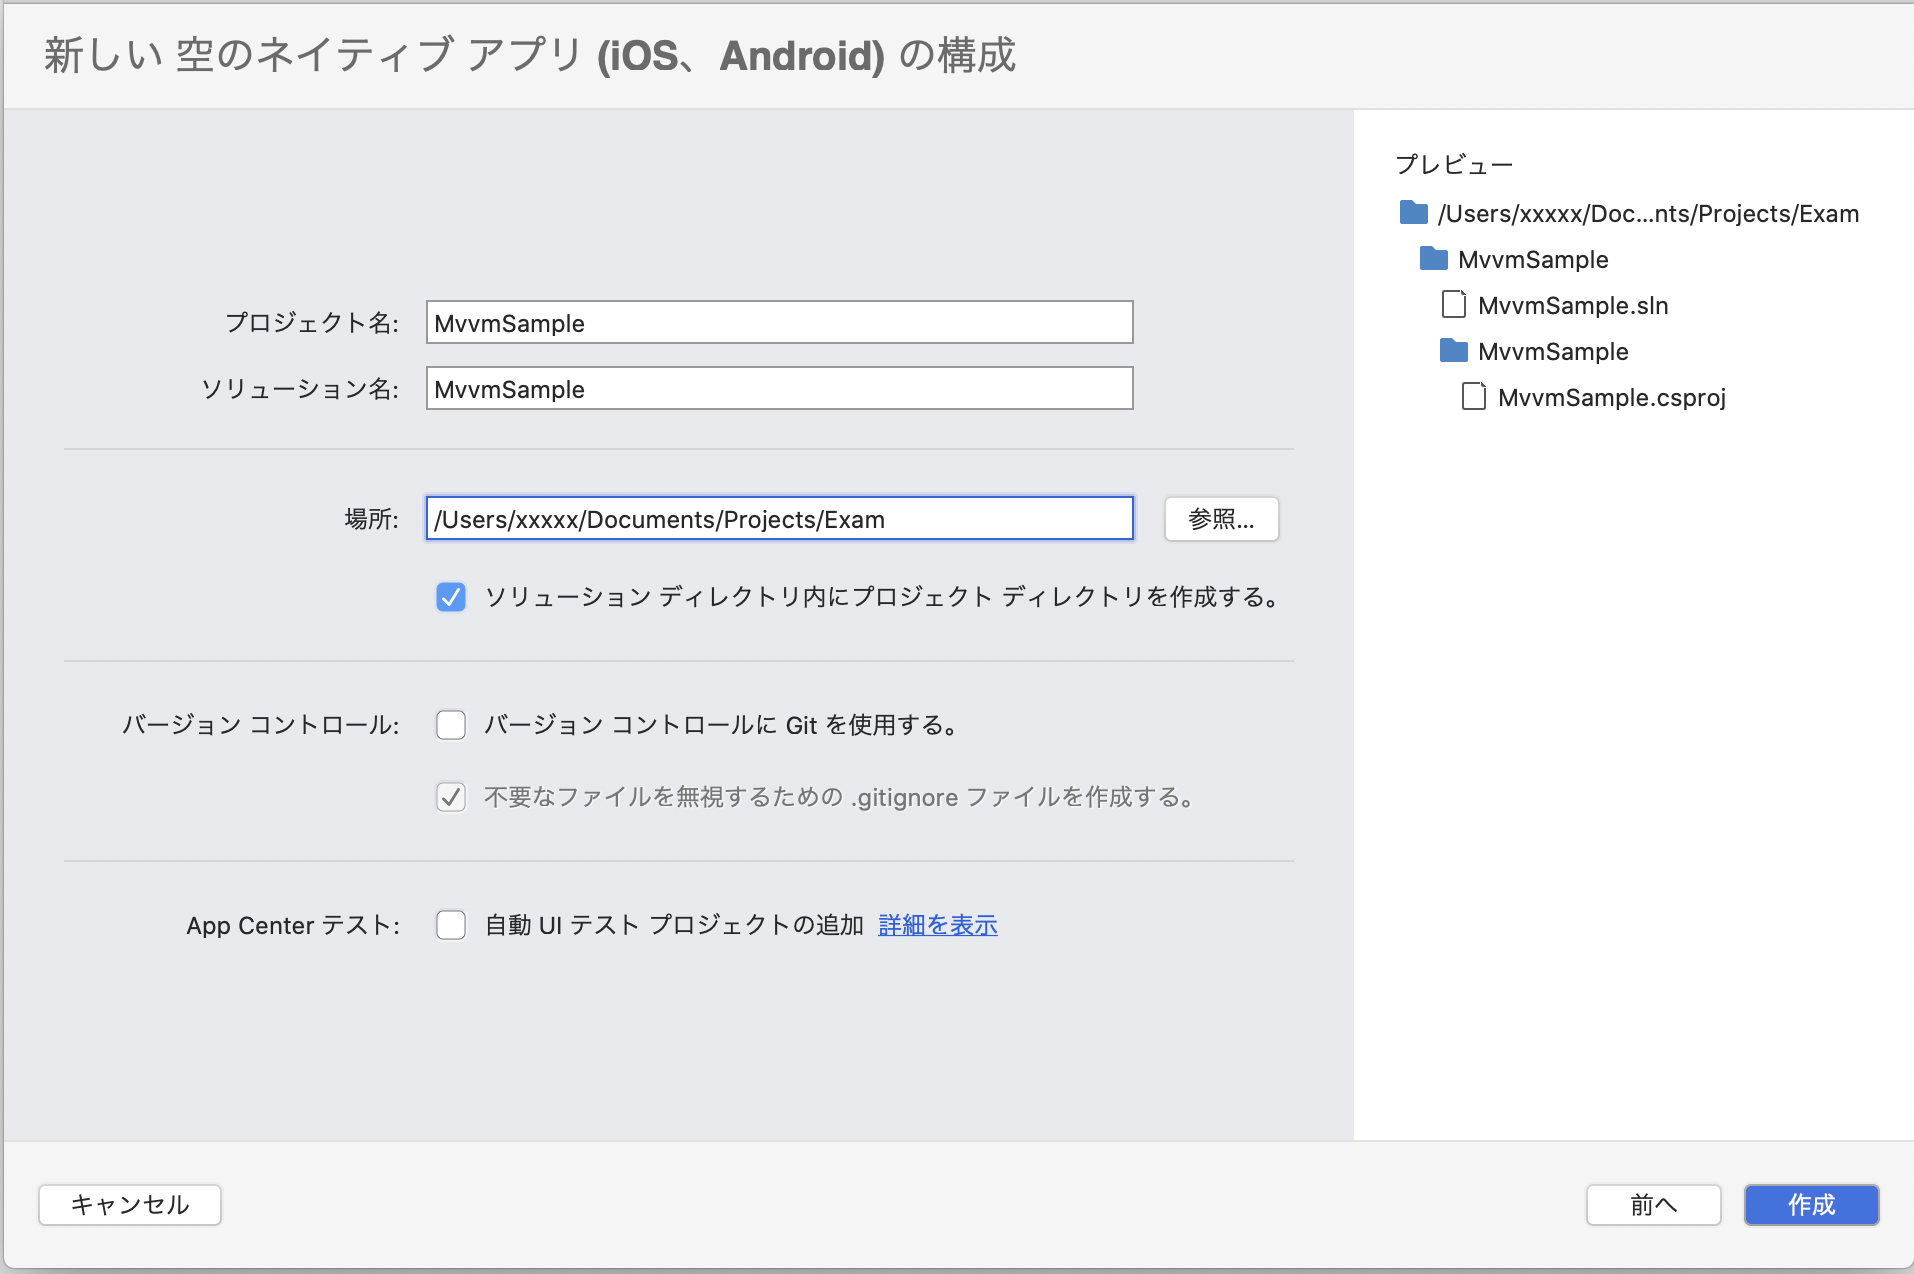
: Xcode2.プロジェクト作成
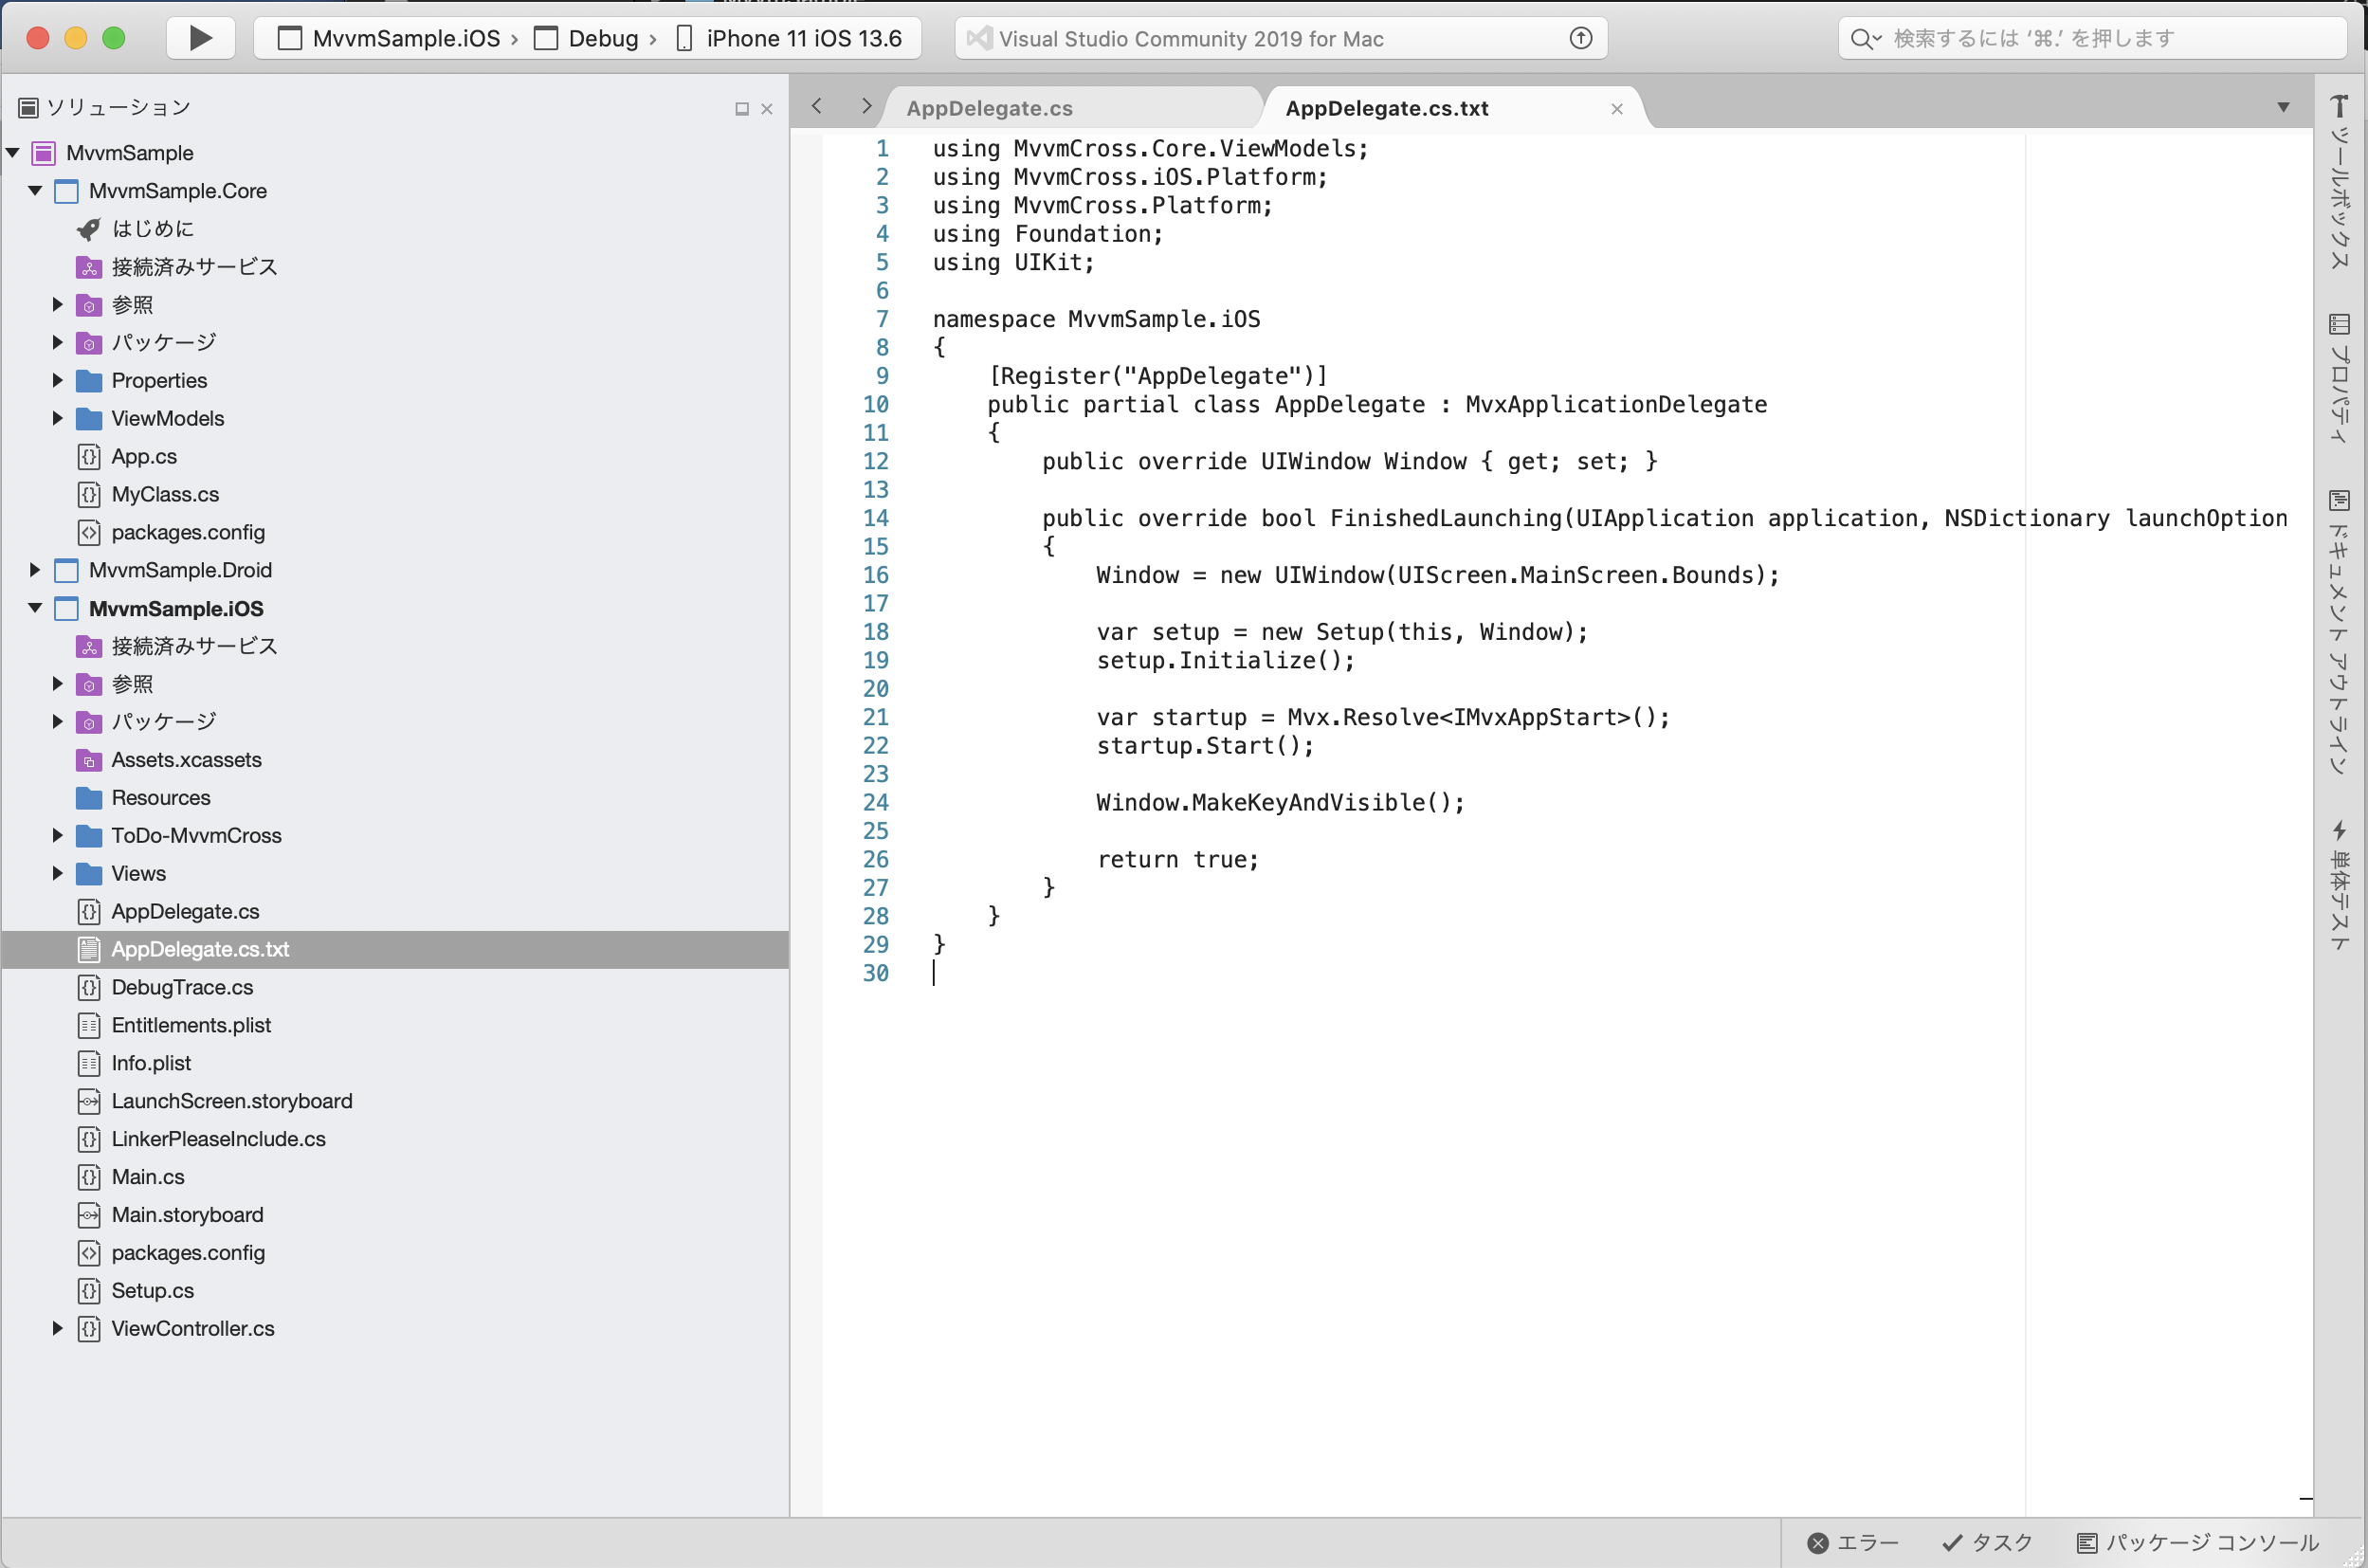
11.「AppDelegate.cs.txt」の内容で「AppDelegate.cs」を書き換え、保存する。
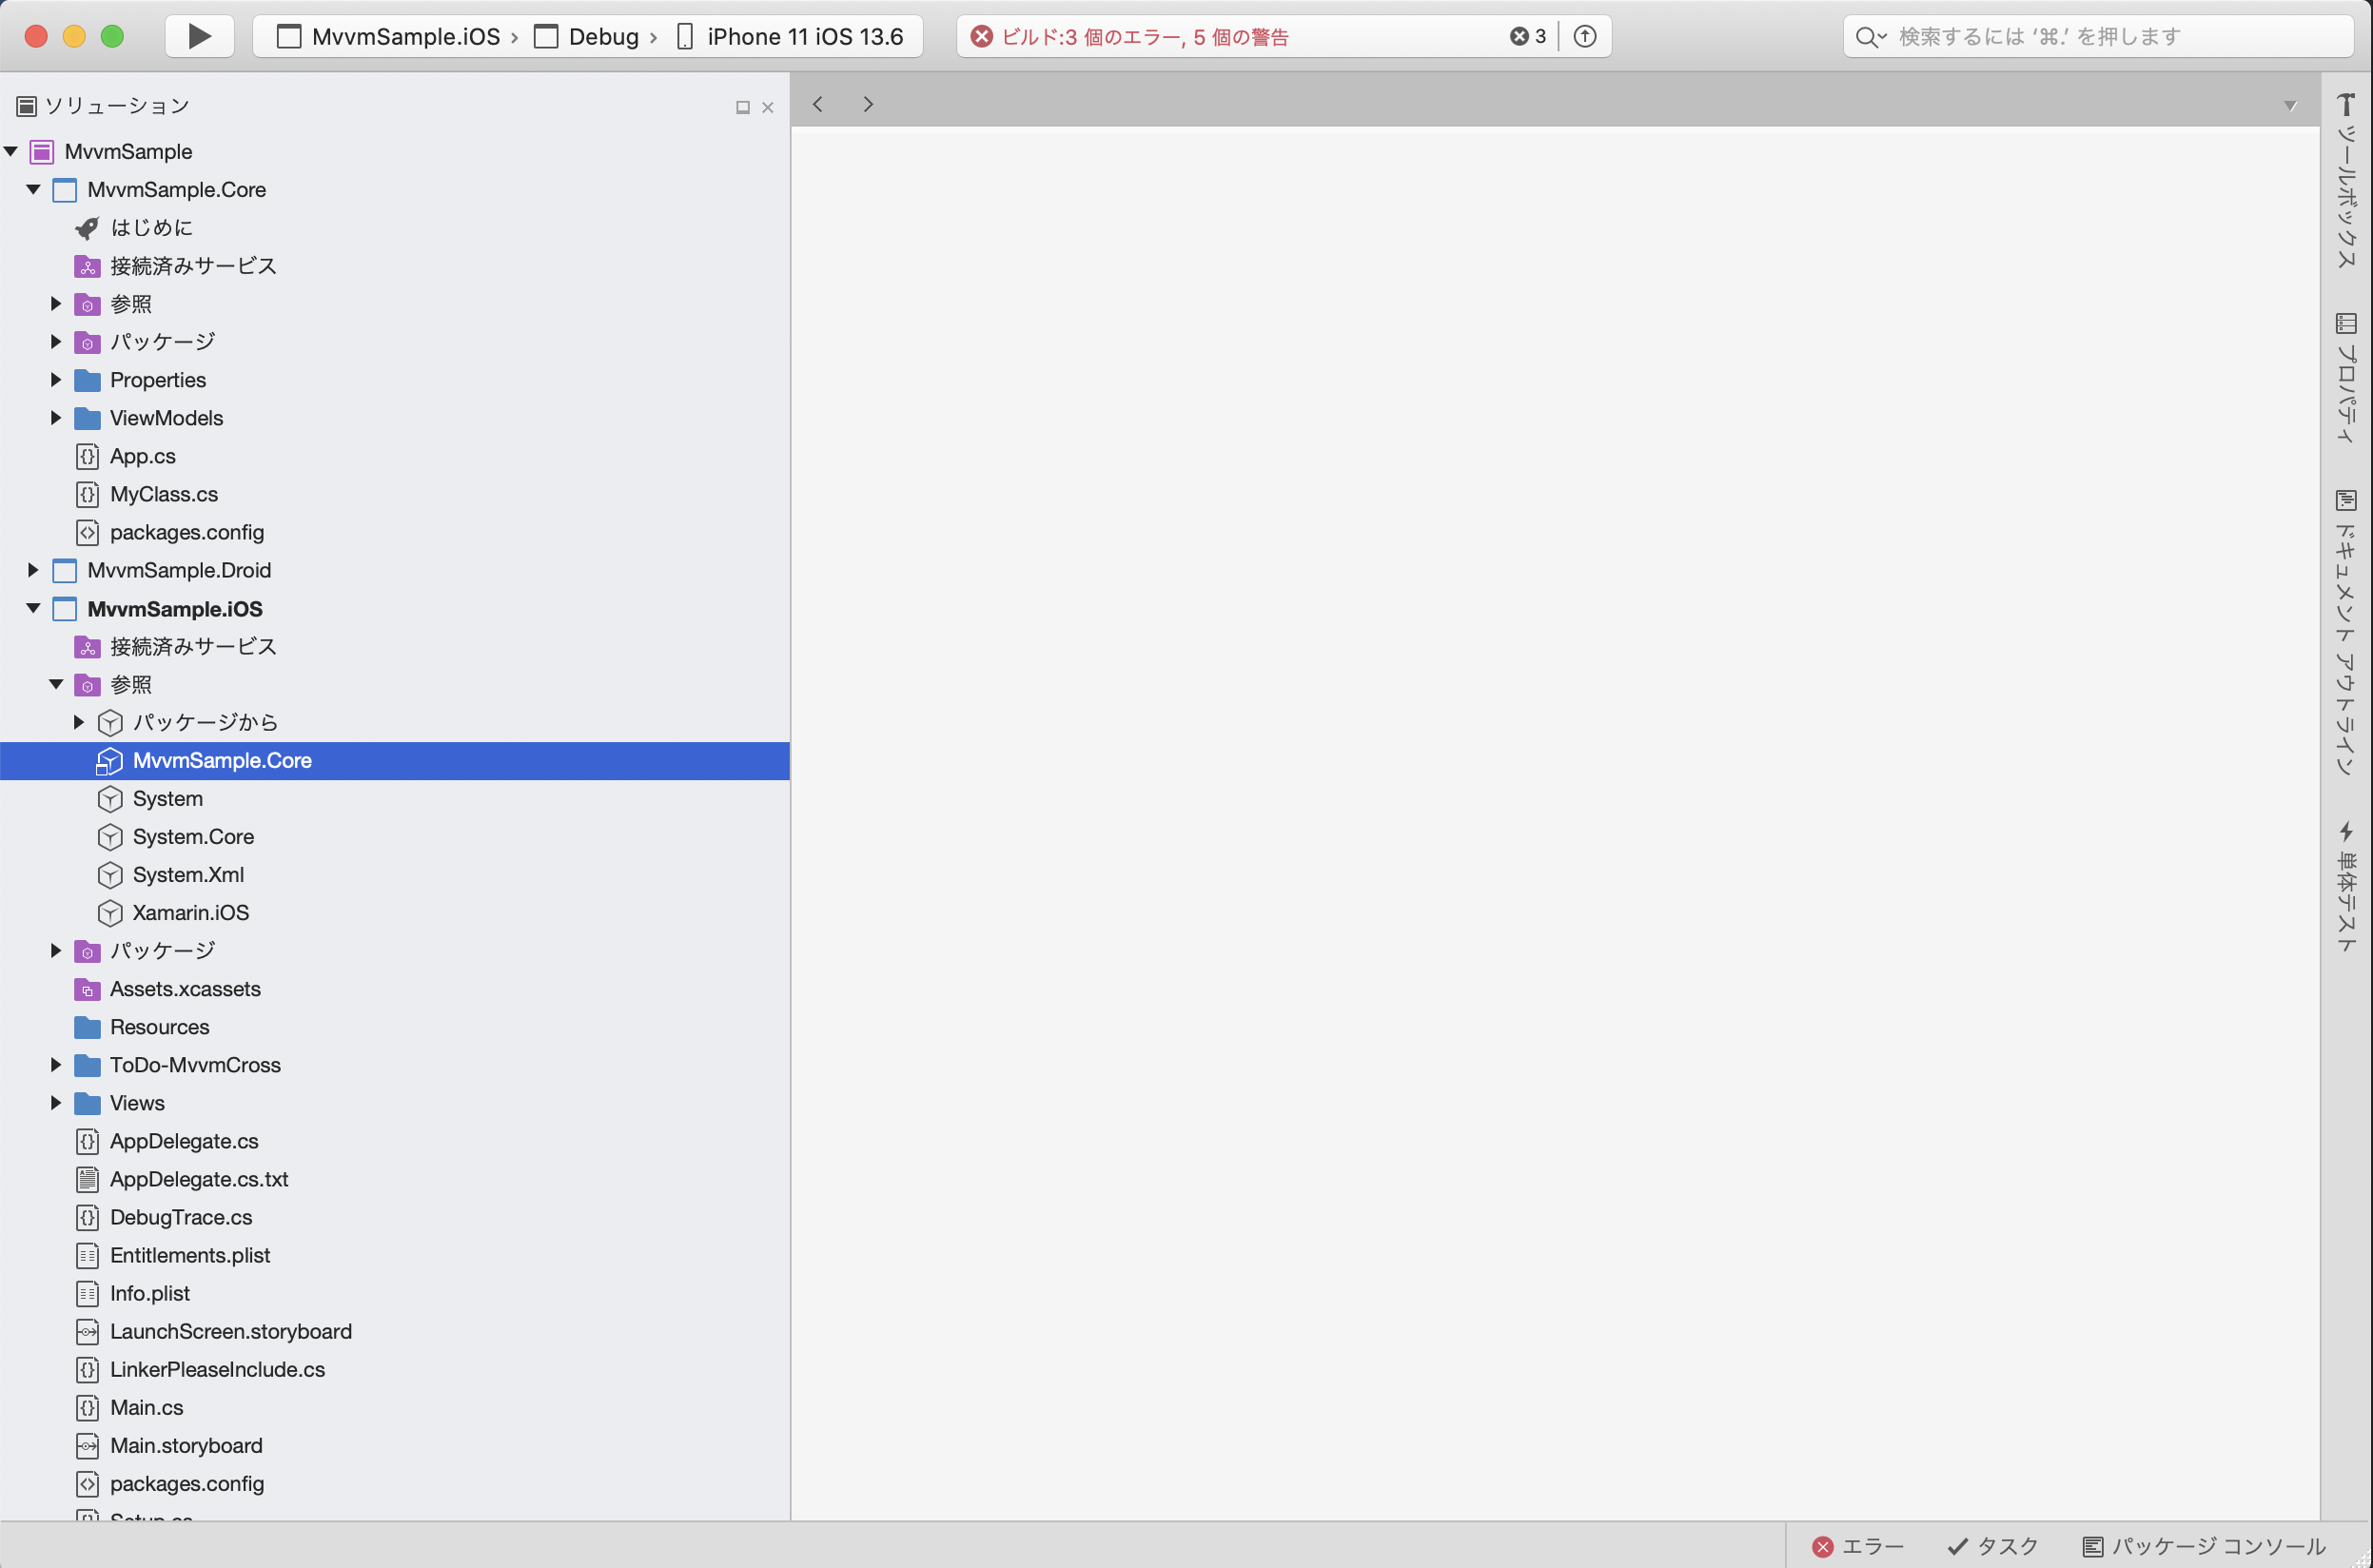
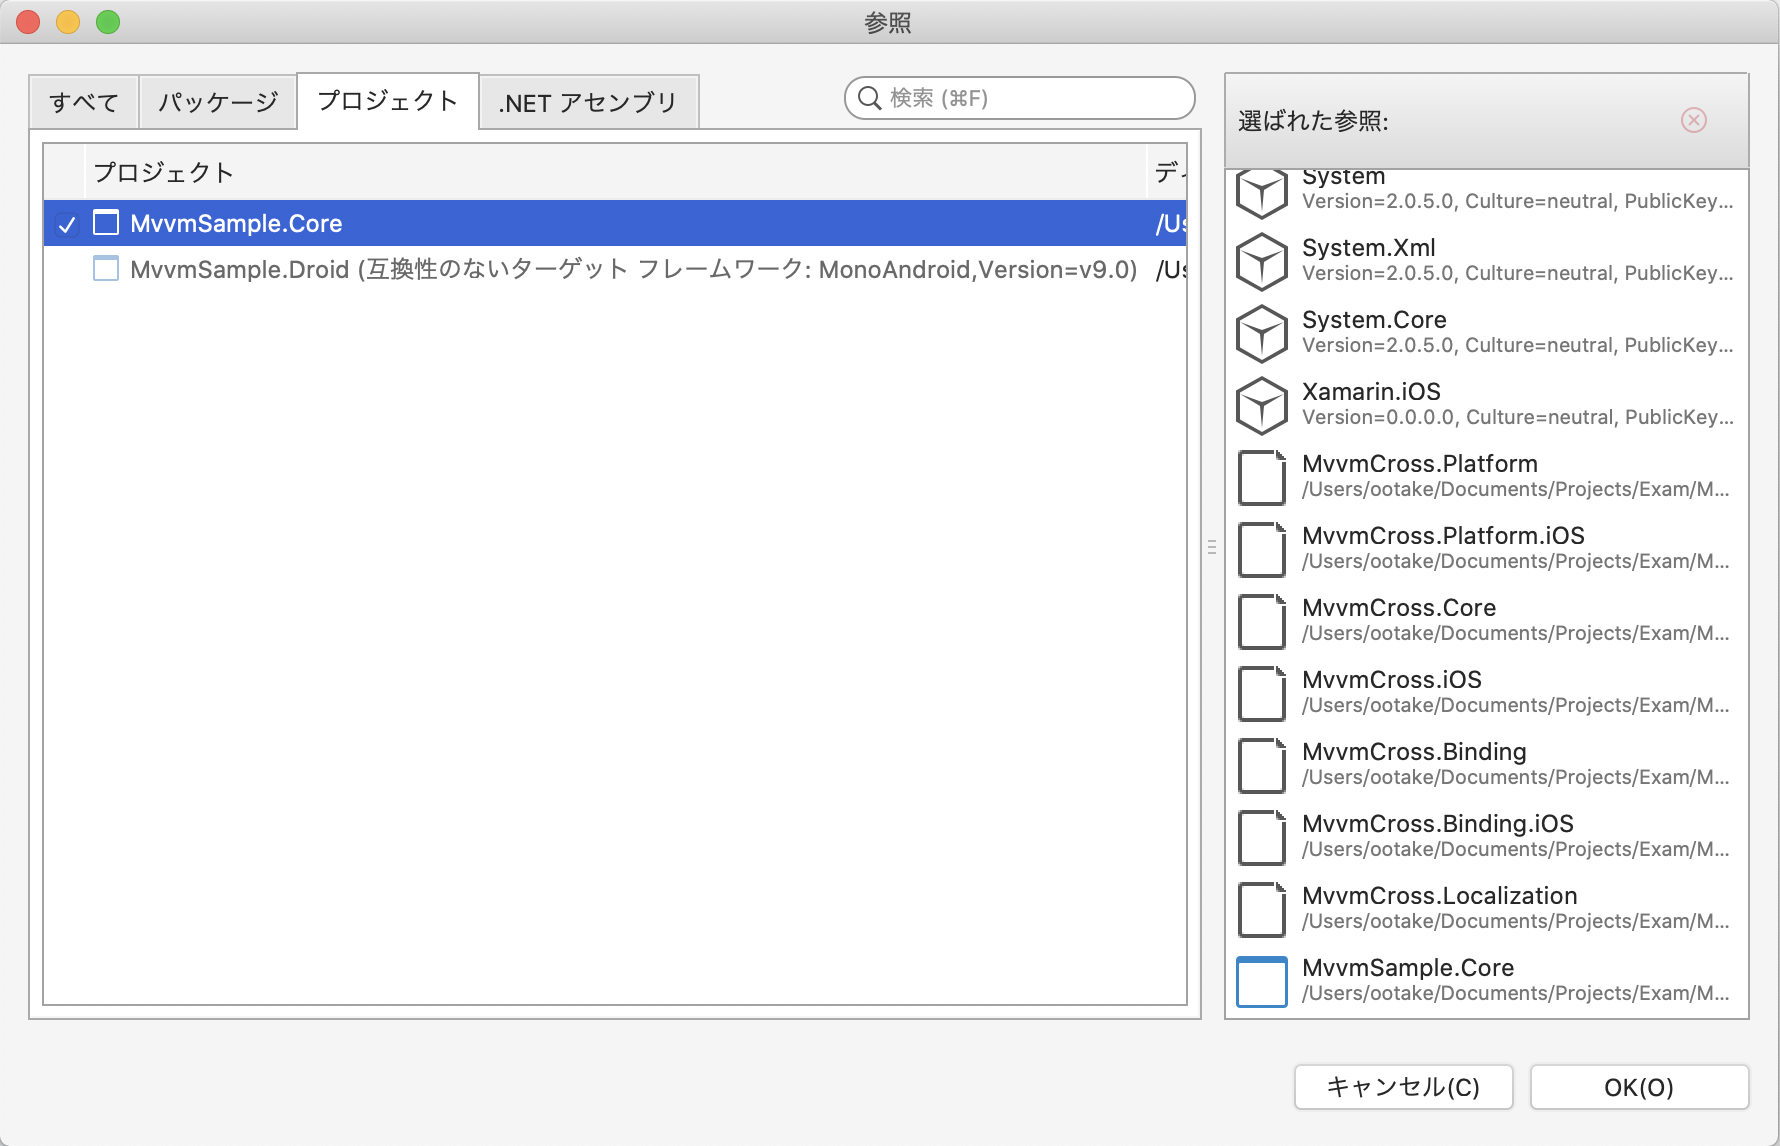
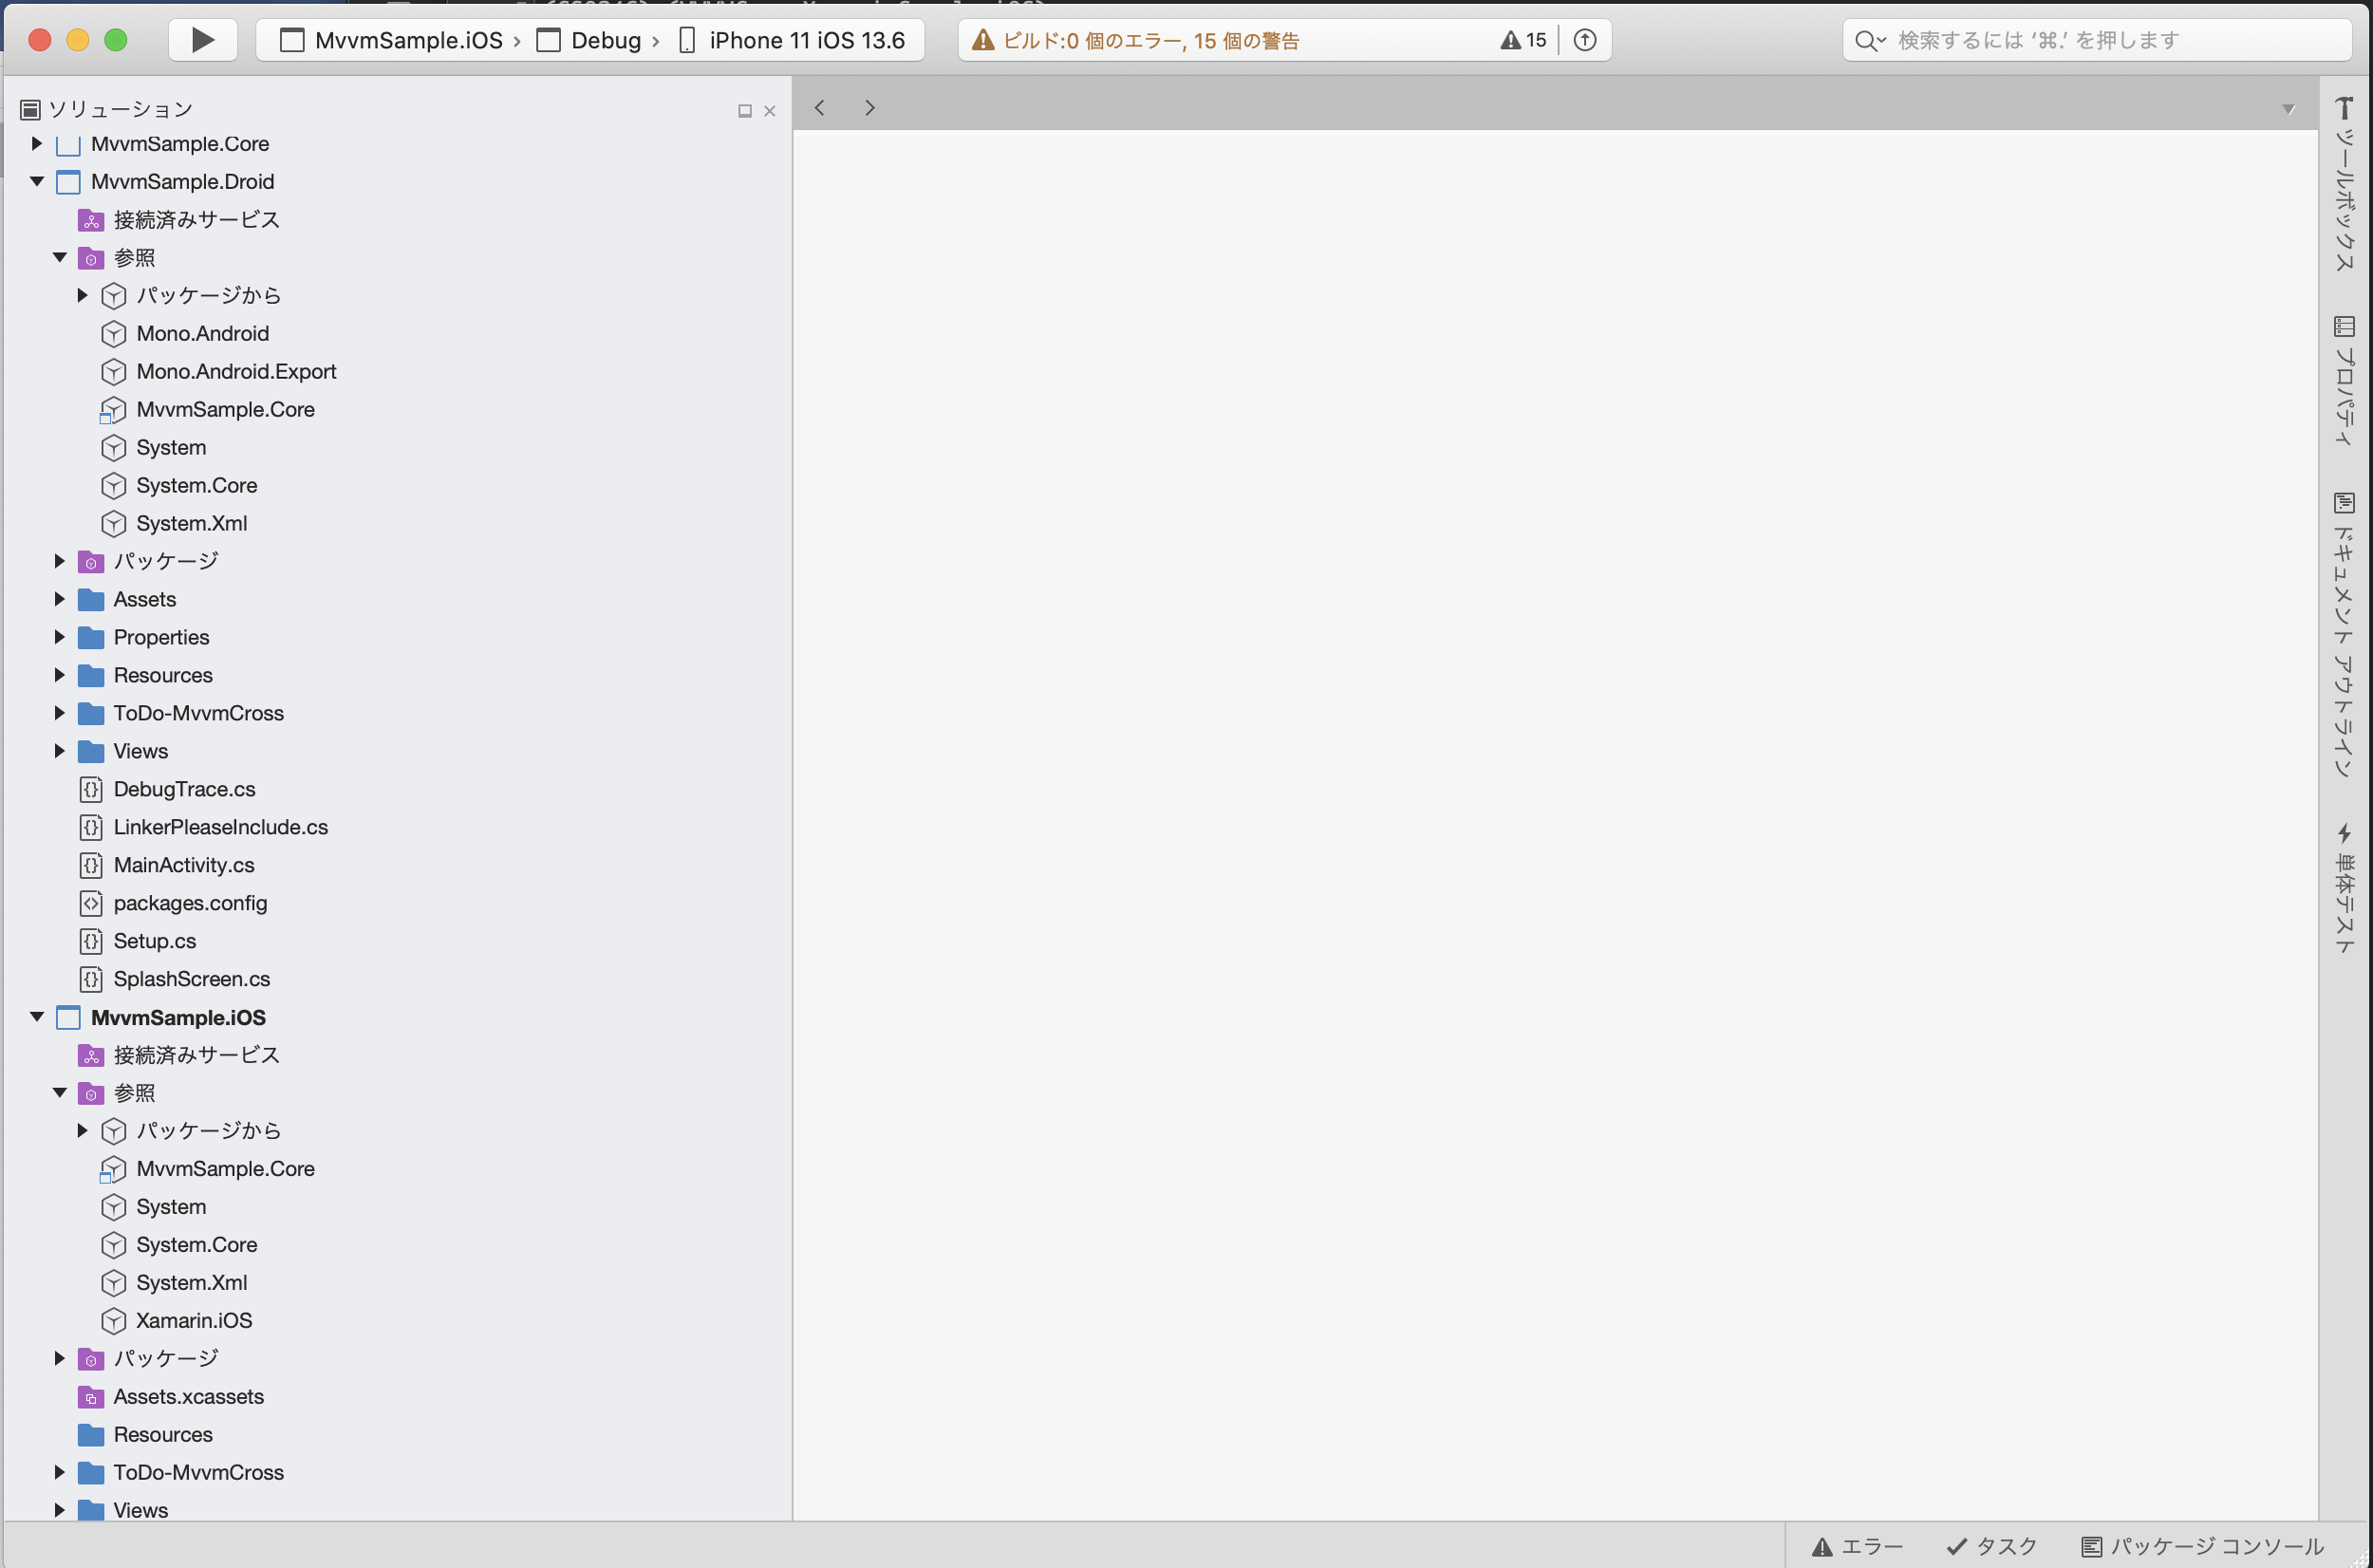
- ソリューションをビルドし、エラーがでないことを確認する。 もし「The type or namespace name 'Core' could not be found 」が出現する場合、 プロジェクト「〜.Droid」「〜.iOS」の参照設定の「〜.Core」を参照しなおすことで解決するはず。

以上。
- 投稿日:2020-07-22T17:09:51+09:00
Mvvmを利用したプロジェクト作成 (MvvmCross.StarterPackの導入)
1.前提条件
・開発環境 macOS Catalina 10.15.x
・開発ツール: Visual Studio 2019 for Mac
: Xcode2.プロジェクト作成
11.「AppDelegate.cs.txt」の内容で「AppDelegate.cs」を書き換え、保存する。
- ソリューションをビルドし、エラーがでないことを確認する。 もし「The type or namespace name 'Core' could not be found 」が出現する場合、 プロジェクト「〜.Droid」「〜.iOS」の参照設定の「〜.Core」を参照しなおすことで解決するはず。

以上。
- 投稿日:2020-07-22T14:21:42+09:00
python3をjuypyter labで触りたい環境のメモ
この記事と書こうと思った理由
macでpythonを使っていた私がAIを学ぶ上でjuypternotebookを使いたいと思ったがjuypterlabがエディタっぽくて使いやすくね?って思った私用メモ
利点
・エディタを使ったりIDEで作成したことのある人が見た目的に入りやすいこと
・環境をファイル上で確認できること環境
- mac book
- vscode
- python3
- pipenv
- juypter lab
環境イメージmacbook • Linux brew ┗ • python3 ┗ • pip ┗ • pipenv ┣ • juypyter lab ┗ • package(numpy,matplotlib等...)注)違っている等の指摘どしどし待ってます。
目次
本題
Linuxbrew
- Linuxbrewをインストールすること(Homebrewでも可)
- ターミナルを開き下記のURLから飛んでinstallのしたのコマンドを入力してEnterキーを押すとインストールが始まる
vscode
- ファイル管理がlocalでも確認できる
- ターミナルとファイルが一括で確認、管理をすることができる
楽、すごい楽ww (これが一番の理由ww)
・brew caskをinstallしてその上にvscodeをinstallを行うことでbrew上で管理できる下記でインストール
brew update
brew cask install visual-studio-codepython3
- python3をbrewでinstallする。
(注)Macbookで開発したことある人はマジでこれだけでほぼ主環境は完成であるww
(注)pyenvとは併用しないほうがいいと思われる(pipenvと併用できないためpyenvを使ってanacondaを使いたいならこの方法は正直使えない方法ではあるそれでも利点があると考えている私であった。下の方に書いておこうと思う)
brew install python3
python -Vorpython3 -v
*これで完了してない場合pathを設定してあげて欲しい。pipenv
- python3でpipがインストールされているためそこからinstallしていく
jupyterlab
- pipenvのshellを起動してjupyter labをinsallする
- 投稿日:2020-07-22T13:15:48+09:00
MACでFlutter環境構築メモ
やること
- Flutter SDKのダウンロードと解凍
- Flutter のパスとおす
- flutter doctor
- Android Studioのインストール
- flutter doctor 再実行
- Android Studio(Plug in)
- ライセンスOKにする
- flutter doctor 再実行
Flutter SDKのダウンロードと解凍
https://flutter.dev/docs/get-started/install/macos
Flutter のパスとおす
export PATH=$PATH:$HOME/Flutter/flutter/binflutter doctor
flutter doctor

  ╔════════════════════════════════════════════════════════════════════════════╗
  ║                 Welcome to Flutter! - https://flutter.dev                  ║
  ║                                                                            ║
  ║ The Flutter tool uses Google Analytics to anonymously report feature usage ║
  ║ statistics and basic crash reports. This data is used to help improve      ║
  ║ Flutter tools over time.                                                   ║
  ║                                                                            ║
  ║ Flutter tool analytics are not sent on the very first run. To disable      ║
  ║ reporting, type 'flutter config --no-analytics'. To display the current    ║
  ║ setting, type 'flutter config'. If you opt out of analytics, an opt-out    ║
  ║ event will be sent, and then no further information will be sent by the    ║
  ║ Flutter tool.                                                              ║
  ║                                                                            ║
  ║ By downloading the Flutter SDK, you agree to the Google Terms of Service.  ║
  ║ Note: The Google Privacy Policy describes how data is handled in this      ║
  ║ service.                                                                   ║
  ║                                                                            ║
  ║ Moreover, Flutter includes the Dart SDK, which may send usage metrics and  ║
  ║ crash reports to Google.                                                   ║
  ║                                                                            ║
  ║ Read about data we send with crash reports:                                ║
  ║ https://flutter.dev/docs/reference/crash-reporting                         ║
  ║                                                                            ║
  ║ See Google's privacy policy:                                               ║
  ║ https://policies.google.com/privacy                                        ║
  ╚════════════════════════════════════════════════════════════════════════════╝


Doctor summary (to see all details, run flutter doctor -v):
[✓] Flutter (Channel stable, v1.17.5, on Mac OS X 10.15.5 19F101, locale ja-JP)
[✗] Android toolchain - develop for Android devices
    ✗ Unable to locate Android SDK.
      Install Android Studio from:
      https://developer.android.com/studio/index.html
      On first launch it will assist you in installing the Android SDK
      components.
      (or visit https://flutter.dev/docs/get-started/install/macos#android-setup
      for detailed instructions).
      If the Android SDK has been installed to a custom location, set
      ANDROID_SDK_ROOT to that location.
      You may also want to add it to your PATH environment variable.

[✗] Xcode - develop for iOS and macOS
    ✗ Xcode installation is incomplete; a full installation is necessary for iOS
      development.
      Download at: https://developer.apple.com/xcode/download/
      Or install Xcode via the App Store.
      Once installed, run:
        sudo xcode-select --switch /Applications/Xcode.app/Contents/Developer
        sudo xcodebuild -runFirstLaunch
    ✗ CocoaPods not installed.
        CocoaPods is used to retrieve the iOS and macOS platform side's plugin
        code that responds to your plugin usage on the Dart side.
        Without CocoaPods, plugins will not work on iOS or macOS.
        For more info, see https://flutter.dev/platform-plugins
      To install:
        sudo gem install cocoapods
[!] Android Studio (not installed)
[!] Connected device
    ! No devices available

! Doctor found issues in 4 categories.
全然ダメみたい^^
Android Studioのインストール
https://developer.android.com/studio
flutter doctor 再度実行
flutter doctor
Doctor summary (to see all details, run flutter doctor -v):
[✓] Flutter (Channel stable, v1.17.5, on Mac OS X 10.15.5 19F101, locale ja-JP)

[!] Android toolchain - develop for Android devices (Android SDK version 30.0.1)
    ✗ Android licenses not accepted.  To resolve this, run: flutter doctor
      --android-licenses
[✗] Xcode - develop for iOS and macOS
    ✗ Xcode installation is incomplete; a full installation is necessary for iOS
      development.
      Download at: https://developer.apple.com/xcode/download/
      Or install Xcode via the App Store.
      Once installed, run:
        sudo xcode-select --switch /Applications/Xcode.app/Contents/Developer
        sudo xcodebuild -runFirstLaunch
    ✗ CocoaPods not installed.
        CocoaPods is used to retrieve the iOS and macOS platform side's plugin
        code that responds to your plugin usage on the Dart side.
        Without CocoaPods, plugins will not work on iOS or macOS.
        For more info, see https://flutter.dev/platform-plugins
      To install:
        sudo gem install cocoapods
[!] Android Studio (version 4.0)
    ✗ Flutter plugin not installed; this adds Flutter specific functionality.
    ✗ Dart plugin not installed; this adds Dart specific functionality.
[!] Connected device
    ! No devices available

! Doctor found issues in 4 categories.
licenceがダメみたいなので、これはOKにしちゃいます。
ライセンスOKにする
flutter doctor --android-licensesReview licenses that have not been accepted (y/N)? yいろいろ聞かれるが、全部yで!
flutter doctor 再実行
flutter doctor
Doctor summary (to see all details, run flutter doctor -v):
[✓] Flutter (Channel stable, v1.17.5, on Mac OS X 10.15.5 19F101, locale ja-JP)
[✓] Android toolchain - develop for Android devices (Android SDK version 30.0.1)
[✗] Xcode - develop for iOS and macOS
    ✗ Xcode installation is incomplete; a full installation is necessary for iOS
      development.
      Download at: https://developer.apple.com/xcode/download/
      Or install Xcode via the App Store.
      Once installed, run:
        sudo xcode-select --switch /Applications/Xcode.app/Contents/Developer
        sudo xcodebuild -runFirstLaunch
    ✗ CocoaPods not installed.
        CocoaPods is used to retrieve the iOS and macOS platform side's plugin
        code that responds to your plugin usage on the Dart side.
        Without CocoaPods, plugins will not work on iOS or macOS.
        For more info, see https://flutter.dev/platform-plugins
      To install:
        sudo gem install cocoapods
[!] Android Studio (version 4.0)
    ✗ Flutter plugin not installed; this adds Flutter specific functionality.
    ✗ Dart plugin not installed; this adds Dart specific functionality.
[!] Connected device
    ! No devices available

! Doctor found issues in 3 categories.
Androidは許してもらえた見たいです^^
Android Studio(Plug in)
[!] Android Studio (version 4.0)
    ✗ Flutter plugin not installed; this adds Flutter specific functionality.
    ✗ Dart plugin not installed; this adds Dart specific functionality.
プラグインが足らないみたい。
Xcodeのインストール
これ、、、時間かかるね〜30分ぐらい・・・
インストール後、一度アプリを開くflutter doctor 再実行
 % flutter doctor
Building flutter tool...
Doctor summary (to see all details, run flutter doctor -v):
[✓] Flutter (Channel stable, v1.17.5, on Mac OS X 10.15.5 19F101, locale ja-JP)
[✓] Android toolchain - develop for Android devices (Android SDK version 30.0.1)
[!] Xcode - develop for iOS and macOS (Xcode 11.6)
    ✗ CocoaPods not installed.
        CocoaPods is used to retrieve the iOS and macOS platform side's plugin code that responds to your plugin usage on the Dart side.
        Without CocoaPods, plugins will not work on iOS or macOS.
        For more info, see https://flutter.dev/platform-plugins
      To install:
        sudo gem install cocoapods
[✓] Android Studio (version 4.0)

[!] Connected device
    ! No devices available

! Doctor found issues in 2 categories.
まだ、許してくれない。
✗ CocoaPods not installed.これはCocoaPodsを入れればOK!
sudo gem install cocoapods
pod setup
% flutter doctor Doctor summary (to see all details, run flutter doctor -v): [✓] Flutter (Channel stable, v1.17.5, on Mac OS X 10.15.5 19F101, locale ja-JP) [✓] Android toolchain - develop for Android devices (Android SDK version 30.0.1) [✓] Xcode - develop for iOS and macOS (Xcode 11.6) [✓] Android Studio (version 4.0) [!] Connected device ! No devices available ! Doctor found issues in 1 category.だいぶ、許してもらえてきたが、あとひとつ
[!] Connected device
    ! No devices available
これは、MACとスマホを繋いで、アプリを実行すれば消えました!
flutter doctor
Doctor summary (to see all details, run flutter doctor -v):
[✓] Flutter (Channel stable, v1.17.5, on Mac OS X 10.15.5 19F101, locale ja-JP)
[✓] Android toolchain - develop for Android devices (Android SDK version 30.0.1)
[✓] Xcode - develop for iOS and macOS (Xcode 11.6)
[✓] Android Studio (version 4.0)
[✓] Connected device (1 available)

• No issues found!
ドクターアザース!
- 投稿日:2020-07-22T10:24:43+09:00
MacでNodedock + NUXTの開発環境を作る
目的
- NodedockでDockerの開発環境つくる
- 新規にNUXTプロジェクトを作る
- ブラウザで表示する
ちなみに、経緯としては
久しぶりにMacでyarnでnuxtを新規にcreateして…いつもの流れで構築すると、バージョン周りでyarnコマンドがエラー吐きまくって解決に時間かけるのも煩わしかったので、dockerでサクッと作れないかなと思い立ったのが経緯。バージョン
Host
- macOS Catalina 10.x
- git version 2.24
- Docker version 19.03
- docker-compose version 1.25
Guest
- create-nuxt-app 3.1.0
- node 10.20.1
- yarn 1.22.4
参考サイト
NodedockでDockerの開発環境つくる
作業用ディレクトリ作成
mkdir sample-project

cd sample-project
NodedockをCloneする
git clone https://github.com/nodedock/nodedock.git.envを作成
cd nodedock

cp env-example .env
.envを編集
- NODE_VERSION=10.7.0
- NGINX_HOST_HTTP_PORT=80
+ NODE_VERSION=10.20.1
+ NGINX_HOST_HTTP_PORT=38080
nginxの設定追加
cp nginx/sites/app.conf.example nginx/sites/app.conf- server_name app.test; - root /var/www/app; + server_name node.test + root /var/www/<project name>;hosts設定追加
vi /etc/hosts
127.0.0.1 node.testdocker起動
docker-compose up -d nginx mysql

# 再ビルドする場合
docker-compose build --no-cache nginx mysql
docker-compose up -d nginx mysql
workspaceにログイン
docker-compose exec workspace bashバージョン確認
※執筆時点のバージョンですroot@xxxxx:/var/www# node -v v10.20.1 root@xxxxx:/var/www# yarn -v 1.22.4 root@xxxxx:/var/www# npm -v 6.14.4新規にNUXTプロジェクトを作る
workspaceにログイン
※ログイン済の場合はスキップdocker-compose exec workspace bashyarnでnuxtプロジェクトを新規作成
※npmの場合は公式サイトを参照yarn create nuxt-app nuxt-project各設問について
下記記事で詳しく解説しています
Nuxt.jsで多言語化デビューしよう!
Project name... プロジェクト名 ※未入力でEnterした場合は()内の名称になる
Programming language... 言語選択。動的型付けならJavascript、静的型付けならTypescript
Package manager... パッケージ管理ツール選択。NPMかYarn(Yarn推奨)
UI framework... UIフレームワーク選択。後から追加可能。
Nuxt.js modules... モジュール選択。
Linting tools... 静的解析ツール選択。
Testing framework... テストフレームワーク選択。
Rendering mode... レンダリングモード選択。
Deployment target... デプロイ対象。サーバーサイドならServer、サーバーレスならStatic
Development tools... デプロイツール。参考までに。
サーバーサイドのアプリケーションを作りたいので今回の設定はこんな感じ。✨ Generating Nuxt.js project in nuxt-project ? Project name: nuxt-project ? Programming language: TypeScript ? Package manager: Yarn ? UI framework: None ? Nuxt.js modules: ? Linting tools: ESLint ? Testing framework: Jest ? Rendering mode: Universal (SSR / SSG) ? Deployment target: Server (Node.js hosting) ? Development tools:下記が表示されればインストール完了
?  Successfully created project test-project

  To get started:

    cd test-project
    yarn dev

  To build & start for production:

    cd test-project
    yarn build
    yarn start
アプリケーション起動
cd <project name>

yarn dev
下記URLにアクセス
page/index.vueの内容が表示されていればOK【余談】
記事振り返ってみたら、hosts追加したのに使ってなかったです。。
ドキュメントルートで読み込まれるファイルが見当たらなかったので、今度時間作ってちゃんと仕組み理解して更新します。
