- 投稿日:2020-02-08T11:12:11+09:00
herokuにnode.jsを使用してhtmlファイルを公開する
オンライン上でcvなるものを作成したので、せっかくだからそれをheroku上で公開してみたいと思います。
用意するもの。
- 公開したいhtml、cssファイル
- herokuアカウント
- 気合い
- git, nodeそれでははじめ
場所の指定
コマンドライン → CL
ディレクトリ → DIR
atom → ATOM-commandlineでnpm initする(CL)
https://qiita.com/kibinag0/items/8e584677d0a1bfc3759f
-npm でexpressをインストール(CL)
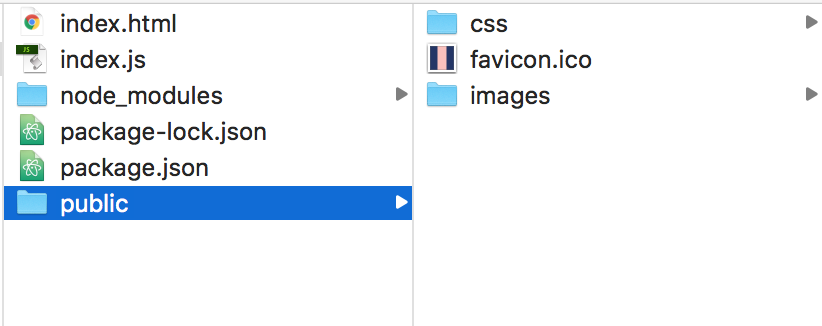
npm git init
npm install express
-ローカルの画像等を使用できるようにpublicフォルダに画像やcssファイルをぶち込む(DIR)
-index.jsファイルを作成する(atom)
//jshint esversion:6

//expressをロードする
const express = require("express");
const app = express();


// public内ファイルを使用できるようにする
app.use(express.static("public"));


//requestがあった時のresponse処理
app.get("/",function(req,res){
  res.sendFile(__dirname+"/index.html");

});

// process.env.PORTはdynamic portとしての機能
app.listen(process.env.PORT || 3000, function(){
  console.log("The server is runnning on port 3000.");
});
-herokuで使用するProcfileを作成
これはあとで必要になるものなのだからあらかじめ作っときます。
(参考) https://devcenter.heroku.com/articles/getting-started-with-nodejs#define-a-procfileindex.htmlとかが入っているdirectoryに "Procfile"という名前のテキストファイルを作成し、『web: node index.js』 と記載します。一語一句同じ名前じゃないとダメみたい。
-nodemon を使用し、ローカル環境でテスト(CL)
nodemon index.jsちなみにnodemonの使用方法はこちら。
https://qiita.com/kibinag0/items/8936476e99ed50279b83#%E3%82%B5%E3%83%BC%E3%83%90%E3%83%BC%E6%9B%B4%E6%96%B0%E8%87%AA%E5%8B%95%E5%8C%96nodemon%E3%81%AE%E3%81%99%E3%81%99%E3%82%81-git に保存する
ローカル環境でテストし、OKだったらgitにadd, commitします。
git init
git add .
git commit -m "first commit"
-herokuをインストール
次に、herokuのインストールを行います。
(herokuのアカウント持っていない人は先に作成してね)公式サイト↓
https://devcenter.heroku.com/articles/getting-started-with-nodejs#set-up-herokuのログイン(CL)
heroku login-herokuで新しいappを作成(CL)
heroku createこんな感じになります。
-git からherokuにpushする
先ほど git commit したものを今度はhirokuにpushします。
git push heroku masterこれで、完了です。
先ほどcreateしたURLに行ってみると、index.htmlが反映されているはずです。
(反映までに数分かかることもあります。)