- 投稿日:2019-11-29T17:22:06+09:00
スマホアプリのバグ調査Tips(勉強会用)
はじめに
バグ調査のやり方が人それぞれ違うなと感じている
私がやってることの共有と、他の知見を集めたいという目的
設計/実装に求められる能力と、バグの原因特定に求められる能力は、別物である
バグ調査は推理ゲーム
例えば、印刷してもプリンターが動かない場合
- 同じ端末から別のプリンターで印刷してみる
- 別の端末から同じプリンターで印刷してみる
- プリンタのプロパティからテスト印刷してみる
まずはこのように原因特定を始める
- いきなりプリンタドライバーを再インストールしてみる
みたいな闇雲な始め方は望ましくない
強制終了する場合
以下は基本
- Stack trace
- BreakpointとDebug実行
- printf的ログ出力を細かく仕込む
以下も使えると良い
- Crashlytics
- Build Scan
- 例外にBreakpointを貼る
参考
Xcodeでデバッグ実行中にクラッシュした時に捗るブレークポイント設定
Gradle Build Scanを使ってみる
エラーメッセージが出る場合
以下は基本
- そのメッセージで全文検索
- ユーザーに聞く
- ユーザーは何をしていたか
- ユーザーは何を期待していたか
- 実際に何が起きたか
以下も使えると良い
- Layout Inspector
動作が遅い、重い、固まる
以下は基本
- ANRから推測する
- メモリリークを調査する
以下も使えると良い
参考: Android PからのSystem TracingとPerfettoを使ってパフォーマンスを確認しよう
参考: iOS — Identifying Memory Leaks using the Xcode Memory Graph Debugger
共通していること
- 現象を再現させる
- 実装を理解する
- 人のコードを読む癖をつけておく
- デバッガーの呼び出し履歴を使う
- 原因を推理する
- ケアレスミス(Null、範囲外Index、定数の間違い、演算子の間違い(=/==))
- 考慮してない入力値
- 意図しない型キャスト(小数→整数)
- 複数スレッド非同期実行
- サーバーレスポンス異常
参考: How to fix bugs, step by step - Software Engineering Tips
共通していること
- わからなければ二分探索しよう!
- 一部をばっさりコメントアウトして実行
- めんどくさければモックを書こう!
- 同じレスポンスをサーバーで用意するのはとっても非効率
- 実体←→モックの差し替えが容易かどうかはアーキテクチャー次第
- 上手くいってる修正方法を探そう!
- GitHubはオープンソースの集まりで、トラブルシューティングの宝庫
- 英文に慣れよう!
- トラブルシューティングは大体英文
- 言語の壁が、探せる範囲の壁を作る
- 知らない言語でもそこに唯一の解決策があるかもしれないので、Translatorを使おう(Chromeアドオンおすすめ)
- とはいえ、怪しいサイトには注意
- Forumの回答で"same problem"はNGワード扱い
まとめ
バグとの戦いは開発言語の知識よりも、頭の中に引き出しがどれくらいあるかの方が大事だと思っています。
ちなみに僕はF1とかのモタスポが好きですが、F1でも車が予想外の挙動を示した時に、引き出しが多くて対応できるドライバー(どんな車でもそこそこ速いタイプ)と、そうじゃないドライバー(車を完璧に仕上げることが必須のタイプ)がいると思って見てます。どちらを目指すかは人それぞれ自由ですが、個人的には前者がいいな〜と思います。
さいごに
若手エンジニア向けの発表でしたが、私も今のお仕事は2年目でまだまだ無知な若手エンジニアなので、足りない観点があればぜひ教えてください!
- 投稿日:2019-11-29T16:29:54+09:00
[ Android ] アプリアイコンを指定する方法
- 投稿日:2019-11-29T13:02:56+09:00
FloatingActionButtonのアニメーションを作っているMotionSpecって何?
Ateam Lifestyle Advent Calendar 2019の3日目は
株式会社エイチームライフスタイル 名古屋開発部 の@chardenが担当します!ライフスタイルで数少ないアプリエンジニアなので今回もアプリの記事で行かせていただきます!
自社アプリでFloatingActionButtonを追加したときにアニメーションを制御したくて調べた内容を記事にします。
MotionSpecとは
https://github.com/material-components/material-components-android
material-components-androidに含まれるViewのアニメーションを決めるもの
FloatingActionButtonにおいてデフォルトでは、表示アニメーションとして以下のようなXMLが設定されています。
design_fab_show_motion_spec.xml<?xml version="1.0" encoding="utf-8"?> <!-- Copyright 2017 The Android Open Source Project Licensed under the Apache License, Version 2.0 (the "License"); you may not use this file except in compliance with the License. You may obtain a copy of the License at http://www.apache.org/licenses/LICENSE-2.0 Unless required by applicable law or agreed to in writing, software distributed under the License is distributed on an "AS IS" BASIS, WITHOUT WARRANTIES OR CONDITIONS OF ANY KIND, either express or implied. See the License for the specific language governing permissions and limitations under the License. --> <set xmlns:android="http://schemas.android.com/apk/res/android"> <objectAnimator android:propertyName="opacity" android:startOffset="0" android:duration="200" android:interpolator="@interpolator/mtrl_linear_out_slow_in"/> <objectAnimator android:propertyName="scale" android:startOffset="0" android:duration="200" android:interpolator="@interpolator/mtrl_linear_out_slow_in"/> <objectAnimator android:propertyName="iconScale" android:startOffset="0" android:duration="0" android:interpolator="@interpolator/mtrl_fast_out_slow_in"/> </set>非表示になる場合は、design_fab_hide_motion_spec.xmlが使われています。
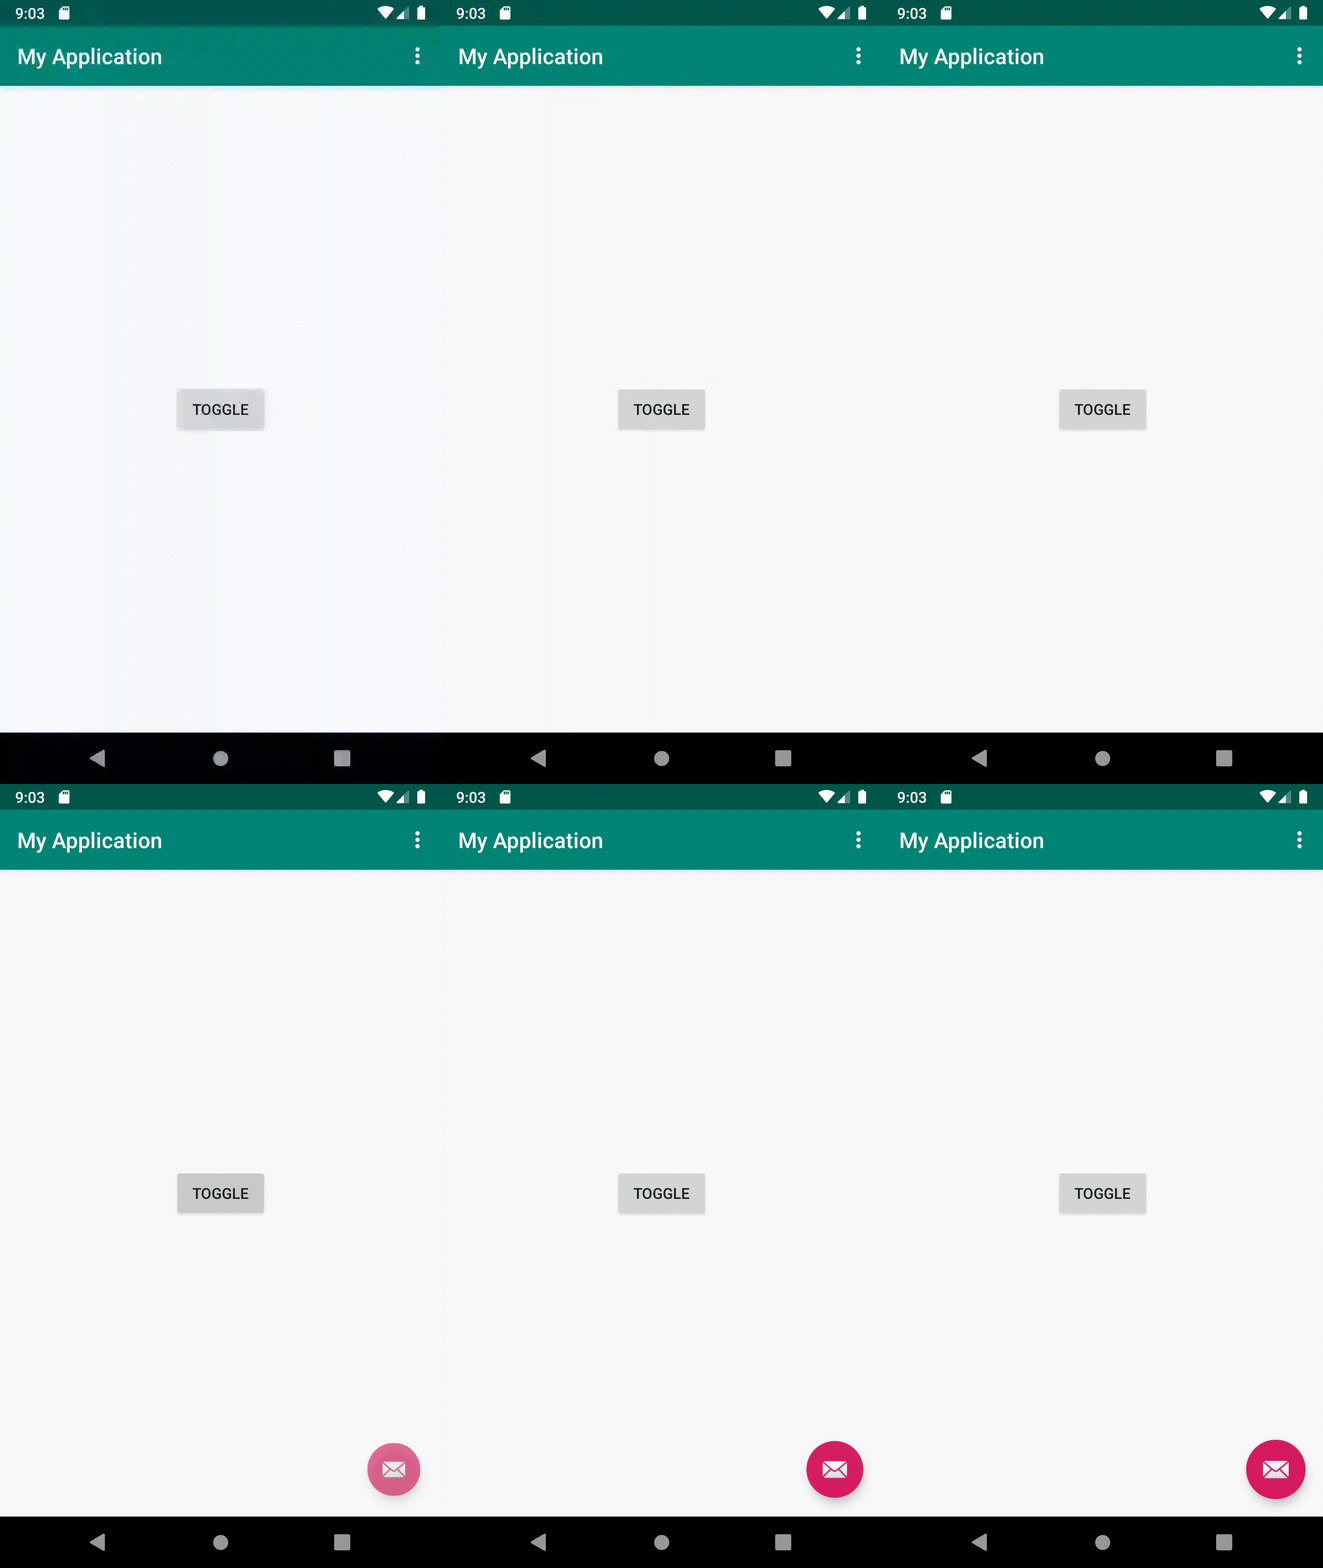
デフォルトでは下記のようなアニメーションで動作します。
MotionSpecに対応したMaterialDesignComponent(2019年12月時点)
- FloatingActionButton
- Chip
設定できる項目
FloatingActionButtonの場合
Property
- opacity
- 不透明度
- scale
- Viewの拡大縮小
- iconScale
- アイコンの拡大縮小
それぞれの設定
- startOffset
- 始点の位置
- duration
- 持続時間
- interpolator
- 動作補間
interpolator(動作補間)とは
以下の動画を見てみるのがわかりやすい
https://www.youtube.com/watch?v=6UL7PXdJ6-E
だんだん早く、だんだん遅くなどアニメーションの動作の仕方を変更することができる
実際に設定値を変えてみると
通常(duration = 200ms) duration = 1s bounce 独自でinterpolatorを作成できる
動作補間を
sin4xとしてCustomInterpolator.javaを作成しました。実際の動作はこんな形
波形で表すとこんな感じ
実際のコード
CustomInterpolator.kotlinimport android.view.animation.Interpolator import kotlin.math.sin class CustomInterpolator : Interpolator { override fun getInterpolation(v: Float): Float { return sin(4 * v) } }XMLではうまく指定できないようなのでコードから指定
val motionSpec = MotionSpec.createFromResource(this, R.animator.show)
motionSpec?.setTiming("scale", MotionTiming(0, 1000, CustomInterpolator()))
fab.showMotionSpec = motionSpec
まとめ
material-components-androidでは一部のComponentにてMotionSpecにてアニメーションを設定することができます。
今後は、アニメーションをうまく使うことにより、より心地よいユーザー体験をできるようにしていきたいと思っています!Ateam Lifestyle Advent Calendar 2019の4日目は、@dayamaguchi1がお送りします!!インフラエンジニアがどんな記事を書いてくれるか楽しみですね!
"挑戦"を大事にするエイチームグループでは、一緒に働けるチャレンジ精神旺盛な仲間を募集しています。興味を持たれた方はぜひエイチームグループ採用サイトを御覧ください。
https://www.a-tm.co.jp/recruit/
- 投稿日:2019-11-29T08:25:21+09:00
[Android] 画像読み込みライブラリ Coil できることまとめ
Coil の良いところ
Coil は Kotlin コルーチンを利用した Android 用の画像読み込みライブラリです。
公式サイトにもありますが、次のような良いところがあるそうです。
特徴 内容 処理が早い メモリキャッシュ、ディスクキャッシュ、画像のダウンサンプリング、
ビットマップの再利用、画像読み込みリクエストの一時停止やキャンセルなど
様々な最適化を含めているので効率がよく早いサイズが軽い CoilはPicassoとGlide、Frescoと同等の機能を持つが、
1500メソッドぐらいのライブラリでサイズが軽い簡単に使える Kotlinの言語機能を使ってAPIをシンプルに使いやすくしている モダンな技術を使っている Kotlinファーストで、CoroutineやOkHttp、Okio、AndroidXなどの
モダンなライブラリを利用して開発している。Coil のセットアップ
次の内容を
build.gradle(app)に記述してCoilをインストールする。build.gradle(app)dependencies { implementation 'io.coil-kt:coil:0.8.0' ︙ }今回はインターネットにアクセスするので、
次のパーミッションをAndroidManifest.xmlに記述しておく。AndroidManifest.xml<manifest xmlns:android="http://schemas.android.com/apk/res/android" package="kaleidot725.coilsample"> <uses-permission android:name="android.permission.INTERNET" /> ︙ </manifest>Coil で ImageView に画像を読み込む
次のようなレイアウトを定義し、
ImageViewに色々な方法で画像を読み込んでみる。
activity_main.xml<?xml version="1.0" encoding="utf-8"?> <FrameLayout xmlns:android="http://schemas.android.com/apk/res/android" xmlns:app="http://schemas.android.com/apk/res-auto" xmlns:tools="http://schemas.android.com/tools" android:layout_width="match_parent" android:layout_height="match_parent" tools:context=".MainActivity"> <ImageView android:id="@+id/image_view" android:layout_width="300dp" android:layout_height="300dp" android:layout_gravity="center" android:background="#CCCCCC"/> <Button android:id="@+id/reload_button" android:layout_width="wrap_content" android:layout_height="wrap_content" android:layout_gravity="right|bottom" android:layout_margin="16dp" android:text="Reload"/> </FrameLayout>ただ単純に画像を読み込む
imageViewの後にloadと記述しurlを指定するだけで画像を読み込める。
StringだけでなくHttpUrlUrlFileDrawableRes IntDrawableBitmapなどを指定できる。
あとImageView.loadではDisposableを返すので、それを使えば読み込みをキャンセルできるようになっている。MainActivity.ktval url = "https://www.underconsideration.com/brandnew/archives/android_2019_logo_inverse.png" val imageView = findViewById<ImageView>(R.id.image_view) val reloadButton = findViewById<Button>(R.id.reload_button) reloadButton.setOnClickListener { val disposable = imageView.load(url) disposable.dispose() }画像を読み込むときにクロスフェードする
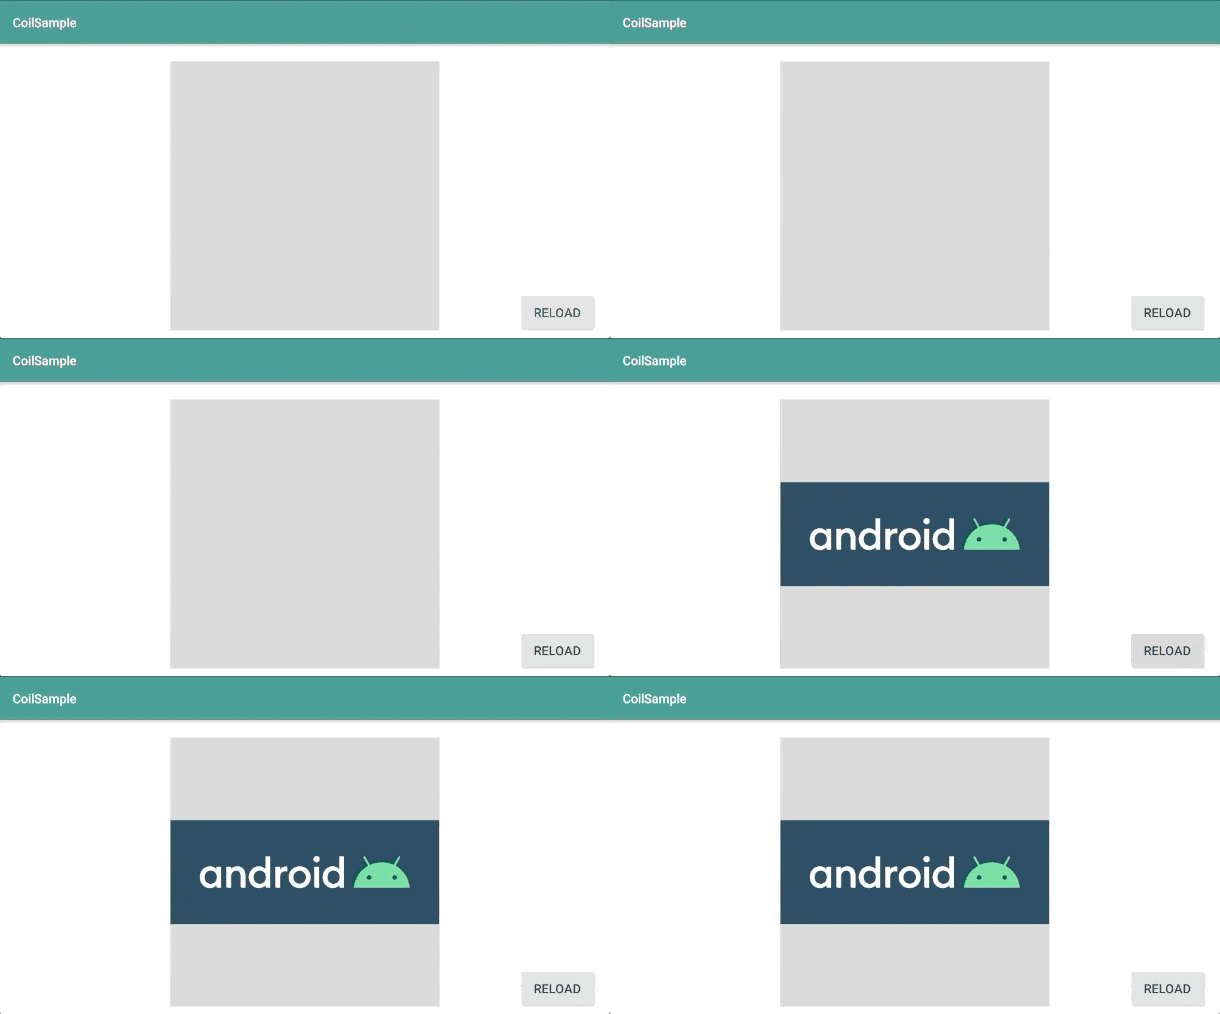
crossfadeをtrueにするだけで読み込み時にクロスフェードさせることができる。MainActivity.ktval url = "https://www.underconsideration.com/brandnew/archives/android_2019_logo_inverse.png" val imageView = findViewById<ImageView>(R.id.image_view) val reloadButton = findViewById<Button>(R.id.reload_button) reloadButton.setOnClickListener { imageView.load(url) { crossfade(true) } }画像を読み込むときにクロスフェードの秒数(ms)を指定する
クロスフェードのありなしを指定するだけでなく、
時間を指定することで何ミリ秒かけてクロスフェードするか決められる。MainActivity.ktval url = "https://www.underconsideration.com/brandnew/archives/android_2019_logo_inverse.png" val imageView = findViewById<ImageView>(R.id.image_view) val reloadButton = findViewById<Button>(R.id.reload_button) reloadButton.setOnClickListener { imageView.load(url) { crossfade(3000) } }プレースホルダー画像を設定する
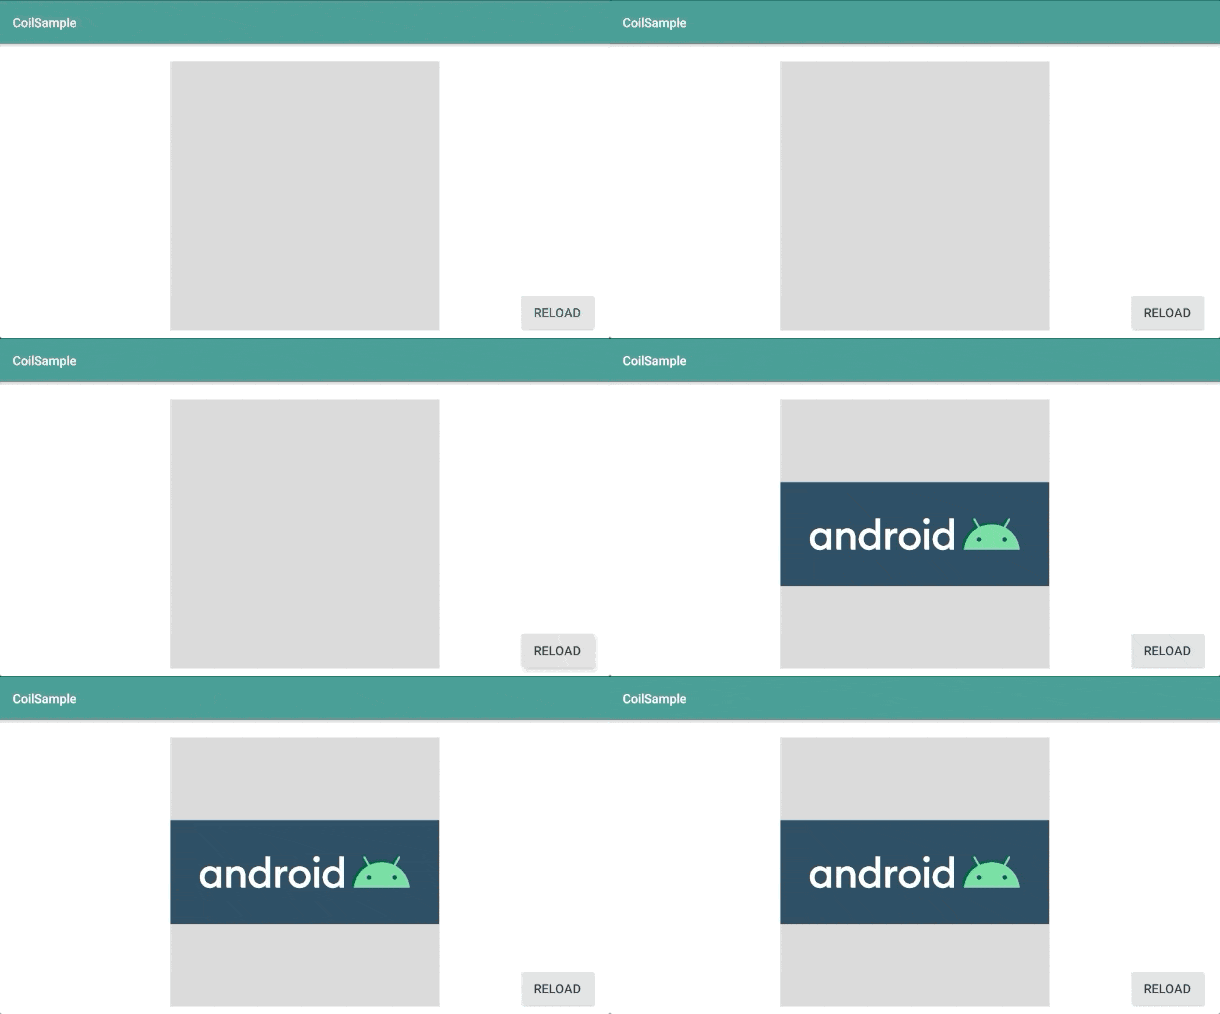
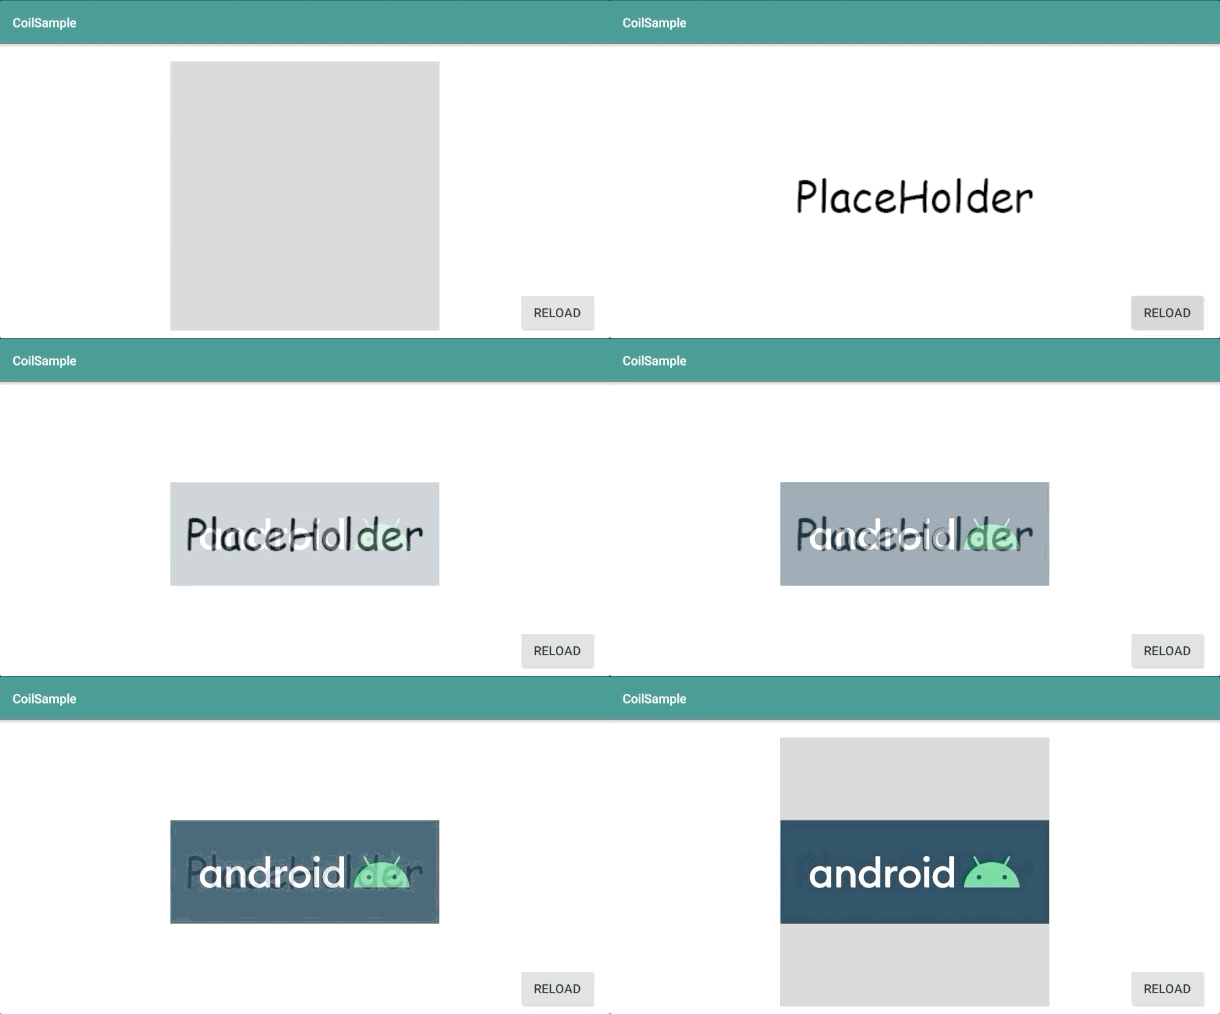
プレースホルダーを設定できる。
次のように読み込み中、クロスフェード中に画像が表示されるようになる。MainActivity.ktval url = "https://www.underconsideration.com/brandnew/archives/android_2019_logo_inverse.png" val imageView = findViewById<ImageView>(R.id.image_view) val reloadButton = findViewById<Button>(R.id.reload_button) reloadButton.setOnClickListener { imageView.load(url) { placeholder(R.drawable.placeholder) crossfade(3000) } }エラー画像を設定する
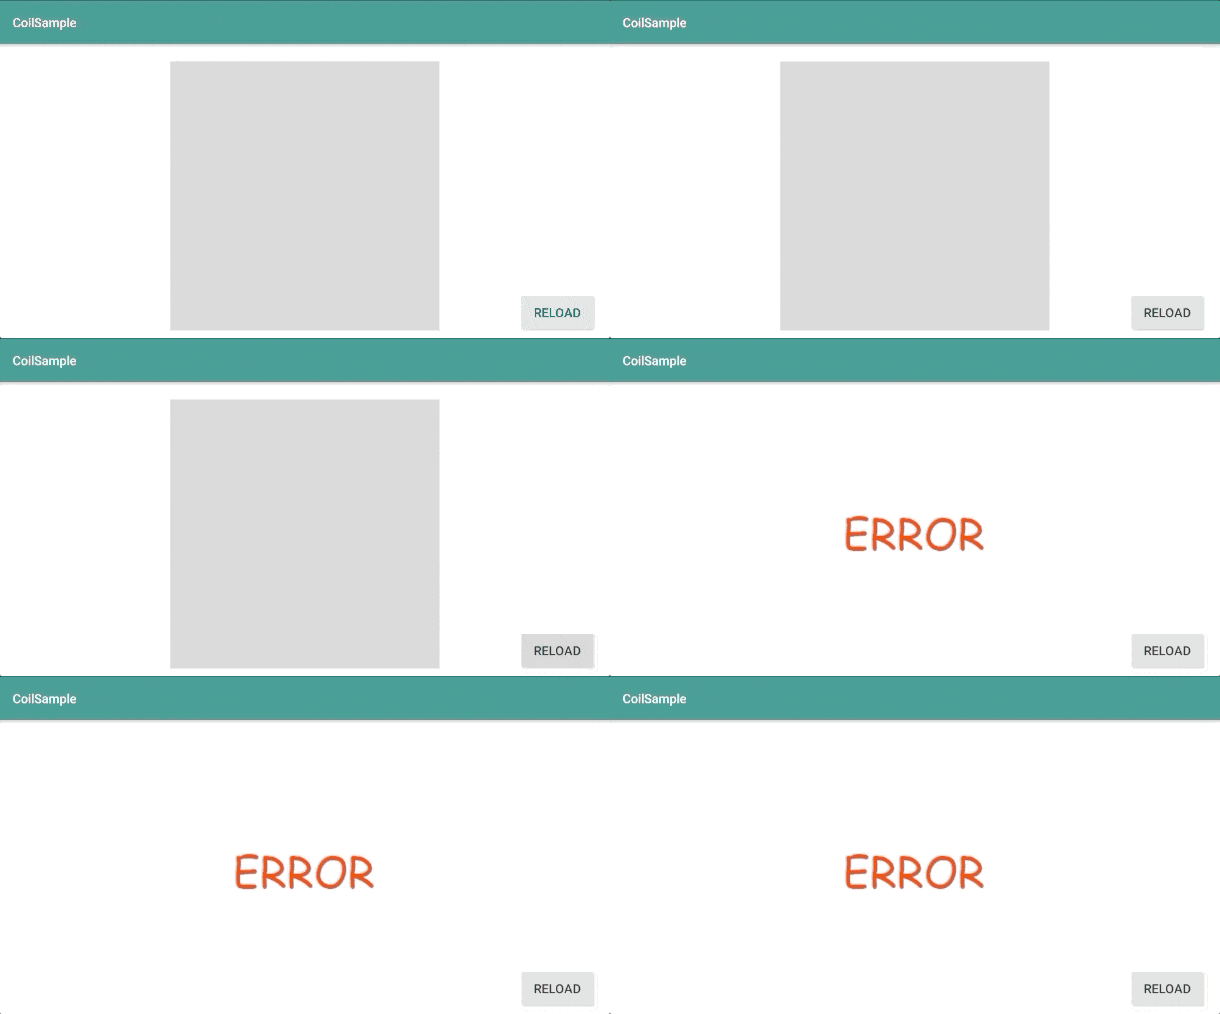
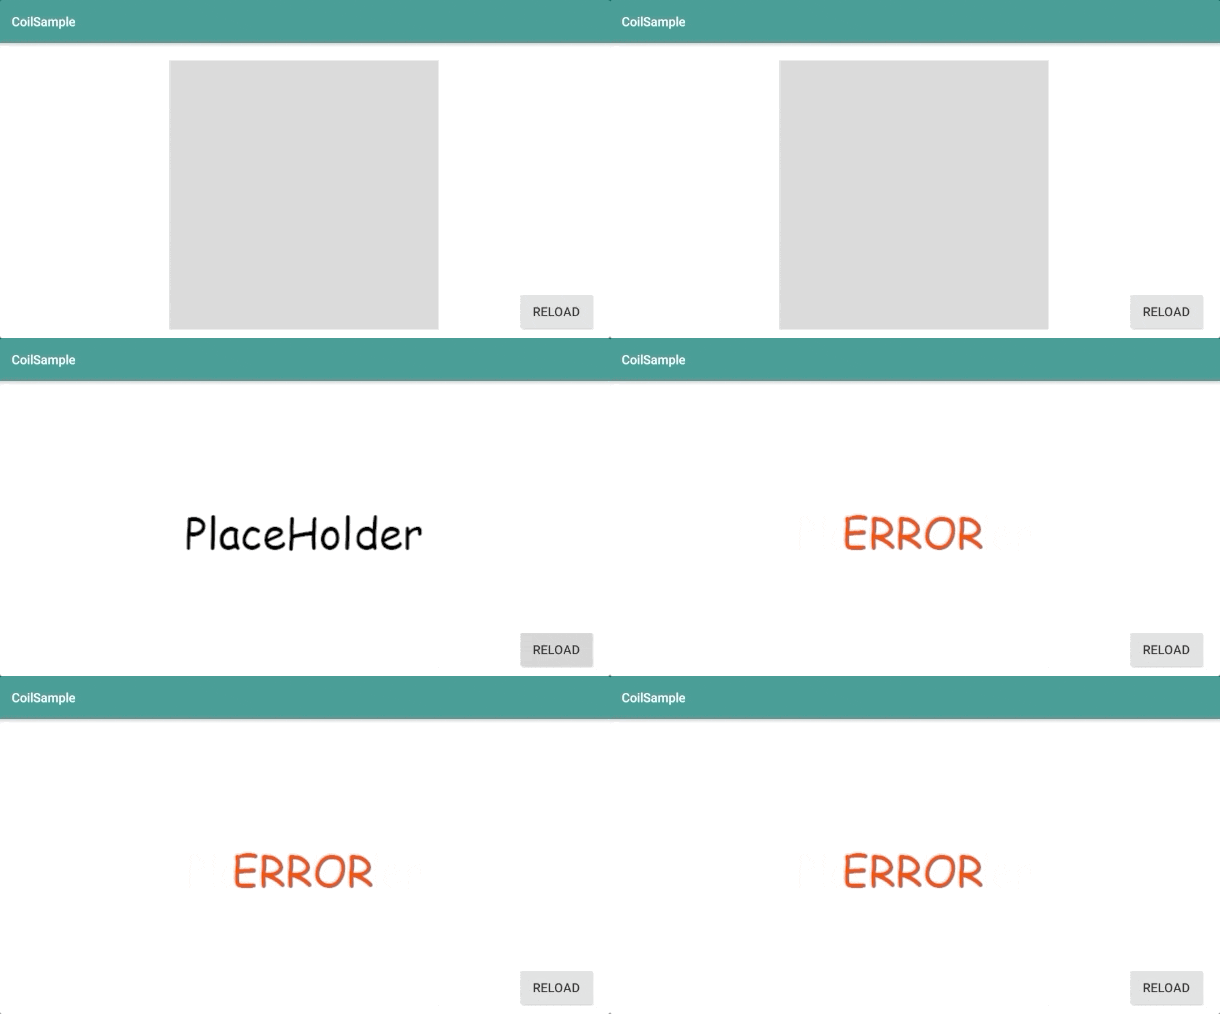
エラー画像を設定できます。
次のように読み込みに失敗したときに画像が表示されるようになる。MainActivity.ktval url = "https://hoge.png" val imageView = findViewById<ImageView>(R.id.image_view) val reloadButton = findViewById<Button>(R.id.reload_button) reloadButton.setOnClickListener { imageView.load(url) { error(R.drawable.error) } }読み込み画像を加工する
Coil では読み込んだ画像を加工する機能がある。
BlurCropCirclegrayscalerouded cornersと4種類の加工ができる。Blur
次のようにガウシアンフィルターをかけてぼかしが効いた画像を表示できる。
MainActivity.ktval url = "https://www.underconsideration.com/brandnew/archives/android_2019_logo_inverse.png" val imageView = findViewById<ImageView>(R.id.image_view) val reloadButton = findViewById<Button>(R.id.reload_button) reloadButton.setOnClickListener { imageView.load(url) { transformations(BlurTransformation(context = applicationContext, radius = 5f, sampling = 5f)) } }CropCircle
円形に画像をクロッピングできる。
次のように画像の一部を円形でクロッピングして表示できる。MainActivity.ktval url = "https://www.underconsideration.com/brandnew/archives/android_2019_logo_inverse.png" val imageView = findViewById<ImageView>(R.id.image_view) val reloadButton = findViewById<Button>(R.id.reload_button) reloadButton.setOnClickListener { imageView.load(url) { transformations(CircleCropTransformation()) } }Grayscale
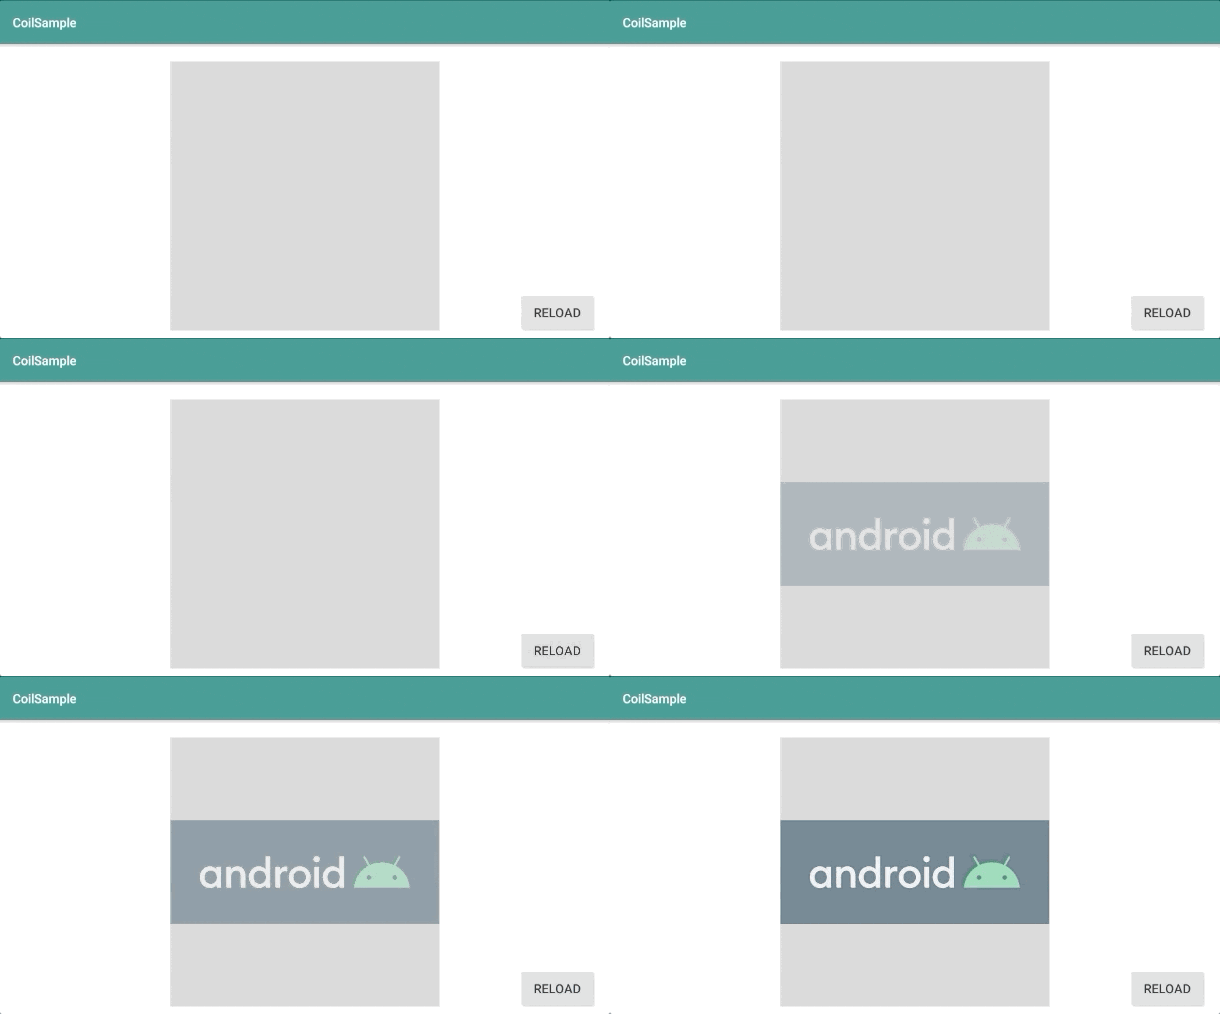
次のように画像をグレースケールで表示できる。
MainActivity.ktval url = "https://www.underconsideration.com/brandnew/archives/android_2019_logo_inverse.png" val imageView = findViewById<ImageView>(R.id.image_view) val reloadButton = findViewById<Button>(R.id.reload_button) reloadButton.setOnClickListener { imageView.load(url) { transformations(GrayscaleTransformation()) } }Rounded Corner
次のように角を丸めた画像を表示できる。
topRighttopLeftbottomeLeftbottomRightとそれぞれの角の丸めを調整できる。MainActivity.ktval url = "https://www.underconsideration.com/brandnew/archives/android_2019_logo_inverse.png" val imageView = findViewById<ImageView>(R.id.image_view) val reloadButton = findViewById<Button>(R.id.reload_button) reloadButton.setOnClickListener { imageView.load(url) { transformations(RoundedCornersTransformation(topRight = 10f, topLeft = 10f, bottomLeft = 10f, bottomRight = 10f)) }Coil では Image Loader でキャッシュ設定など変更できる
次のように Coil では ImageLoader を生成することであらかじめどの設定で画像を読み込むか決められる。
例えば 今まで紹介した機能もここに記載しておきますし、Memory Cache や Bitmap Pooling などの細かな設定もできる。MainActivity.ktval imageLoader = ImageLoader(applicationContext) { crossfade(true) placeholder(R.drawable.placeholder) error(R.drawable.error) availableMemoryPercentage(0.1) bitmapPoolPercentage(0.1) }次のように作成した
ImageLoaderをloadの引数に与えることで、
ImageLoaderに設定した内容を利用して画像を読み込むことができる。MainActvitiy.ktval imageLoader = ImageLoader(applicationContext) { crossfade(true) placeholder(R.drawable.placeholder) error(R.drawable.error) availableMemoryPercentage(0.1) bitmapPoolPercentage(0.1) } val url = "https://notfound.png" val imageView = findViewById<ImageView>(R.id.image_view) val reloadButton = findViewById<Button>(R.id.reload_button) reloadButton.setOnClickListener { imageView.load(url, imageLoader) }上記のように
loadの引数に指定するのが面倒なのであれば、
次のようにCoil.setDefaultImageLoaderで作成した
ImageLoaderをデフォルトとして設定しておくこともできる。MainActivity.ktCoil.setDefaultImageLoader(ImageLoader(applicationContext) { crossfade(true) placeholder(R.drawable.placeholder) error(R.drawable.error) availableMemoryPercentage(0.1) bitmapPoolPercentage(0.1) }) val url = "https://notfound.png" val imageView = findViewById<ImageView>(R.id.image_view) val reloadButton = findViewById<Button>(R.id.reload_button) reloadButton.setOnClickListener { imageView.load(url) }参考文献
- 投稿日:2019-11-29T08:25:21+09:00
[Android] 画像読み込みライブラリ Coil でできることまとめ
Coil の良いところ
Coil は Kotlin コルーチンを利用した Android 用の画像読み込みライブラリです。
公式サイトにもありますが、次のような良いところがあるそうです。
特徴 内容 処理が早い メモリキャッシュ、ディスクキャッシュ、画像のダウンサンプリング、
ビットマップの再利用、画像読み込みリクエストの一時停止やキャンセルなど
様々な最適化を含めているので効率がよく早いサイズが軽い CoilはPicassoとGlide、Frescoと同等の機能を持つが、
1500メソッドぐらいのライブラリでサイズが軽い簡単に使える Kotlinの言語機能を使ってAPIをシンプルに使いやすくしている モダンな技術を使っている Kotlinファーストで、CoroutineやOkHttp、Okio、AndroidXなどの
モダンなライブラリを利用して開発している。Coil のセットアップ
次の内容を
build.gradle(app)に記述してCoilをインストールする。build.gradle(app)dependencies { implementation 'io.coil-kt:coil:0.8.0' ︙ }今回はインターネットにアクセスするので、
次のパーミッションをAndroidManifest.xmlに記述しておく。AndroidManifest.xml<manifest xmlns:android="http://schemas.android.com/apk/res/android" package="kaleidot725.coilsample"> <uses-permission android:name="android.permission.INTERNET" /> ︙ </manifest>Coil で ImageView に画像を読み込む
次のようなレイアウトを定義し、
ImageViewに色々な方法で画像を読み込んでみる。
activity_main.xml<?xml version="1.0" encoding="utf-8"?> <FrameLayout xmlns:android="http://schemas.android.com/apk/res/android" xmlns:app="http://schemas.android.com/apk/res-auto" xmlns:tools="http://schemas.android.com/tools" android:layout_width="match_parent" android:layout_height="match_parent" tools:context=".MainActivity"> <ImageView android:id="@+id/image_view" android:layout_width="300dp" android:layout_height="300dp" android:layout_gravity="center" android:background="#CCCCCC"/> <Button android:id="@+id/reload_button" android:layout_width="wrap_content" android:layout_height="wrap_content" android:layout_gravity="right|bottom" android:layout_margin="16dp" android:text="Reload"/> </FrameLayout>ただ単純に画像を読み込む
imageViewの後にloadと記述しurlを指定するだけで画像を読み込める。
StringだけでなくHttpUrlUrlFileDrawableRes IntDrawableBitmapなどを指定できる。
あとImageView.loadではDisposableを返すので、それを使えば読み込みをキャンセルできるようになっている。MainActivity.ktval url = "https://www.underconsideration.com/brandnew/archives/android_2019_logo_inverse.png" val imageView = findViewById<ImageView>(R.id.image_view) val reloadButton = findViewById<Button>(R.id.reload_button) reloadButton.setOnClickListener { val disposable = imageView.load(url) disposable.dispose() }画像を読み込むときにクロスフェードする
crossfadeをtrueにするだけで読み込み時にクロスフェードさせることができる。MainActivity.ktval url = "https://www.underconsideration.com/brandnew/archives/android_2019_logo_inverse.png" val imageView = findViewById<ImageView>(R.id.image_view) val reloadButton = findViewById<Button>(R.id.reload_button) reloadButton.setOnClickListener { imageView.load(url) { crossfade(true) } }画像を読み込むときにクロスフェードの秒数(ms)を指定する
クロスフェードのありなしを指定するだけでなく、
時間を指定することで何ミリ秒かけてクロスフェードするか決められる。MainActivity.ktval url = "https://www.underconsideration.com/brandnew/archives/android_2019_logo_inverse.png" val imageView = findViewById<ImageView>(R.id.image_view) val reloadButton = findViewById<Button>(R.id.reload_button) reloadButton.setOnClickListener { imageView.load(url) { crossfade(3000) } }プレースホルダー画像を設定する
プレースホルダーを設定できる。
次のように読み込み中、クロスフェード中に画像が表示されるようになる。MainActivity.ktval url = "https://www.underconsideration.com/brandnew/archives/android_2019_logo_inverse.png" val imageView = findViewById<ImageView>(R.id.image_view) val reloadButton = findViewById<Button>(R.id.reload_button) reloadButton.setOnClickListener { imageView.load(url) { placeholder(R.drawable.placeholder) crossfade(3000) } }エラー画像を設定する
エラー画像を設定できます。
次のように読み込みに失敗したときに画像が表示されるようになる。MainActivity.ktval url = "https://hoge.png" val imageView = findViewById<ImageView>(R.id.image_view) val reloadButton = findViewById<Button>(R.id.reload_button) reloadButton.setOnClickListener { imageView.load(url) { error(R.drawable.error) } }読み込み画像を加工する
Coil では読み込んだ画像を加工する機能がある。
BlurCropCirclegrayscalerouded cornersと4種類の加工ができる。Blur
次のようにガウシアンフィルターをかけてぼかしが効いた画像を表示できる。
MainActivity.ktval url = "https://www.underconsideration.com/brandnew/archives/android_2019_logo_inverse.png" val imageView = findViewById<ImageView>(R.id.image_view) val reloadButton = findViewById<Button>(R.id.reload_button) reloadButton.setOnClickListener { imageView.load(url) { transformations(BlurTransformation(context = applicationContext, radius = 5f, sampling = 5f)) } }CropCircle
円形に画像をクロッピングできる。
次のように画像の一部を円形でクロッピングして表示できる。MainActivity.ktval url = "https://www.underconsideration.com/brandnew/archives/android_2019_logo_inverse.png" val imageView = findViewById<ImageView>(R.id.image_view) val reloadButton = findViewById<Button>(R.id.reload_button) reloadButton.setOnClickListener { imageView.load(url) { transformations(CircleCropTransformation()) } }Grayscale
次のように画像をグレースケールで表示できる。
MainActivity.ktval url = "https://www.underconsideration.com/brandnew/archives/android_2019_logo_inverse.png" val imageView = findViewById<ImageView>(R.id.image_view) val reloadButton = findViewById<Button>(R.id.reload_button) reloadButton.setOnClickListener { imageView.load(url) { transformations(GrayscaleTransformation()) } }Rounded Corner
次のように角を丸めた画像を表示できる。
topRighttopLeftbottomeLeftbottomRightとそれぞれの角の丸めを調整できる。MainActivity.ktval url = "https://www.underconsideration.com/brandnew/archives/android_2019_logo_inverse.png" val imageView = findViewById<ImageView>(R.id.image_view) val reloadButton = findViewById<Button>(R.id.reload_button) reloadButton.setOnClickListener { imageView.load(url) { transformations(RoundedCornersTransformation(topRight = 10f, topLeft = 10f, bottomLeft = 10f, bottomRight = 10f)) }Coil では Image Loader でキャッシュ設定など変更できる
次のように Coil では ImageLoader を生成することであらかじめどの設定で画像を読み込むか決められる。
例えば 今まで紹介した機能もここに記載しておきますし、Memory Cache や Bitmap Pooling などの細かな設定もできる。MainActivity.ktval imageLoader = ImageLoader(applicationContext) { crossfade(true) placeholder(R.drawable.placeholder) error(R.drawable.error) availableMemoryPercentage(0.1) bitmapPoolPercentage(0.1) }次のように作成した
ImageLoaderをloadの引数に与えることで、
ImageLoaderに設定した内容を利用して画像を読み込むことができる。MainActvitiy.ktval imageLoader = ImageLoader(applicationContext) { crossfade(true) placeholder(R.drawable.placeholder) error(R.drawable.error) availableMemoryPercentage(0.1) bitmapPoolPercentage(0.1) } val url = "https://notfound.png" val imageView = findViewById<ImageView>(R.id.image_view) val reloadButton = findViewById<Button>(R.id.reload_button) reloadButton.setOnClickListener { imageView.load(url, imageLoader) }上記のように
loadの引数に指定するのが面倒なのであれば、
次のようにCoil.setDefaultImageLoaderで作成した
ImageLoaderをデフォルトとして設定しておくこともできる。MainActivity.ktCoil.setDefaultImageLoader(ImageLoader(applicationContext) { crossfade(true) placeholder(R.drawable.placeholder) error(R.drawable.error) availableMemoryPercentage(0.1) bitmapPoolPercentage(0.1) }) val url = "https://notfound.png" val imageView = findViewById<ImageView>(R.id.image_view) val reloadButton = findViewById<Button>(R.id.reload_button) reloadButton.setOnClickListener { imageView.load(url) }参考文献
- 投稿日:2019-11-29T08:25:21+09:00
[Android] Coil (Coroutine Image Loader) できることまとめ
Coil の良いところ
Coil は Kotlin コルーチンを利用した Android 用の画像読み込みライブラリです。
公式サイトにもありますが、次のような良いところがあるそうです。
特徴 内容 処理が早い メモリキャッシュ、ディスクキャッシュ、画像のダウンサンプリング、
ビットマップの再利用、画像読み込みリクエストの一時停止やキャンセルなど
様々な最適化を含めているので効率がよく早いサイズが軽い CoilはPicassoとGlide、Frescoと同等の機能を持つが、
1500メソッドぐらいのライブラリでサイズが軽い簡単に使える Kotlinの言語機能を使ってAPIをシンプルに使いやすくしている モダンな技術を使っている Kotlinファーストで、CoroutineやOkHttp、Okio、AndroidXなどの
モダンなライブラリを利用して開発している。Coil のセットアップ
次の内容を
build.gradle(app)に記述してCoilをインストールする。build.gradle(app)dependencies { implementation 'io.coil-kt:coil:0.8.0' ︙ }今回はインターネットにアクセスするので、
次のパーミッションをAndroidManifest.xmlに記述しておく。AndroidManifest.xml<manifest xmlns:android="http://schemas.android.com/apk/res/android" package="kaleidot725.coilsample"> <uses-permission android:name="android.permission.INTERNET" /> ︙ </manifest>Coil で ImageView に画像を読み込む
次のようなレイアウトを定義し、
ImageViewに色々な方法で画像を読み込んでみる。
activity_main.xml<?xml version="1.0" encoding="utf-8"?> <FrameLayout xmlns:android="http://schemas.android.com/apk/res/android" xmlns:app="http://schemas.android.com/apk/res-auto" xmlns:tools="http://schemas.android.com/tools" android:layout_width="match_parent" android:layout_height="match_parent" tools:context=".MainActivity"> <ImageView android:id="@+id/image_view" android:layout_width="300dp" android:layout_height="300dp" android:layout_gravity="center" android:background="#CCCCCC"/> <Button android:id="@+id/reload_button" android:layout_width="wrap_content" android:layout_height="wrap_content" android:layout_gravity="right|bottom" android:layout_margin="16dp" android:text="Reload"/> </FrameLayout>ただ単純に画像を読み込む
imageViewの後にloadと記述しurlを指定するだけで画像を読み込める。
StringだけでなくHttpUrlUrlFileDrawableRes IntDrawableBitmapなどを指定できる。
あとImageView.loadではDisposableを返すので、それを使えば読み込みをキャンセルできるようになっている。MainActivity.ktval url = "https://www.underconsideration.com/brandnew/archives/android_2019_logo_inverse.png" val imageView = findViewById<ImageView>(R.id.image_view) val reloadButton = findViewById<Button>(R.id.reload_button) reloadButton.setOnClickListener { val disposable = imageView.load(url) disposable.dispose() }画像を読み込むときにクロスフェードする
crossfadeをtrueにするだけで読み込み時にクロスフェードさせることができる。MainActivity.ktval url = "https://www.underconsideration.com/brandnew/archives/android_2019_logo_inverse.png" val imageView = findViewById<ImageView>(R.id.image_view) val reloadButton = findViewById<Button>(R.id.reload_button) reloadButton.setOnClickListener { imageView.load(url) { crossfade(true) } }画像を読み込むときにクロスフェードの秒数(ms)を指定する
クロスフェードのありなしを指定するだけでなく、
時間を指定することで何ミリ秒かけてクロスフェードするか決められる。MainActivity.ktval url = "https://www.underconsideration.com/brandnew/archives/android_2019_logo_inverse.png" val imageView = findViewById<ImageView>(R.id.image_view) val reloadButton = findViewById<Button>(R.id.reload_button) reloadButton.setOnClickListener { imageView.load(url) { crossfade(3000) } }プレースホルダー画像を設定する
プレースホルダーを設定できる。
次のように読み込み中、クロスフェード中に画像が表示されるようになる。MainActivity.ktval url = "https://www.underconsideration.com/brandnew/archives/android_2019_logo_inverse.png" val imageView = findViewById<ImageView>(R.id.image_view) val reloadButton = findViewById<Button>(R.id.reload_button) reloadButton.setOnClickListener { imageView.load(url) { placeholder(R.drawable.placeholder) crossfade(3000) } }エラー画像を設定する
エラー画像を設定できます。
次のように読み込みに失敗したときに画像が表示されるようになる。MainActivity.ktval url = "https://hoge.png" val imageView = findViewById<ImageView>(R.id.image_view) val reloadButton = findViewById<Button>(R.id.reload_button) reloadButton.setOnClickListener { imageView.load(url) { error(R.drawable.error) } }読み込み画像を加工する
Coil では読み込んだ画像を加工する機能がある。
BlurCropCirclegrayscalerouded cornersと4種類の加工ができる。Blur
次のようにガウシアンフィルターをかけてぼかしが効いた画像を表示できる。
MainActivity.ktval url = "https://www.underconsideration.com/brandnew/archives/android_2019_logo_inverse.png" val imageView = findViewById<ImageView>(R.id.image_view) val reloadButton = findViewById<Button>(R.id.reload_button) reloadButton.setOnClickListener { imageView.load(url) { transformations(BlurTransformation(context = applicationContext, radius = 5f, sampling = 5f)) } }CropCircle
円形に画像をクロッピングできる。
次のように画像の一部を円形でクロッピングして表示できる。MainActivity.ktval url = "https://www.underconsideration.com/brandnew/archives/android_2019_logo_inverse.png" val imageView = findViewById<ImageView>(R.id.image_view) val reloadButton = findViewById<Button>(R.id.reload_button) reloadButton.setOnClickListener { imageView.load(url) { transformations(CircleCropTransformation()) } }Grayscale
次のように画像をグレースケールで表示できる。
MainActivity.ktval url = "https://www.underconsideration.com/brandnew/archives/android_2019_logo_inverse.png" val imageView = findViewById<ImageView>(R.id.image_view) val reloadButton = findViewById<Button>(R.id.reload_button) reloadButton.setOnClickListener { imageView.load(url) { transformations(GrayscaleTransformation()) } }Rounded Corner
次のように角を丸めた画像を表示できる。
topRighttopLeftbottomeLeftbottomRightとそれぞれの角の丸めを調整できる。MainActivity.ktval url = "https://www.underconsideration.com/brandnew/archives/android_2019_logo_inverse.png" val imageView = findViewById<ImageView>(R.id.image_view) val reloadButton = findViewById<Button>(R.id.reload_button) reloadButton.setOnClickListener { imageView.load(url) { transformations(RoundedCornersTransformation(topRight = 10f, topLeft = 10f, bottomLeft = 10f, bottomRight = 10f)) }Coil では Image Loader でキャッシュ設定など変更できる
次のように Coil では ImageLoader を生成することであらかじめどの設定で画像を読み込むか決められる。
例えば 今まで紹介した機能もここに記載しておきますし、Memory Cache や Bitmap Pooling などの細かな設定もできる。MainActivity.ktval imageLoader = ImageLoader(applicationContext) { crossfade(true) placeholder(R.drawable.placeholder) error(R.drawable.error) availableMemoryPercentage(0.1) bitmapPoolPercentage(0.1) }次のように作成した
ImageLoaderをloadの引数に与えることで、
ImageLoaderに設定した内容を利用して画像を読み込むことができる。MainActvitiy.ktval imageLoader = ImageLoader(applicationContext) { crossfade(true) placeholder(R.drawable.placeholder) error(R.drawable.error) availableMemoryPercentage(0.1) bitmapPoolPercentage(0.1) } val url = "https://notfound.png" val imageView = findViewById<ImageView>(R.id.image_view) val reloadButton = findViewById<Button>(R.id.reload_button) reloadButton.setOnClickListener { imageView.load(url, imageLoader) }上記のように
loadの引数に指定するのが面倒なのであれば、
次のようにCoil.setDefaultImageLoaderで作成した
ImageLoaderをデフォルトとして設定しておくこともできる。MainActivity.ktCoil.setDefaultImageLoader(ImageLoader(applicationContext) { crossfade(true) placeholder(R.drawable.placeholder) error(R.drawable.error) availableMemoryPercentage(0.1) bitmapPoolPercentage(0.1) }) val url = "https://notfound.png" val imageView = findViewById<ImageView>(R.id.image_view) val reloadButton = findViewById<Button>(R.id.reload_button) reloadButton.setOnClickListener { imageView.load(url) }参考文献
- 投稿日:2019-11-29T08:25:21+09:00
[Android] 画像読み込みライブラリ Coil (Coroutine Image Loader) できることまとめ
Coil の良いところ
Coil は Kotlin コルーチンを利用した Android 用の画像読み込みライブラリです。
公式サイトにもありますが、次のような良いところがあるそうです。
特徴 内容 処理が早い メモリキャッシュ、ディスクキャッシュ、画像のダウンサンプリング、
ビットマップの再利用、画像読み込みリクエストの一時停止やキャンセルなど
様々な最適化を含めているので効率がよく早いサイズが軽い CoilはPicassoとGlide、Frescoと同等の機能を持つが、
1500メソッドぐらいのライブラリでサイズが軽い簡単に使える Kotlinの言語機能を使ってAPIをシンプルに使いやすくしている モダンな技術を使っている Kotlinファーストで、CoroutineやOkHttp、Okio、AndroidXなどの
モダンなライブラリを利用して開発している。Coil のセットアップ
次の内容を
build.gradle(app)に記述してCoilをインストールする。build.gradle(app)dependencies { implementation 'io.coil-kt:coil:0.8.0' ︙ }今回はインターネットにアクセスするので、
次のパーミッションをAndroidManifest.xmlに記述しておく。AndroidManifest.xml<manifest xmlns:android="http://schemas.android.com/apk/res/android" package="kaleidot725.coilsample"> <uses-permission android:name="android.permission.INTERNET" /> ︙ </manifest>Coil で ImageView に画像を読み込む
次のようなレイアウトを定義し、
ImageViewに色々な方法で画像を読み込んでみる。
activity_main.xml<?xml version="1.0" encoding="utf-8"?> <FrameLayout xmlns:android="http://schemas.android.com/apk/res/android" xmlns:app="http://schemas.android.com/apk/res-auto" xmlns:tools="http://schemas.android.com/tools" android:layout_width="match_parent" android:layout_height="match_parent" tools:context=".MainActivity"> <ImageView android:id="@+id/image_view" android:layout_width="300dp" android:layout_height="300dp" android:layout_gravity="center" android:background="#CCCCCC"/> <Button android:id="@+id/reload_button" android:layout_width="wrap_content" android:layout_height="wrap_content" android:layout_gravity="right|bottom" android:layout_margin="16dp" android:text="Reload"/> </FrameLayout>ただ単純に画像を読み込む
imageViewの後にloadと記述しurlを指定するだけで画像を読み込める。
StringだけでなくHttpUrlUrlFileDrawableRes IntDrawableBitmapなどを指定できる。
あとImageView.loadではDisposableを返すので、それを使えば読み込みをキャンセルできるようになっている。MainActivity.ktval url = "https://www.underconsideration.com/brandnew/archives/android_2019_logo_inverse.png" val imageView = findViewById<ImageView>(R.id.image_view) val reloadButton = findViewById<Button>(R.id.reload_button) reloadButton.setOnClickListener { val disposable = imageView.load(url) disposable.dispose() }画像を読み込むときにクロスフェードする
crossfadeをtrueにするだけで読み込み時にクロスフェードさせることができる。MainActivity.ktval url = "https://www.underconsideration.com/brandnew/archives/android_2019_logo_inverse.png" val imageView = findViewById<ImageView>(R.id.image_view) val reloadButton = findViewById<Button>(R.id.reload_button) reloadButton.setOnClickListener { imageView.load(url) { crossfade(true) } }画像を読み込むときにクロスフェードの秒数(ms)を指定する
クロスフェードのありなしを指定するだけでなく、
時間を指定することで何ミリ秒かけてクロスフェードするか決められる。MainActivity.ktval url = "https://www.underconsideration.com/brandnew/archives/android_2019_logo_inverse.png" val imageView = findViewById<ImageView>(R.id.image_view) val reloadButton = findViewById<Button>(R.id.reload_button) reloadButton.setOnClickListener { imageView.load(url) { crossfade(3000) } }プレースホルダー画像を設定する
プレースホルダーを設定できる。
次のように読み込み中、クロスフェード中に画像が表示されるようになる。MainActivity.ktval url = "https://www.underconsideration.com/brandnew/archives/android_2019_logo_inverse.png" val imageView = findViewById<ImageView>(R.id.image_view) val reloadButton = findViewById<Button>(R.id.reload_button) reloadButton.setOnClickListener { imageView.load(url) { placeholder(R.drawable.placeholder) crossfade(3000) } }エラー画像を設定する
エラー画像を設定できます。
次のように読み込みに失敗したときに画像が表示されるようになる。MainActivity.ktval url = "https://hoge.png" val imageView = findViewById<ImageView>(R.id.image_view) val reloadButton = findViewById<Button>(R.id.reload_button) reloadButton.setOnClickListener { imageView.load(url) { error(R.drawable.error) } }読み込み画像を加工する
Coil では読み込んだ画像を加工する機能がある。
BlurCropCirclegrayscalerouded cornersと4種類の加工ができる。Blur
次のようにガウシアンフィルターをかけてぼかしが効いた画像を表示できる。
MainActivity.ktval url = "https://www.underconsideration.com/brandnew/archives/android_2019_logo_inverse.png" val imageView = findViewById<ImageView>(R.id.image_view) val reloadButton = findViewById<Button>(R.id.reload_button) reloadButton.setOnClickListener { imageView.load(url) { transformations(BlurTransformation(context = applicationContext, radius = 5f, sampling = 5f)) } }CropCircle
円形に画像をクロッピングできる。
次のように画像の一部を円形でクロッピングして表示できる。MainActivity.ktval url = "https://www.underconsideration.com/brandnew/archives/android_2019_logo_inverse.png" val imageView = findViewById<ImageView>(R.id.image_view) val reloadButton = findViewById<Button>(R.id.reload_button) reloadButton.setOnClickListener { imageView.load(url) { transformations(CircleCropTransformation()) } }Grayscale
次のように画像をグレースケールで表示できる。
MainActivity.ktval url = "https://www.underconsideration.com/brandnew/archives/android_2019_logo_inverse.png" val imageView = findViewById<ImageView>(R.id.image_view) val reloadButton = findViewById<Button>(R.id.reload_button) reloadButton.setOnClickListener { imageView.load(url) { transformations(GrayscaleTransformation()) } }Rounded Corner
次のように角を丸めた画像を表示できる。
topRighttopLeftbottomeLeftbottomRightとそれぞれの角の丸めを調整できる。MainActivity.ktval url = "https://www.underconsideration.com/brandnew/archives/android_2019_logo_inverse.png" val imageView = findViewById<ImageView>(R.id.image_view) val reloadButton = findViewById<Button>(R.id.reload_button) reloadButton.setOnClickListener { imageView.load(url) { transformations(RoundedCornersTransformation(topRight = 10f, topLeft = 10f, bottomLeft = 10f, bottomRight = 10f)) }Coil では Image Loader でキャッシュ設定など変更できる
次のように Coil では ImageLoader を生成することであらかじめどの設定で画像を読み込むか決められる。
例えば 今まで紹介した機能もここに記載しておきますし、Memory Cache や Bitmap Pooling などの細かな設定もできる。MainActivity.ktval imageLoader = ImageLoader(applicationContext) { crossfade(true) placeholder(R.drawable.placeholder) error(R.drawable.error) availableMemoryPercentage(0.1) bitmapPoolPercentage(0.1) }次のように作成した
ImageLoaderをloadの引数に与えることで、
ImageLoaderに設定した内容を利用して画像を読み込むことができる。MainActvitiy.ktval imageLoader = ImageLoader(applicationContext) { crossfade(true) placeholder(R.drawable.placeholder) error(R.drawable.error) availableMemoryPercentage(0.1) bitmapPoolPercentage(0.1) } val url = "https://notfound.png" val imageView = findViewById<ImageView>(R.id.image_view) val reloadButton = findViewById<Button>(R.id.reload_button) reloadButton.setOnClickListener { imageView.load(url, imageLoader) }上記のように
loadの引数に指定するのが面倒なのであれば、
次のようにCoil.setDefaultImageLoaderで作成した
ImageLoaderをデフォルトとして設定しておくこともできる。MainActivity.ktCoil.setDefaultImageLoader(ImageLoader(applicationContext) { crossfade(true) placeholder(R.drawable.placeholder) error(R.drawable.error) availableMemoryPercentage(0.1) bitmapPoolPercentage(0.1) }) val url = "https://notfound.png" val imageView = findViewById<ImageView>(R.id.image_view) val reloadButton = findViewById<Button>(R.id.reload_button) reloadButton.setOnClickListener { imageView.load(url) }参考文献
- 投稿日:2019-11-29T02:06:30+09:00
FACTORY START UP SERVICES, PLEASE WAIT FOR POWER OFF BUTTON 問題の解決
Xperia で 端末リセット(工場出荷状態)にした後に
「FACTORY START UP SERVICES, PLEASE WAIT FOR POWER OFF BUTTON」
と連続で表示される問題(とそれに続いて起こるあれこれ)の解決方法(の一つ)他の情報でどうしても解決しなかったがadbコマンドでパッケージを無効化することで解決できた。
対象のAndroid端末以外に必要な環境
- adbコマンドが利用可能になっているPC
- Android端末接続するためのUSBケーブル
手順
- Android端末側でUSBデバッグを有効にして(詳細は省略)USBケーブルでPCと接続する
- PC側で作業コマンドプロンプトを開く
- 以下を実行
$ adb shell
$ pm disable-user --user 0 com.sonyericsson.startupflagservice
Package com.sonyericsson.startupflagservice new state: disabled-user
と表示されたら成功
- 投稿日:2019-11-29T00:24:15+09:00
AndroidのlogcatをTSV形式に加工するrubyスクリプト
Androidのlogcatを解析する際にExcelやgoogleスプレッドシートに貼り付けて、
フィルタ機能を使って一部のログのみ抽出して表示したいので作ってみました。変換スクリプト
locat2tsv.rb#!/usr/bin/env ruby while line = ARGF.gets (date, time, pid_package, level_tag, message) = line.split(" ",5) (pid, package) = pid_package.split("/") (level, tag) = level_tag.split("/") data = ["#{date} #{time}", pid, package, level, tag, message] puts data.join("\t") end変換結果をgoogleスプレッドシートに貼り付けた例
使い方
cat env-logcat.log | ./locat2tsv.rb | pbcopy./locat2tsv.rb env-logcat.log | pbcopy変換後のTSVのカラムは次の通りです
1. 日時
2. pid
3. パッケージ名
4. ログ出力レベル
5. tag
6. ログメッセージ


