- 投稿日:2020-08-18T23:51:43+09:00
【第2回】「みんなのポートフォリオまとめサイト」を作ります~REST API編~ 【Cover】成果物URL: https://minna.itsumen.com
ワイ 「この記事のカバーです」
https://qiita.com/kiwatchi1991/items/58b53c5b4ddf8d6a7053バックナンバー
【第1回】「みんなのポートフォリオまとめサイト」を作ります~プロトタイプ作成編~
成果物
リポジトリ
フロントエンド
https://github.com/yuzuru2/minna_frontend
バックエンド
https://github.com/yuzuru2/minna_backend
コレクション定義(テーブル定義)
ワイ 「今回はNoSQLのMongoDBを使ってます」
ワイ 「コレクションとはRDBでいうテーブル的なやつです」
RDB MongoDB スキーマ データベース テーブル コレクション カラム フィールド レコード ドキュメント ①Users(ユーザ)
uid: unique
物理名 論理名 型 uid ユーザID string name 名前 string twitterUrl TwitterのURL string githubUrl GitHubのURL string createdAt 作成時間 Date updatedAt 更新時間 Date src/mongoose/collection/users.tsimport * as mongoose from 'mongoose'; import Schema from 'src/mongoose'; const model_name = 'users'; interface _interface { uid: string; name: string; twitterUrl: string; githubUrl: string; createdAt: Date; updatedAt: Date; } interface i_model extends mongoose.Document {} interface i_model extends _interface {} const model = mongoose.model( model_name, new Schema({ uid: { type: String }, name: { type: String, minlength: 1, maxlength: 15 }, twitterUrl: { type: String }, githubUrl: { type: String }, createdAt: { type: Date }, updatedAt: { type: Date }, }).index({ uid: 1 }, { unique: true }) ); // 作成 export const create = async (params: Pick<i_model, 'uid'>) => { const _data: _interface = { uid: params.uid, name: '名無し', twitterUrl: '', githubUrl: '', createdAt: new Date(), updatedAt: new Date(), }; return (await model.insertMany([_data])) as i_model[]; }; // 抽出 export const find = async (params: Pick<i_model, 'uid'>) => { const _data: Pick<i_model, 'uid'> = { uid: params.uid }; return (await model.find(_data)) as i_model[]; }; // 更新 export const update = async ( uid: string, params: Pick<i_model, 'name' | 'twitterUrl' | 'githubUrl'> ) => { return await model.updateOne( { uid: uid }, { $set: { ...params, updatedAt: new Date() } } ); };②Products(ポートフォリオ)
_id: unique
物理名 論理名 型 _id ポートフォリオのID string uid ユーザID string type ポートフォリオのタイプ number title ポートフォリオのタイトル string url ポートフォリオのURL string repo リポジトリのURL string createdAt 作成時間 Date updatedAt 更新時間 Date src/mongoose/collection/products.tsimport * as mongoose from 'mongoose'; import Schema from 'src/mongoose'; const model_name = 'products'; const pagingNum = 5; interface _interface { uid: string; type: number; title: string; url: string; repo: string; createdAt: Date; updatedAt: Date; } interface i_model extends mongoose.Document {} interface i_model extends _interface {} const model = mongoose.model( model_name, new Schema({ uid: { type: String }, type: { type: Number, min: 0, max: 5 }, title: { type: String, minlength: 1, maxlength: 30 }, url: { type: String, minlength: 1, maxlength: 100 }, repo: { type: String, maxlength: 100 }, createdAt: { type: Date }, updatedAt: { type: Date }, }) ); // 作成 export const create = async ( params: Pick<i_model, 'uid' | 'type' | 'title' | 'url' | 'repo'> ) => { const _data: _interface = { uid: params.uid, type: params.type, title: params.title, url: params.url, repo: params.repo, createdAt: new Date(), updatedAt: new Date(), }; return (await model.insertMany([_data])) as i_model[]; }; // 更新 export const update = async ( id: string, uid: string, params: Pick<i_model, 'type' | 'title' | 'url' | 'repo'> ) => { return await model.updateOne( { _id: id, uid: uid }, { $set: { ...params, updatedAt: new Date() } } ); }; // 削除 export const deleteProduct = async (id: string, uid: string) => { return await model.deleteOne({ _id: id, uid: uid }); }; // 全投稿数 export const countAll = async () => { return model.find({}).countDocuments(); }; // ジャンル別投稿数 export const countType = async (type: number) => { return model.find({ type: type }).countDocuments(); }; // タイトル別投稿数 export const countTitle = async (title: string) => { return model.find({ title: { $regex: title } }).countDocuments(); }; // ユーザ別投稿数 export const countUser = async (uid: string) => { return model.find({ uid: uid }).countDocuments(); }; // ページング全投稿 export const pagingAll = async (num: number) => { return await model.aggregate([ { $match: {}, }, { $lookup: { from: 'users', localField: 'uid', foreignField: 'uid', as: 'users_info', }, }, { $sort: { createdAt: -1 }, }, { $skip: num * pagingNum, }, { $limit: pagingNum }, { $project: { _id: '$_id', type: '$type', title: '$title', url: '$url', repo: '$repo', name: '$users_info.name', uid: '$uid', createdAt: '$createdAt', updatedAt: '$updatedAt', }, }, ]); }; // ページングタイプ別 export const pagingType = async (num: number, type: number) => { return await model.aggregate([ { $match: { type: type, }, }, { $lookup: { from: 'users', localField: 'uid', foreignField: 'uid', as: 'users_info', }, }, { $sort: { createdAt: -1 }, }, { $skip: num * pagingNum, }, { $limit: pagingNum }, { $project: { _id: '$_id', type: '$type', title: '$title', url: '$url', repo: '$repo', name: '$users_info.name', uid: '$uid', createdAt: '$createdAt', updatedAt: '$updatedAt', }, }, ]); }; // ページングタイトル別 export const pagingTitle = async (num: number, title: string) => { return await model.aggregate([ { $match: { title: { $regex: title }, }, }, { $lookup: { from: 'users', localField: 'uid', foreignField: 'uid', as: 'users_info', }, }, { $sort: { createdAt: -1 }, }, { $skip: num * pagingNum, }, { $limit: pagingNum }, { $project: { _id: '$_id', type: '$type', title: '$title', url: '$url', repo: '$repo', name: '$users_info.name', uid: '$uid', createdAt: '$createdAt', updatedAt: '$updatedAt', }, }, ]); }; // ページングユーザ別 export const pagingUser = async (num: number, uid: string) => { return await model.aggregate([ { $match: { uid: uid, }, }, { $lookup: { from: 'users', localField: 'uid', foreignField: 'uid', as: 'users_info', }, }, { $sort: { createdAt: -1 }, }, { $skip: num * pagingNum, }, { $limit: pagingNum }, { $project: { _id: '$_id', type: '$type', title: '$title', url: '$url', repo: '$repo', name: '$users_info.name', uid: '$uid', createdAt: '$createdAt', updatedAt: '$updatedAt', }, }, ]); };REST API
ユーザ作成・ログイン
リクエストURL
Post
/v1/create/user
リクエストヘッダー
Authorization: Firebase Authorizationで発行されたjwttoken
Content-Type: application/json
リクエストパラメーター
{}レスポンス
{}
ポートフォリオ投稿
リクエストURL
Post
/v1/create/product
リクエストヘッダー
Authorization: Firebase Authorizationで発行されたjwttoken
Content-Type: application/json
リクエストパラメーター
{
  // ポートフォリオのタイトル
  title: string;

  // ポートフォリオのURL
  url: string;

  // ポートフォリオのリポジトリURL
  repo: string;

  // 0: Webアプリ
  // 1: スマホアプリ
  // 2: デスクトップアプリ
  // 3: スクレイピング
  // 4: ホムペ
  // 5: その他
  type: number;
}
レスポンス
{}
ユーザプロフィール更新
リクエストURL
Put
/v1/update/user
リクエストヘッダー
Authorization: Firebase Authorizationで発行されたjwttoken
Content-Type: application/json
リクエストパラメーター
{
  // ユーザ名
  name: string;

  // GitHubのURL
  githubUrl: string;

  // TwitterのURL
  twitterUrl: string;
}
レスポンス
{}
ポートフォリオ更新
リクエストURL
Put
/v1/update/product
リクエストヘッダー
Authorization: Firebase Authorizationで発行されたjwttoken
Content-Type: application/json
リクエストパラメーター
{
  // ポートフォリオのID
  id: string;

  // ポートフォリオのタイトル
  title: string;

  // ポートフォリオのURL
  url: string;

  // ポートフォリオのリポジトリURL
  repo: string;

  // 0: Webアプリ
  // 1: スマホアプリ
  // 2: デスクトップアプリ
  // 3: スクレイピング
  // 4: ホムペ
  // 5: その他
  type: number;
}
レスポンス
{}
ポートフォリオ削除
リクエストURL
Delete
/v1/cancel/product
リクエストヘッダー
Authorization: Firebase Authorizationで発行されたjwttoken
Content-Type: application/json
リクエストパラメーター
{
  // ポートフォリオのID
  id: string;
}
レスポンス
{}
ユーザプロフィール参照
リクエストURL
Get
/v1/find/user/:uid
リクエストヘッダー
Authorization: null以外の値リクエストパラメーター
{
  // ユーザID
  uid: string;
}
レスポンス
{
  // ユーザ名
  name: string;

  // TwitterのURL
  twitterUrl: string;

  // GitHubのURL
  githubUrl: string;
}
ページング全投稿(5件)
リクエストURL
Get
/v1/paging/all/:num
リクエストヘッダー
Authorization: null以外の値リクエストパラメーター
{
  // 1ページ目は1, 2ページ目は2....
  num: string;
}
レスポンス
{
  // 件数
  count: number;
  list: {
    // ポートフォリオのID
    _id: string;

    // 0: Webアプリ
    // 1: スマホアプリ
    // 2: デスクトップアプリ
    // 3: スクレイピング
    // 4: ホムペ
    // 5: その他
    type: number;

    // ポートフォリオのタイトル
    title: string;

    // ポートフォリオのURL
    url: string;

    // ポートフォリオのリポジトリURL
    repo: string;

    // 投稿者名
    name: string[];

    // ユーザID
    uid: string;

    // 作成日
    createdAt: Date;

    // 更新日
    updatedAt: Date;
  }[];
}
ページングポートフォリオのタイトル別(5件)
リクエストURL
Get
/v1/paging/title/:title/:num
リクエストヘッダー
Authorization: null以外の値リクエストパラメーター
{
  // 1ページ目は1, 2ページ目は2....
  num: string;
  title: string;
}
レスポンス
{
  // 件数
  count: number;
  list: {
    // ポートフォリオのID
    _id: string;

    // 0: Webアプリ
    // 1: スマホアプリ
    // 2: デスクトップアプリ
    // 3: スクレイピング
    // 4: ホムペ
    // 5: その他
    type: number;

    // ポートフォリオのタイトル
    title: string;

    // ポートフォリオのURL
    url: string;

    // ポートフォリオのリポジトリURL
    repo: string;

    // 投稿者名
    name: string[];

    // ユーザID
    uid: string;

    // 作成日
    createdAt: Date;

    // 更新日
    updatedAt: Date;
  }[];
}
ページングタイプ別(5件)
リクエストURL
Get
/v1/paging/type/:type/:num
リクエストヘッダー
Authorization: null以外の値リクエストパラメーター
{
  // 1ページ目は1, 2ページ目は2....
  num: string;

  // 0: Webアプリ
  // 1: スマホアプリ
  // 2: デスクトップアプリ
  // 3: スクレイピング
  // 4: ホムペ
  // 5: その他
  type: string;
}
レスポンス
{
  // 件数
  count: number;
  list: {
    // ポートフォリオのID
    _id: string;

    // 0: Webアプリ
    // 1: スマホアプリ
    // 2: デスクトップアプリ
    // 3: スクレイピング
    // 4: ホムペ
    // 5: その他
    type: number;

    // ポートフォリオのタイトル
    title: string;

    // ポートフォリオのURL
    url: string;

    // ポートフォリオのリポジトリURL
    repo: string;

    // 投稿者名
    name: string[];

    // ユーザID
    uid: string;

    // 作成日
    createdAt: Date;

    // 更新日
    updatedAt: Date;
  }[];
}
ページングユーザ投稿別
リクエストURL
Get
/v1/paging/user/:uid/:num
リクエストヘッダー
Authorization: null以外の値リクエストパラメーター
{
  // 1ページ目は1, 2ページ目は2....
  num: string;
  uid: string;
}
レスポンス
{
  // 件数
  count: number;
  list: {
    // ポートフォリオのID
    _id: string;

    // 0: Webアプリ
    // 1: スマホアプリ
    // 2: デスクトップアプリ
    // 3: スクレイピング
    // 4: ホムペ
    // 5: その他
    type: number;

    // ポートフォリオのタイトル
    title: string;

    // ポートフォリオのURL
    url: string;

    // ポートフォリオのリポジトリURL
    repo: string;

    // 投稿者名
    name: string[];

    // ユーザID
    uid: string;

    // 作成日
    createdAt: Date;

    // 更新日
    updatedAt: Date;
  }[];
}
src/route/index.tsimport * as Express from 'express'; import * as Cors from 'cors'; import * as DotEnv from 'dotenv'; import Constant from 'src/constant'; // route--- import create_friend from 'src/route/create/friend'; import create_user from 'src/route/create/user'; import create_product from 'src/route/create/product'; import paging_all from 'src/route/paging/all'; import paging_title from 'src/route/paging/title'; import paging_type from 'src/route/paging/type'; import paging_user from 'src/route/paging/users'; import update_product from 'src/route/update/product'; import update_user from 'src/route/update/user'; import cancel_friend from 'src/route/cancel/friend'; import cancel_product from 'src/route/cancel/product'; import find_user from 'src/route/find/user'; // route--- DotEnv.config(); const app = Express(); const router = Express.Router(); // middleware--- app.use(Cors({ origin: process.env.ORIGIN_URL })); app.use('/.netlify/functions/api', router); app.use(Express.urlencoded({ extended: true })); app.use( (req: Express.Request, res: Express.Response, next: Express.NextFunction) => { req.headers.authorization !== undefined ? next() : res.sendStatus(403); } ); app.use((_, __, res: Express.Response, ___) => { res.sendStatus(500); }); // middleware--- // routing--- // ユーザ作成 router.post(Constant.API_VERSION + Constant.URL['/create/user'], create_user); // 投稿 router.post( Constant.API_VERSION + Constant.URL['/create/product'], create_product ); // フォローする router.post( Constant.API_VERSION + Constant.URL['/create/friend'], create_friend ); // ページング全投稿 router.get( Constant.API_VERSION + Constant.URL['/paging/all'] + '/:num', paging_all ); // ページングタイプ別 router.get( Constant.API_VERSION + Constant.URL['/paging/type'] + '/:type' + '/:num', paging_type ); // ページングタイトル別 router.get( Constant.API_VERSION + Constant.URL['/paging/title'] + '/:title' + '/:num', paging_title ); // ページングユーザ別 router.get( Constant.API_VERSION + Constant.URL['/paging/user'] + '/:uid' + '/:num', paging_user ); // プロフィール router.get( Constant.API_VERSION + Constant.URL['/find/user'] + '/:uid', find_user ); // 更新 ユーザ router.put(Constant.API_VERSION + Constant.URL['/update/user'], update_user); // 更新 記事 router.put( Constant.API_VERSION + Constant.URL['/update/product'], update_product ); // フォローはずす router.delete( Constant.API_VERSION + Constant.URL['/cancel/friend'], cancel_friend ); // 投稿削除 router.delete( Constant.API_VERSION + Constant.URL['/cancel/product'], cancel_product ); // routing--- export default app;
- 投稿日:2020-08-18T21:32:46+09:00
【React】コンポーネントとPropsについて解説してみた
前書き
これを通して読めば、「コンポーネントとProps」について理解できると思います。ご指摘ありましたらコメントよろしくお願いします?♂️
この記事で作っていくもの
質素ですが、プロフィール一覧ページを
Reactを使って実装していきます!!
出来るだけ丁寧かつ噛み砕いて解説していきますね?♂️コンポーネントとは
一言でいうならUI(みため)の部品のことです。パッと思いつく例は、下記のとおり。
- ブログの記事
- プロフィール欄
- Twitterみたいな投稿
これらをコンポーネント化するメリットは、下記のようなReactコンポーネントのメリットを享受できるからです!
- 再利用可能(共通化)
- 管理のしやすさ
例えば、ツイッターのような投稿に一つ一つコードを書いていたら大変ですよね?
そんなときにコンポーネント化しておけば、使い回しがきくのです!!ちなみに、コンポーネントには二種類あります。それが「クラスコンポーネント」と「関数コンポーネント」です。それぞれ解説していきますね。
クラスコンポーネント
People.jsxclass People extends React.Component { render() { return ( <h1>みんなのプロフィールが見れるよ!</h1>; {/* ここにそれぞれのプロフィールを並べる(あとで解説) */} ) } }こんな感じで定義することができます。文字通り、
classの継承によってコンポーネントが作成されていますね。ちなみにクラスコンポーネントはstateやライフサイクルメソッドを持つことができます。(ここら辺は別の記事で解説しようかなって思います。)関数コンポーネント
People.jsxconst People = () => { return ( <h1>みんなのプロフィールが見れるよ!</h1>; {/* ここにそれぞれのプロフィールを並べる(あとで解説) */} ) };今度は関数コンポーネントで書いてみました。どうでしょうか?スッキリしましたよね。これが関数コンポーネントの大きな利点です。ですが、関数コンポーネントは
stateやライフサイクルメソッドを持つことはできません。(補う方法はあります。)ちなみに、関数コンポーネントが推奨されていたりします。
ではでは、次に子供のコンポーネント(プロフィールの内容)を作っていきましょう!
「ところで、プロフィールの内容ってそれぞれ違いますよね。どう管理するんですか??」
そんな時には登場するのが
Propsです!!Propsってなに?
親のコンポーネントから子供のコンポーネントに値を渡すための仕組みです。少し分かりにくいので、コードをみながら解説していきますね。
別ファイル(
Profile.jsx)に子コンポーネント(ここではPeople.jsxが親)を作っていきましょう。Profile.jsx// 子コンポーネント const Profile = () => { return ( <> <h2>〇〇さんのプロフィールです!</h2> <p>年齢は〇〇歳</p> <p>身長は〇〇〇cm</p> <p>性格は〇〇</p> </> ); };子コンポーネントを作ったので、親コンポーネントで呼び出してみましょう!
People.jsx// 親コンポーネント const People = () => { return ( <> <h1>みんなのプロフィールが見れるよ!</h1>; <Profile /> </> ) };こんな感じで
<子コンポーネント名/>の形で呼び出すことができます。実際のブラウザでは下記のように表示されます。(ちなみに
<>,</>はReact.Fragmentのシンタックスシュガーです。ここでは解説しないので、気になる方はググってみてください。)味気ないですよね。穴だらけなので、それぞれのプロフィールに対応できないですよね...
では、
Propsで値を親コンポーネントから子コンポーネントに渡していきましょう!!まずは親コンポーネントを管理しているファイルを変更していきましょう。People.jsx// 親コンポーネント const People = () => { return ( <> <h1>みんなのプロフィールが見れるよ!</h1>; <Profile name="山田" age={20} height={170} personality="優しい" /> </> ) };こんな感じで子コンポーネントを呼び出している箇所で属性を設定することで、値を渡すことができます。今度は子コンポーネントを管理しているファイルで値を受け取っていきましょう!!
Profile.jsx// 子コンポーネント const Profile = (props) => { return ( <> <h2>{props.name}さんのプロフィールです!</h2> <p>年齢は{props.age}歳</p> <p>身長は{props.height}cm</p> <p>性格は{props.personality}</p> </> ); };まず、子コンポーネントを定義している箇所の引数に
propsを渡しましょう。このpropsの中身を擬似的に表現してみると下記のようになります。// 以下は擬似的なコードです。 props = { name: "山田", age: 20, height: 170, personality: "優しい" }こんな感じで
propsの中にはオブジェクトの形でkeyと値が格納されているというイメージが分かりやすいと思います?あとは使いたい箇所で
props.keyで値を使うことができます。ちなみにブラウザで見ると下記みたいになります。ここまでで一旦、完了です。ではこれからコンポーネントをカスタマイズしていきましょう!
子コンポーネントを増やす
掲載したいプロフィールを増やしたい場合は、下記のように親コンポーネント内で子コンポーネントを増やすことで簡単に実装することができます。
People.jsx// 親コンポーネント const People = () => { return ( <> <h1>みんなのプロフィールが見れるよ!</h1>; <Profile name="山田" age={20} height={170} personality="優しい" /> <Profile name="田中" age={25} height={160} personality="おっとり" /> <Profile name="佐藤" age={21} height={180} personality="しっかり" /> </> ) };ブラウザでは下記みたいになります。
簡単にプロフィールを増やすことができましたね!!
記事中で出てきてここで解説していないこと
importとexportReact.Fragmentstateとライフサイクルメソッド他の記事で解説するかもしれませんが、今回は割愛しました?♂️
どれも重要な要素なので調べてみると良いかもしれません!!
- 投稿日:2020-08-18T12:49:04+09:00
The Best React.js Admin Dashboard Templates
React Admin Templates
Developing an admin area for your React web application can be very time-consuming. And it is just as important as designing all of the front-end pages.
Here is a list of top React.js admin templates with a remarkable design in 2020.
These templates are truly valuable and make it easier for developers to build the UI of an application’s backend.
Also, they will help you polish the admin area of your website and overcome some technical challenges of making all of the UI parts yourself. You can use these admin dashboard templates as a skeleton and create your own web application and dashboards for your website.
source : React Admin Templates
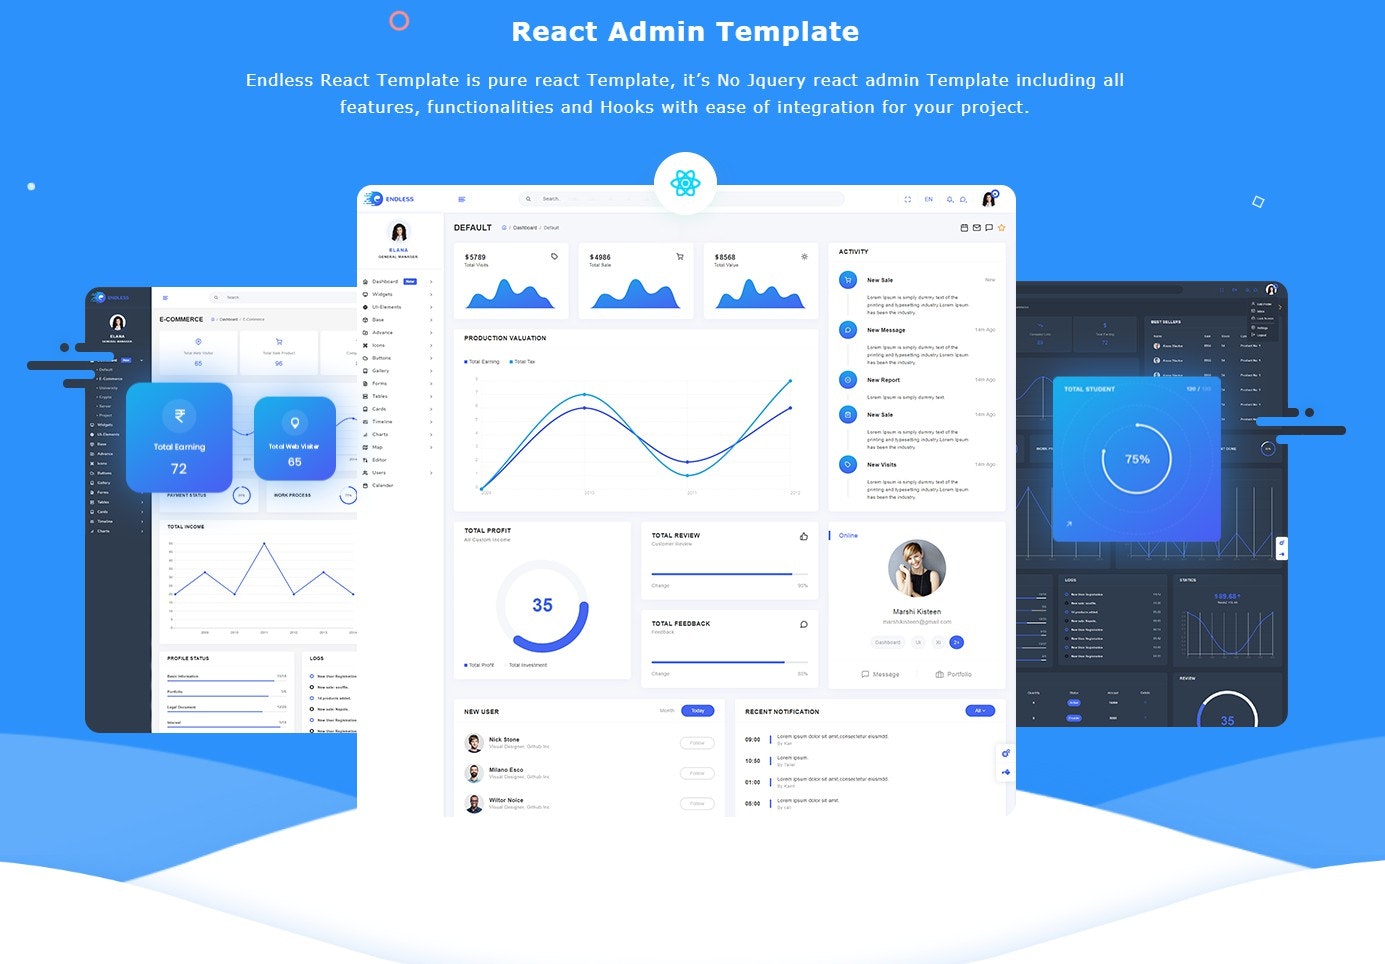
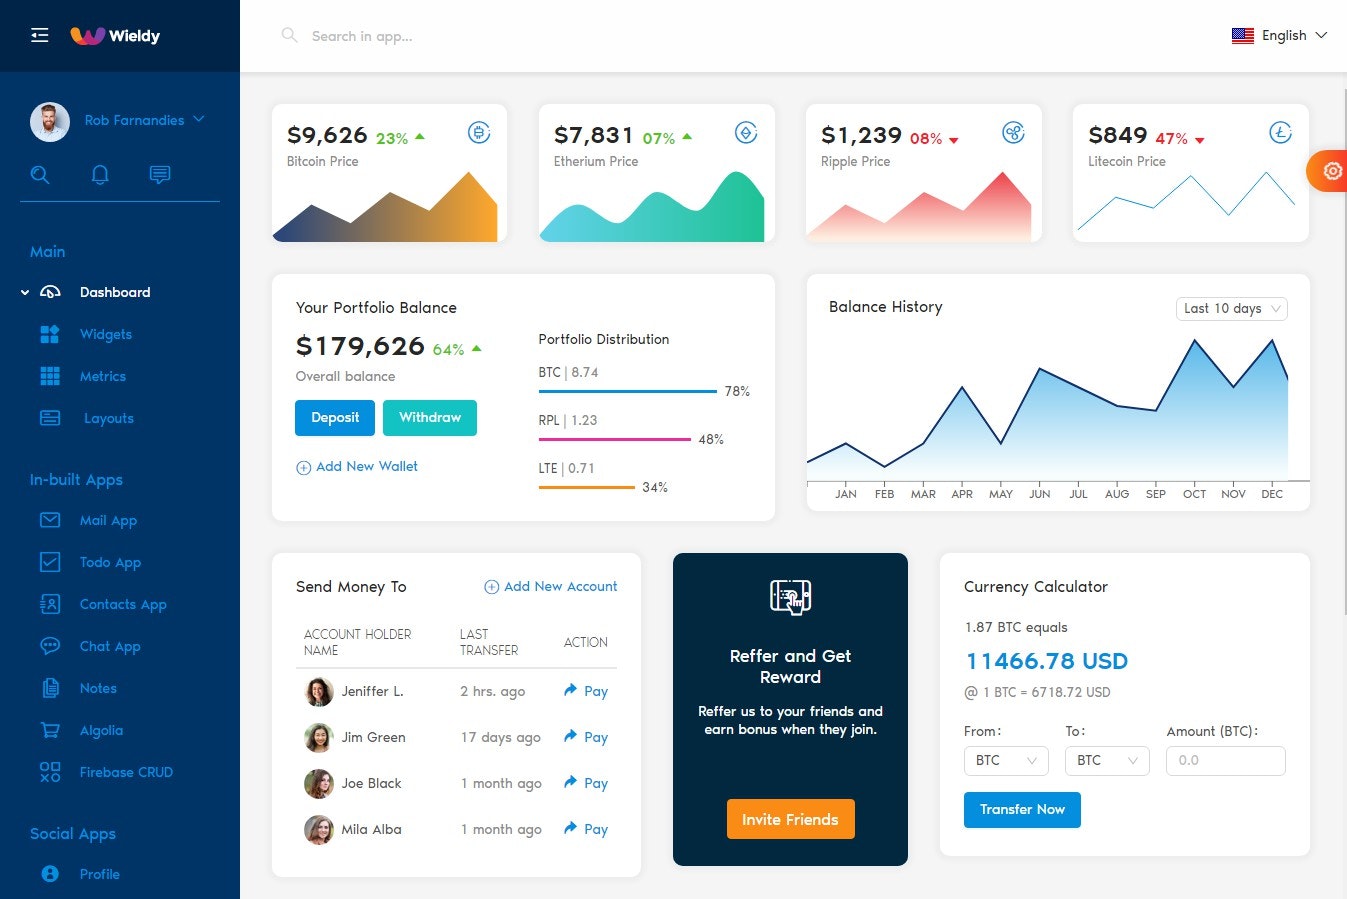
1.Endless-React Admin Template
Endless React Template is pure React-Js Template, Yes! you read correctly, it's No Jquery React admin Template including all feature and Hooks functionality with ease of integration for your project.Endless Template document will help you to understand React from scratch to making perfect real-time dream application.
2.Gogo-React Admin Template
Gogo is a combination of good design, quality code and attention for details.
We used same design language for components, layouts, apps and other parts of the themes.
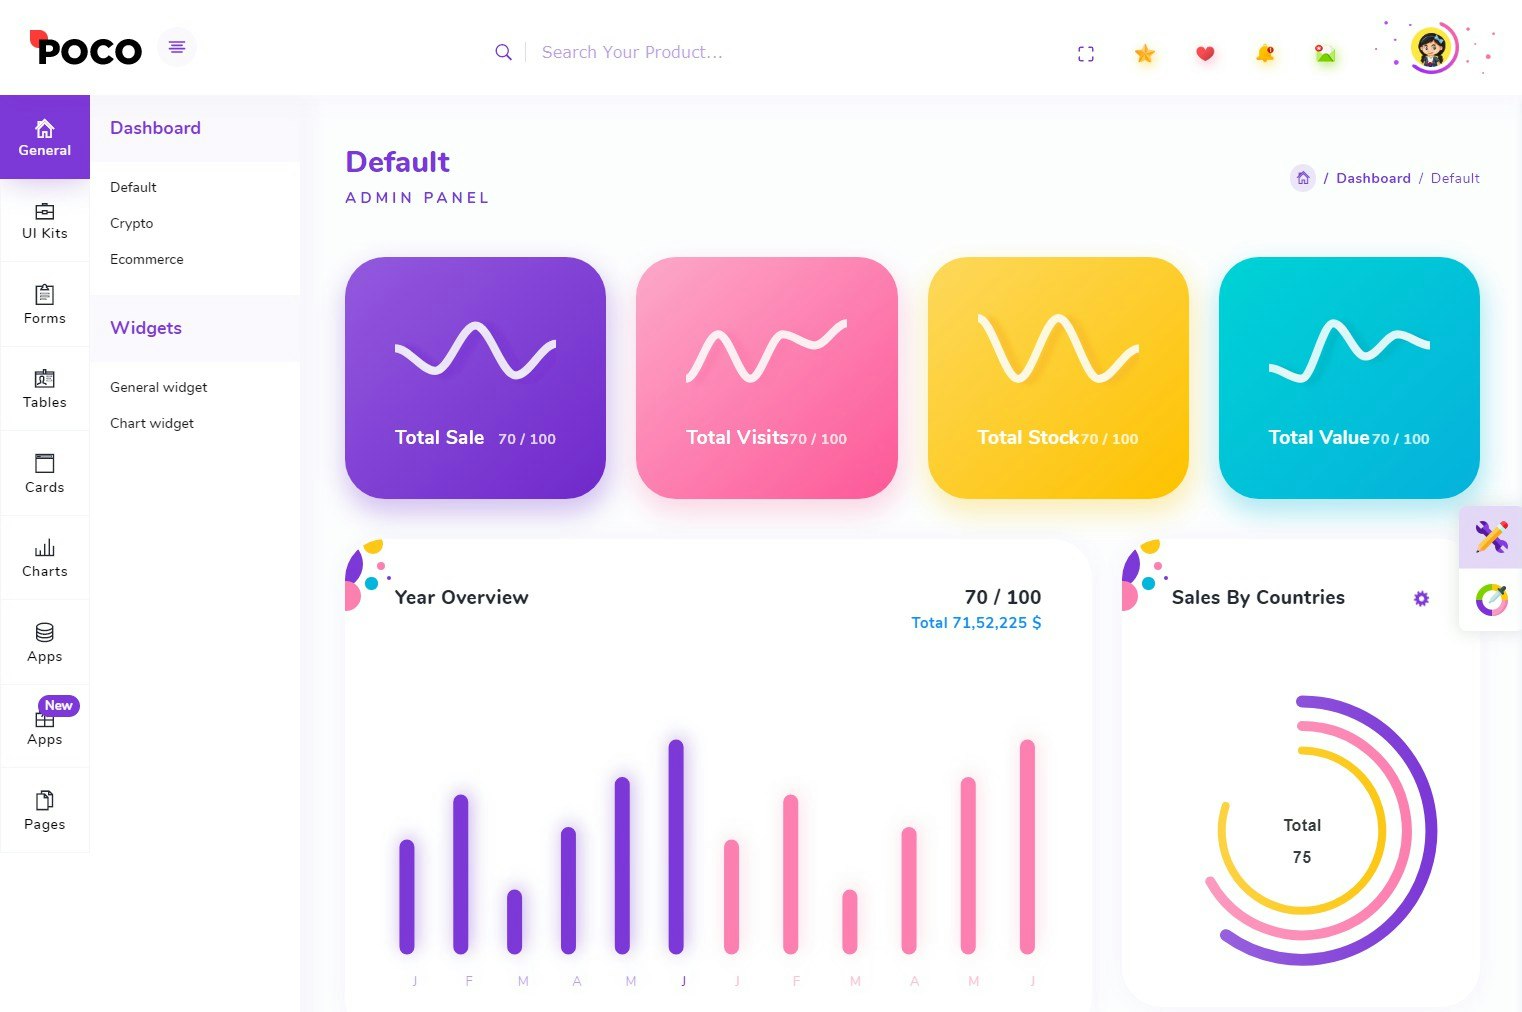
3.Poco-HTML ,Laravel & React Admin Dashboard Template
Poco Admin is a full featured, multipurpose, premium bootstrap admin template built with Bootstrap 4 Framework, HTML5, CSS and JQuery.It has a huge collection of reusable UI components and integrated with latest jQuery plugins. It can be used for all type of Web applications like custom admin panel, app backend, CMS or CRM.
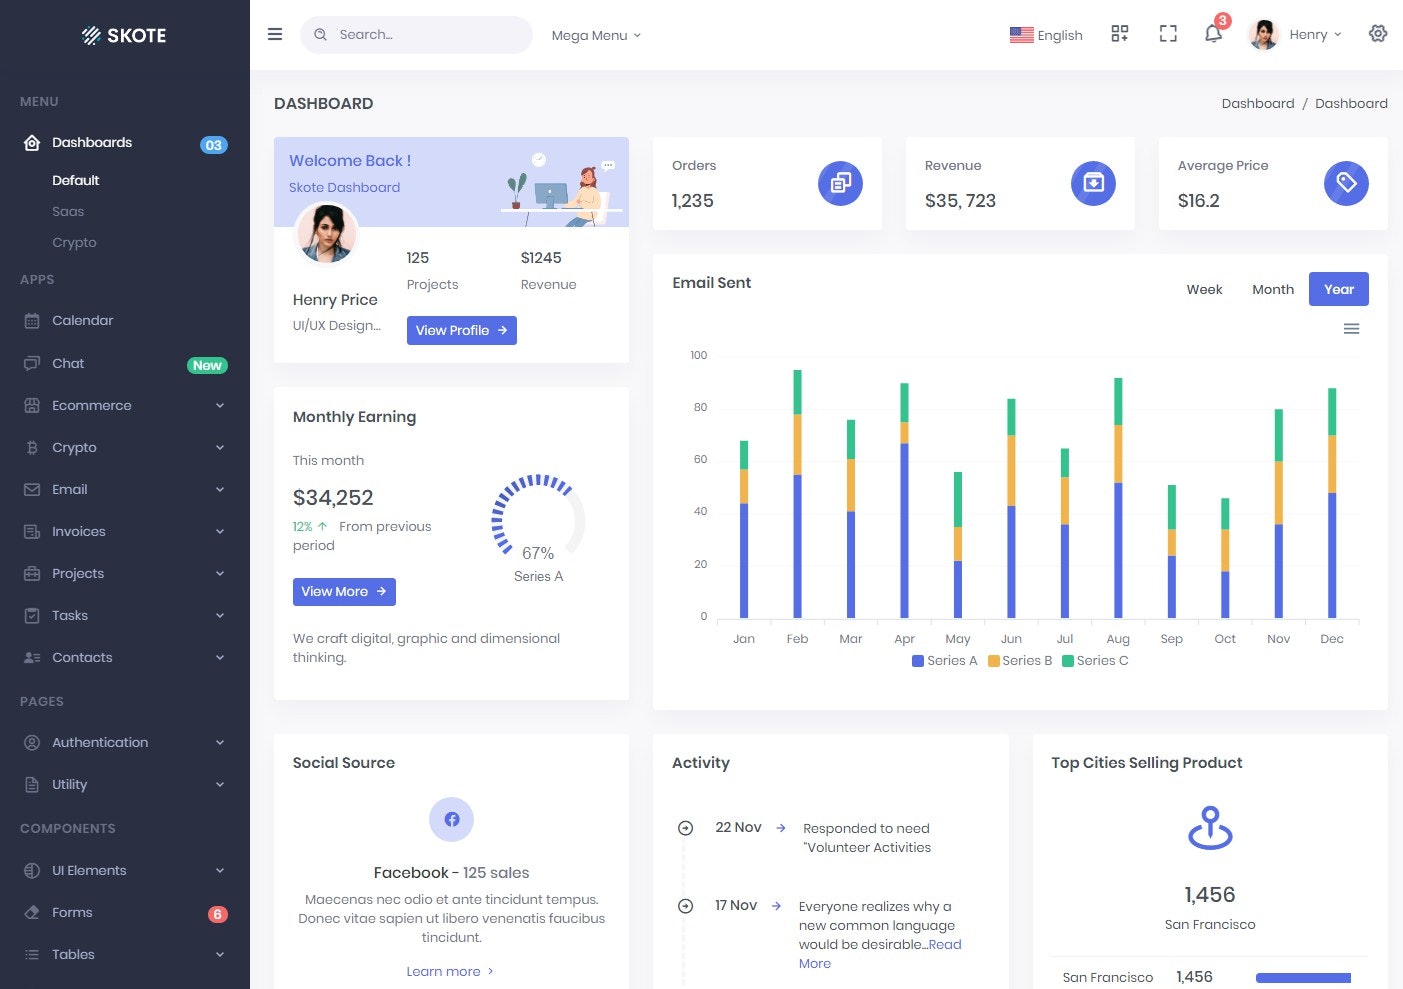
4.Skote-React Admin & Dashboard Template
Skote is a fully featured premium admin dashboard template built in React Redux Saga with firebase / fack-backend authentication and multi-language supports with developer-friendly codes. We have not used jQuery in this template its pure ReactJs with CRA and fully components based admin template.
Skote is a beautifully crafted, clean & minimal designed admin template with Dark, Light Layouts with RTL options.You can build any type of web application like Saas based interface, eCommerce, CRM, CMS, Project management apps, Admin Panels, etc. It If you're a developer and looking for a minimal admin dashboard that is fully responsive with Bootstrap and React, Redux, Saga without jQuery then you are at the right place to start. your project using Skote – React Admin Dashboard Template.
5.Fuse-React Admin Template Redux Material Design
Fuse React written with the React Hooks (New feature of react let you use state and other React features without writing a class.
Fuse React is a complete React admin template that follows Google's Material Design guidelines.
Fuse React admin template uses Material UI as a primary UI library while using Redux for the state management.
It also includes 5 example apps, 20+ pages, lots of reusable react components and more.It has built-in page templates, routing and auth features.
Fuse React admin template is not only a great kick starter for your project but it also is an extremely good place to learn some of the advanced aspects of the React.
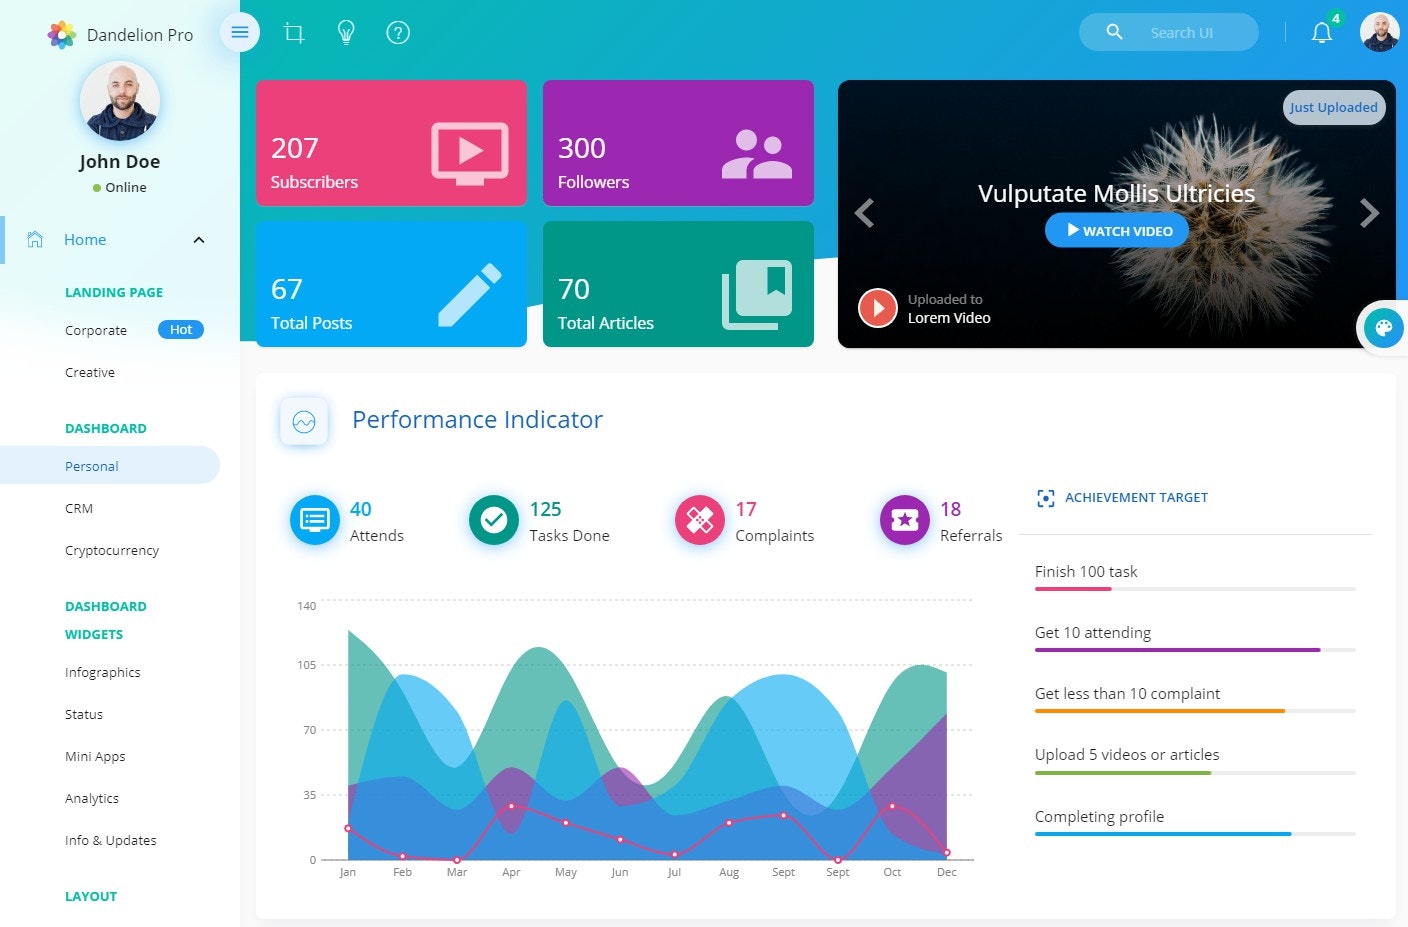
6.Dandelion Pro-React Admin Dashboard Template
Dandelion Pro is a complete ReactJS admin template based on React Boilerplate.It provides you clean modern design and high performance react app with various color theme that follow Material Design concept.
Dandelion Pro not only help you in the development as a starter-kit but also you can learn advanced development with React, Redux, JSS and Next Generation JavaScript with ES6.
7.Wieldy-React Admin Template Ant Design and Redux
Wieldy is a complete React admin template & starter-kit that follows Ant Design Concept and implements Ant Design framework to develop a react app.
It has all the necessary react libraries to develop a robust small to complex application in a shorter time span.
Wieldy can just not only help you in the development as a starter-kit but also you can learn advanced development with React, Redux, Firebase, Router, Redux-Saga etc. by following our pre-built apps architecture.
Rest assured about the future updates.We keep adding and updating new cool things.
Wieldy now includes the HTML, jQuery and BootStrap4 version too.Please check both demos in detail before you make the purchase.
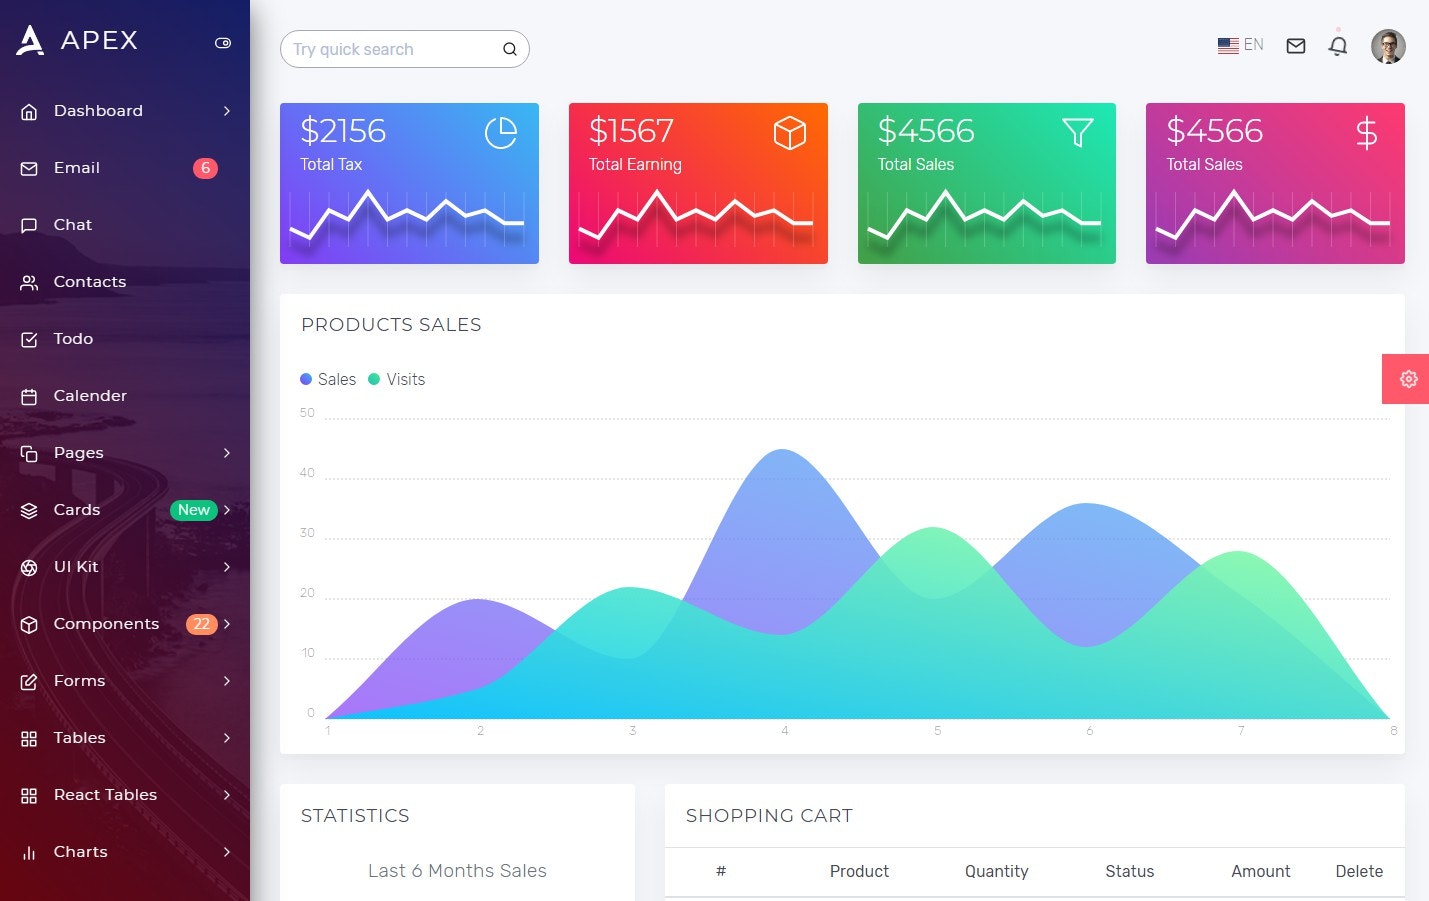
8.Apex-React Admin Template with Bootstrap + Redux
Apex – React Redux Bootstrap 4 Admin Dashboard Template is the most developer friendly & highly customisable React + Redux Dashboard Admin Template based on Create React App, Redux & BS 4.
9.Ammie-React Admin Template
Ammie is a react admin template based on React Components and best react admin template which is created using Material UI Framework. We've used modern technologies and best practices to make our product easy to work with.It's the most convenient template for developers, because of React Components, clean code and detailed documentation, which allows you to build any projects easily!Use it for e-commerce, analytics and other types of web Application.Ammie is a modern and trendy admin template, We like it and you will like too!
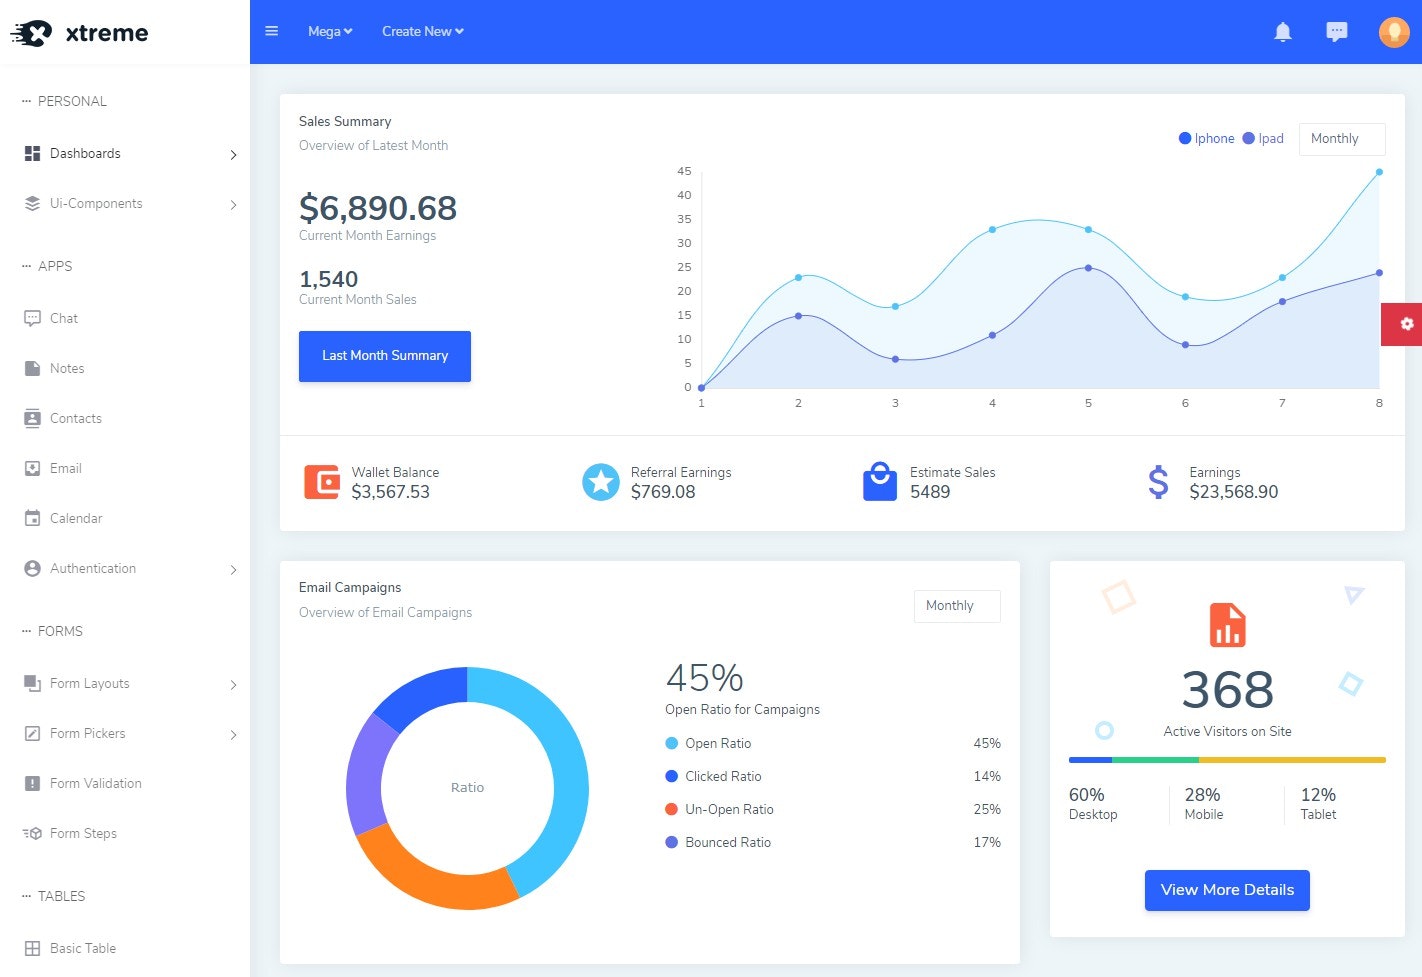
10.Xtreme React Admin Template
Xtreme React Admin, which can be used for creating stunning user interface for your application or product, is a fully responsive React template.The foundation of the template lies on the react framework that empowers it to cater to the needs of the users with flexibility.
Xtreme React Admin is based on a modular design which offers the users uncomplicated customization option and also allows it to be build upon with ease.The framework of the template allows implementation of complex requirements of modern apps which enables it to be extremely propitious to its users .Xtreme React Admin comes with a variety of attractive and exciting features including 4+ Different Dashboards with 6 Unique Demos.It offers to its users 250+ Page Template which is accompanied by 65+ Ready to Use UI Elements.
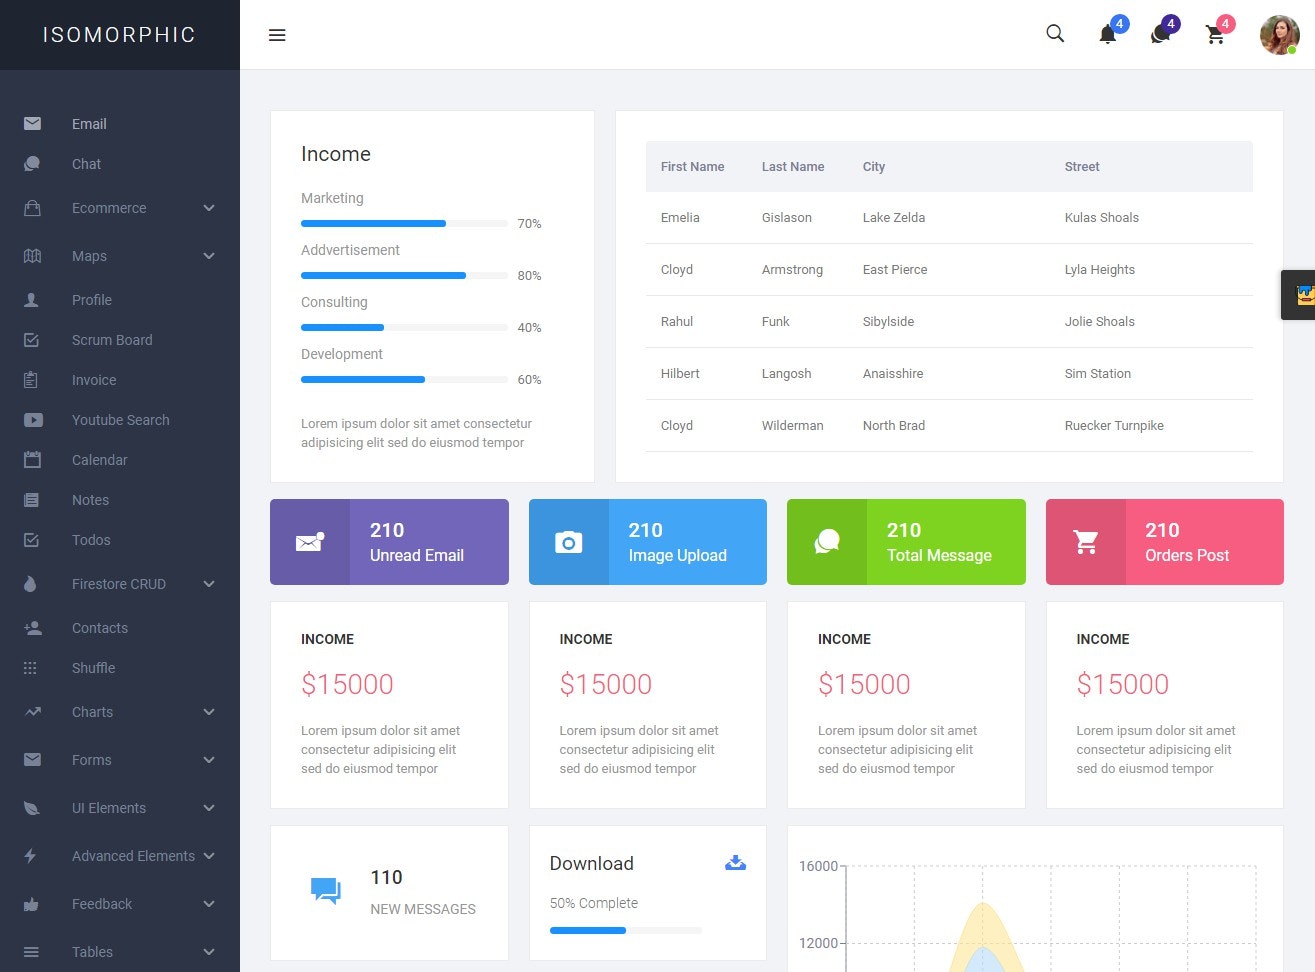
11. Isomorphic-React Redux Admin Dashboard
A react-redux powered single page admin dashboard.Used progressive web application pattern, highly optimized for your next react application.
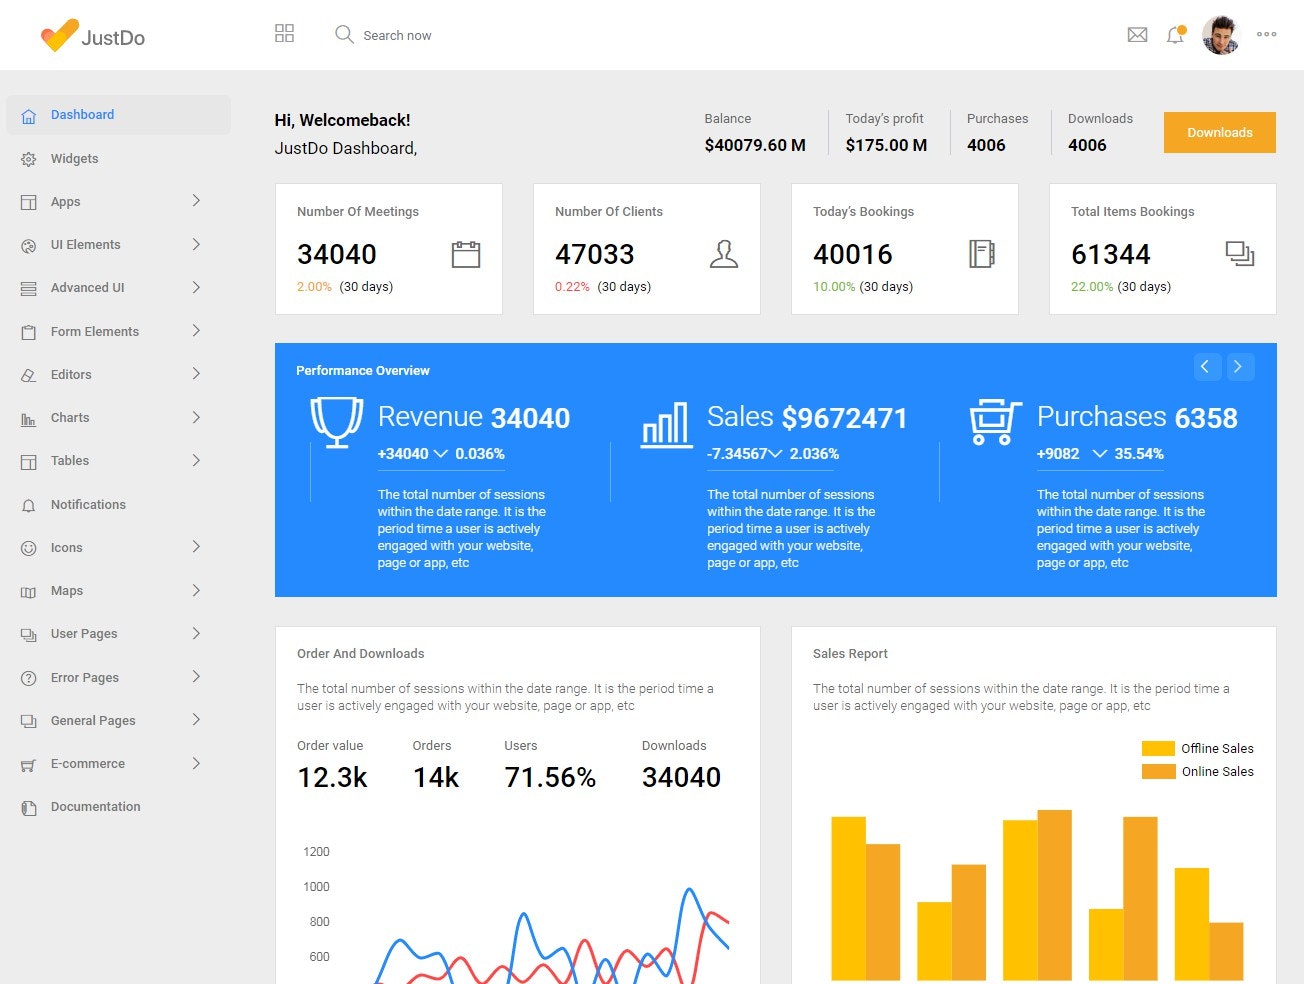
12.JustDo-React Responsive Admin Template
JustDo React admin template contains a fascinating collection of useful components and excellent elements that will help you to easily build highly functioning flawless WebApps.The JustDo Bootstrap admin template is built by using the react-bootstrap library so it does not have any dependency on jQuery. This highly flexible React.js dashboard template also has a breathtaking design that will definitely impress you.
Developers who are familiar with Bootstrap framework will find this template easy to use since JustDo relies entirely on the Bootstrap stylesheet.With more than 15 handy UI elements and different types of tables, charts, maps, and sample pages carefully crafted in JustDo, this admin template also comes with a well-commented and clean code, which can be comprehended with ease.
The multiple numbers of layout and color theme options that are available with the JustDo template will help you to add a unique touch to your websites. JustDo Bootstrap admin template is highly responsive, which means that your website will look excellent when viewed from devices with different screen resolutions.
13.Datta Able React Redux Admin Template
Datta Able React Reducx Admin Template is made using React + Redux Framework.It fully support Bootstrap 4 framework for achieve any easy or complex dashboard need.
Datta Able is the most flexible react redux admin template, as we have put most of efforts to getting bug free code, easy to use its structure, added 1000+ UI components etc... to make Datta Able React version a great admin template.
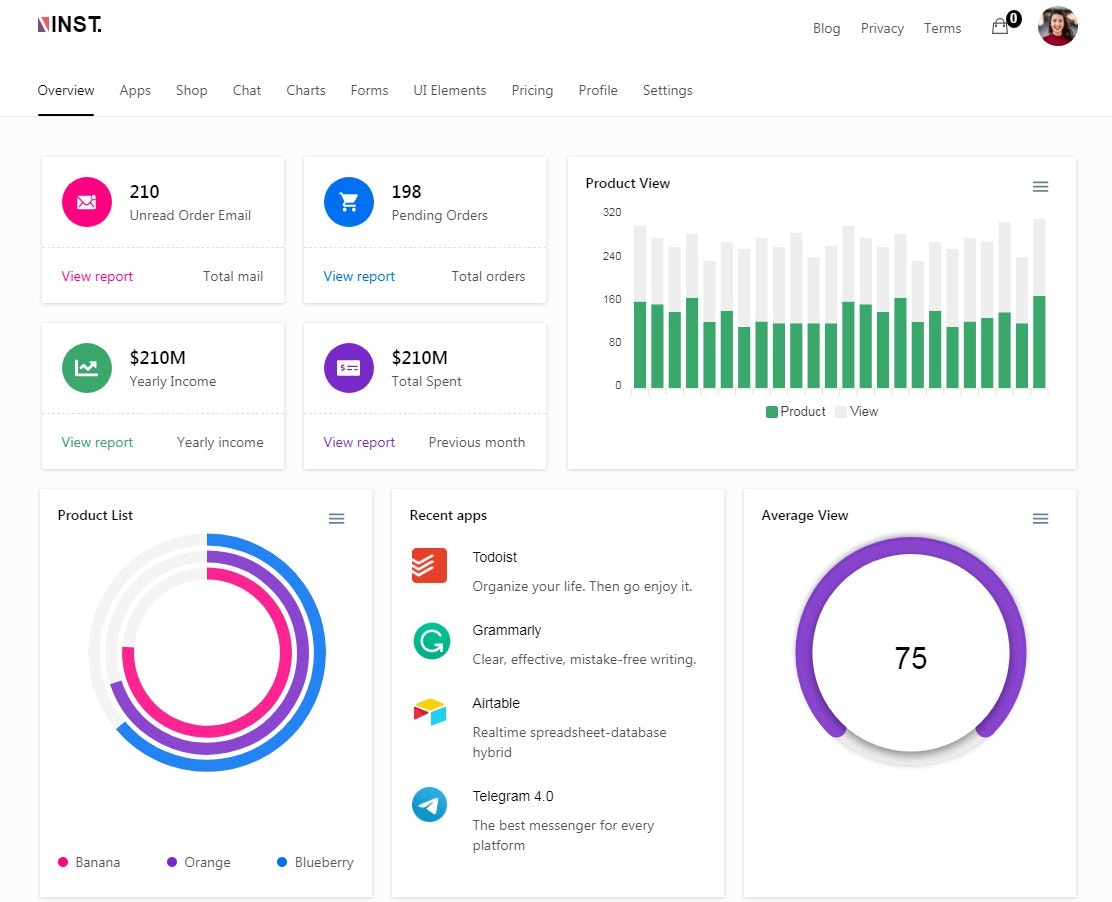
14.Inst
Minimalist React Dashboard built with React, NextJS, TypeScript, GraphQL & Uber's Base UI. Its very easy to use, we used GraphQL and type-graphql. This is a Next.js GraphQL powered admin dashboard. Used progressive web application pattern, highly optimized for your next react application.You can use it both for Dashboard and Public pages for your web applications. Available in both Light and Dark mode.
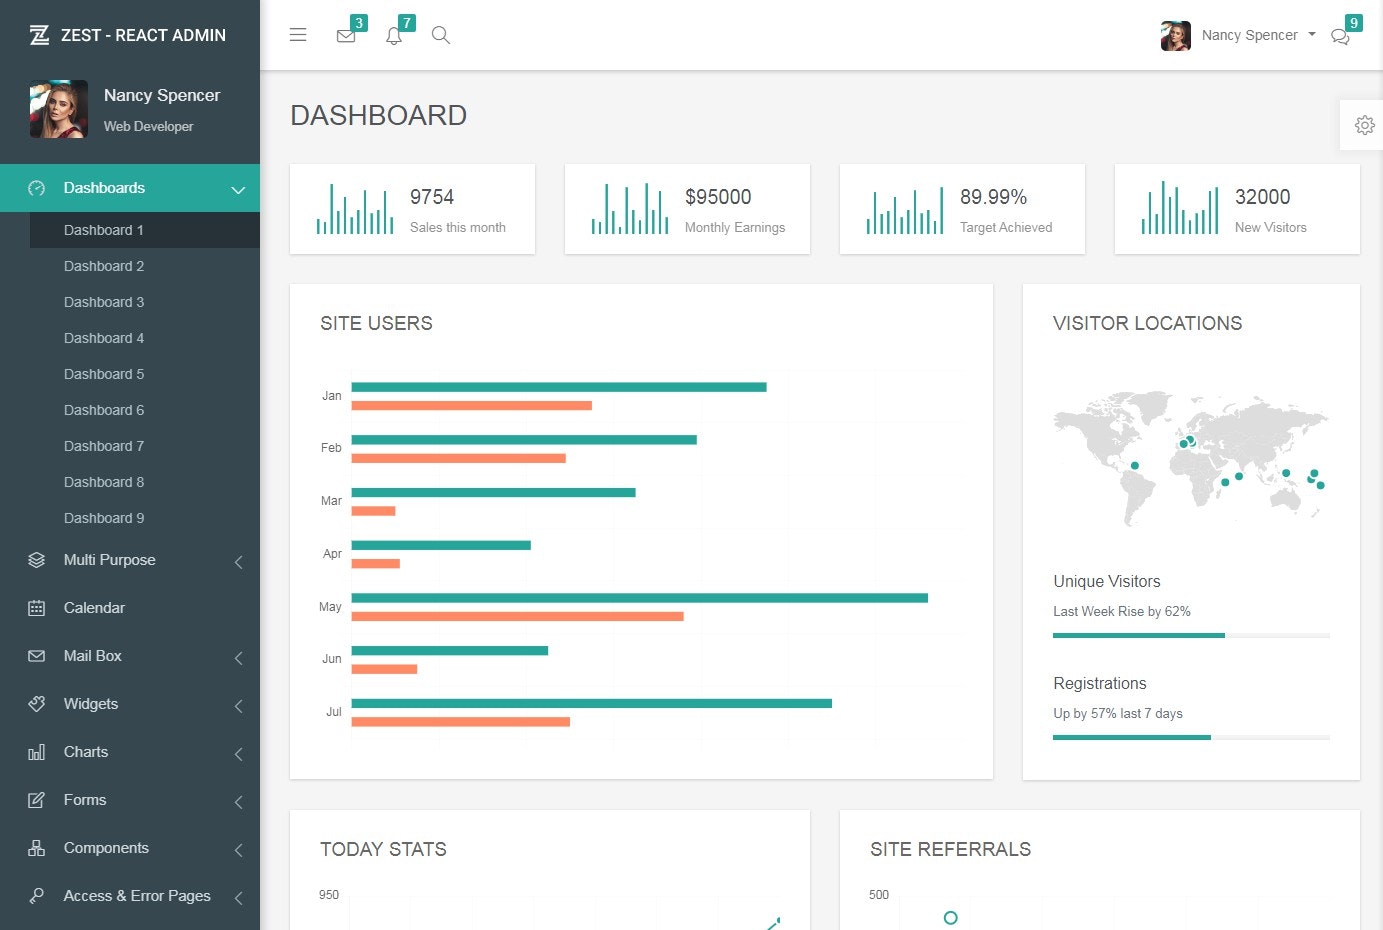
15.Zest
Zest: React Admin is a Multi Concept / Multi Purpose premium admin dashboard theme based on powerful React framework, Bootstrap 4 along with Reactstrap and create-react-app.It is specially designed to give your admin panel a unique and elegant look.It is easy to customize and coded in developer friendly manner.It is Multi-concept theme with tons of pages.
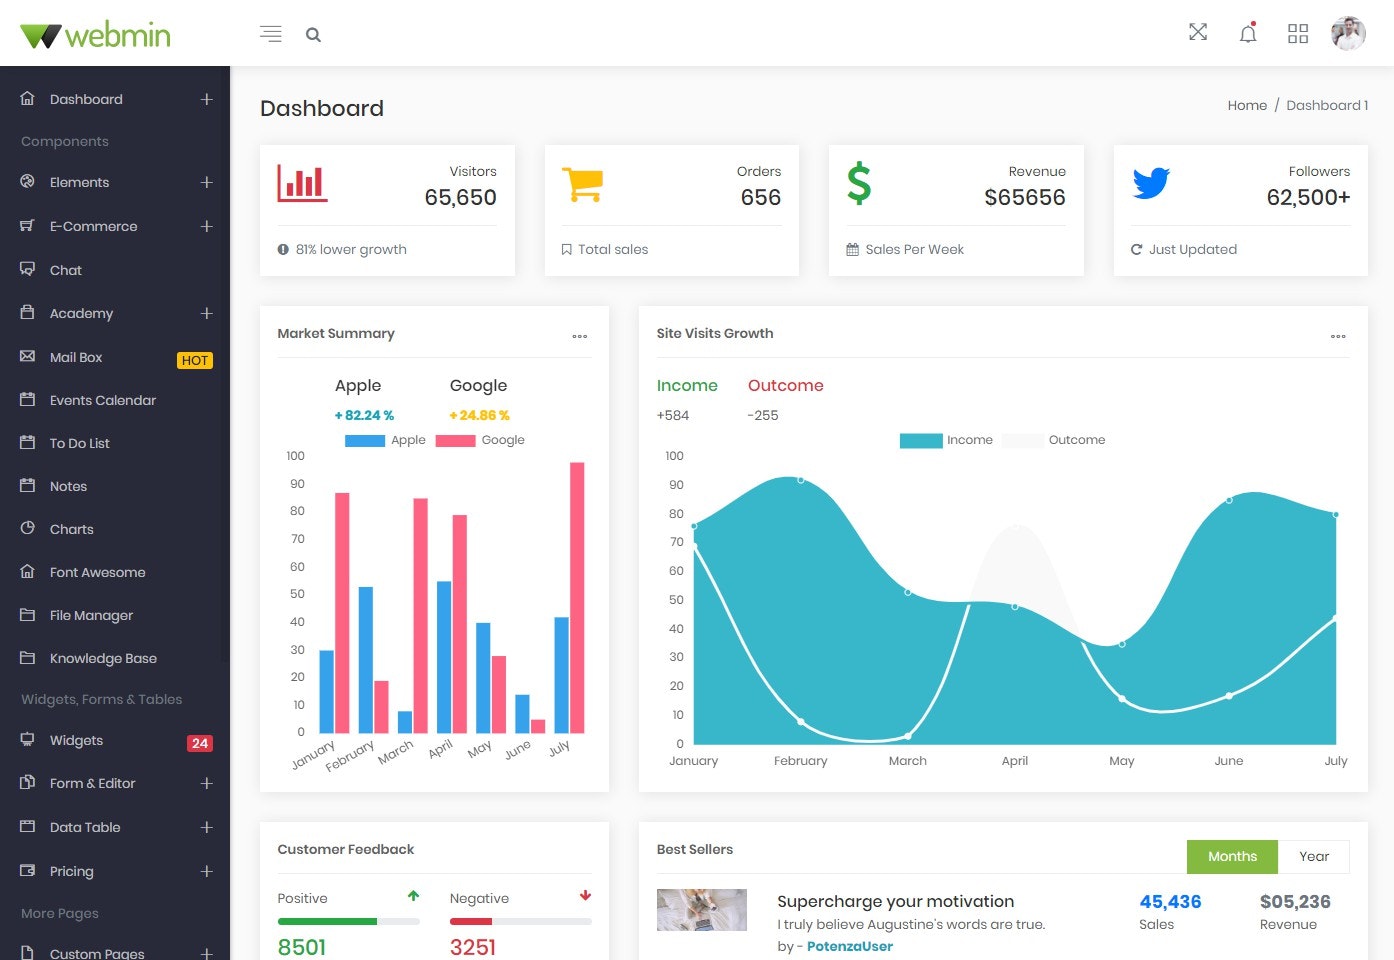
16.Webmin
Webmin React JS Admin Dashboard Template is a powerful lightweight react js webapp template for backend admin panels.It includes 20+ Page Templates, 20+ Ready to Use react Components, Unique Dashboard and lots more for your backend applications.Webmin react admin dashboard is based on a modern responsive design, which allows it to be easily customized.
We built Webmin react admin to be as much and as easy as possible to customize.Every single page has it's own module and the complete template is therefore 100% modular and new pages can easily be added by just generating a component with the react. Adding to this we have used latest reactstrap version to provide a flexible and fast way for layouts.
17.Jumbo React
Jumbo React is a complete React admin template based on Material Design Concept to help you build your react application faster and cost effectively.
Jumbo React uses the top notch libraries and frameworks popular among the react developers community.Some of those popular libraries are Material-UI, Redux, Redux-Saga, ReCharts, React Big Calendar and many more.
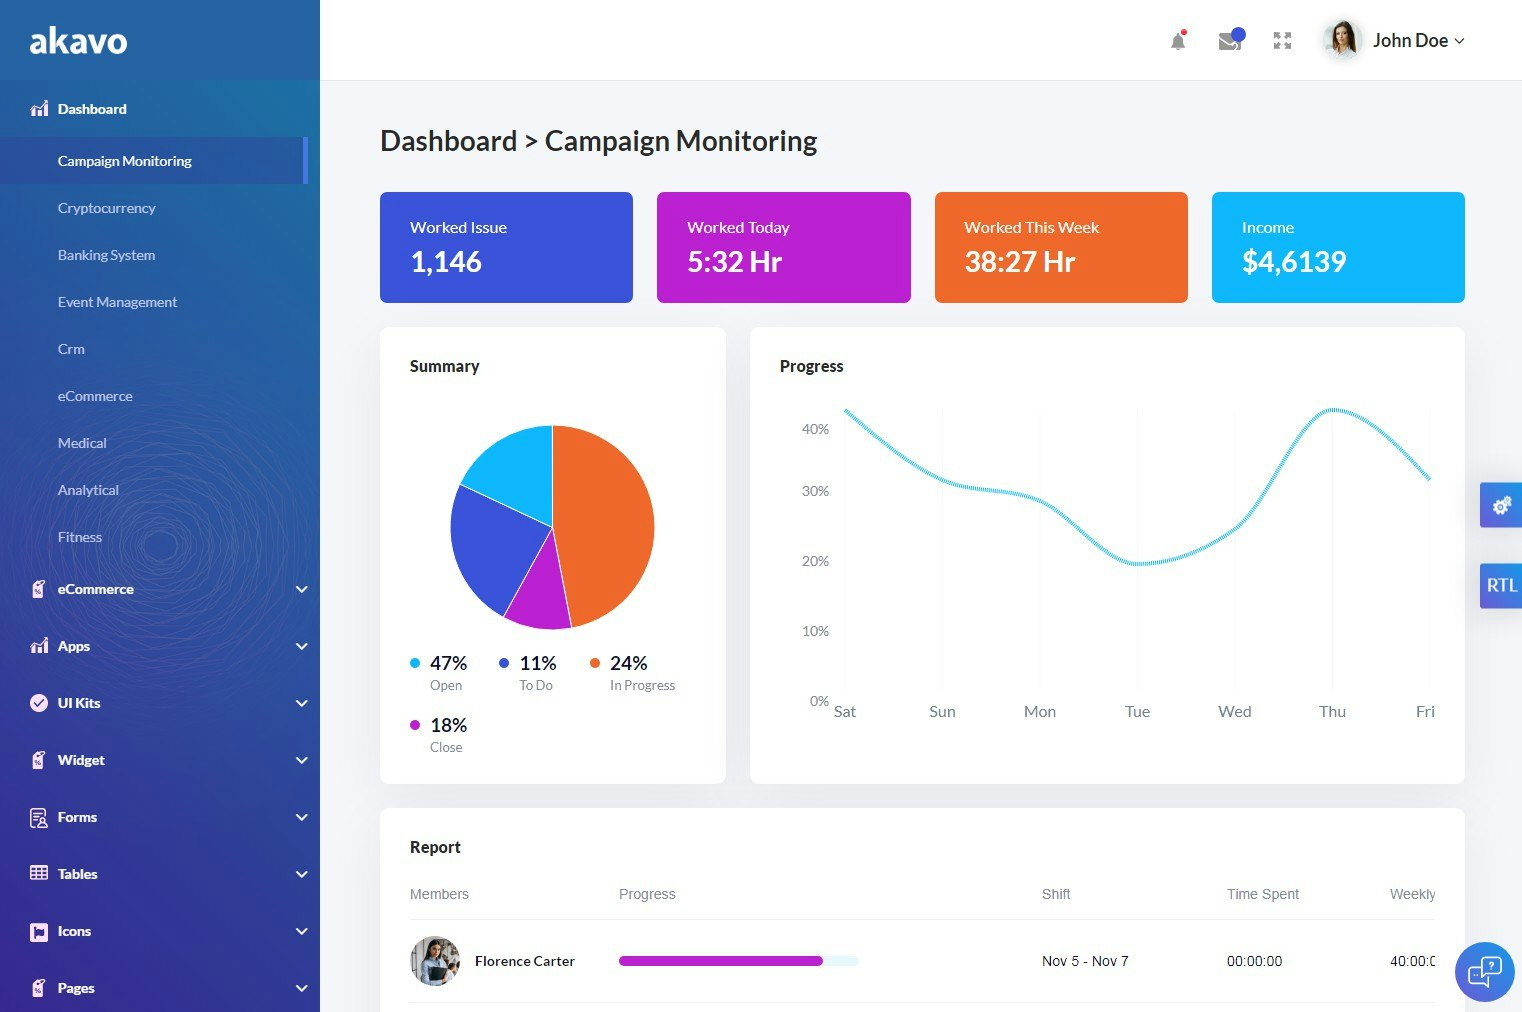
18.Akavo-React + HTML + Dark Admin Template
Akavo is a modern dashboard template based on React Components and Material UI Framework.We've used modern technologies and best practices to make our product easy to work with.It's the most convenient template for developers, because of React Components, clean code, and detailed documentation, which allows you to build any projects easily!Use it for Campaign Monitoring, Cryptocurrency, Banking System, CRM, Ecommerce and other types of web or mobile applications.
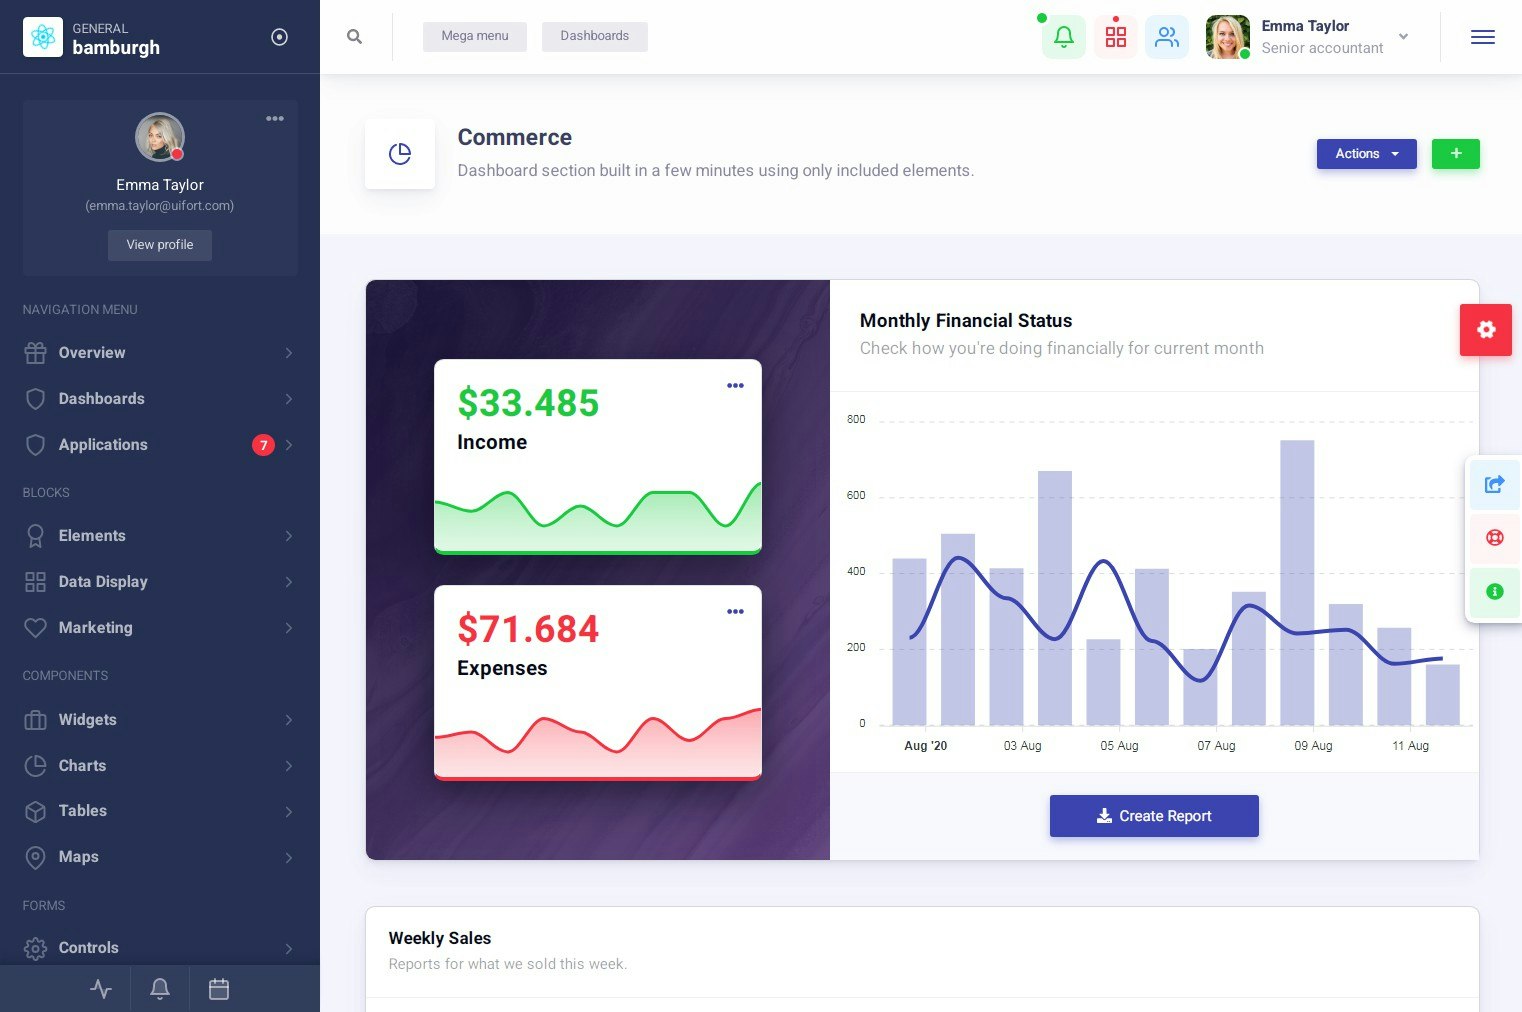
19. Bamburgh
Bamburgh React Admin Dashboard with Reactstrap PRO is built entirely on React and uses the popular starter kit Create React App from Facebook.
It has a beautiful design, as you can see from the live previews and it contains a LOT of components and features.You can read further down this page details regarding the options that make this admin dashboard great.
When we designed the initial mockups for this admin template we set our target for a clean, scalable design that can be integrated or adapted to multiple application niches.We think we achieved that, let us know what you think in the comments section.
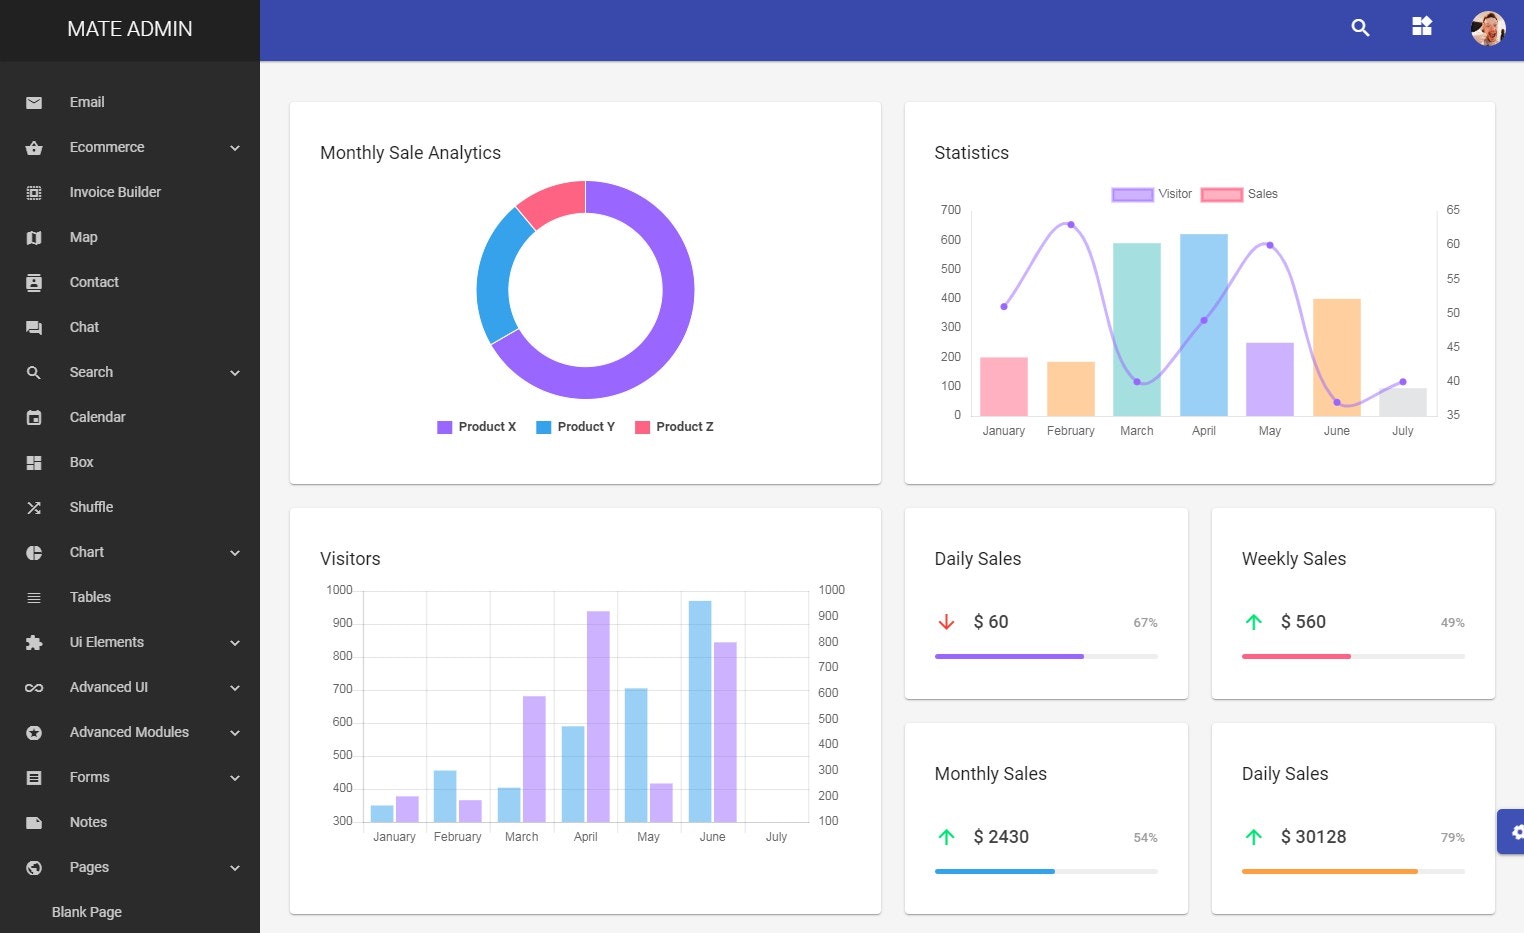
20.Mate
A react-redux powered single page material admin dashboard.Used progressive web application pattern, highly optimized for your next react application.
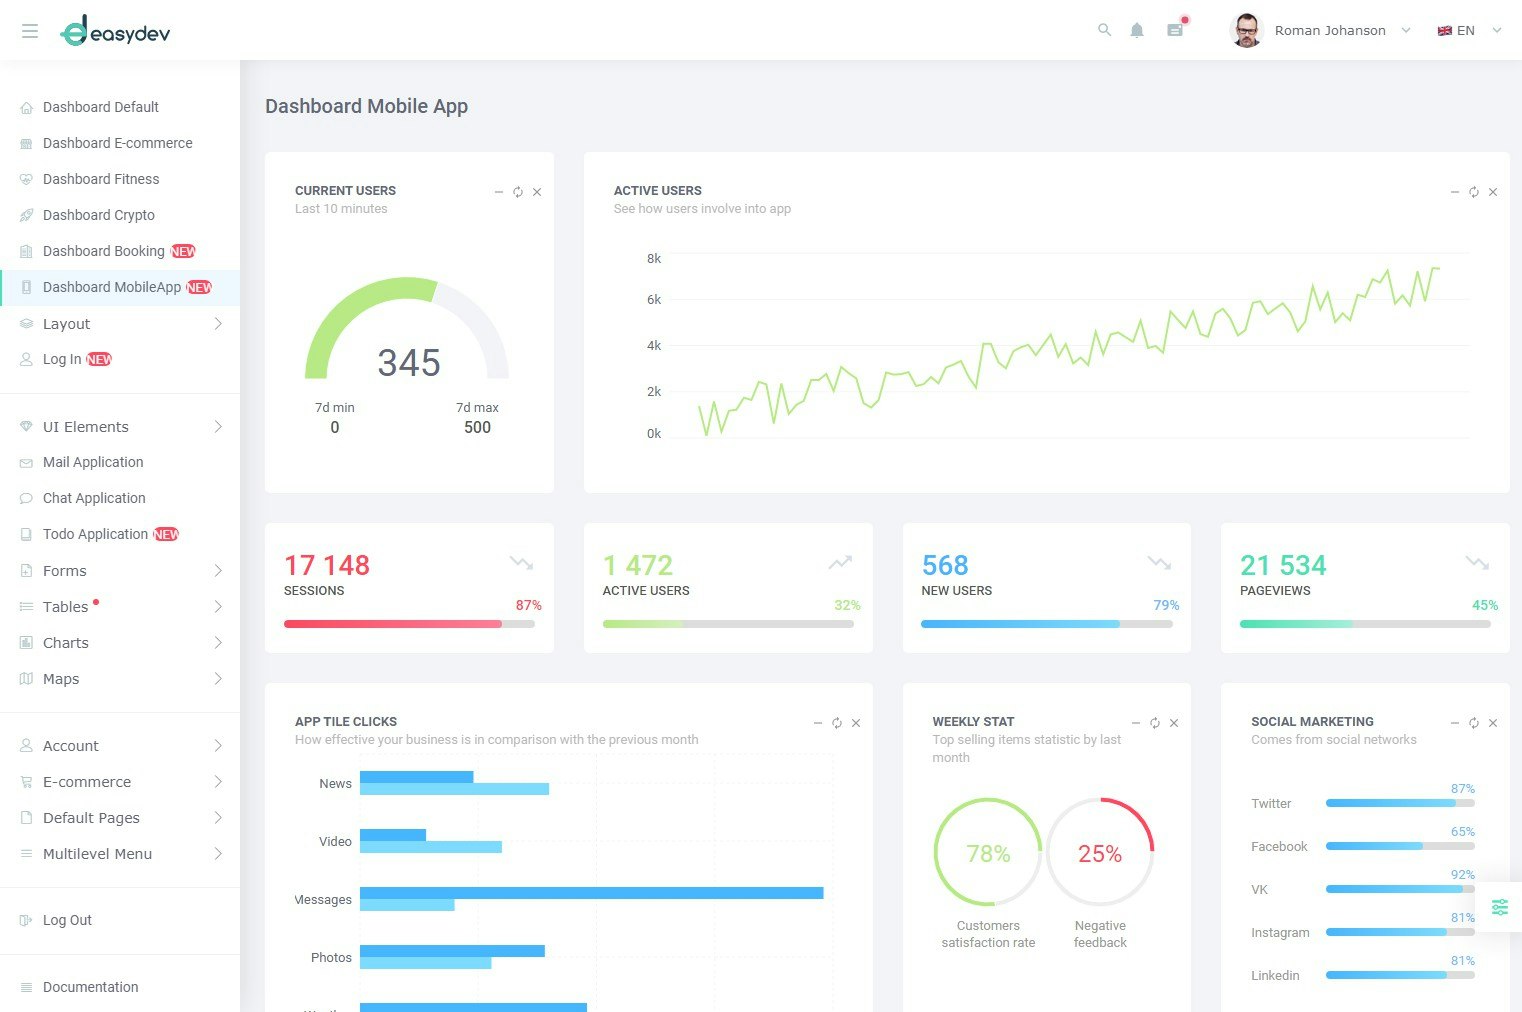
21.EasyDev
EasyDev is a modern dashboard template based on React Components and Bootstrap 4 Framework.It is the most convenient template for developers, because of React Components, clean code and detailed documentation which allows you to build any projects easily.Use it for e-commerce, analytics, sports and other types of web or mobile applications.
22.Reactify
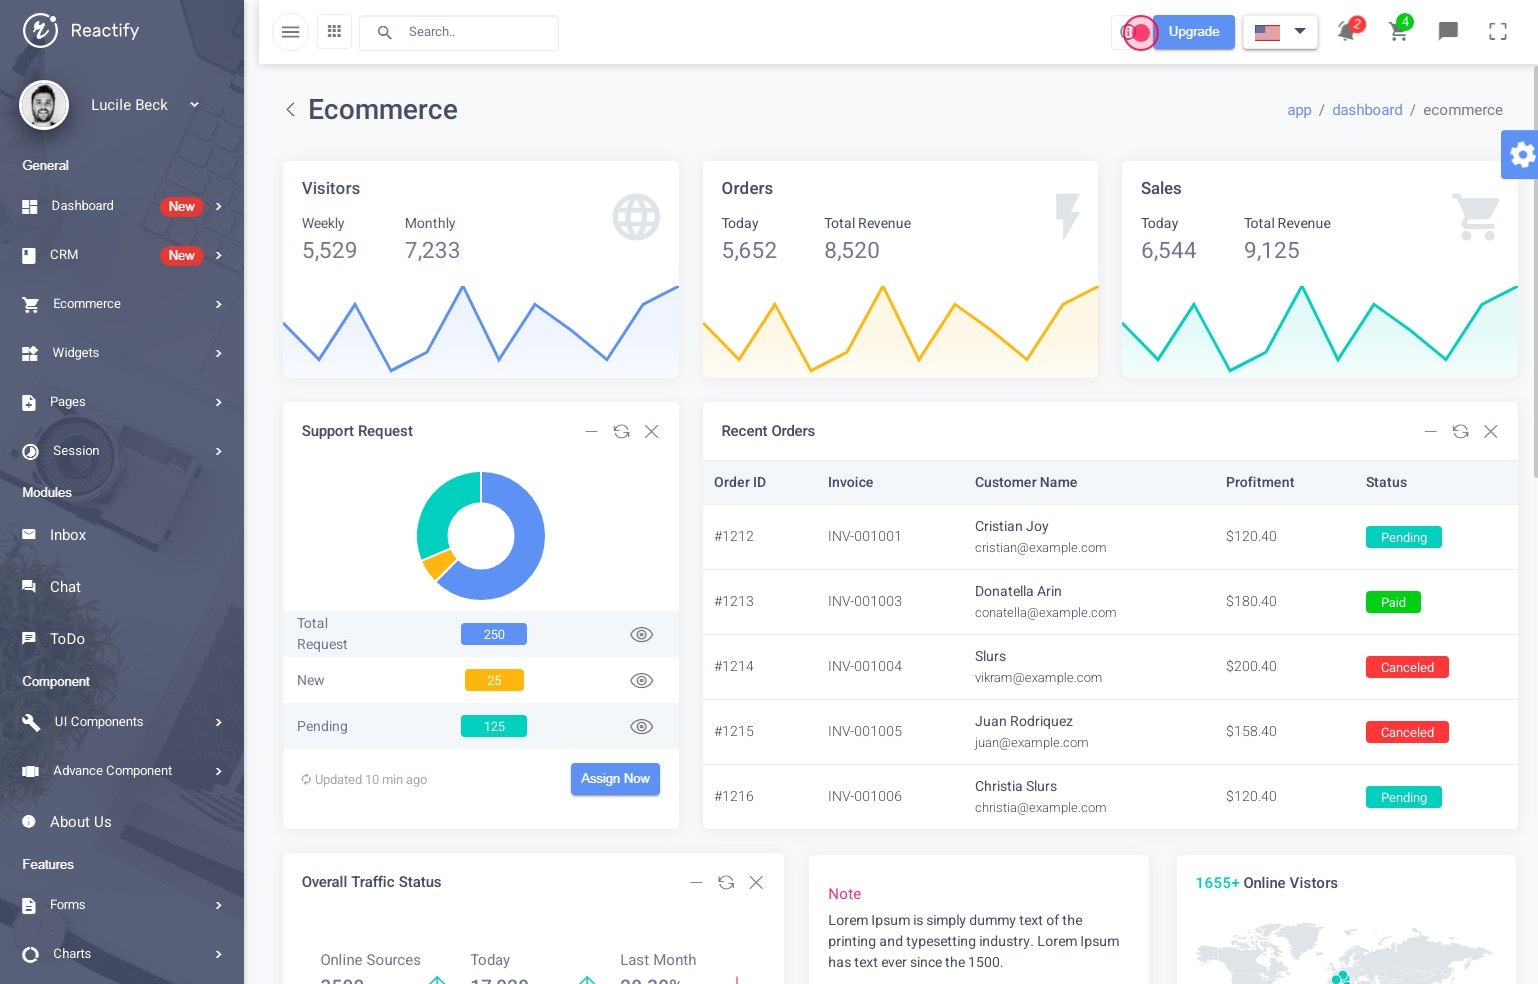
``Reactify is a developer-friendly powerful reactjs template developed with redux, redux-thunk, webpack 4, laravel and bootstrap 4. It is fully responsive and supports RTL languages with an integrated language translation method.It provides ready to use components, widgets, and pages which makes it super easy to build a new admin panel as per requirement.It comes with pre-integrated API methods that provide you the power to build your dynamic listing pages with ease.Directly usable widgets give you the flexibility to show multiple details If you are building a SAAS product please purchase an extended license.Reactify has dashboards like Ecommerce, CRM, Saas, Agency, and News with ready to use widgets.
23.Sigma
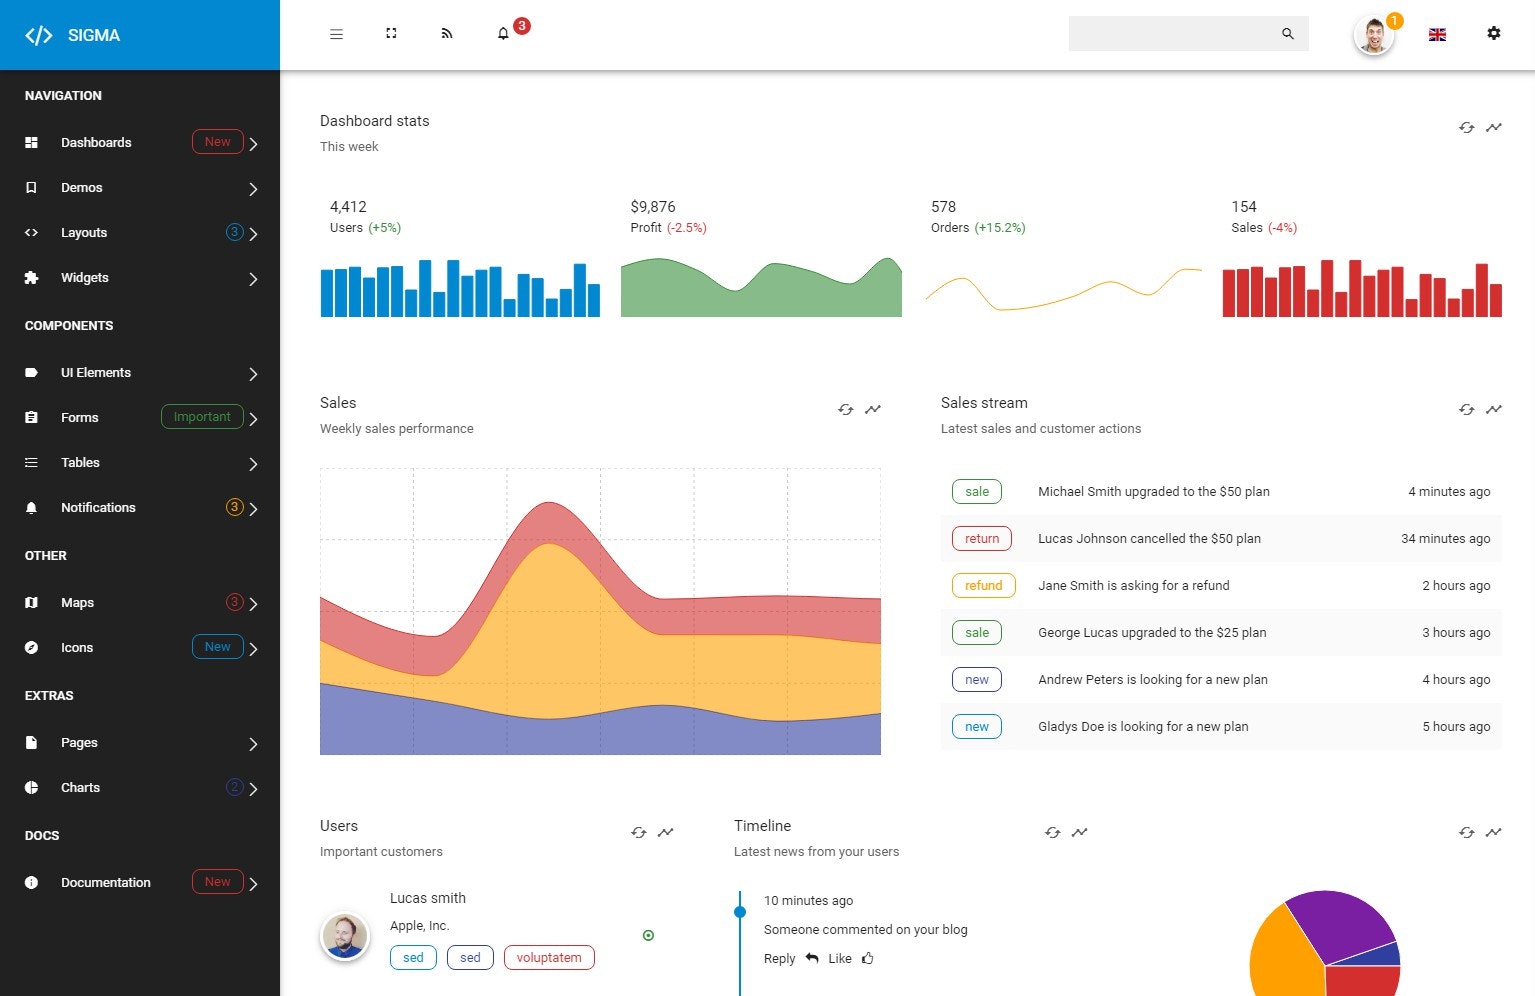
Sigma is a responsive admin dashboard template built with React 16.4.1, Redux and Bootstrap 4.1. It comes with 3 different layouts, 8 navbar, top navigation and left sidebar color styles, more than 100 pages, 500+ widgets and components in every layout. and lots of widgets and custom made reusable components to help you with your next React application.
24.Pickbazar-React GraphQL Ecommerce Template
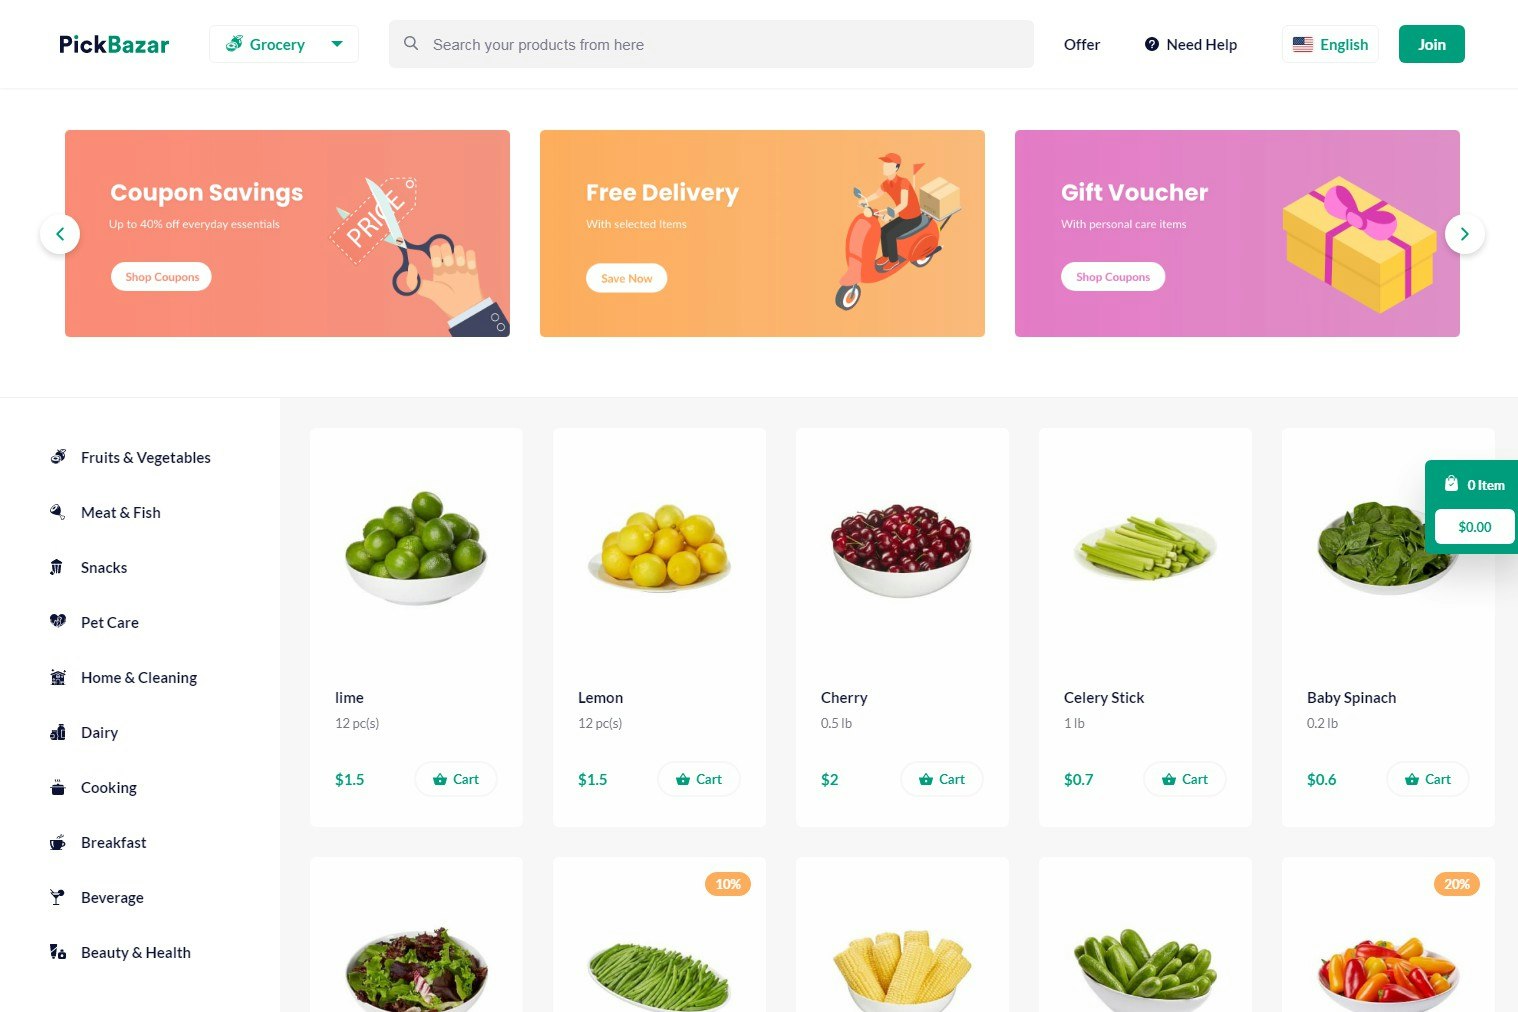
Built with React, NextJS, TypeScript, GraphQL, Type-GraphQL & Styled-Components, our template promises to deliver an interface for your business that is quick and easy to set up! We used graphql and type-graphql, you can build your schema GraphQL playground makes its own documentation, your frontend team will love using it.
25.Lexa
Lexa is a fully featured, multi-purpose admin template built with Bootstrap 4, HTML5, CSS3 and JQuery. Lexa is also available in React Redux (No jQuery ), Laravel 7, PHP and Ajax version. It's a fully responsive and have the very clean user interface that comes with a huge collection of components, widgets, UI elements. We have use jQuery to build react components with redux. The code is super clean and can be easily customized and can be easily translated into building any type of web application. including custom admin panels, an analytics dashboard, e-commerce backend, CMS, CRM or any SASS panel.
26.Roe
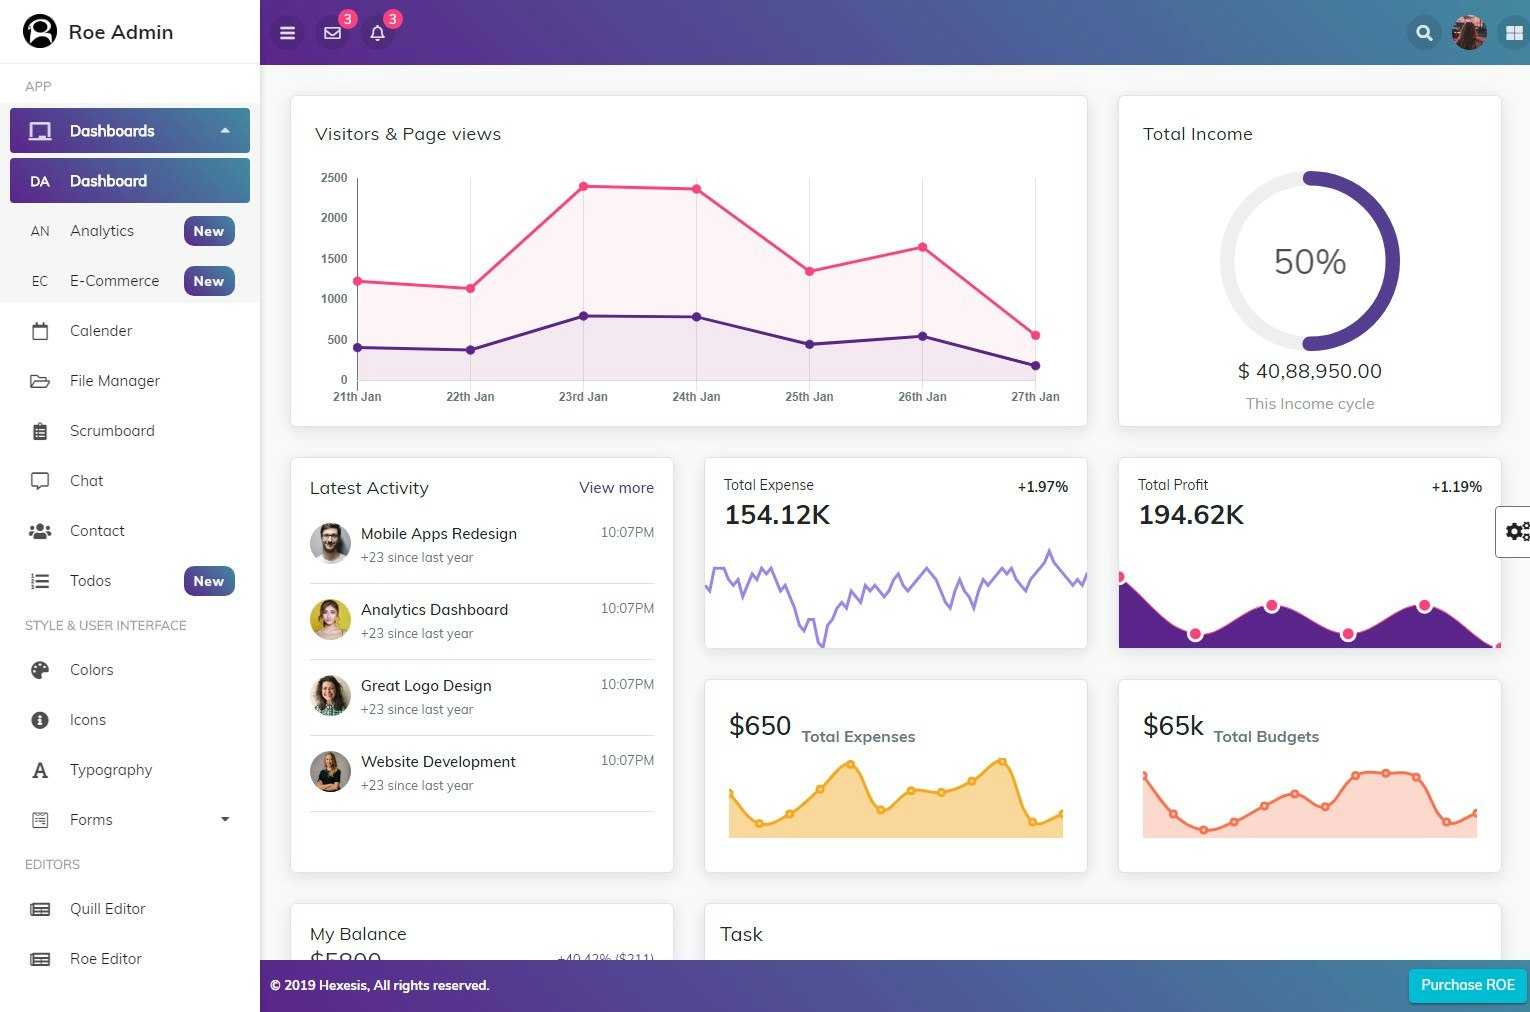
Roe admin is super flexible, powerful, clean, modern & responsive admin template based on React js with Bootstrap 4 with unlimited possibilities.Roe has been made using React hooks.Roe provides very easy theme configuration and developer-friendly layouts.The code is super easy to understand and it comes with a starter kit which will help developers to get started quickly.The template is fully responsive and clean on every device and on every modern browser.
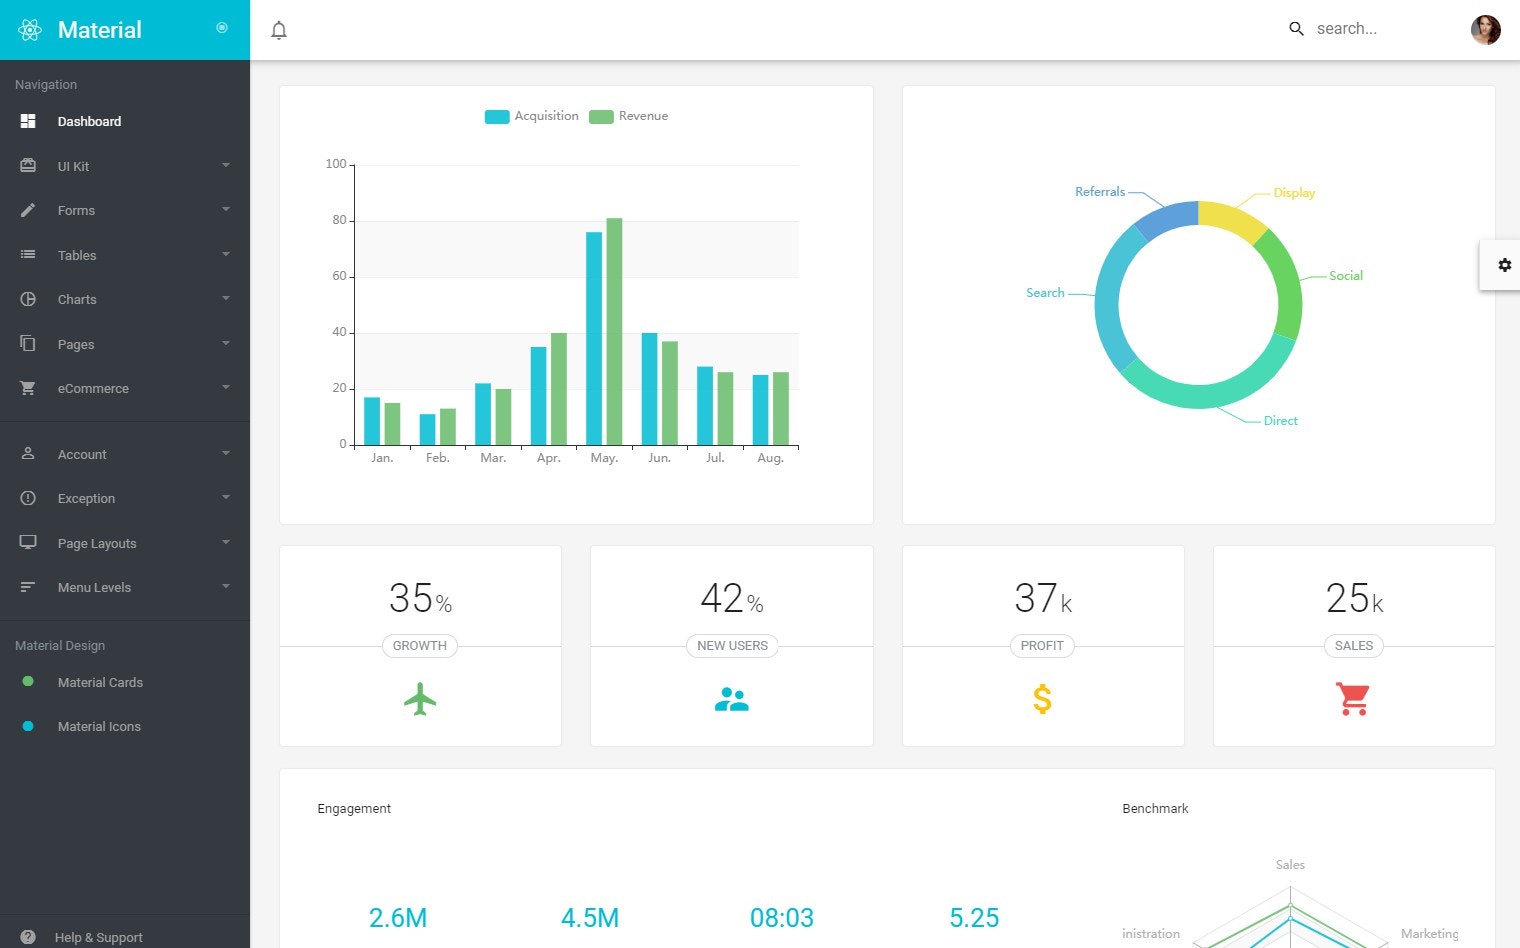
27.Material Design ReactJS Admin Web App with Bootstrap 4
Material is a Google material design inspired admin template built with ReactJS & Bootstrap 4. It uses Scss CSS which makes it easy to customize.
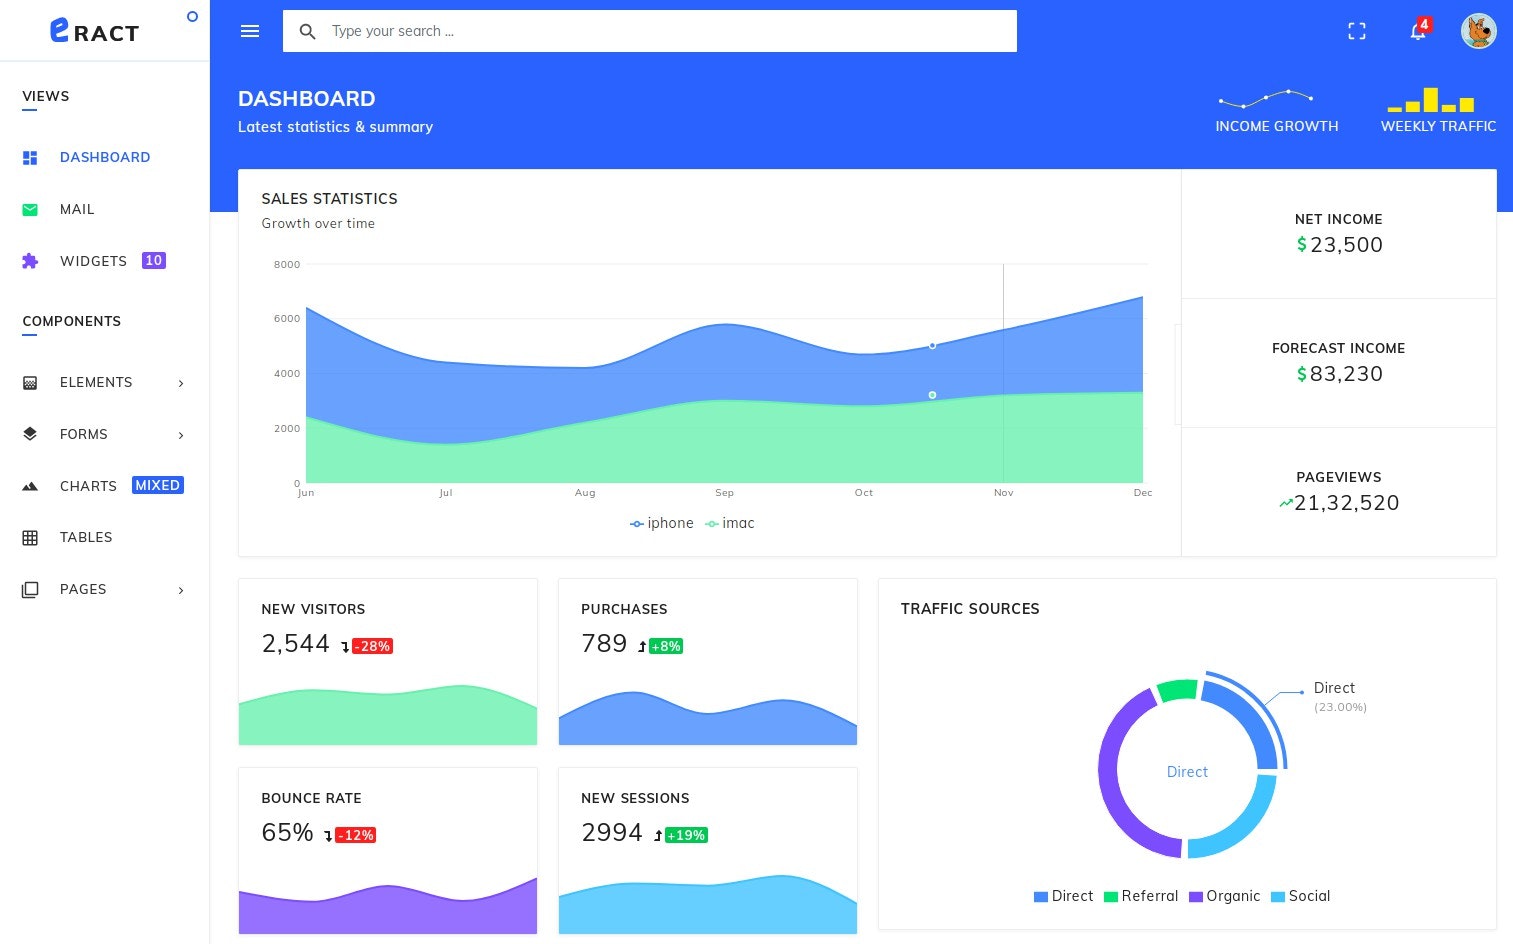
28.Eract
Eract is react bootstrap 4 admin dashboard template based on ReactJS and facebook official create-react-app cli and webpack.With built-in support for SASS preprocessor and other css preprocessor can be added via docs.It doesn't use any redux or flux implementation so that it's easy to beginners to roll out of your choice.
- 投稿日:2020-08-18T12:00:04+09:00
Amplify DataStoreを使ったチャットアプリサンプル
今回は、前から気になっていたAmplify DataStoreを使ったWebアプリを作ってみます。
Amplify DataStoreはデータの書き込み、読み取り、監視するための永続的なストレージリポジトリです。ネットワーク接続が利用可能であればデータをAppSyncと同期し、接続しない場合はローカルデータストアとしても利用ができます。Reactチャットアプリ雛形作成
npx create-react-app chatapp --template typescript cd chatapp yarn startとりあえずApp.tsxの不要なものを消しておきます。
App.tsximport React from 'react'; import './App.css'; function App() { return ( <> ここに後でchatアプリ作るよ </> ); } export default App;Amplify DataStore設定
次にamplify CLIを使ってapiを作って行きますが、その前にamplifyはバージョン更新が激しいので古いバージョンのCLIを使っていると利用したいオプションがサポートされていないこともあるので、作業の前に念の為ご自身の利用しているCLIをバージョンを確認しておきます。私が使ったのは以下のバージョン。
amplify --version
4.27.2
では、まずは初期化から。
amplify initここからが本題。DataStoreを使うAPIを作ります。今回はサンプルなのでほぼデフォルト設定ですが、以下の項目を指定する点がポイントです。
Do you want to configure advanced settings for the GraphQL API
→Yes, I want to make some additional changes.
Configure conflict detection?
→Yes
Select the default resolution strategy
→Auto Mergeamplify add api ? Please select from one of the below mentioned services: GraphQL ? Provide API name: chatapp ? Choose the default authorization type for the API API key ? Enter a description for the API key: ? After how many days from now the API key should expire (1-365): 7 ? Do you want to configure advanced settings for the GraphQL API Yes, I want to make s ome additional changes. ? Configure additional auth types? No ? Configure conflict detection? Yes ? Select the default resolution strategy Auto Merge ? Do you have an annotated GraphQL schema? No ? Choose a schema template: Single object with fields (e.g., “Todo” with ID, name, des cription) ? Do you want to edit the schema now? YesAppSyncとの同期時の競合検出と解決については以下3つの動作がサポートされています。
 Auto Merge
 Optimistic Concurrency
 Custom Lambda
Auto Merge
データの競合を検出すると自動でデータをマージし、クラウド上とクライアントのローカルストレージ上のデータを更新します。デフォルトは「Auto Merge」が選択されています。
Optimistic Concurrency
データの競合を検出すると、クライアントからのリクエストを拒否します。
Custom Lambda
データの競合を検出すると、独自定義したLambdaを起動させることができます。
特に理由がなければAuto Mergeを選択して良いと思います。
詳しく知りたい方は公式の「Conflict Detection and Resolution」章あたりを参照すると良いでしょう。
スキーマはシンプルに以下のようにします。(説明簡単にするため相当雑に作ってます...)
schema.graphqltype Message @model { id: ID! text: String! }ファイルを保存してバックエンドへプロビジョニングします。
amplify push
? Are you sure you want to continue? Yes
? Do you want to generate code for your newly created GraphQL API No
次に、以下のオプションを実行するとDataStoreのmodelが生成されます。
amplify codegen modelsチャットアプリへDataStoreを組み込む
必要なライブラリを追加します。
yarn add aws-amplify @aws-amplify/datastore
App.tsxに実装を加えます。App.tsximport React, { useState, useEffect } from 'react'; import './App.css'; import awsconfig from './aws-exports' import Amplify, { DataStore } from 'aws-amplify' import { Message } from './models'; Amplify.configure(awsconfig) const App = () => { const [messages, setMessages] = useState<Message[]>([]) const [inputValue, setInputValue] = useState('') useEffect(() => { fetchMessage() DataStore.observe(Message).subscribe(fetchMessage); }, []) async function fetchMessage() { const data = await DataStore.query(Message) setMessages(data) } async function sendMessage(text: string) { await DataStore.save(new Message({ text })) setInputValue('') } const handleOnChange = (value: string) => { setInputValue(value) } return ( <> {messages && messages.map((message, index) => { return ( <div key={index}> {message.text} </div> ) })} <input type='text' value={inputValue} onChange={(e) => handleOnChange(e.target.value)} /> <button onClick={() => sendMessage(inputValue)}>送信</button> </> ); } export default App;表示はこんな感じ。ちょーシンプル。
試しに複数ブラウザからアクセスし一方をオフラインにしてメッセージを送信してみましょう。オンライン復帰後メッセージが自動的にマージされることが確認できるかと思います。
まとめ
DataStoreを使うことで非常に簡単にクラウドへのデータ同期と競合解消する実装ができました。また、GraphQLのquery文が抽象化されるためよりスッキリとした実装になります。
複雑なquery条件が必要なケースなどではまだ制約がありそうですが、簡単なアプリなら十分に利用できますね。
また機会があれば、もう少し複雑なスキーマでも試してみようかと思います。
- 投稿日:2020-08-18T11:20:10+09:00
まだβ版だけど React Router v6 使いたい!という人のための v5 -> v6 移行メモ
React Router v6 は v5 から破壊的な変更が多数含まれている。
まだ正式リリースではないが(20200817時点で6.0.0-beta.0)、気になったので試してみた。その中で修正が必要になった項目、及び項目毎の参考ドキュメントを以下に記載する。「まだβ版だけど React Router v6 試したい!」という方がいたらぜひ参考にしてほしい。
留意事項
参考ドキュメントはあくまで現時点(=β版)でのものであり、今後正式リリース時にはより適切ドキュメントも併せて提示されるはず。正式リリース後はそちらを参照すること。(その際は出来るだけこの記事もアップデートしたい...)
記載するのはあくまで私の環境で必要になった箇所だけなので注意されたし。ただ他の変更に関しても提示する参照ドキュメントを辿ることでおおよそ確認できると思われる。
v5 -> v6 移行時に(私の環境で)必要だった修正
Switchの廃止
<Routes>を使用する。おそらくこの点が最も影響の大きい変更箇所。表示するコンポーネントは、
<Routes path="/" element={<SomeComponent>}>の形で、elementプロパティを用いて指定する。私は一部この修正を忘れた結果、期待するコンポーネントが表示されずに微ハマりした。参考:
https://reacttraining.com/blog/react-router-v6-pre/#introducing-routesnested routing
Routesのelementで指定したコンポーネント内に、更に複数のパスの候補がある(nestする)場合は、pathの指定に "*"を使う。下記"参考"のリンク先にサンプルコードがあるので詳しくはそちらを参照されたし。
参考:
https://reacttraining.com/blog/react-router-v6-pre/#introducing-routesRedirectコンポーネントの廃止
<Navigate to='XXX'>を使う廃止理由はイマイチ不明だが、以下(及び関連リプライ)が参考になるかもしれない。(クライアントからトリガーされるリダイレクト処理は不適切ということだろうか?)
Cool.
— Kent C. Dodds ? (@kentcdodds) April 13, 2020
Writing a blog post explaining why client-side redirects are no bueno (thanks to our conversation. will credit).https://github.com/ReactTraining/react-router/issues/7267
useHistoryの廃止
useNavigateを使う。具体的な使い方は"参考"のリンク先にあるサンプルコード参照。
history.push('XXX')の代替に当たるnavigate('YYY')は、相対パスであることに注意。history(npmパッケージ)が追加で必要
yarn add historyで追加公式ドキュメントに記載があるわけではないが、私の環境では必要になった(コンパイルエラーが出た)ため記載。
参考サイト
https://reacttraining.com/blog/react-router-v6-pre/
公式のv6に関する解説https://github.com/ReactTraining/react-router/blob/f59ee5488bc343cf3c957b7e0cc395ef5eb572d2/docs/advanced-guides/migrating-5-to-6.md#relative-routes-and-links
公式のv5 -> v6 移行に関する解説
- 投稿日:2020-08-18T10:09:58+09:00
Vue.jsでReact公式チュートリアルの三目並べを作ってみた
作ったもの
React の公式チュートリアルにある三目並べを Vue.js で作りました。
完成品はこちら。— ikeo (@ikeo256) August 18, 2020環境
Vue 2.6.11
Vue CLI 3.3.0
npm: 6.1.14
Node.js: 12.18.0構成
Vue CLI を使って単一ファイルコンポーネント化してます。
root
 ├ public
 │ └ index.html
 └ src
   ├ components
   │ ├ Bord.vue
   │ ├ Game.vue
   │ └ Square.vue
   ├ App.vue
   └ main.js
コード
main.jsimport Vue from 'vue' import App from './App.vue' Vue.config.productionTip = false new Vue({ render: h => h(App), }).$mount('#app')App.vue<template> <div id="app"> <Game /> </div> </template> <script> import Game from "@/components/Game"; export default { components: { Game } } </script> <style> </style>Game.vue<template> <div class="game"> <div class="game-board"> <Board :squares="current.squares" :handleClick="handleClick" /> </div> <div class="game-info"> <div>{{ status }}</div> <ol> <li :key="index" v-for="(move, index) in moves"> <button @click="jumpTo(index)"> {{ move }} </button> </li> </ol> </div> </div> </template> <script> import Board from "@/components/Board"; export default { components: { Board }, data() { return { history: [{ squares: Array(9).fill(null) }], stepNumber: 0, xIsNext: true, status: '', current: {}, moves: [], } }, created() { this.render() }, methods: { calculateWinner(squares) { const lines = [ [0, 1, 2], [3, 4, 5], [6, 7, 8], [0, 3, 6], [1, 4, 7], [2, 5, 8], [0, 4, 8], [2, 4, 6], ]; for (let i = 0; i < lines.length; i++) { const [a, b, c] = lines[i]; if (squares[a] && squares[a] === squares[b] && squares[a] === squares[c]) { return squares[a]; } } return null; }, jumpTo(step) { this.stepNumber = step this.xIsNext = (step % 2) === 0 this.render() }, handleClick(i) { const history = this.history.slice(0, this.stepNumber + 1) const current = history[history.length - 1] const squares = current.squares.slice() if (this.calculateWinner(squares) || squares[i]) { return; } squares[i] = this.xIsNext ? 'X' : 'O' this.history = history.concat([ { squares: squares } ]) this.stepNumber = history.length this.xIsNext = !this.xIsNext this.render() }, render() { const history = this.history; this.current = history[this.stepNumber] const winner = this.calculateWinner(this.current.squares) this.moves = history.map((step, move) => { const desc = move ? 'Go to move #' + move : 'Go to game start' return desc }) if (winner) { this.status = 'Winner: ' + winner } else { this.status = 'Next player: ' + (this.xIsNext ? 'X' : 'O') } } } } </script> <style scoped> body { font: 14px "Century Gothic", Futura, sans-serif; margin: 20px; } ol, ul { padding-left: 30px; } .kbd-navigation .square:focus { background: #ddd; } .game { display: flex; flex-direction: row; } .game-info { margin-left: 20px; } </style>Bord.vue<template> <div> <div class="board-row"> <Square :value="squares[0]" :index="0" :handleClick="handleClick"/> <Square :value="squares[1]" :index="1" :handleClick="handleClick"/> <Square :value="squares[2]" :index="2" :handleClick="handleClick"/> </div> <div class="board-row"> <Square :value="squares[3]" :index="3" :handleClick="handleClick"/> <Square :value="squares[4]" :index="4" :handleClick="handleClick"/> <Square :value="squares[5]" :index="5" :handleClick="handleClick"/> </div> <div class="board-row"> <Square :value="squares[6]" :index="6" :handleClick="handleClick"/> <Square :value="squares[7]" :index="7" :handleClick="handleClick"/> <Square :value="squares[8]" :index="8" :handleClick="handleClick"/> </div> </div> </template> <script> import Square from "@/components/Square"; export default { props: { msg: String, squares: Array, handleClick: Function, }, components: { Square }, } </script> <style scoped> body { font: 14px "Century Gothic", Futura, sans-serif; margin: 20px; } ol, ul { padding-left: 30px; } .board-row:after { clear: both; content: ""; display: table; } .kbd-navigation .square:focus { background: #ddd; } </style>Square.vue<template> <button class="square" @click="handleClick(index)"> {{ value }} </button> </template>0 <script> export default { props: { value: String, handleClick: Function, index: Number } } </script> <style scoped> .square { background: #fff; border: 1px solid #999; float: left; font-size: 24px; font-weight: bold; line-height: 34px; height: 34px; margin-right: -1px; margin-top: -1px; padding: 0; text-align: center; width: 34px; } .square:focus { outline: none; } </style>
- 投稿日:2020-08-18T02:22:25+09:00
React開発において便利なTypeScriptの型まとめ
React開発において個人的に便利だなーと思っているTypeScriptの型をだだーっとまとめてみました。私自身もまだまだTypeScript修行中の身ですので、新たに気づいたものがあったら随時追記していきます。みなさんも「こういう使い方できるぜ!」みたいなのがあったら、ぜひ教えていただければと思います。
対象とする読者
- 最近ReactにTypeScriptを導入し始めた人
- ReactにTypeScriptを導入してそこそこ経つけど、いまいち使いこなせてる気がしない人
TypeScriptにあまり詳しくない人でもわかるように説明しているつもりではありますが、以下の記事がTypeScriptの入門用に素晴らしいので、そちらを先に読むとスムーズに読み進められると思います。
TypeScriptの型入門Partial
React開発においてよく定義する型としてコンポーネントのpropsの型があると思います。例えばButtonコンポーネントみたいなのがあったとして、文字や色をpropsで受け取るとします。ただし、これらは必須ではなくて、propsが渡されなかった場合は別に用意したデフォルトの値を使います。
// titleおよびcolorはstringもしくはundefinedとなる
type ButtonProps = {
  title?: string
  color?: string
}
TypeScriptでは
?をつけることでそのプロパティがオプションだと示すことができます。ひとつひとつのプロパティに?を付けていくのでもいいですが、全部のプロパティをオプションにしたいときはPartialが便利です。// 先程の例と同じ型になる type ButtonProps = Partial<{ title: string color: string }>これで先程の例と同じものが表現できます。今回はプロパティが2つなのでうまみを感じにくいですが、プロパティが多い場合だとひとつひとつに?をつけるのが面倒なのと、パっと見て全部のプロパティがオプションなんだなとわかるのは後者のほうだと思います。
ちなみに、このPartialの逆にあたるのが
Requiredという型で、オプションのプロパティをすべて必須にすることができます。never
TypeScriptを勉強し始めた当初、いまいち使いどころわからなかったのが、
neverです。本当に使う機会がなくて、いらない子扱いしてた(ごめんよ)のですが、コンポーネントのchildren propsで使うと便利です。以下のようなコンポーネントを作ってみました。ヘッダー用のコンポーネントで、具体的な中身はchildrenで渡すようにします。import { FC } from 'react' type HeaderProps = { name: string } const Header: FC<HeaderProps> = ({ name, children }) => { return ( <div> <p>{name}さんこんにちは</p> <div>{children}</div> </div> ) } const Root: FC = () => { return <Header name="名無し">ようこそ</Header> }なお、この記事ではReact.Componentをextendsしたクラス型コンポーネントではなく、React.FCを使った関数型コンポーネントを使用します。1React.FCを使うと型引数で渡した型と共に
children?: React.ReactNodeというpropsを受け取ることができます。?がついているのでオプションになってますね。つまり、デフォルトではchildrenを渡しても渡さなくてもどっちでもいいわけですが、これはちょっと曖昧な気がします。上記のようなコンポーネントだと必ずchildrenを受け取りたいですし、逆にchildrenを受け付けたくないコンポーネントもあると思います。ちなみに、neverの代わりにundefinedを使っても同じことができますが、neverのほうが「絶対children渡すなよ!」感があって好きです。children?: neverでchildrenを拒否する
そのようなときにpropsの型定義でchildrenを上書きすると、childrenを受け取るか受け取らないか明示することができます。
HeaderPropsの型定義を以下のように変えてみます。import { ReactNode } from 'react' // childrenを必ず受け取る(?を取り除く) type HeaderProps = { name: string children: ReactNode } // childrenを拒否する(never型にする) type HeaderProps = { name: string children?: never }エディタ上で編集すればわかりますが
children: ReactNodeにした状態でHeaderにchildrenを渡さないとコンパイルエラーになり、逆にchildren?: neverにした状態でchildrenを渡すとこれまたコンパイルエラーになります。このようにして、propsの型定義によってそのコンポーネントがchildrenを受け取るか受け取らないかを明示することができます。Pick
続いて、コンポーネントのpropsのみならず、幅広い場所で使えるPickです。名前のイメージ通り、特定の型の中から指定したキーのプロパティのみを抽出する型です。型引数の1つ目に抽出元の型、2つめに抽出するプロパティのキー(union型(
|)で複数指定可)を指定します。type ShopItem = { id: string name: string shopId: string } // ShopItem型からidとnameのプロパティを抽出した型を生成 type Item = Pick<ShopItem, 'id' | 'name'> // ↑と一緒 type Item = { id: string name: string }既存の型から新しい型を作りたい際に便利です。
Exclude
続いて、
Excludeですが、こちらはPick型の逆かと思いきや少し使い方が違い、型引数の1つ目のunion型から2つ目の型(Pickと同様union型で複数指定可)を除いた型となります。ちょっと言葉ではわかりづらいので例を見てみましょう。// 結果は'id' | 'name' type ItemKey = Exclude<'id' | 'name' | 'shopId', 'shopId'>
id' | 'name' | 'shopId'から'shopId'を引いているので、結果は'id' | 'name'になります。これが何に使えるかと言うと、先程紹介したPickと組み合わせると、Pickの逆、つまり特定の型から指定したキーのプロパティを除いた型を作れます。これをよく、Omitと呼んだりします。残念ながらOmitはTypeScriptの公式として用意されていませんが、自分で作ることができます。2020年4月追記
バージョン3.5から組み込み型として
Omit typeが追加されましたなので、自作する必要はなくなったのですが、Omitがどういう仕組みになっているか知りたい人は以下の説明も読んでみてください。
Omitを自作する
Omitの実装は以下になります。ちょっと複雑なので分解していきましょう。Tは抽出元の型、Kは除きたいプロパティのキー(union型で複数指定可)だと思ってください。type Omit<T, K extends keyof T> = Pick<T, Exclude<keyof T, K>>まずは
keyofというキーワードですが、keyof TでTの全てのプロパティのキーのunion型になります。例えば、以下のようになります。type Item = { id: string name: string } // 結果は、'id' | 'name' type ItemKey = keyof ItemItem型のプロパティはidとnameなので、
'id' | 'name'になりますね。つまりK extends keyof Tというのは、KはTの全てのプロパティのキーのunion型の一部ということになります。TからKのプロパティを除きたいので当然(TにKのプロパティがなければKを除く意味がありません)ですね。続いて、Exclude<keyof T, K>この部分ですが、今までの知識を使うと「Tの全てのプロパティのキーのunion型からKを除いた型」となります。言い換えると「TからKを除いた全てのプロパティのキーのunion型」になります。これをPickの型引数の2つ目に指定すると、TからKを除いた型になるわけです。
type ShopItem = {
  id: string
  name: string
  shopId: string
}

type Omit<T, K extends keyof T> = Pick<T, Exclude<keyof T, K>>

// この2つは全く同じ型
type Item = Pick<ShopItem, 'id' | 'name'>
type Item = Omit<ShopItem, 'shopId'>
intersection
ここまでPick、Exclude、Omitと紹介してきましたが、実は個人的にほとんど使っていません。というのも既存の型を再利用したいときは、
intersectionをよく使っています。これはA & Bとすると、AとBをマージした型を生成できるというものです。type Item = { id: string name: string } type Shop = { shopId: string } // Item型とShop型をマージ type ShopItem = Item & Shop // ↑と一緒 type ShopItem = { id: string name: string shopId: string }PickやOmitを特定の型から指定のプロパティを除く、つまり引き算とすると、intersectionは型を組み合わせる足し算です。どちらを使うかはケースバイケースや好みにもよると思いますが、個人的には大きな型をくずして小さな型を作るよりかは、小さな型を組み合わせて大きな型を作るという後者の方がメンテナンス性が高いのではないかと思っているので、主にintersectionを使っています。
ReturnType
続いて、
ReturnTypeですが、こちらは型引数に関数型を指定するとその戻り値の型を取得できるものです。例を見てみましょう。const plus = (x: number, y: number): number => { return x + y } // number型になる type PlusFunctionReturnType = ReturnType<typeof plus>
plusは数字を2つ引数で受け取って、両者を足したものを返すという単純な関数です。typeofでその変数の型を取得できます。つまりtypeof plusとは(x: number, y: number) => number型となります。それをReturnTypeの型引数に指定してるので、結果としてnumber型が取得できるわけです。これをどこで使えるかと言うと、一つの例としてReduxとコンポーネントを接続する箇所です。Presentational Componentに渡すpropsとして、mapStatoToPropsとmapDispatchToPropsを定義すると思いますが、そちらで使うと便利です。
// SomeContainer.tsx
// AppStateとかDipatchとかconnectとかもろもろimportしている想定です
import SomeComponent from '../presentational/SomeComponent'

const mapStateToProps = ({ user }: AppState) => ({
  user
})

const mapDispatchToProps = (dispatch: Dispatch) => ({
  // actionをまとめたものだと思ってください
  actions: new ActionDispather(dispatch)
})

// userとactionsのプロパティを持った型になる
export type Props = ReturnType<typeof mapStateToProps> &
  ReturnType<typeof mapDispatchToProps>

export default connect(mapStateToProps, mapDispatchToProps)(SomeComponent)


// SomeComponent.tsx
import { FC } from 'react'
import { Props } from '../container/SomeContainer'

const SomeComponent: FC<Props> = ({ user, actions }) => {
  // 省略
}
注目していただきたいのは、
ReturnType<typeof mapStateToProps> & ReturnType<typeof mapDispatchToProps>の箇所です。よくよく考えてみると、SomeComponentに渡されるPropsの型は、mapStatoToPropsの戻り値とmapDispatchToPropsの戻り値を合体させたものなわけですから、それぞれのReturnTypeのintersection型にすればいいわけです。このPropsの型を愚直に定義するとこうなります。type Props = { user: User actions: ActionDispathcher }しかし、この場合だと、SomeComponentに渡すpropsを新たに増やすことを考えてみてください。mapStatoToPropsやmapDispatchToPropsに修正を加えるとともに、上記のPropsの型定義も修正しなければなりません。一方で、ReturnTypeを使う場合だと、動的に型を生成するため、mapStatoToPropsやmapDispatchToPropsに修正を加えると自動的にPropsの型定義にも反映されます!これは気持ちよくないですか?
プロパティアクセス
最後にプロパティアクセスを紹介します。プロパティアクセスとは
T[K]と書くと、TのKというキーのプロパティの型を取得できるものです。例を見てみましょう。type User = { id: number name: string } // number型になる type IdType = User['id']User型のプロパティidはnumber型なので、number型が取得できます。これをどこで使えるかと言うと、クラス型コンポーネントのpropsの型を取得することができます。
// Header.tsx
import { Component } from 'react'

type Props = { name: string }

class Header extends Component<Props> {
  // 省略
}

export default Header


// OtherComponent.tsx
import Header from './Header'

// Header.tsxからPropsをimportしてないのに{ name: string }が取れた!
type HeaderProps = Header['props']
当たり前のことですが、クラス型コンポーネントはClassなわけですから'props'というキーにアクセスできますし、そのコンポーネントのpropsの型が取得できました。TypeScriptを使っていく中での一つの悩みとして、やたらと型をimport/exportして記述量が増えてしまうというのがあるのですが、この方法を使うとコンポーネントをexportするだけで済み、propsの型をimport/exportする必要はありません。ただ、既に述べたとおり、コンポーネントをClassで書くのはできるだけやめて、関数で書くようにしていますが、その場合だとこの方法は使えません。だって、関数ですからね。
関数型コンポーネントのpropsの型を取得する(したかった)
そのため、関数型コンポーネントでもpropsの型を取得する方法を考えたのですが、私のレベルだとこれが限界でした。
index.d.tstype FirstArgumentType<T extends Function> = T extends (...args: infer A) => any ? A[0] : never type Omit<T, K extends keyof T> = Pick<T, Exclude<keyof T, K>> declare type PropsTypeFromFC<T extends Function> = Omit<FirstArgumentType<T>, 'children'>ざっくり説明すると
FirstArgumentTypeで、ある関数の最初の引数の型を取得します。T extends Functionなので、関数型コンポーネント以外の普通の関数も受け付けてしまいますが。。Omitは先程説明したものですね。FirstArgumentTypeはchildrenも含まれてしまうので、Omitでそれを除いてます。一応これで関数型コンポーネントでもpropsの型を取得できます。しかし、PropsTypeFromFC<typeof SomeComponent1> & PropsTypeFromFC<typeof SomeComponent2>のような感じで、intersectionを挟むとかなり複雑になるため、エディタでマウスオーバーしたときにうまく中身を表示してくれないというのが悩みです。これだと素直にpropsの型をimport/exportしてもいい気がしてきました。。React.FC(FunctionComponent)をimportしてごにょごにょすればうまくできそうな気がしなくもないですが、それをするとグローバルな型にできないので本末転倒ですし。もし、これのうまいやり方がわかる偉い人がいたら教えていただけるとありがたいです。
2020年4月追記
公式でReactから
ComponentPropsという型が提供されているのでそちらで取得できます
ジェネリクスとしてReact.FCのComponentの型を渡すとそのComponentのPropsの型が取得できます!これでPropsの型をexportする必要がなくなりましたね。import { FC, ComponentProps } from 'react' type Props = { hoge: string } const HogeComponent: FC<Props> = ({ hoge }) => <div>{hoge}</div> // 上のPropsと等価 type PropsByComponentProps = ComponentProps<typeof HogeComponent>【おまけ1】type vs interface
TypeScriptを使っていると誰しも一度は思うことだと思いますが、typeとinterfaceって結局どっちを使えばいいんだっけ?という疑問です。以下の記事が詳しいですが、実は両者はほとんど違いがなく、書き方は違えどだいだいどっちも同じことができます。
TypeScriptのInterfaceとType aliasの比較
なので、好みやプロジェクトごとのスタイルになると思うのですが、個人的にはtypeを推しています。理由としては、これまでに紹介した、型を加工するような処理を行うと、typeを必ず使わなくてはいけないシーンがあるからです。対して、interfaceを必ず使わなくてはいけないシーンには個人的にあまり出会ったことがなく、どのみちtypeを使わなければいけないのだから、最初から全部typeで統一してしまおうというモチベーションです。ただ、このへんは私もあまり詳しくないので、もし「interface使ったほうがいいよ!」という情報がありましたら教えていただけるとありがたいです。
【おまけ2】TypeScriptコードの不吉な匂い
かの有名なリファクタリングの「コードの不吉な匂い」ですが、もしTypeScriptを書いていて以下のように感じることがあれば、それは改善のサインかも知れません。
- 型定義を変更するときにやたらと変更箇所が多い
- やたらと型のimport/exportが多い
TypeScriptでReactを開発した感想としては、型の恩恵を受けられるのはすごく良いと思いつつも、どうしても記述量が増えてしまうというのが少し不満でした。ここまでで紹介したような動的な型を駆使すれば、ある程度そのつらみを減らすことができると思います。
この記事を読んで、みなさんが、つらくない楽しいReact + TypeScriptライフを送ってくれるようになれば幸いです。
最近導入されたReact Hooksなどを見ても、公式がステートレスで副作用のない関数型コンポーネントを推奨しているような気がします。 ↩


