- 投稿日:2020-08-11T23:02:43+09:00
MediaPipeのハンドトラッキング(iOS)をXcodeプロジェクトでビルドしてみた
概要
- 環境構築(MediaPipe)
- ターミナルでビルド
- 環境構築(Tulsi)
- Xcodeプロジェクトでビルド
成果物
Hand Tracking on iOS?#MediaPipe pic.twitter.com/mgHPfUIHwK
— MIWA Tetsushi (@WWWPONTE) August 11, 2020開発環境
- MacBook Pro: Catalina 10.15.4
- Xcode: 11.6
- iPhone SE(第2世代): iOS 13.5.1
環境構築(MediaPipe)
1. Homebrewのインストール
- https://brew.shに表示されているコマンドをコピー
- ターミナルにペーストして実行
- 終わったら以下のコマンドを打ってバージョンが表示されたら完了
$ brew -v
# Homebrew 2.4.7
2. Command Line Tools のインストール
- https://developer.apple.com/download/moreより、Xcodeのバージョンに合ったCommand Line Toolsをダウンロード ※Apple Developer Programへのサインインが必要
- ダウンロードした
.dmgをクリックしてインストール- 以下のコマンドを打ってライセンスが表示されたら完了
$ sudo xcodebuild -license3. Pythonのバージョン確認
mac には、デフォルトで Python がプリインストールされている。Python のバージョンによって、ビルドが通らないことがあるので、Python のバージョンを確認しておく必要がある。私は、
Python 3.7.5でビルドが通ったことを確認しているのでこのバージョンの Pythonでビルドを行うことを推奨する。その際に、pyenvという Python のバージョンを切り替えられるバージョンマネージャーがあるので、それを利用した方法を説明する。
- pyenvをクローン
$ git clone https://github.com/pyenv/pyenv.git ~/.pyenv
- パスを通す
シェルが
zshの場合$ echo 'export PYENV_ROOT="$HOME/.pyenv"' >> ~/.zsh_profile $ echo 'export PATH="$PYENV_ROOT/bin:$PATH"' >> ~/.zsh_profile $ echo 'eval "$(pyenv init -)"' >> ~/.zsh_profile
Python 3.7.5をインストール$ pyenv install 3.7.5~/.pyenv/versions/ 配下にインストールした Python が配置される
shimのリフレッシュ$ pyenv rehash
- 使用するPythonの指定
グローバルで指定する場合
$ pyenv global 3.7.5ローカルで指定する場合
$ pyenv local 3.7.54. sixライブラリのインストール
Python 2 と Python 3 の間の違いを吸収するために、”six” ライブラリをインストールする
$ pip install –user future six5. MediaPipeリポジトリのクローン
$ git clone https://github.com/google/mediapipe.git6. Bazelのインストール
Bazelをインストール$ brew install bazel
- 終わったら以下のコマンドを打ってバージョンが表示されたら完了
$ bazel --version
# bazel 3.3.0
7. OpenCVとFFmpegのインストール
$ brew install opencv@38. numpyのインストール
$ pip install numpy9. 動作確認
Hello World desktop exampleを実行$ export GLOG_logtostderr=1 $ bazel run --define MEDIAPIPE_DISABLE_GPU=1 \ mediapipe/examples/desktop/hello_world:hello_world # しばらくして以下が表示されたら動作確認完了 # Hello World! # Hello World! # Hello World! # Hello World! # Hello World! # Hello World! # Hello World! # Hello World! # Hello World! # Hello World!ターミナルでビルド
まず、ターミナルでハンドトラッキング(iOS)をビルドして、ビルドに必要な準備をする
1. Provisioning Profileの準備
iOS アプリを実機で実行するために、
Provisioning Profileと呼ばれるiOSデバイスやアプリを識別するためのファイルが必要である。Apple Developer Program 加入者は、https://developer.apple.com/jpより作成してダウンロード可能である。ダウンロードしたファイルをprovisioning_profile.mobileprovisionにリネームして、mediapipe/mediapipe/に配置する。2. Bundle Identifierの変更
次に、
mediapipe/mediapipe/examples/ios/handtrackinggpu/の中にあるBUILDを修正する。bundle_idをProvisioning Profileで設定したBundle Identifierに変更する。mediapipe/examples/ios/handtrackinggpu/BUILD:36bundle_id = BUNDLE_ID_PREFIX + ".HandTrackingGpu", ↓ bundle_id = "(Bundle Identifier)",3. ビルド
mediapipe/ディレクトリに移動してから以下のコードをターミナルに入力することでビルドが始まる$ bazel build -c opt –config=ios_arm64 mediapipe/example/ios/handtrackinggpu:HandTrackingGpuApp下記ディレクトリにipaファイルができる
bazel-bin/mediapipe/examples/ios/handtrackinggpu/環境構築(Tulsi)
Tulsiを使ってXcodeプロジェクトを生成する
1. Tulsiリポジトリのクローン
$ git clone https://github.com/bazelbuild/tulsi.git2. パッチの適用
$ cd tulsi
$ git fetch origin pull/99/head:xcodefix
$ git checkout xcodefix
3. ビルドスクリプトの実行
sh build_and_run.sh実行してみたら、以下のエラーが発生した
ERROR: /Users/miwa/tulsi/BUILD:62:18: Linking of rule '//:tulsi.__internal__.apple_binary' failed (Exit 1) wrapped_clang failed: error executing command external/local_config_cc/wrapped_clang -Xlinker -objc_abi_version -Xlinker 2 -fobjc-link-runtime -ObjC -arch x86_64 -filelist ... (remaining 26 argument(s) skipped)こちらの記事を参考にしたところ、実行することが出来た
tulsi/WORKSPACE:6tag = "0.17.2", ↓ tag = "0.18.0",4. Tulsi.appでMediaPipe.tulsiprojを開き、Xcodeプロジェクトを生成
- Tulsi.appを起動して、
mediapipe/mediapipe/配下にあるMediapipe.tulsiprojを開く
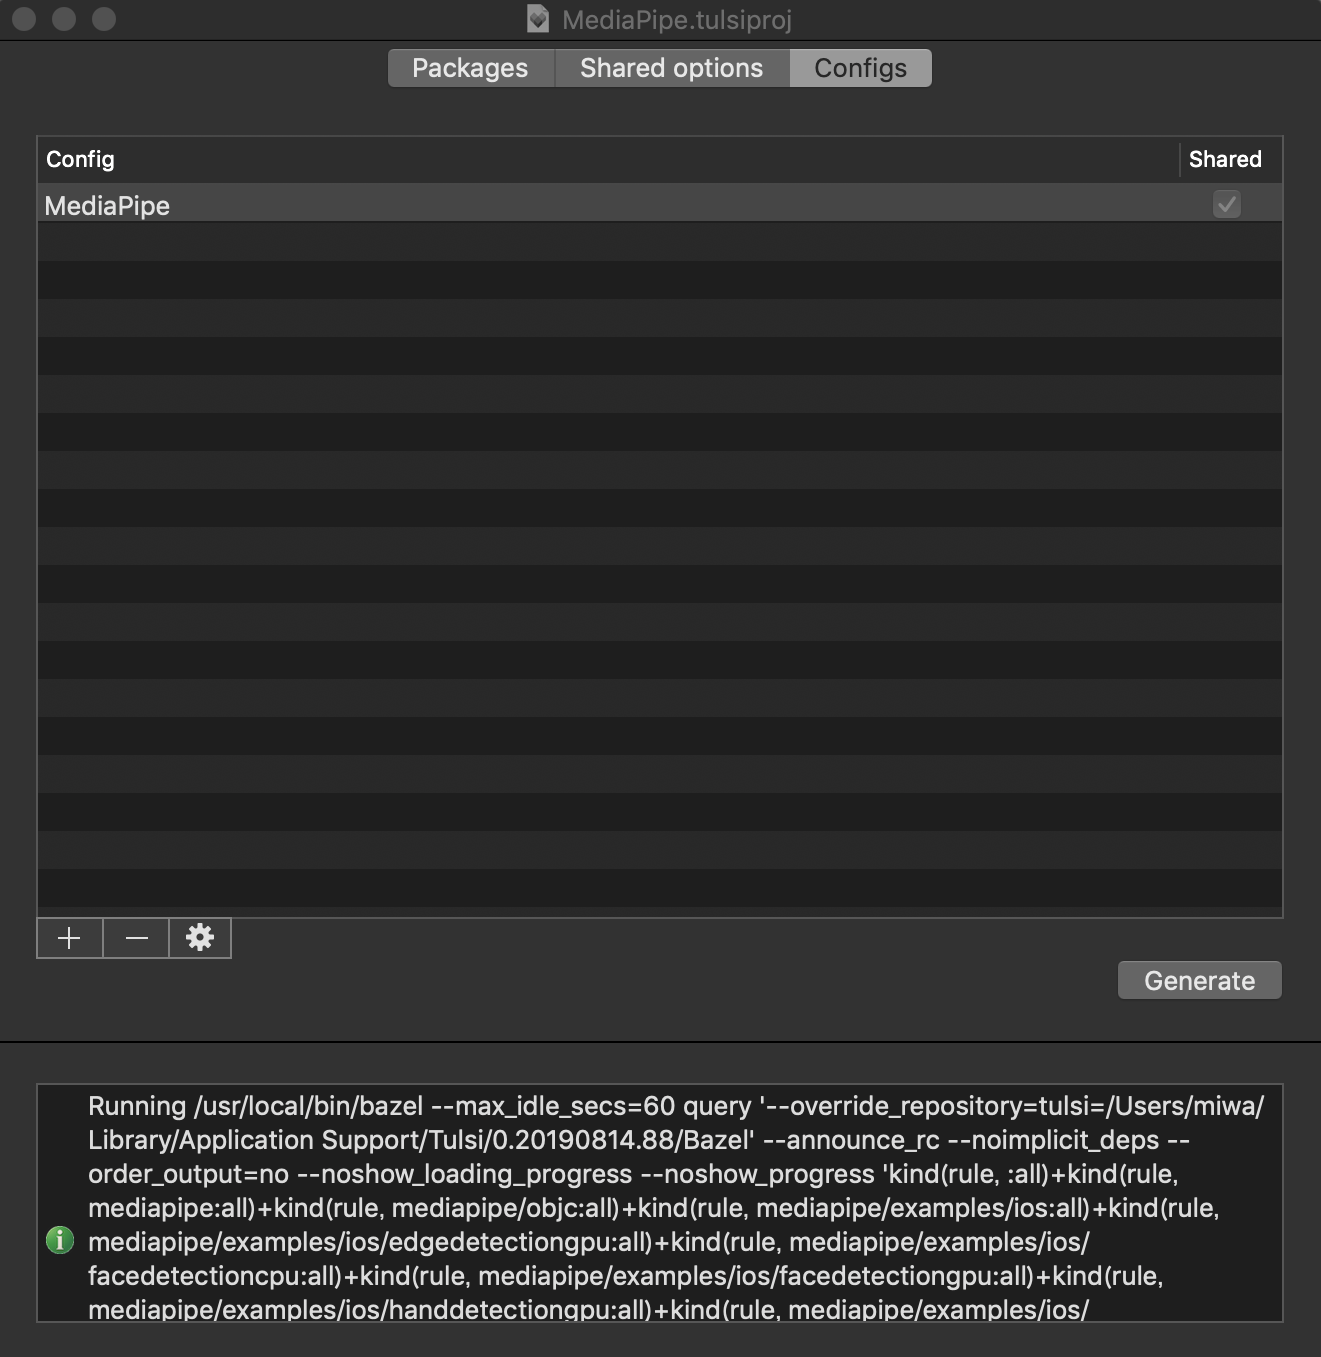
- ConfigsタブにあるGenerateボタンを押下し、Xcodeプロジェクトの保存場所を指定すると生成が開始される
Xcodeプロジェクトでビルド
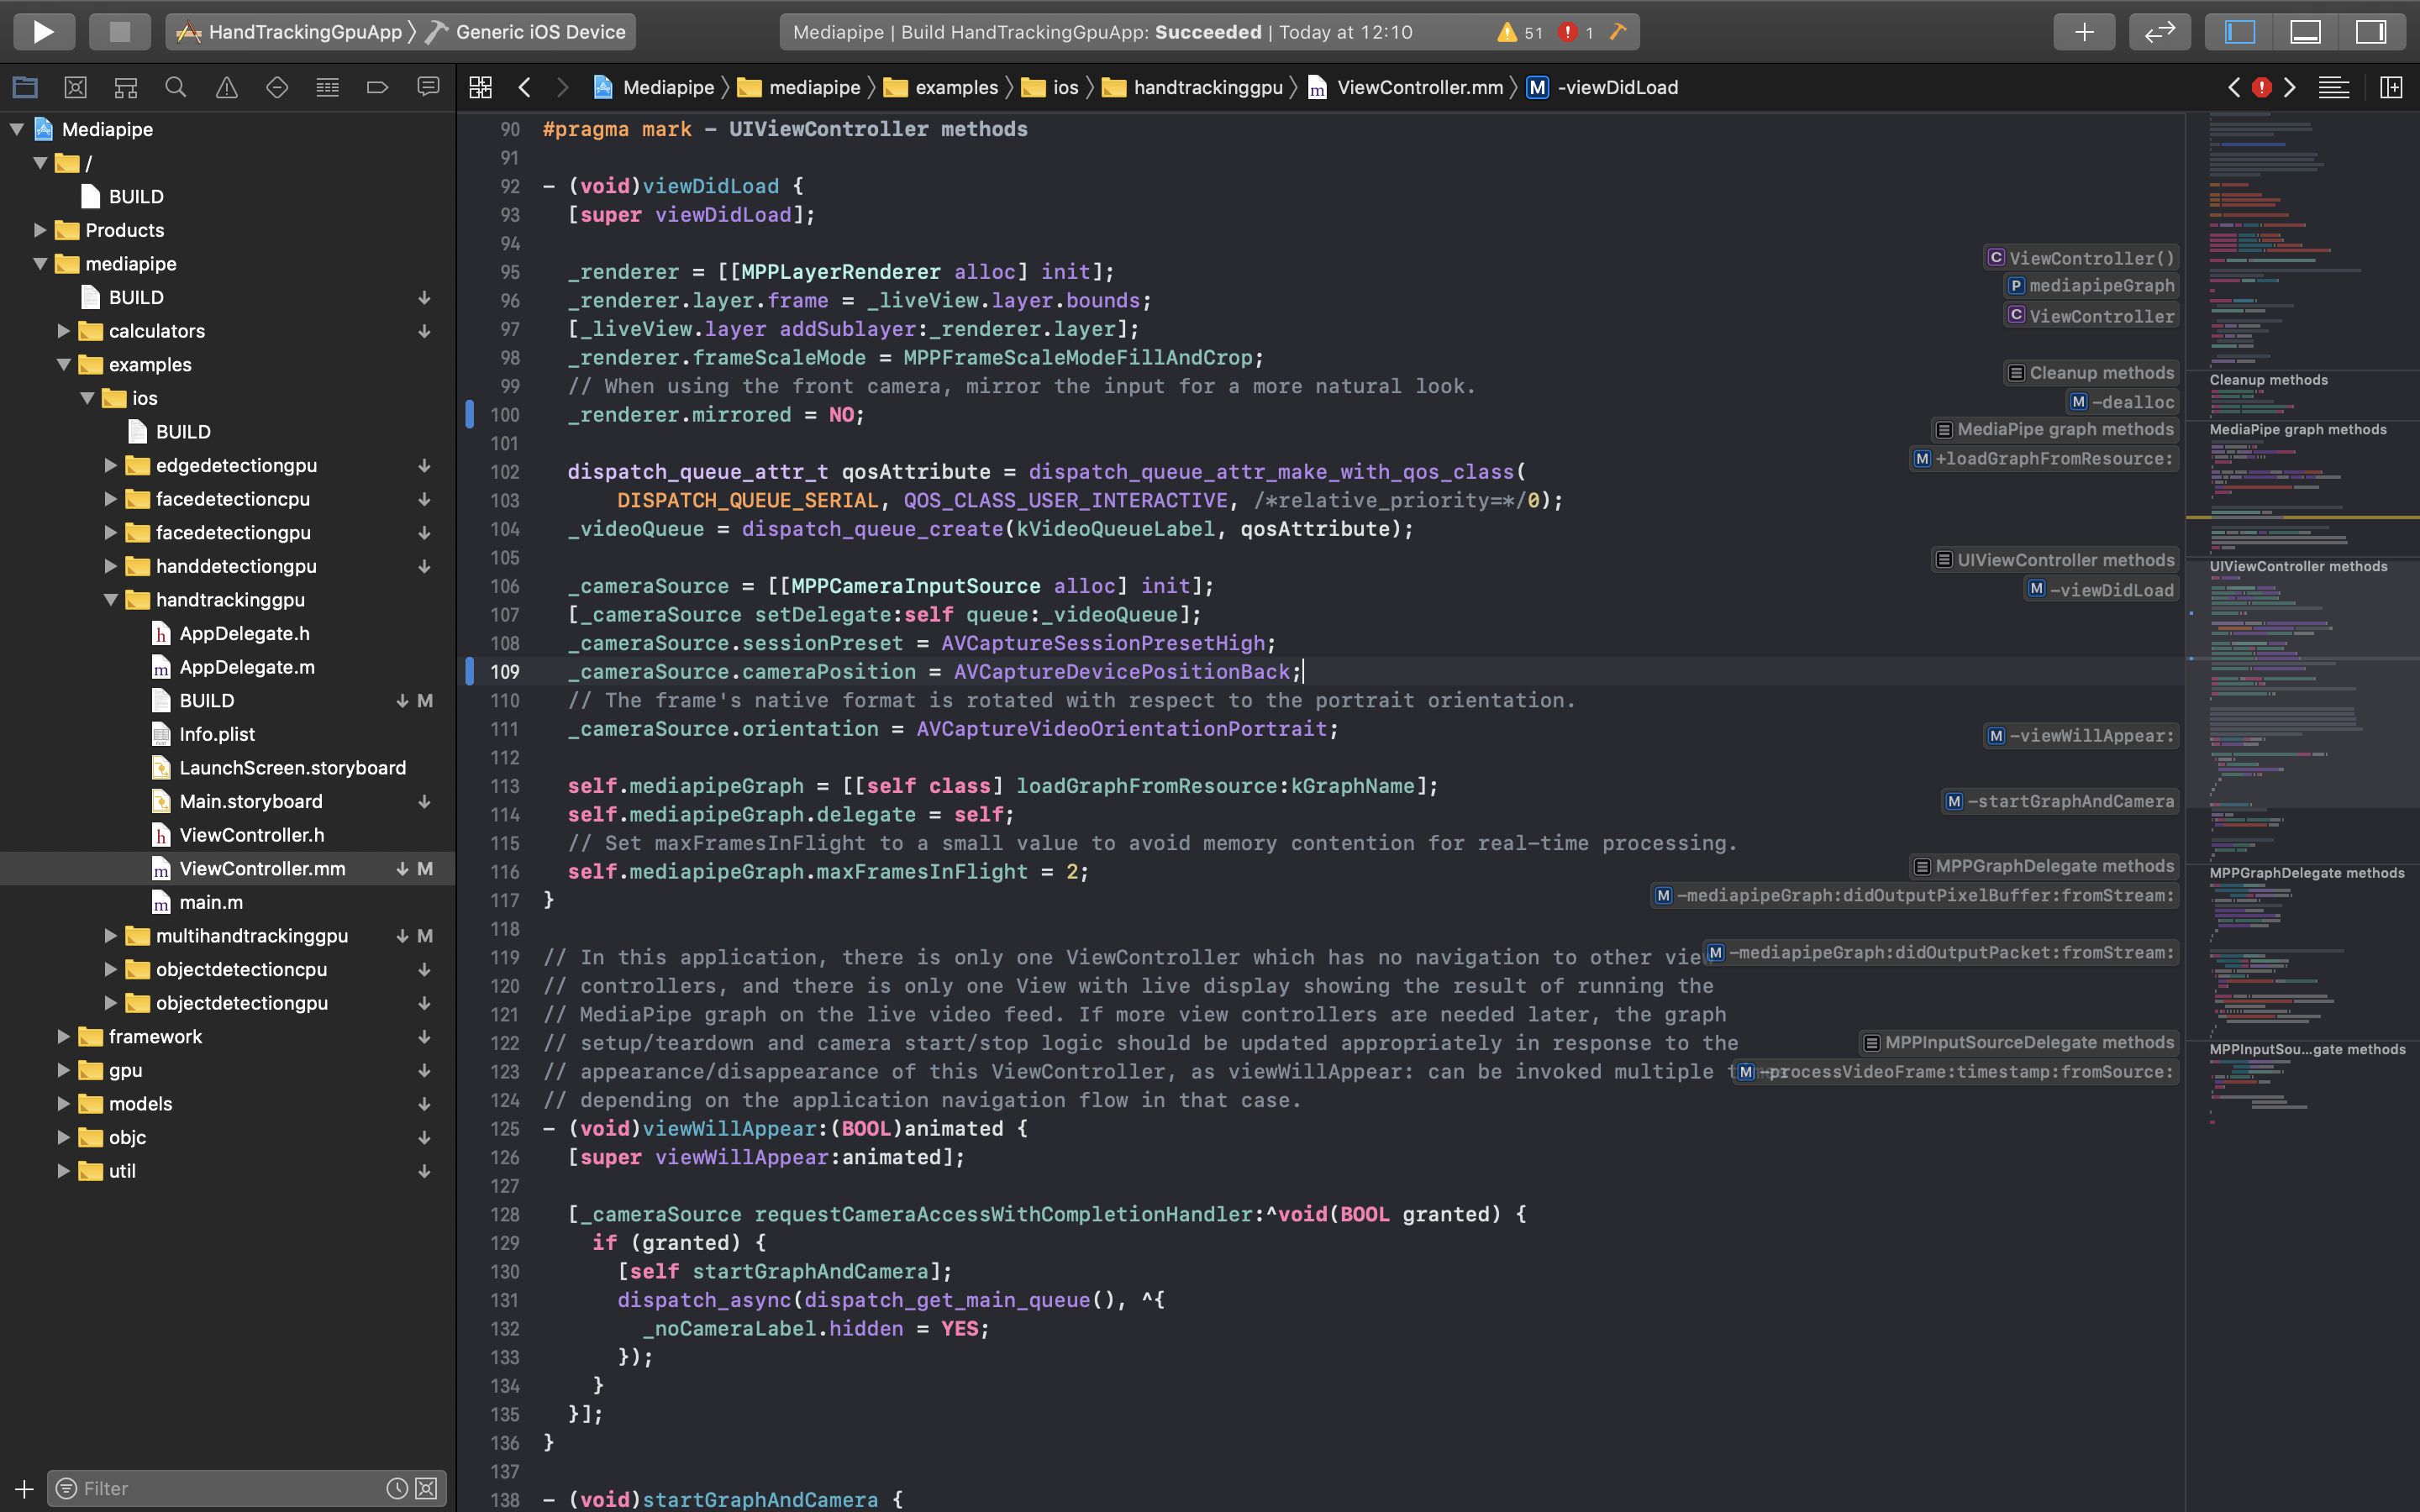
さあ、macにiPhoneを繋げよう。そして、生成したXcodeプロジェクトを開き、ビルドを開始する。首を長くして待つと、ビルドが完了し、実機へインストールされる。
デフォルトのカメラがフロントカメラなので、リアカメラを使用するように設定
mediapipe/examples/ios/handtrackinggpu/ViewController.mm:107_cameraSource.cameraPosition = AVCaptureDevicePositionFront; ↓ _cameraSource.cameraPosition = AVCaptureDevicePositionBack;左右が反転してしまったので、Mirroredの値を変更
mediapipe/examples/ios/handtrackinggpu/ViewController.mm:111_cameraSource.videoMirrored = YES; ↓ _cameraSource.videoMirrored = NO;おわりに
iPhone上でリアルタイムなハンドトラッキングを高精度で実装することが出来た。
今後は、この技術を利用して視覚障害者向けの学習アプリケーションの開発に取り組んでいこうと思う。
- 投稿日:2020-08-11T12:44:33+09:00
EfficientnetをCore MLに変換する【変換済みモデルあり】
画像分類の最新モデルをCore ML形式に変換します。TensorFlow Hubのモデルコレクションからダウンロードしてモデルを構築。
m = tf.keras.Sequential([
    hub.KerasLayer("https://tfhub.dev/tensorflow/efficientnet/b0/classification/1")
])
m.build([1, 224, 224, 3])
m.summary()
クラスラベルを読み込んでおきます。
(今回はImageNetの1000クラスでそのまま使用。TensorFlowHubには転移学習のできるバージョンも公開されています。)
import urllib
label_url = 'https://storage.googleapis.com/download.tensorflow.org/data/ImageNetLabels.txt'
class_labels = urllib.request.urlopen(label_url).read().splitlines()
class_labels = class_labels[1:] # remove the first class which is background
assert len(class_labels) == 1000

# make sure entries of class_labels are strings
for i, label in enumerate(class_labels):
  if isinstance(label, bytes):
    class_labels[i] = label.decode("utf8")
CoreMLTools4.0で変換します。
import coremltools as ct

image_input = ct.ImageType(shape=(1, 224, 224, 3,),
                           scale=1/255)

mlmodel = ct.convert(m,
                     inputs=[image_input],
                     classifier_config=classifier_config,
                     )
mlmodel.save('./efficientnet.mlmodel')
Core MLを使ったアプリを作っています。
機械学習関連の情報を発信しています。

