<template><divclass="today"><TheTitlelabel="Today":is-today="true":day="displayDay()"></TheTitle><divclass="today-weather"><templatev-for="(temperature, index) in temperature.todayTemperature"><TheWeatherItem:key="index"></TheWeatherItem></template></div></div></template>
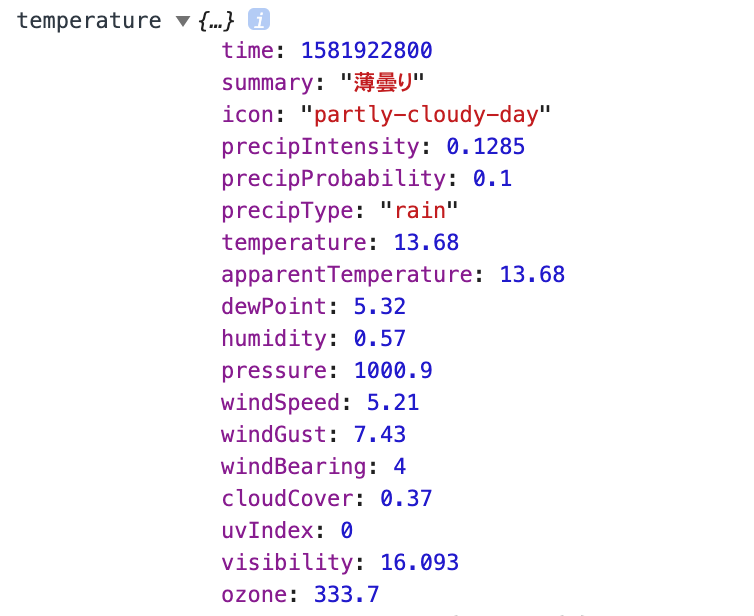
<template><divclass="today"><TheTitlelabel="Today":is-today="true":day="displayDay()"></TheTitle><divclass="today-weather"><templatev-for="(temperature, index) in temperature.todayTemperature"><!--contentにtemperatureを渡す--><TheWeatherItem:key="index":content="temperature"></TheWeatherItem></template></div></div></template>